0116 246 1188
WWW.LEDRIDGE.CO.UK
0116 246 1188
WWW.LEDRIDGE.COM
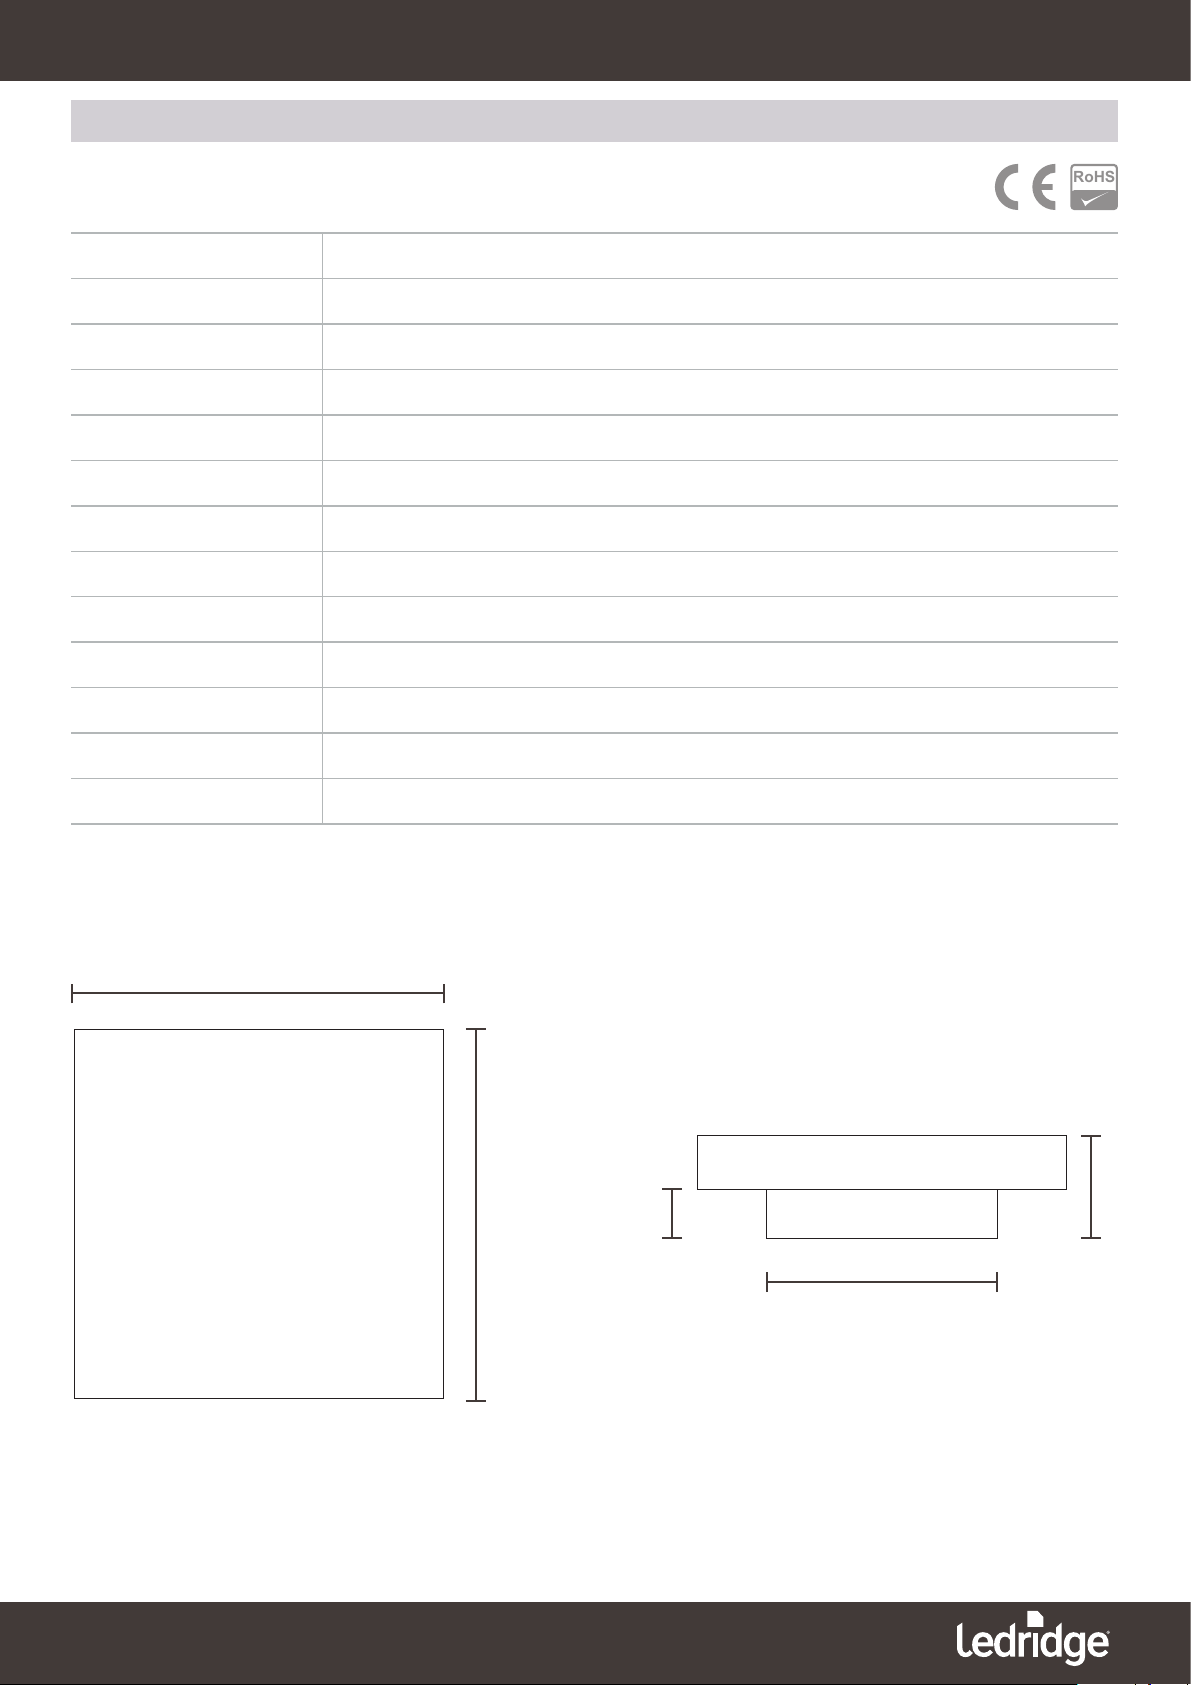
LLTOUCHDX4 - PRODUCT INFORMATION
V 16.291.17
WARNING! Read this section before any installation work is carried out.
All work should be carried out as per our instructions. Failure to do so may
damage the unit and other products associated with it and void any warranty.
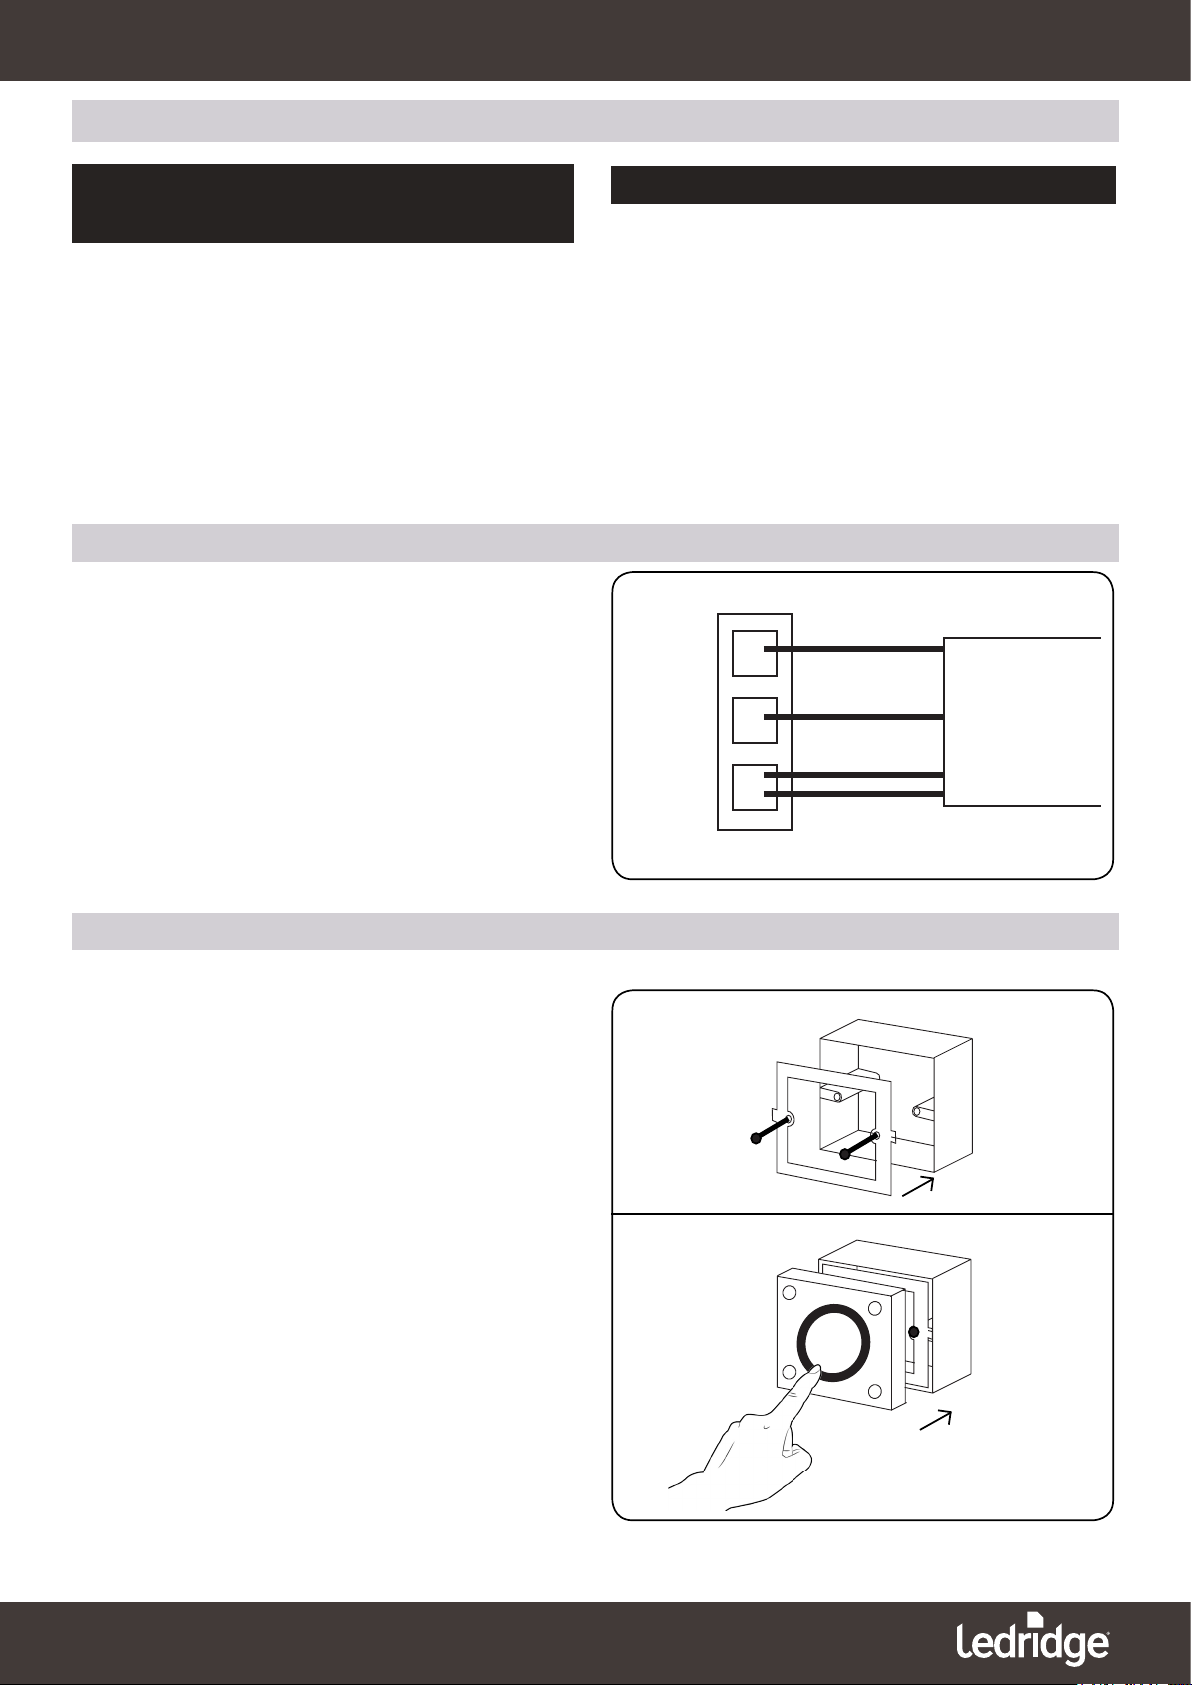
WIRING CONFIGURATION OF RJ45 LEAD
INSTALLATION
All work involving electrical components should be carried out
by a competent qualied electrical professional in accordance to
NICEIC and IET BS 7671 wiring regulations and any local by laws.
Ensure all mains power is turned off before starting any installation
or maintenance; and remains off for the duration of installation or
maintenance.
Waste electrical products should not be disposed of in domestic waste.
Please check with your Local Authority or retailer for recycling advice.
To allow the LLTOUCHDX4 to operate your LED colour change you will
need to connect to a DMX receiver unit via an RJ45 CAT5 patch cable.
1. You will need to strip one end of the RJ45 lead, this end will connect
to the terminal block of the Touch DX4 or Touch DX8 controller.
2. Connect the white or White / Orange of the RJ45 lead to the DMX
+ terminal.
3. Connect the Orange wire of the RJ45 lead to the DMX - terminal
4. Connect the Light brown & Dark brown wires of the RJ45 lead to
the Ground terminal
5. Now connect the DMX IN of your DMX Reciever with the plug end
of the RJ45 lead.
STRIPPED RJ45
LEAD
DMX +
DMX -
GROUND
WHITE OR WHITE & ORANGE
ORANGE
LIGHT BROWN
DARK BROWN
We are only able to offer advice and installation instruction on our own
products, we are unable to offer individual advice on other manufactures
products. You are required and responsible for ensuring that the
specication of this product is compatible with other products from other
manufactures.
Please ensure that all products used in your installation are complete,
correct and compatible before starting any installation. Failure to do so
may result in damaged products, our warranty does not cover damage
caused by or to any other manufactures products.
IF IN DOUBT CONTACT US: 0116 246 1188
WALL MOUNTING THE DX4 CONTROLLER
The DX4 controller must be wall mounted, this can be either surface
mounted or recessed into the wall. You will require an electrical back-
box suited to your application.
Once you have installed your electrical back-box you are ready to mount
the DX4 controller.
1. Screw the back plate to the electrical back box.
2. Click the controller front to the back plate.
1
2