2
02/12/2013MM00778-a-
A
PL
M
LED
DEL
ART.F420
F420
H4652
LN4652
0 675 92
EN
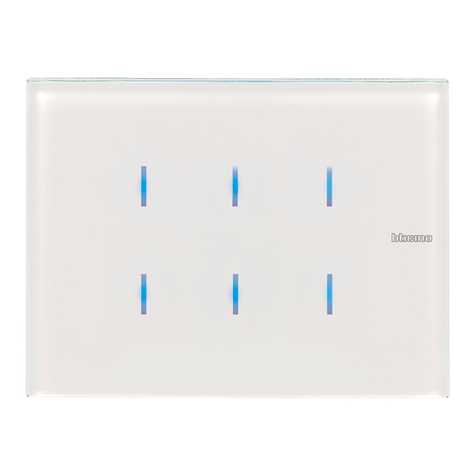
8 key multifunction control
BUS SCS
Physical configuration
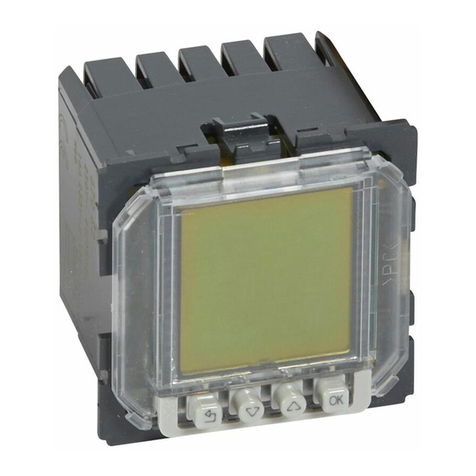
Programming a scenario with the F420 module
For the programming of the scenario, the procedure is as follows:
1) The F420 scenario module must be configured with self-learning enabled (it is
necessary to press the self-learning key so that the corresponding LED turns green; if
the LED is red, self-learning is disabled);
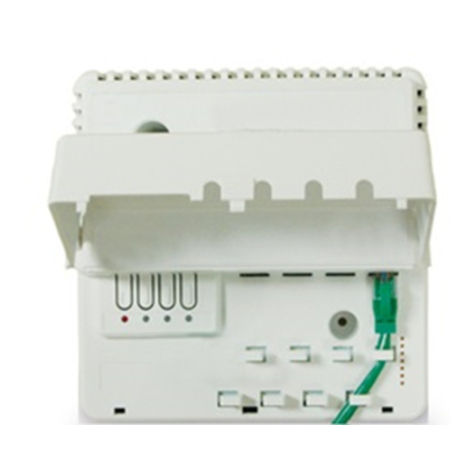
2) Press and release the programming key on the back of the multifunction control; the
LEDS start flashing slowly (1 sec. ON and 1 sec. OFF);
3) Within 20 seconds press the key corresponding to the scenario to program on the
multifunction control; its LEDs start flashing quickly, indicating the activation of the
programming mode;
4) Set the scenario, using the controls and/or actuators of the system;
5) Press the programming key of the multifunction control again to exit programming
and complete the procedure: the LEDs start flashing slowly again; it is now possible to
repeat points 2, 3, and 4 for all the scenarios; the same procedure must also be used to
change the scenarios already set;
6) Press and quickly release the self-learning pushbutton on the F420 module, or wait
20 seconds to complete the procedure (red LED on).
Configurator M
Configurator A
room address
Configurator PL
light point address
1) Self-learning mode M=0
This mode of operation gives the possibility of associating an individual control to any
key of the device. It is possible to create, delete or modify each control.The device
may be configured using any A/PL address already present in the system, or a unique
address not used by other devices.
2) Non-cyclical self-learning mode M=6
This mode is a variation of the self-learning mode (M=0), where, however, the keys
never operate cyclically. Therefore, if for example the ON of an actuator or dimmer
is acquired, the pair of keys is automatically configured to switch on, or increase the
intensity level, for the left key, and switch off, or decrease the intensity level, for the
right key. If, on the other hand, a single function is learnt (e.g. recalling of a scenario),
the other key of the pair remains without function, or retains the previous function. The
device may be configured using any A/PL address already present in the system, or a
unique address not used by other devices.
3) Scenario module M = 1 – 2
This operating mode can only be used if the system includes a scenario module F420;
the matching is achieved by assigning to both the items the same address, identified
by A=0-9 and PL=1-9. The user can create, cancel, or modify the scenarios found in the
scenario module, and can recall them using the keys.
The procedure gives the possibility of saving up to 16 scenarios using two devices.
The following table shows the correspondence between the number of the scenario
saved in the scenario module, and the keys of the control in the possible configurations:
Programming the keys
The procedure to associate each key to a different control is as follows:
1) Press and release the programming key on the back of the device; the backlighting
LEDs will flash slowly:
2) Press the key to program within 20 seconds: the LEDs start flashing much quicker,
indicating the activation of the programming mode;
3) Set the control to associate to the key using the controls and/or the corresponding
actuator; the LEDs will start flashing slowly;
4) At this point it is possible to repeat points 2 and 3 for all the keys, including those
that have already been associated, to change their association association;
5) Quickly press the programming pushbutton, or wait 20 seconds to exit the
programming procedure.
Cancelling the programming of the keys
1) Press and release the programming key; the backlight LEDs will flash slowly:
2) Within 20 seconds press and hold down for 4 seconds the key to cancel; from now
on the key cancelled will no longer activate any control until programmed again;
3) The LEDs come on at full power for 4 seconds, after which it will be possible to
repeat point 2 to cancel the programming of other keys;
4) Press and quickly release the programming pushbutton, or wait 20 seconds to exit
the programming procedure.
NOTE: To delete the programming of all the keys at the same time, press and quickly
release the programming key; the LEDs start flashing slowly; press and hold down
again for 10 seconds the pushbutton on the back: the LEDs come on for approximately
4 seconds, confirming the cancellation of all programming.
A room
PL light point
M mode (see the dedicated section)
LED backlight setting
(see the dedicated section)
Key number M=1 M=2
Key 1 Scenario 1 Scenario 9
Key 2 Scenario 2 Scenario 10
Key 3 Scenario 3 Scenario 11
Key 4 Scenario 4 Scenario 12
Key 5 Scenario 5 Scenario 13
Key 6 Scenario 6 Scenario 14
Key 7 Scenario 7 Scenario 15
Key 8 Scenario 8 Scenario 16
Key 1 Key 2
Key 5 Key 6
Key 3 Key 4
Key 7 Key 8
scenario cancellation
key
scenario/learning
reset LED
programming block/
release key
programming status LED
