manuals.online logo
Brands
  1. Home
  2. •
  3. Brands
  4. •
  5. LEGRAND
  6. •
  7. Industrial Equipment
  8. •
  9. LEGRAND 353 72 User manual

LEGRAND 353 72 User manual

N041823/03
•Tableau de caractéristiques •Tabella delle caratteristiche
•Table of characteristics •Технические характеристики
353 72 / 73 / 74
353 72/73 353 74
• Echangeur air / air • Scambiatore di calore aria-aria
• Air to air heat exchanger • Теплообменники воздух-воздух
•Echangeur air / air
•Air to air heat exchanger
•Scambiatore di calore aria-aria
•Теплообменники воздух-воздух
•Références
•References
•Codice
•Кат. номера
353 72 353 73 353 74
•Puissance spécifique (W/C)
•Specific heat power (K/C)
•Potenza specifica (W/C)
•Удельная производительность (Вт/°C)
36 50 80
•Tension (V)
•Voltage (V)
•Tensione (V)
•Напряжение (В)
230
•Fréquence (Hz)
•Frequency (Hz)
•Frequenza (Hz)
•Частота (Гц)
50 / 60
•Puissance absorbée (W)
•Power consumption (W)
•Potenza assorbita (W)
•Потребляемая мощность (Вт)
140 140 240
•Courant absorbé (A)
•Current (A)
•Corrente assorbita (A)
•Ток (А)
0,64 0,64 1,06
•IP circuit intérieur
•Internal circuit IP
•IP circuito interno
•Степень защиты IP изнутри
54
•IP circuit extérieur
•External circuit IP
•IP circuito esterno
•Степень защиты IP снаружи
34
N041823/03
2
•Montage •Montaggio
•Assembly •Монтаж
•L’appareil est livré prêt à fonctionner après raccordement du câble en
externe ou en interne, voir schéma ci-dessous (fig 1).
Découper le panneau : voir plans pages suivantes, l’échangeur doit
être installé sur une face verticale de l’enveloppe.
Afin de conserver l’étanchéité de l’enveloppe, appliquer le joint adhésif
suivant le schéma de pose sur l’appareil.
Visser les déflecteurs (fig 2).
Fixer l’appareil avec les vis fournies.
•The device is supplied ready to use after connecting outside or inside,
see diagram below (fig 1).
Cut-out process : see drawings on following pages, the exchanger must
be installed in a vertical way.
To maintain the enclosure’s IP protection, use the self adhesive seal as
in the diagram on the device.
Screw the deflectors in place (fig 2).
Fix the device using the screws provided.
•Questo apparecchio è consegnato pronto all’uso dopo il collegamento
del cavo in esterno o in interno, vedi disegno qui sotto (fig 1).
Per tagliare il pannello : vedi disegni nelle pagine seguenti; lo scambiatore
deve essere installato su un lato verticale dell’involucro.
Per mantenere l’ermeticità dell’involucro, applicare la guarnizione
adesiva seguendo lo schema di posa sull’apparecchio.
Avvitare i deflettori (fig 2).
Fissare l’apparecchio con le viti fornite.
•Теплообменник поставляется готовым к эксплуатации. (рис. 1). Он
присоединяется к оболочке снаружи или изнутри (рис. 1).
Подготовка вырезов: см. схемы на следующих страницах.
Теплообменник устанавливается в вертикальном положении.
Для обеспечения требуемой степени защиты (IP) оболочки
прикрепите самоклеющееся уплотнение согласно схеме,
имеющейся на агрегате.
Прикрепите отражатели винтами (рис. 2).
Закрепите агрегат винтами из комплекта.
•Fig 2
•Рис. 2
•Ouverture du déflecteur vers le haut
• Deflector opening up
• Apertura del deflettore verso l'alto
• Отражатель с раскрывом вверх
•Enveloppe
•Enclosure
•Involucro
•Оболочка
•Echangeur air/air
•Air-to-air heat exchanger
•Scambiatore aria/aria
•Теплообменник воздух-воздух
•Ouverture du déflecteur vers le bas
• Deflector opening down
• Apertura del deflettore verso il basso
• Отражатель с раскрывом вниз
• Fig 1
•Рис. 1
N041823/03
3
•Fixation •Fissaggio
•Fixing •Крепление
•Plan de perçage (traçage côté extérieur) •Schéma de pose du joint auto-adhésif
•Positioning of holes ( marked on outside) •Drawing for positioning self-adhesive seal
•Schema di foratura (tracciato lato esterno) •Schema di posa della guarnizione adesiva
•Расположение отверстий (разметка снаружи) •Прикрепление самоклеющегося уплотнения
353 72/73
353 74
23
250
295
8
312
265
56
771
150 220 45
100 50
510
25
5031 50150
66
4 x Ø8
Ø30
1258
170
140 643 64
261
765202
32 250
314
69
15
4040
27 260
4 x Ø8
Ø 30
9,5 295
N041823/03
Opération Cadence
Contrôle et nettoyage de la batterie
côté extérieur.
Tous les 2 mois.
Contrôle ventilateurs : surchauffe ou
vibrations excessives.
Tous les 6 mois.
Job Frequency
Checking and cleaning the coil on the
ambient side.
Every 2 months.
Checking the fans : overheating or
excessive vibrations.
Every 6 months.
Operazione Frequenza
Controllare e pulire la batteria lato
esterno.
Ogni 2 mesi.
Controllo dei ventilatori per :
sovraccarico o eccessive vibrazioni.
Ogni 6 mesi.
Операция Периодичность
Проверка и очистка наружной
стороны теплообменника.
Каждые 2 мес.
Проверка вентиляторов на предмет
перегрева или чрезмерных вибраций.
Каждые 6 мес.
•Entretien
•L’échangeur air / air ne nécessite en principe aucun entretien. Cependant, après
une utilisation prolongée dans une atmosphère particulièrement polluée, il peut
être nécessaire de nettoyer la batterie d’échange. Pour ce faire, il n’est pas
nécessaire de retirer l’échangeur de l’enveloppe.
Après avoir coupé l’alimentation électrique, déposer le capot avec la batterie
d’échange.
Nettoyage de la batterie :
Il peut être effectué à l’eau courante, à l’air comprimé (maxi 4 bars), par immersion
dans un produit lessiviel.
•Servicing
•The air-to-air heat exchanger should not require servicing. However, after
extended use in an especially polluted atmosphere it may be necessary to
clean the exchanger battery. There is no need to remove the exchanger from the
enclosure.
Cut the electricity supply and remove the cover with the exchanger battery.
Cleaning the battery:
Clean with running water, compressed air (4 bars max.) or by immersion in a
cleaning fluid.
•Manutenzione
•Normalmente, lo scambiatore di calore aria-aria non ha bisogno di manutenzione.
Tuttavia, dopo un uso prolungato in atmosfera particolarmente inquinata, può
essere necessario pulire la batteria di scambio. Per eseguire queste operazioni
non è necessario togliere lo scambiatore dall’involucro.
Dopo aver scollegato l’alimentazione elettrica, togliere la copertura con la batteria
di scambio.
Pulizia della batteria:
Può essere fatta sotto acqua corrente, ad aria compressa (max 4 bar), con
immersione in un detersivo per bucato.
•Техническое обслуживание
•Теплообменник воздух-воздух не требует обслуживания. Но при длительной
эксплуатации, особенно в загрязненной атмосфере, следует очистить
теплообменную батарею.
Для этого не требуется снимать агрегат с оболочки. Отключите электропитание
и снимите крышку теплообменной батареи.
Очистка батареи:
Продуйте сжатым воздухом (не более 4 бар), промойте струей воды или
водой с моющим средством.
•Attention :
Ne pas utiliser de solvant inflammable dont les vapeurs
pourraient être transportées dans l’armoire.
•Caution :
Do not use a flammable solvent whose vapours may be
draw into the cabinet.
•Attenzione :
Non usare solventi infiammabili perché i loro vapori
potrebbero essere trasportati all’interno dell’armadio.
•Внимание!
Не используйте легковоспламеняющиеся растворители,
пары которых могут попасть внутрь оболочки.
•Guide de dépannage •Risoluzione dei problemi
•Troubleshooting •Устранение неисправностей
Anomalie Conditions Solution
L’échangeur ne
refroidit pas.
1/ Les ventilateurs ne se mettent pas en route. 1/ L’échangeur n’est pas alimenté : vérifiez la présence de tension,
la fermeture des panneaux et l’enclenchement des interrupteurs.
2/ Seul un des deux ventilateurs fonctionne. 1/ Le ventilateur est endommagé : changez-le.
2/ Le condensateur (s’il est prévu) est en panne : changez-le.
3/ Les ventilateurs fonctionnent. 1/ Vérifiez la propreté de la batterie.
2/ Vérifiez si la température ambiante est inférieure à celle intérieure.
Malfunction Conditions Remedy
The exchanger
is not cooling.
1/ None of the components are working. 1/ Electricity is not reaching the exchanger : check there is voltage as well
as closing of doors and switches.
2/ Only one of the two fans is working. 1/ Fan failed : change it.
2/ Capacitor failed (if present) : change it.
3/ The fans are working. 1/ Check the exchanger coil is clean.
2/ Check that ambiant temperature is adequately lower than the inside
temperature.
Anomalia Condizioni Soluzione
Lo scambiatore
non raffredda.
1/ I ventilatori non si avviano. 1/ Non arriva corrente allo scambiatore : controllare che ci sia tensione,
che i pannelli siano chiusi e che gli interrutorri siano inseriti.
2/ Funziona solo uno dei ventilatori. 1/ Il ventilatore è danneggiato : sostituirlo.
2/ Guasto al condensatore (se previsto) : sostituirlo.
3/ I ventilatori funzionano. 1/ Controllare che la batteria sia pulita.
2/ Controllare che la temperatura ambiente sia inferiore a quella interna.
Неисправность Признаки Устранение
Теплообменник
не охлаждает.
1/ Ни один компонент не работает. 1/ Отсутствует электропитание теплообменника: проверьте, подается ли
напряжения после того, как будут закрыты двери и включены выключатели.
2/ Работает только один из двух
вентиляторов.
1/ Замените неисправный вентилятор.
2/ Замените вышедший из строя конденсатор электродвигателя (если имеется).
3/ Вентиляторы работают. 1/ Проверьте чистоту теплообменника.
2/ Проверьте, что наружная температура значительно ниже внутренней.
This manual suits for next models

2

Other LEGRAND Industrial Equipment manuals

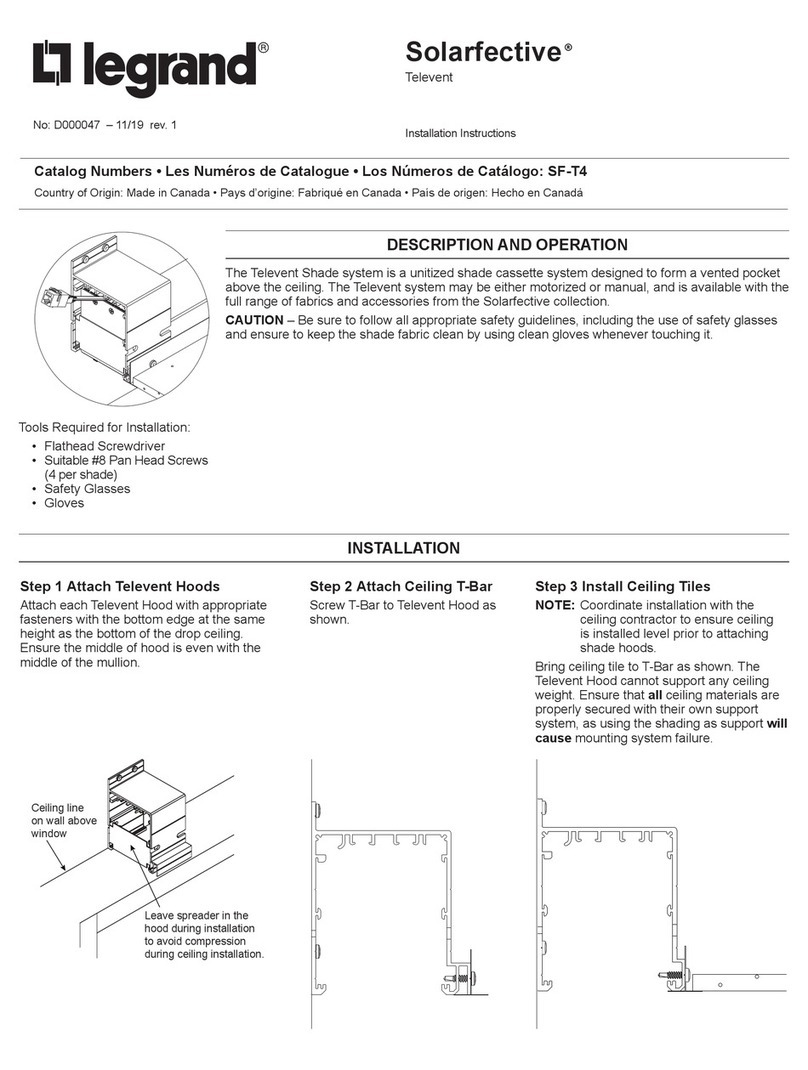
LEGRAND Solarfective SF-T4 User manual

LEGRAND

LEGRAND Solarfective SF-T4 User manual

LEGRAND DMX3 Operating manual

LEGRAND

LEGRAND DMX3 Operating manual

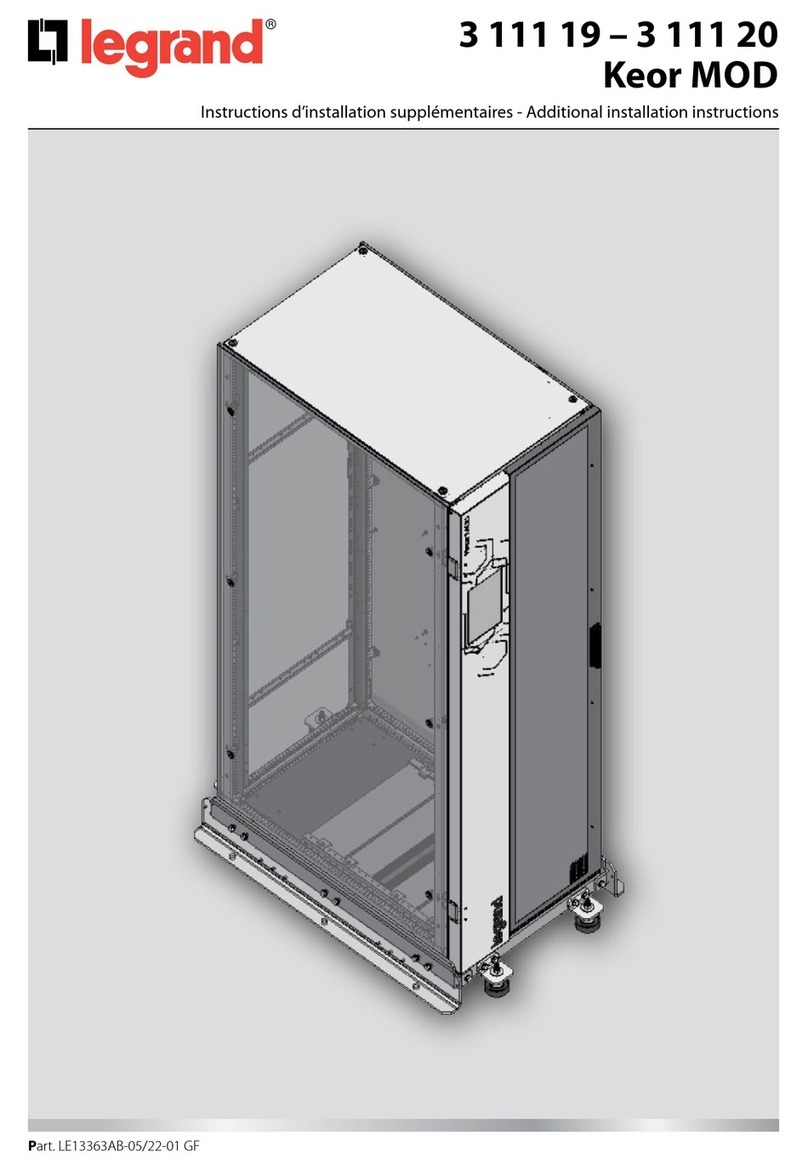
LEGRAND 3 111 19 User manual

LEGRAND

LEGRAND 3 111 19 User manual

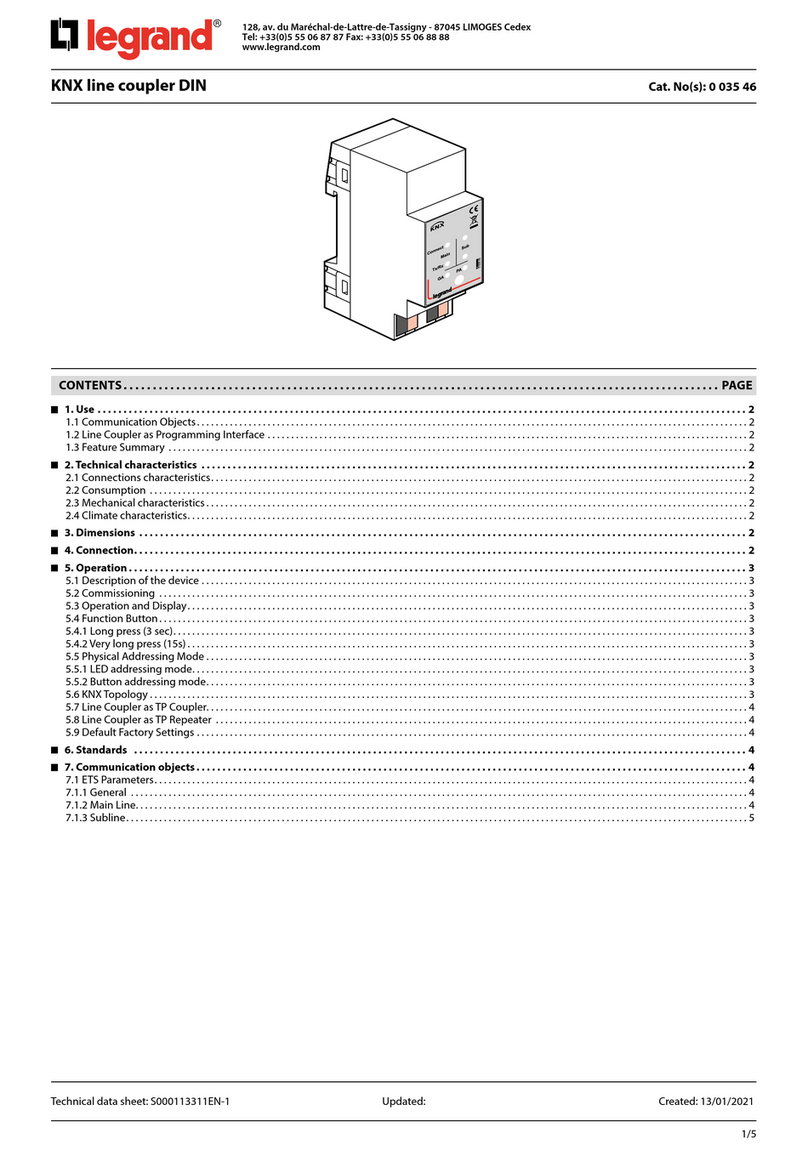
LEGRAND 0 035 46 User manual

LEGRAND

LEGRAND 0 035 46 User manual

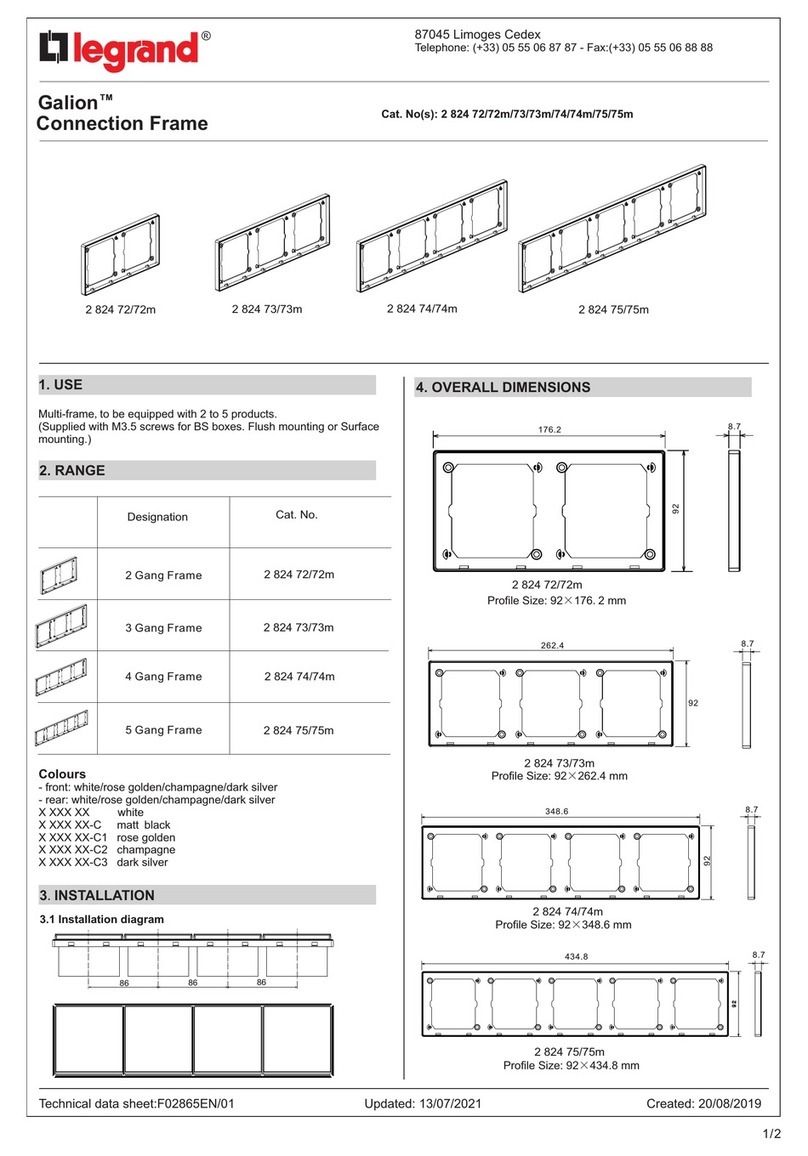
LEGRAND Galion 2 824 72 User manual

LEGRAND

LEGRAND Galion 2 824 72 User manual

LEGRAND EMS CX3 Quick start guide

LEGRAND

LEGRAND EMS CX3 Quick start guide

LEGRAND pass & seymour GFCI User manual

LEGRAND

LEGRAND pass & seymour GFCI User manual

LEGRAND LEXIC 073 03 User manual

LEGRAND

LEGRAND LEXIC 073 03 User manual

Popular Industrial Equipment manuals by other brands

Innotech INNOTECH BEF 401-10 Instructions for installation and use

Innotech

Innotech INNOTECH BEF 401-10 Instructions for installation and use

MBO SAP 46 L operating manual

MBO

MBO SAP 46 L operating manual

Water Maze ALPHA-1500 Operator's manual

Water Maze

Water Maze ALPHA-1500 Operator's manual

THORLABS DTS25 user guide

THORLABS

THORLABS DTS25 user guide

Rittal SK 3378.200 Assembly and operating instructions

Rittal

Rittal SK 3378.200 Assembly and operating instructions

M-system M8BS-16U1 instruction manual

M-system

M-system M8BS-16U1 instruction manual

JBL PRO NOVO AUTOFOOD Black manual

JBL

JBL PRO NOVO AUTOFOOD Black manual

ABB HT842068 Operation manual

ABB

ABB HT842068 Operation manual

TCS TC-HS V2 Original instruction

TCS

TCS TC-HS V2 Original instruction

LumaSense technologies 1303 user manual

LumaSense technologies

LumaSense technologies 1303 user manual

Multi-Mover 5XL User manual and parts list

Multi-Mover

Multi-Mover 5XL User manual and parts list

Grizzly T32841 instructions

Grizzly

Grizzly T32841 instructions

ABB HT612201 Operation manual

ABB

ABB HT612201 Operation manual

Envirotainer RKN e1 Operation manual

Envirotainer

Envirotainer RKN e1 Operation manual

YoraHome 6550 user manual

YoraHome

YoraHome 6550 user manual

CKD HMF Series instruction manual

CKD

CKD HMF Series instruction manual

Gabocom KKHR Installation instruction

Gabocom

Gabocom KKHR Installation instruction

Dodge Torque-Arm II TA0107LM Installation and instruction manual

Dodge

Dodge Torque-Arm II TA0107LM Installation and instruction manual

manuals.online logo
manuals.online logoBrands
  • About & Mission
  • Contact us
  • Privacy Policy
  • Terms and Conditions

Copyright 2025 Manuals.Online. All Rights Reserved.