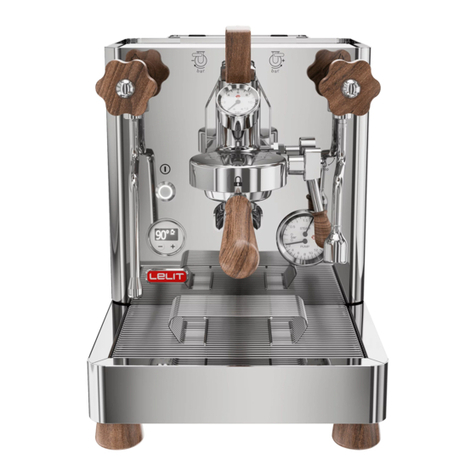
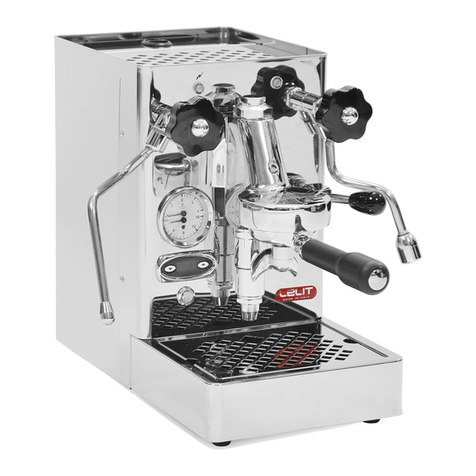
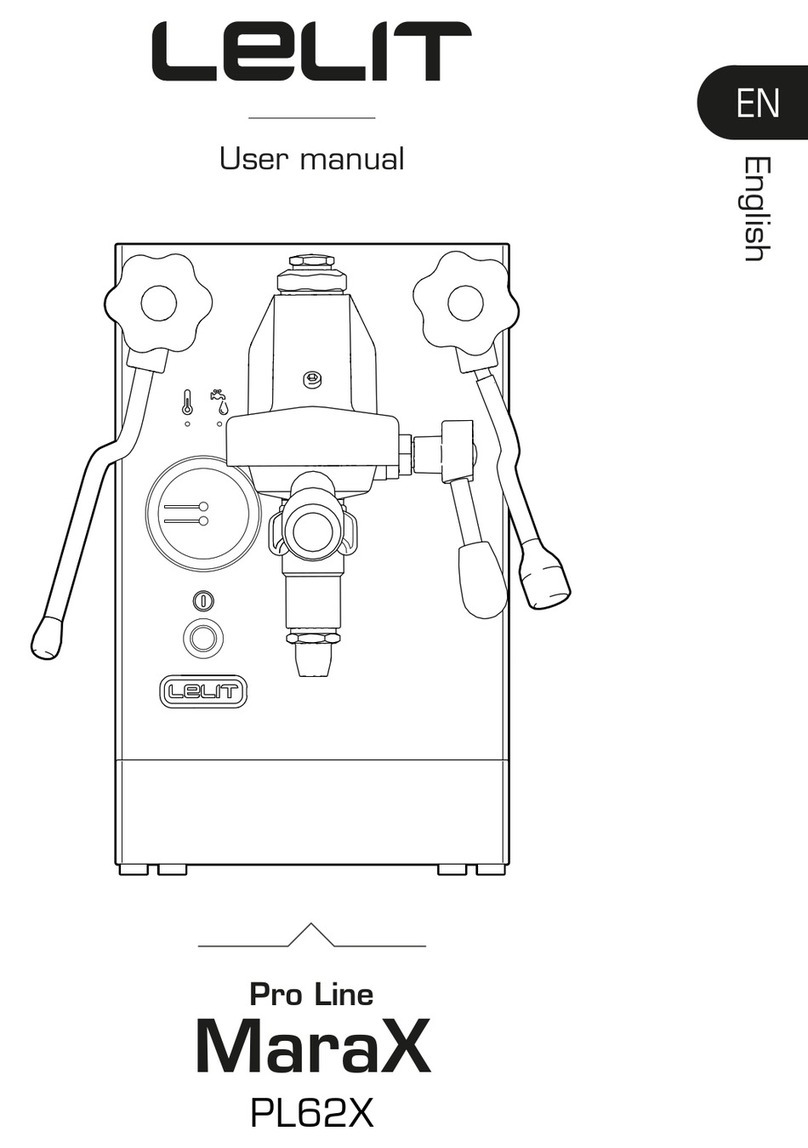
Lelit PRO Line MaraX PL62X User manual

English
EN
User manual
PL62X
MaraX
Pro Line

PRO Line - MaraX - PL62X
2
THANK YOU FOR CHOOSING
A LELIT PRO LINE PRODUCT
Register your product on
care.lelit.com
Download the complete guide to get the most of
your coffee machine PL62X and visit our Lelit Espresso
YouTube channel for insights, tutorials, tips and tricks.
Save the box and all
the packing material!
LELIT has studied the external and internal
packing of your coffee machine to help you re-use
it in case of maintenance or repair need.

Lelit Espresso - English
3
EN
Index
Product overview 5
Factory settings 5
Equipment box 6
Packaging 7
First start-up 7
How to install the resin water lter 8
Espresso and coffee 9
Steam and hot water 10
Stand-by mode 10
Limestone prevention 11
Daily cleaning 12
Weekly cleaning 12
Annual cleaning 14
Lights and states of the machine 14
ATTENTION:
Read the safety notes carefully before using this
product.

PRO Line - MaraX - PL62X
4
1 11 17
in the equipment
box
Pic 1
1
12
10
15
2
6
8
9
3
4
5
14
13
16
7
17
11

Lelit Espresso - English
5
EN
1. Product overview
2. Factory settings
1. Mobile water tank cover
2. Heated surface for cup grate
3. Steam dispensing knob
4. Pilot light machine ready
5. Pilot light water tank full of water
6. Manometer for steam and pump
pressure during extraction
7. Multi-directional, anti-burn steam
wand
8. ON/OFF main switch (with lighted
frame)
9. Temperature mode switch
10. Water tank (2,6L)
11. Grate for heated surface
12. Hot water dispensing knob
13. Brewing group
14. Coffee group lever
15. Multi-directional, anti-burn hot
water wand
16. Use mode switch
17. Removable water drainage tray,
complete with grate
Use mode (16)
ModeX (pre-set value)
Temperature mode (9)
Warm (pre-set value)
Stand by:
ON
Resin lter:
Not inserted
To use the machine with different settings, download the complete guide.
The complete guide contains the instructions on how to set other functioning
proles.

PRO Line - MaraX - PL62X
6
3. Equipment box
A. 1 dose (9-11g) coffee lter
B. 2 doses PLUS (18-21g) coffee lter
C. Blind lter for backushing
D. Tamper in stainless steel with red
wood handle (PLA481R)
E. Raiser for espresso cups
F. First cleaning kit (with 3 detergent
powder single-dose bags and 1
single-dose bottle)
G. Filterholder complete with 2 doses
(14-18g) coffee lter
H. LELIT 35L water resin lter
I. Brush for group head cleaning
J. Plastic spoon for coffee powder
K. Power cord
h
i
k
a
b
cf
ej
g
d

Lelit Espresso - English
7
EN
4. Packing
The packing of your coffee machine has been studied and produced to be
re-used. Use the original box and all the packing elements in case you need
to send the machine back to your reseller or to an authorized service centre,
for ordinary or extraordinary maintenance. The complete guide contains the
instructions to help you pack the machine easily.
5. First start-up
Attention. Remove the machine from its packing and follow the instructions printed
on the box.
Place the machine on a solid, at and dry surface and make sure the appliance is
stable; if needed, screw/unscrew the feet to adjust the position of the machine.
From the equipment box, take out the water drainage tray (17), the grate (11),
the mobile cover (1) and position them as indicated in Pic. 1.
Fill the water tank (10) with room temperature water up to the indicated maxi-
mum level and insert it in its seating (Pic 5.1).
Use the power cord (K) to connect the machine to the electrical mains and turn
ON the machine by pressing the ON/OFF (8) switch. If the water tank (10) is full
of water and properly inserted in its seating, the pilot light (5) goes ON (Pic 5.2).
The hydraulic circuit will need maximum 4 minutes from the 1st turn on to get
5.1 5.2 5.3
FRONT
30
sec

PRO Line - MaraX - PL62X
8
lled with water. Once the waiting time is over, the pilot light (4) will start ash-
ing. Lift the group lever (14) completely. The brewing group (13) will start dis-
pensing water (within 30 seconds). Let the water come out for about 30 seconds
and then return the group lever to its initial position (Pic 5.3).
Now the hydraulic circuit is lled up. The machine will start heating the water to
reach the pre-set values. This operation requires maximum 24 minutes: the pilot
light (5) remains rmly on, while the pilot light (4) ashes.
The machine is ready for use when the 2 pilot lights (4 & 5) and the lighted
frame of the ON/OFF (8) switch are rmly on.
Attention. During the heating phase, a small quantity of water will drain in the
tray (17). is is normal and conrms the machine correct functioning (functions check).
6. How to install the water resin lter
Before installing the resin lter (H) in the water tank (10), immerse the resin lter
in a jug full of water for about 3 minutes, to eliminate the air inside the lter that
may cause a machine malfunction (Pic 7.1).
Take out the water tank (10) and remove the black rubber support placed on
the bottom of the tank. Insert the resin lter (H) in the bigger hole of the rubber
support, remove the charge tube from the small plastic lter and x it on the
nozzle of the resin lter (H) (Pic 7.2).
Re-place the support in its seating on the bottom of the tank (Pic 7.3), ll the
tank (10) with water and insert the tank (10) in its seating.
7.1 7.2 7.3
1
2
min
3

Lelit Espresso - English
9
EN
7. Espresso and coffee
Choose you r coffee lter, insert it into the portalter (G) and ll it with the ade-
quate quantity of ground coffee. Use the tamper (D) to press the coffee powder
in the portalter (G). Fix the portalter (G) into the brewing group (13) and make
sure the handle is aligned with padlock symbol present on the group (Fig 8.1).
Place the cup/s under the portalter and lift the group lever (14) to start the
coffee extraction (Pic 8.2).
During the extraction phase, the lighted frame of the ON/OFF switch (8) ashes
to indicate that the pump works. Return the group lever (14) to its initial position
to stop the extraction (Pic 8.3).
Take out the portalter (G) and empty the lter after every coffee extraction.
Note. During the normal functioning the pilot lights of the machine may ash or go
o to indicate various states of the machine. See the chapter 14 “Pilot lights and states of the
machine” for more details.
Note. We suggest you leave the portalter (G) inserted into the brewing group (13) to
help harmonize the temperature between the group and the portalter complete of the lter.
Attention. Do not remove or loosen the portalter (G) from the brewing group (13)
during the coee extraction to avoid burn risks caused by hot water leaks.
8.1 8.2 8.3
1OK
2

PRO Line - MaraX - PL62X
10
8. Steam and hot water
To obtain an optimal performance of the machine, lift the group lever (14) com-
pletely and return it to its initial position about 30 seconds before using the
steam wand or the hot water wand (7 or 15).
Turn the knobs (3 or 12) anticlockwise to dispense
steam or hot water (Pic 9.1).
Vary the rotation of the knob to adjust the steam or
hot water quantity/intensity.
Turn the knobs (3 or 12) clockwise to stop the func-
tion.
9. Stand-by mode
After 30 minutes of inactivity, the machine will go automatically in stand-by
mode (Pic 6.1).
The lighted frame of the ON/OFF switch (8) ashes while the pilot lights (4 and
5) remain rmly off (Pic 6.2).
To re-start the machine, you must lift the group lever (14) completely and return
it to its initial position (Pic 6.3).
Wait until all the pilot lights are rmly on before using the machine.
9.1
6.1 6.2 6.3
30
min

Lelit Espresso - English
11
EN
Note. e Stand-by function can be disabled. For more details download the com-
plete guide.
10. Limestone prevention
To prevent limestone deposits and grant a better
result in the cup, use the water resin lter (H). The
lter found in the equipment box has an autonomy
tested for 35 l of water.
Use the slides put on the handles of the water tank
(10) to remember the complete llings of the tank
and replace the resin lter once exhausted (Pic
10.1).
Note. e resin lter must be replaced every 14 complete llings, or aer 4 months
of use. If the machine remains unused for 1 month, the resin lter must be replaced with a
new one.
Note. Sea chapter 6 “How to install the water resin lter” to replace the lter correctly.
10.1

PRO Line - MaraX - PL62X
12
11. Daily cleaning
Note. For an optimal result we suggest you use our kit PLA9101 (not included) that
contains a microber cloth with embroidered LELIT logo, a paintbrush with bristles in nat-
ural bres and a brush with nylon bristles.
General cleaning. Use a soft cloth, preferably in microber, and moisten it with tap
water to clean the stainless-steel appliance body of the machine (Pic 11.1).
Group cleaning. After each extraction empty the coffee lter, wash the portal-
ter (G) and the relative lter with tap water and use the brush (I) to eliminate the
coffee residues from the group gasket (Pic 11.2).
Steam wand cleaning. After frothing the milk, clean the nozzle of the steam
wand (7) using a soft cloth and dispense a small quantity of steam to eliminate
every possible milk rest in the holes (Pic 11.3).
12. Weekly cleaning
Note. In the equipment box you’ll nd the detergents (F) for the rst cleaning cycle of
the machine. Aerwards, we suggest you use our accessories PLA9201 and PLA9203 (not
included).
Filters and portalter cleaning. It’s necessary to clean the portalter to elim-
inate the coffee oils that affect the taste of your drinks negatively. Place a jug
under the hot water wand (15), turn the knob (12) anti-clockwise and take out
about 1 l of water.
11.1 11.2 11.3

Lelit Espresso - English
13
EN
Insert the portalter (G) and the used lters into the jug but pay attention not to
immerse the portalter handle (Pic. 12.1). Add 2 bags of detergent powder (F
or PLA9201). After 15 minutes, empty the jug and rinse the portalter (G) and
the lters with plenty of tap water.
Backushing. Insert the blind lter (C) into the portalter and pour 1 bag of
detergent powder (F or PLA9201) into the lter. Insert the portalter (G) in the
group (13) and lift the lever (14) for 10 seconds. Stop the function and wait for 10
seconds. Repeat the procedure 10 times (Fig 12.2).
Remove the portalter (G) from the group and rinse it with hot water from the
brewing group (Pic 12.3).
Re-insert the portalter (G) in the group and repeat the previous operation 5
times for 10 seconds each time, without detergent powder.
Remove the portalter (G) and take out the blind lter (C). Empty the drainage
tray (17) and rinse the portalter (G), the lters and the tray (17) with plenty of
tap water.
Steam wand cleaning. Fill a jug with 500 ml of cold
water, add the content of 1 bottle of detergent liq-
uid (F or PLA9203) and immerse the steam wand (7)
in this solution.
Open the knob (3) and dispense steam for 5 sec-
onds. Stop the function and wait for 5 seconds. Re-
peat the operation 10 times (Pic 13.1).
Repeat the entire procedure using 1 l of fresh water
to rinse the steam wand (7) properly.
12.1 12.2 12.3
10x10”
min
15
13.1
10x5”

PRO Line - MaraX - PL62X
14
13. Annual cleaning
The descaling of the hydraulic circuit of the machine must be done every year to
ensure longevity and constant performances. This operation must be done by a
specialized technician. You can see the centres authorized to run this procedure
on our website: care.lelit.com.
14. Lights and states of the machine
Pilot light is on; Pilot light ashes; Pilot light is off
State of the machine
Machine in heating phase
Wait until the machine is ready for use
Water tank is missing or water tank
is empty
Fill the water tank (10) with water and insert it in
its seating
Machine ready for use
You can start using the machine
Machine in Stand-by mode
Lift the group lever (14) completely and return it
in its initial position to activate the machine. Wait
until all the pilot lights are rmly on before using
the machine.

Lelit Espresso - English
15
EN
State of the machine
Temperature sensor NTC1
disconnected or damaged
Contact the service centre
Temperature sensor NTC2
disconnected or damaged
Contact the service centre
Boiler lling phase has exceeded the
maximum time
Check the correct position of the water tank (10)
and remove eventual blockages. Re-start the
machine with the main switch. If the problem
persists, contact the service centre.

espresso.lelit.com
IT/7800052, REV 00, dated 20/03/20
Art. PL62X
©2020 Gemme Italian Producers Srl.
All Rights Reserved
Other manuals for PRO Line MaraX PL62X
2
Table of contents
Other Lelit Coffee Maker manuals

Lelit
Lelit PL41PLUST User manual

Lelit
Lelit PL41LEM User manual

Lelit
Lelit PL60R1 User manual

Lelit
Lelit PL2SVX-EU User manual

Lelit
Lelit PL41E User manual
Lelit
Lelit Pro Line - Mara PL62S User manual

Lelit
Lelit PL60T User manual

Lelit
Lelit Kate PL82T User manual

Lelit
Lelit PL042TEMD User manual

Lelit
Lelit Giulietta PL1SVH User manual

Lelit
Lelit PL41PLUS User manual

Lelit
Lelit PL162T-EU Service manual

Lelit
Lelit PL41TEM User manual

Lelit
Lelit PL41PLUST User manual

Lelit
Lelit PL41LEM User manual
Lelit
Lelit PL92T Service manual

Lelit
Lelit PL41TEM User manual

Lelit
Lelit pl041 Installation guide
Lelit
Lelit Vip Line Kate User manual

Lelit
Lelit PL41TEM User manual