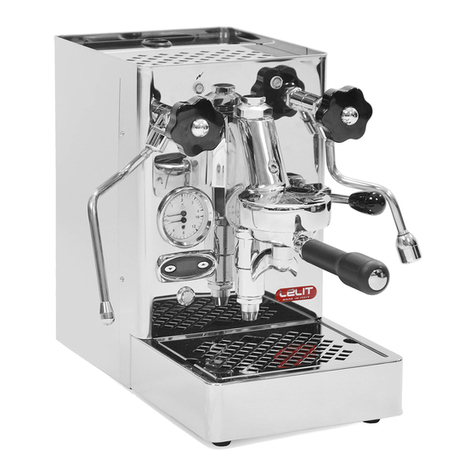
Lelit PL92T User manual
Other Lelit Coffee Maker manuals
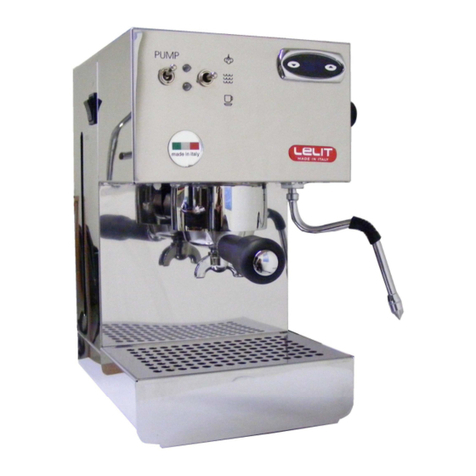
Lelit
Lelit PL41PLUST User manual
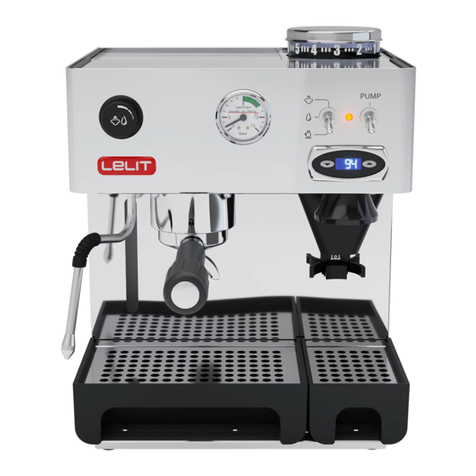
Lelit
Lelit PL042TEMD User manual
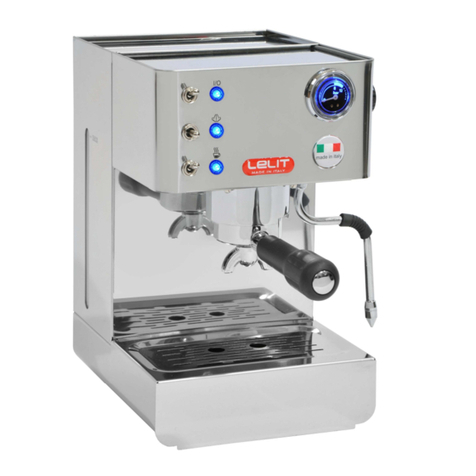
Lelit
Lelit PL41LEM User manual

Lelit
Lelit PRO Line MaraX PL62X User manual
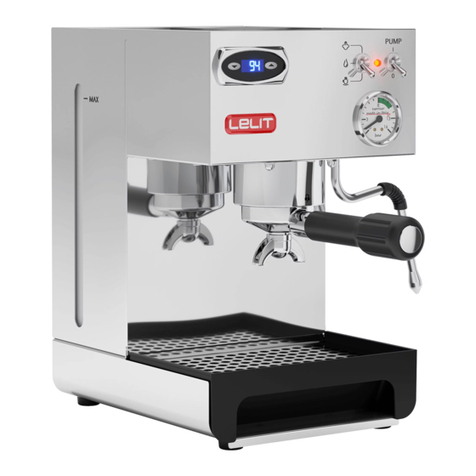
Lelit
Lelit PL41TEM/110 User manual

Lelit
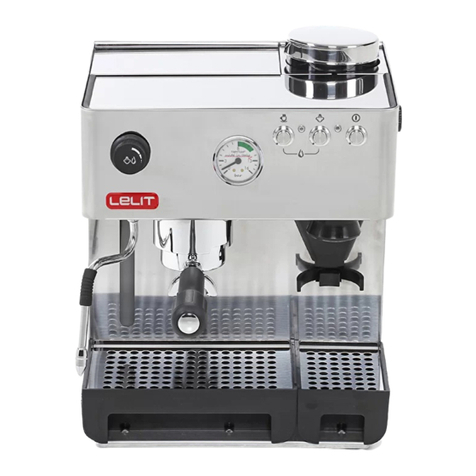
Lelit PL41LEM User manual
Lelit
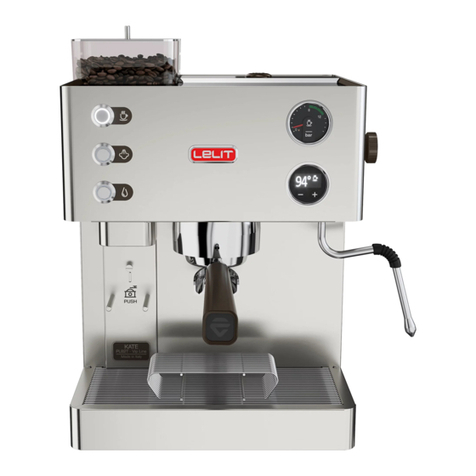
Lelit PL042EM User manual
Lelit
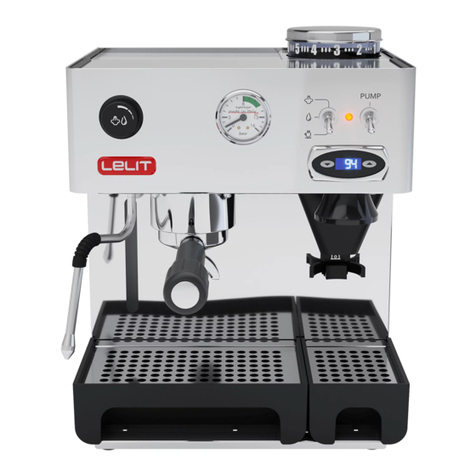
Lelit Kate PL82T User manual
Lelit
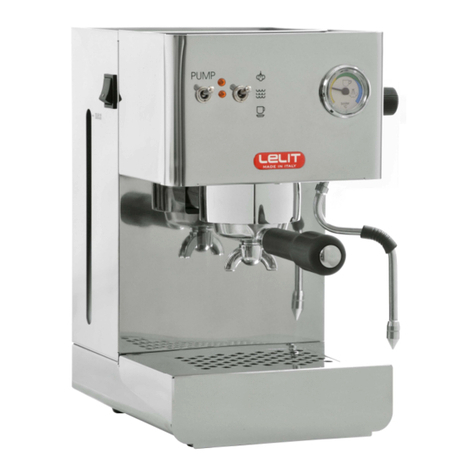
Lelit PL042EMI User manual
Lelit
Lelit PL41PLUS User manual
Lelit
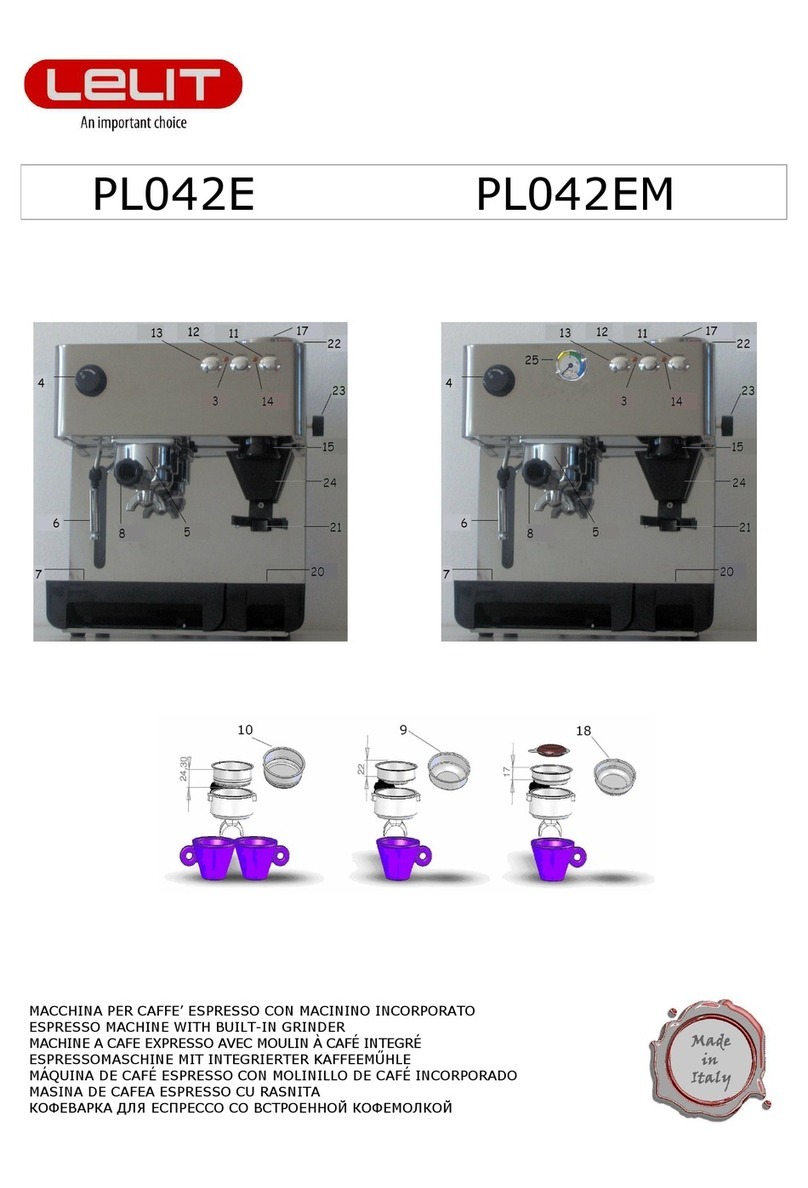
Lelit PL042E User manual
Lelit
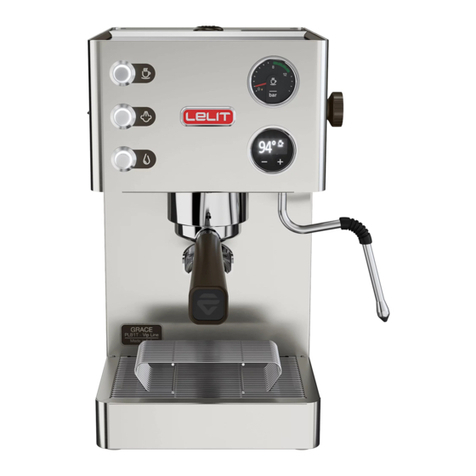
Lelit Grace PL81T User manual
Lelit
Lelit PL042E User manual

Lelit
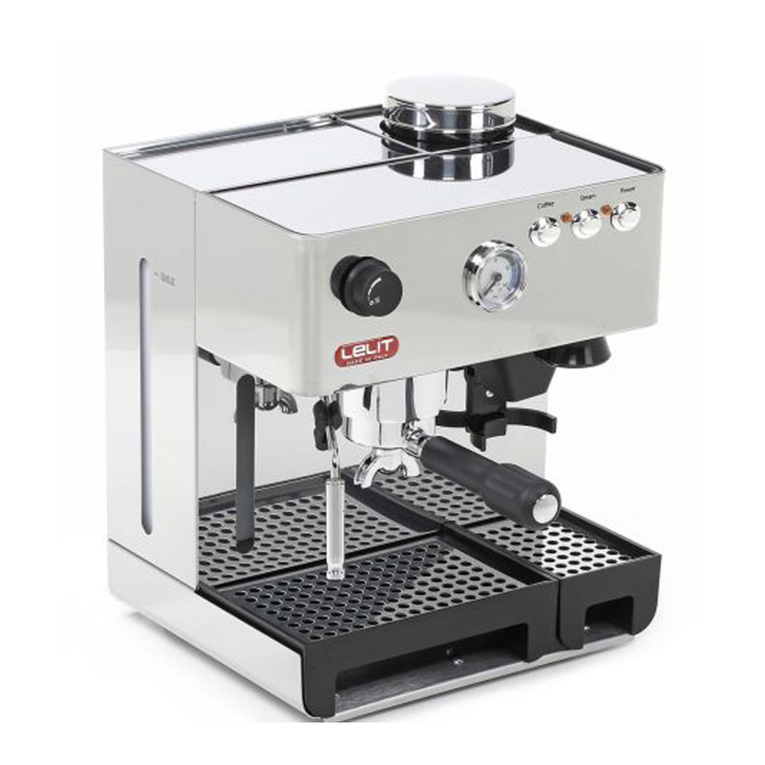
Lelit Giulietta PL1SVH User manual
Lelit
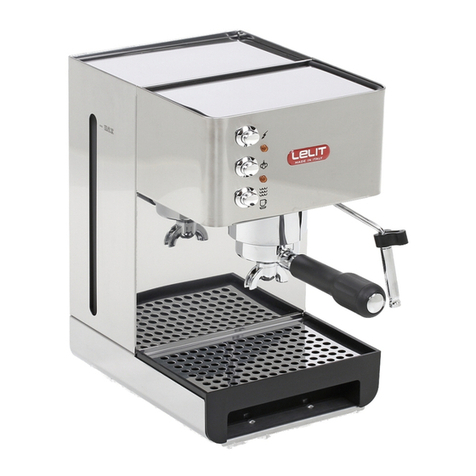
Lelit PL41E User manual
Lelit
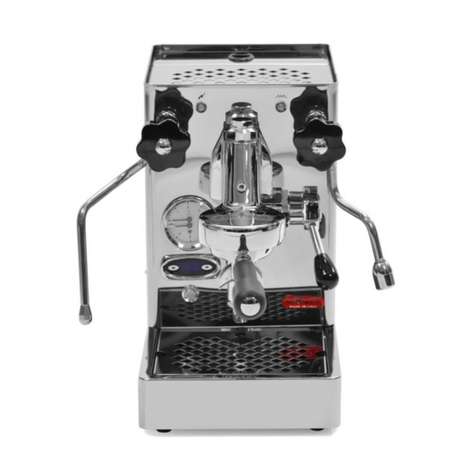
Lelit Pro Line - Mara PL62S User manual
Lelit
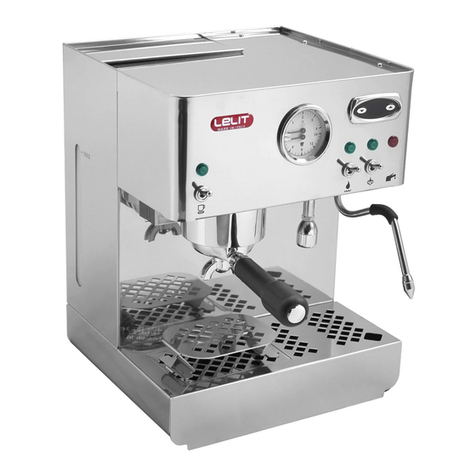
Lelit PL60T User manual
Lelit
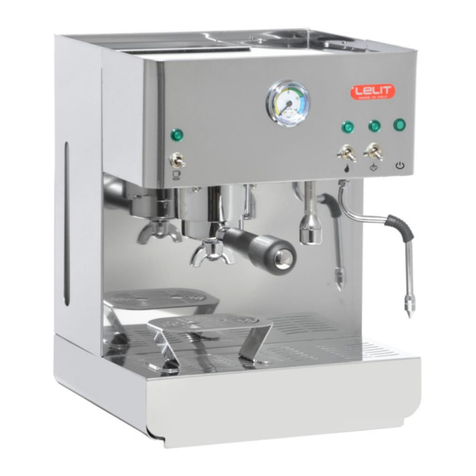
Lelit PL60R1 User manual

Lelit
Lelit PL41PLUST User manual
Lelit
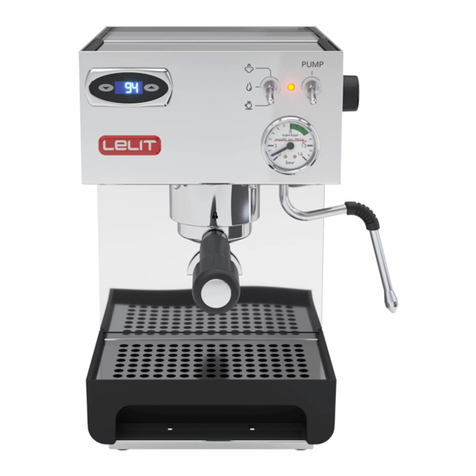
Lelit PL41TEM User manual
Popular Coffee Maker manuals by other brands

Bunn
Bunn LCA-1 Installation & operating guide

Chris Coffee Service
Chris Coffee Service Silvano owner's manual

Black & Decker
Black & Decker BLACK DECKER HOME DE790 Use and care book

Saeco
Saeco Vienna Plus Sup 018M operating instructions

INCAPTO
INCAPTO BXCO1470E Instructions for use

Bosch
Bosch TASSIMO finesse TAS16B Series user manual
