2
Wanneer gebruiktop de voorgeschrevenmanier is hetapparaat ontworpen en
gemaakt om uwpersoonlijke veiligheid te verzekeren. Onjuist gebruik kan echter
resulteren in potentiëleelektrische schok- of brandgevaren. Lees alle veiligheids-
en bedieningsinstructies zorgvuldigvoor het installeren en gebruiken van dit
apparaat en houdde instructies bij de hand voor de toekomstige referentie. Let
ook goed opalle waarschuwingen die in deze handleiding en op het apparaat staan.
1.Ventilatie
Het apparaat moetzo geplaatst worden, dat de locatie of de positie niet in de weg
staat van adequateventilatie voor het apparaat. Zo moet het bijvoorbeeld niet
geplaatst worden opeen bed, een sofa, vloerkleed of een gelijksoortige
ondergrond die deventilatie zou kunnen blokkeren. De ventilatie moet niet
gehinderd worden doorhet bedekken van ventilatiegleuven met voorwerpen,
zoals kranten, tafelkleden,gordijnen, etc. Ook moet het apparaat niet geplaatst
worden in eeningebouwde installatie, zoals een boekenkast of kast, die de
luchtstroom door deventilatiegleuven kan hinderen.
2.Warmte &vlammen
Het apparaat dientniet in de nabijheid van warmtebronnen, zoals radiatoren,
warmteroosters, kachels ofandere apparaten (waaronder versterkers) die
warmte produceren geplaatstte worden. Plaats geen naakte (open)
vlammenbronnen, zoals kaarsenop of bij het apparaat.
3.Schoonmaken
Het apparaat moetalleen schoongemaakt worden zoals aangeraden. Kijk in de
sectie “Zorg enOnderhoud” in deze handleiding voor schoonmaak instructies.
4.Hulpstukken
Gebruik geen hulpstukkendie niet worden aangeraden door de maker van dit
product.
5.Schadeonderhoud
Dit apparaat moetonderhouden worden door gekwalificeerd
onderhoudspersoneel wanneer:
A. Hetapparaat gevallen is of de behuizing beschadigd is.
B. Het apparaateen merkbare verandering in prestatie vertoont of niet normaal
werkt.
6.Perioden van nietgebruik
Als hetapparaat voor een langere periode niet gebruikt wordt, zoals een maand
of langer,haal de batterijen uit het apparaat om schade of corrosie te voorkomen.
7.Onderhoud
De gebruiker moetniet proberen het apparaat te onderhouden op methoden die
verder gaan dande methoden die beschreven worden in de gebruikers
bedieningsinstructies. Onderhoudsmethoden dieniet worden besproken in de
bedieningsinstructies moeten wordenovergedragen aan gekwalificeerd
onderhoudspersoneel.
Belangrijke veiligheidsinstructies
Installatie
3
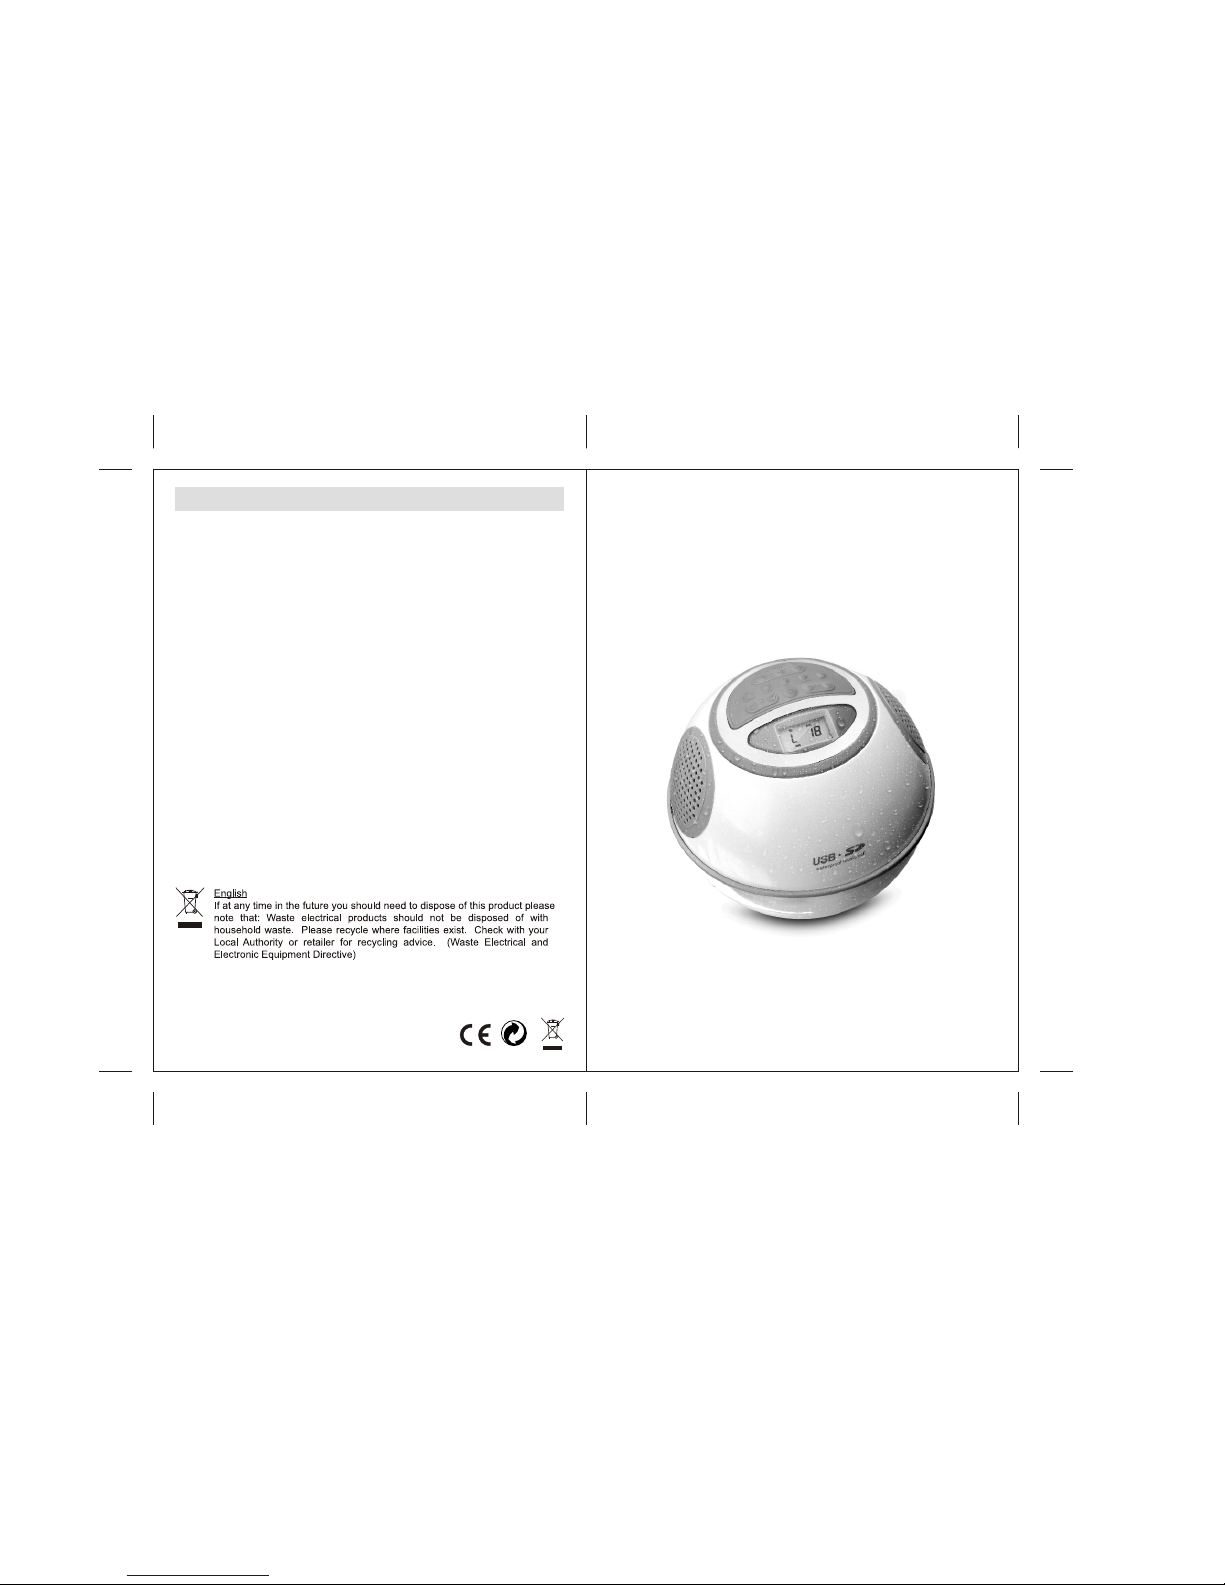
Eigenschappen
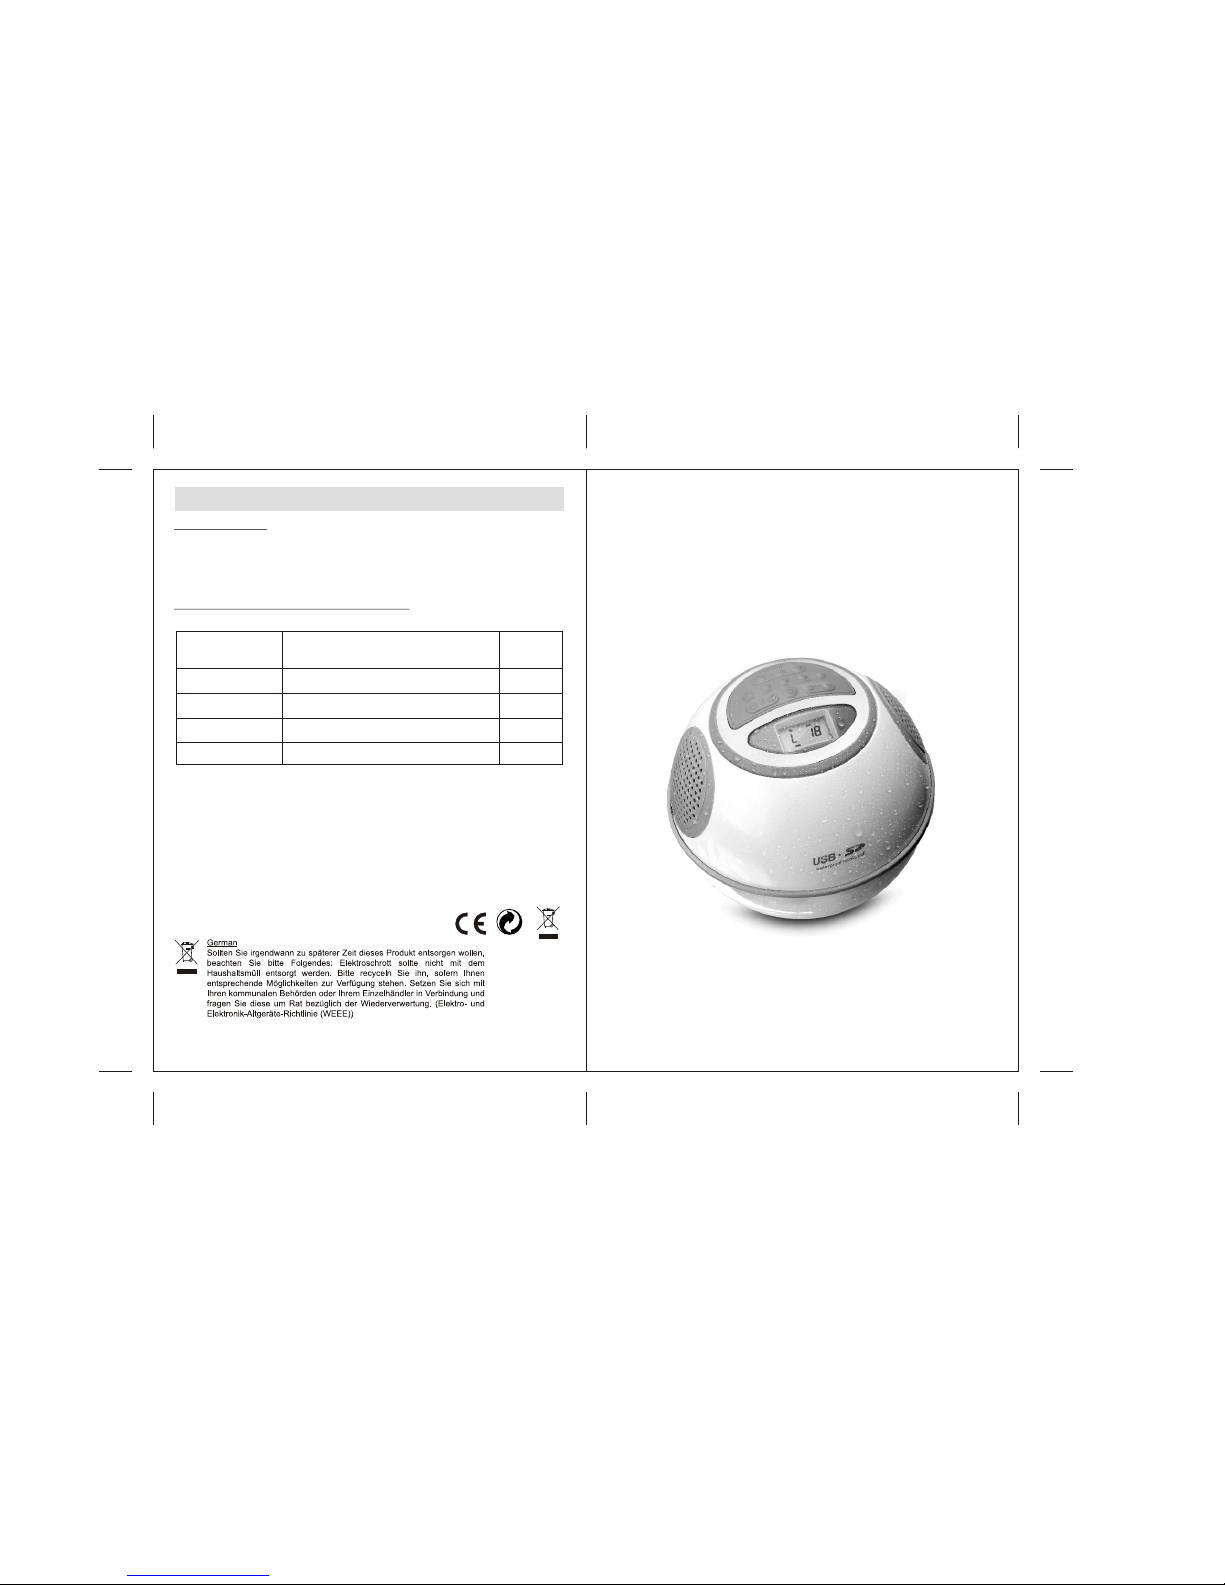
Bedankt voor hetkopen van dewaterbestendige radio metFM radio en
USB/SD/MMC aansluiting.
Dit model beschiktover de volgendeeigenschappen:
Een waterdicht ontwerp,zodat u vanmuziek kunt genietenin bad ofbij het
zwembad. Het afspelenvan MP3 muziekopgeslagen op USBen SD/MMC
geheugenmodules. PPL FMradio met 20vooraf ingestelde kanalen.Een klok
met LCD display.
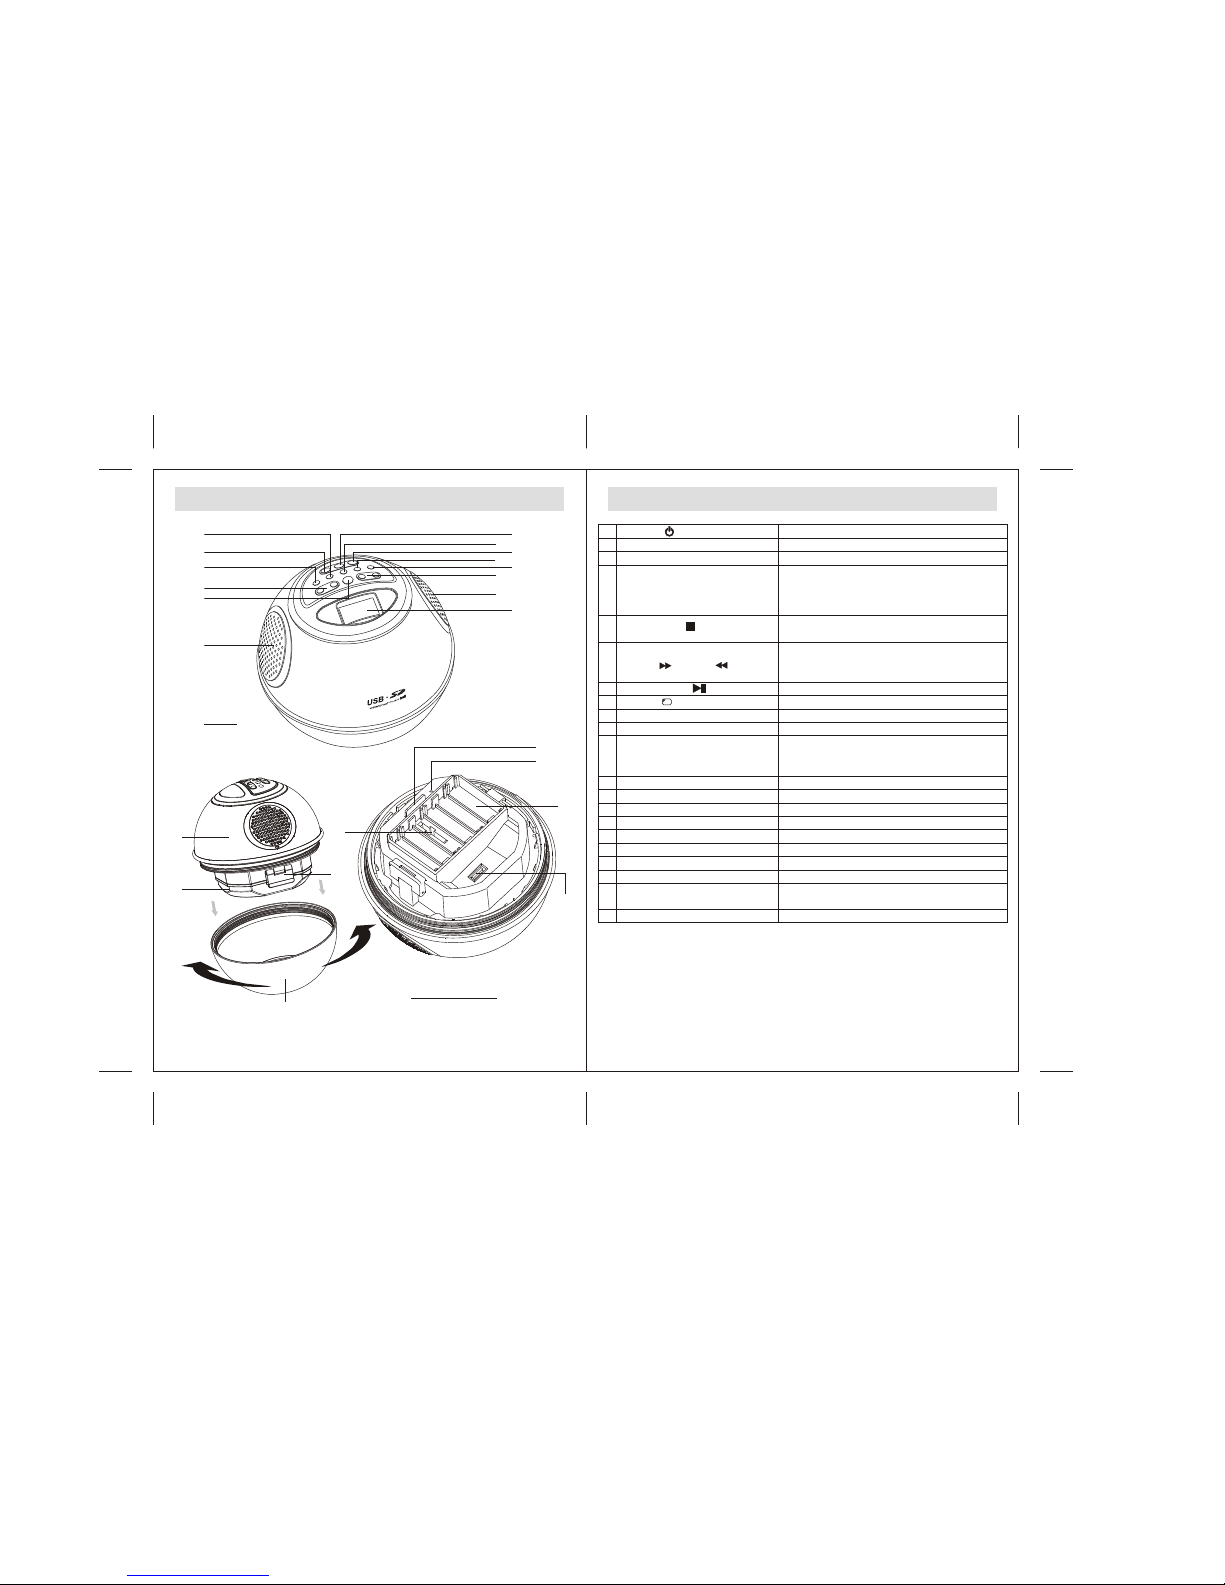
Er zit eenbatterij compartiment aande binnenkant vande behuizing vanhet apparaat.
(1) Veeghet apparaat afmet een zachtdoekje om allewaterdruppels te
verwijderen, als het apparaat in hetwater is geweest.
(2) Om hetapparaat te openen,pak de onderbehuizingen draai dezetegen de klokin.
(3) Haal hetslot van hetbatterijdeksel aan debinnenkant af enopen het.
(4) Om deklok in testellen op batterijback-up, volg hetpolariteitdiagram dat inhet
compartiment getoond wordt en installeer eenCR2032 lithium batterijin de klok
back-up batterijsleuf. Als dit deeerste keer isdat het apparaatgebruikt wordt,
verwijder de plastic afscheiding uit debatterijsleuf (batterij isbijgeleverd).
(5) Om deradio op batterijente laten werkenmoet het polariteitdiagramgevolgd
worden dat getoond wordt aan debinnenkant van hetcompartiment en 6stuks
1.5V "AA" (UM-3) batterijen (deze zijnniet bijgeleverd) geïnstalleerdworden
inhetbatterij compartiment.
Opmerking: Alsde "Batterij bijnaleeg"-indicator wordt getoond, ishet mogelijk
dat het apparaatniet normaal functioneert.Het is mogelijkdat u debatterijen
moet vervangen doorvolle batterijen.
WAARSCHUWING:
-Controleer of debatterijen correct geïnstalleerdzijn. Verkeerdepolariteit kan
schade aan het apparaat toebrengen ende garantie nietigmaken.
-Mix geen oudeen nieuwe batterijen.
-Mix geen alkaline,standaard (carbonzink) enoplaadbare (nikkelcadmium) batterijen.
-Alleen batterijen vaneenzelfde of equivalenttype als aangeradenmoeten
gebruikt worden.
-Haal de batterijenuit het apparaatals het langeretijd niet gebruiktwordt.
-Gooi geen batterijenweg in vuur, batterijen kunnendan ontploffen oflekken.
Klok instellen opbatterij back-up
Radio op batterijen
USB-stick en SD/MMC-kaartinstallatie
(6) Doe deUSB-stick waar MP3'sopstaan in deUSB-poort.
Of, doe de SD/MMC kaart waarMP3's opstaan inhet SD-kaartsleuf.
(7) Sluit hetbatterijdeksel aan debinnenkant en doehet op slot.
(8) Om hetapparaat te sluiten,pak de onderbehuizingen draai hetmet de klok
mee tot het nauw sluit metde bovenbehuizing.