manuals.online logo
Brands
  1. Home
  2. •
  3. Brands
  4. •
  5. Lennox
  6. •
  7. Remote Control
  8. •
  9. Lennox VRF V0STAT52P-1 User manual

Lennox VRF V0STAT52P-1 User manual

Other Lennox Remote Control manuals

Lennox Armonia User manual

Lennox

Lennox Armonia User manual

Lennox LXRAB10 User manual

Lennox

Lennox LXRAB10 User manual

Lennox LXRCC10 User guide

Lennox

Lennox LXRCC10 User guide

Lennox OLR-1X User manual

Lennox

Lennox OLR-1X User manual

Lennox KJR-120G1/TFBG-E Installation instructions

Lennox

Lennox KJR-120G1/TFBG-E Installation instructions

Lennox 22U52 User manual

Lennox

Lennox 22U52 User manual

Lennox LNIV2610 User manual

Lennox

Lennox LNIV2610 User manual

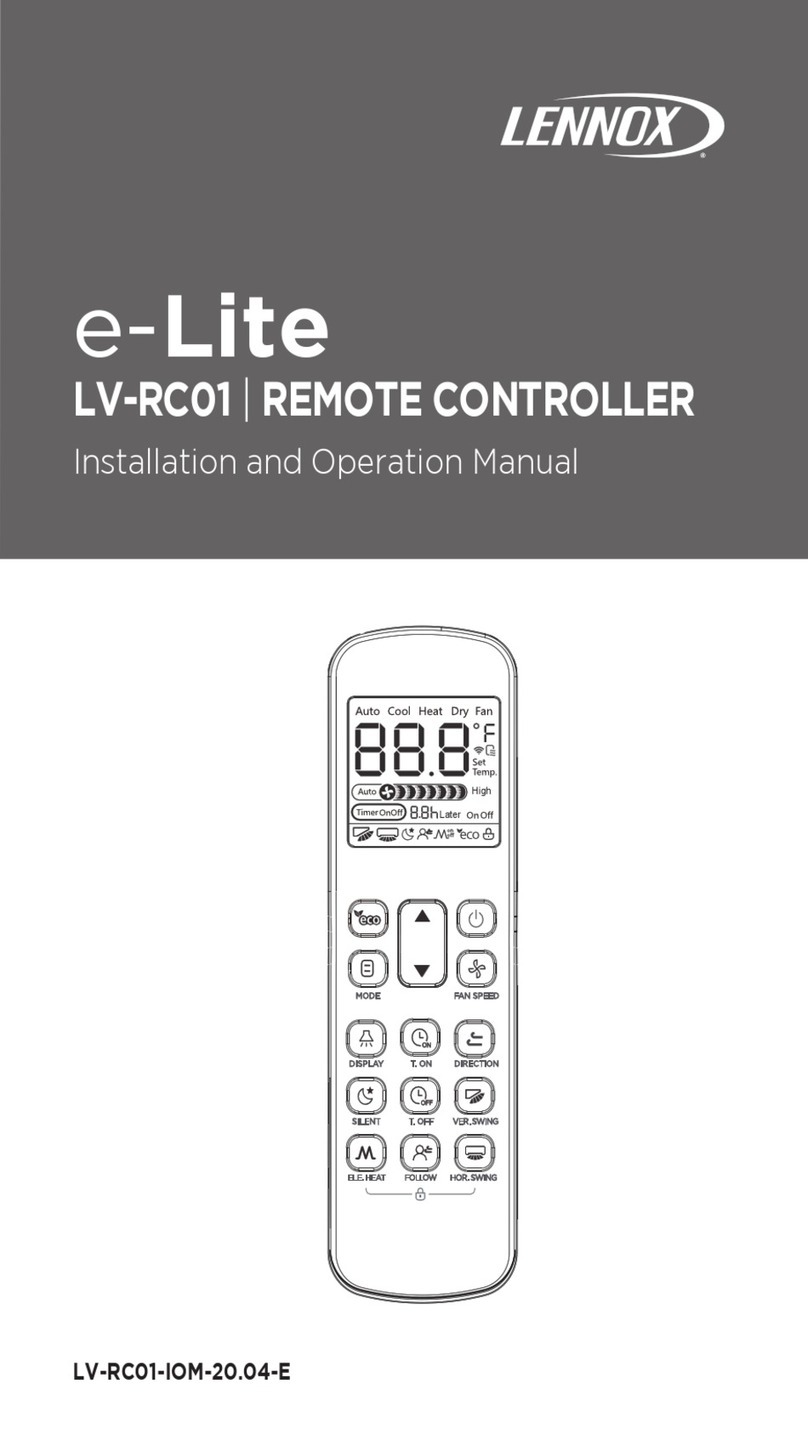
Lennox e-Lite LV-RC01 User manual

Lennox

Lennox e-Lite LV-RC01 User manual

Lennox RG51Q/BGE User manual

Lennox

Lennox RG51Q/BGE User manual

Lennox LXRCC20 User guide

Lennox

Lennox LXRCC20 User guide

Lennox LXRCC User manual

Lennox

Lennox LXRCC User manual

Lennox M0STAT60Q-1 User manual

Lennox

Lennox M0STAT60Q-1 User manual

Popular Remote Control manuals by other brands

Bircher Reglomat RC Duo 2 user guide

Bircher Reglomat

Bircher Reglomat RC Duo 2 user guide

Emerson RCBT100 owner's manual

Emerson

Emerson RCBT100 owner's manual

BILDA Element-6 user manual

BILDA

BILDA Element-6 user manual

Absima CR7P manual

Absima

Absima CR7P manual

Mitsubishi Electric PAR-32MAAG Instruction book

Mitsubishi Electric

Mitsubishi Electric PAR-32MAAG Instruction book

RCA RCRTBL08BE1 quick start guide

RCA

RCA RCRTBL08BE1 quick start guide

US Electronics NOVARI user guide

US Electronics

US Electronics NOVARI user guide

Panasonic EUR7622KB0 Operation guide

Panasonic

Panasonic EUR7622KB0 Operation guide

Bang & Olufsen Beo4 user manual

Bang & Olufsen

Bang & Olufsen Beo4 user manual

Marantz RC101 user guide

Marantz

Marantz RC101 user guide

FUTABA 9ZAP - PART2 manual

FUTABA

FUTABA 9ZAP - PART2 manual

HR Matic HR MULTI 3 quick start guide

HR Matic

HR Matic HR MULTI 3 quick start guide

Anritsu MP1777A Operation manual

Anritsu

Anritsu MP1777A Operation manual

Niles WVC100 Installation & operating guide

Niles

Niles WVC100 Installation & operating guide

Bang & Olufsen BEO6 Getting started

Bang & Olufsen

Bang & Olufsen BEO6 Getting started

GE 94901 instruction manual

GE

GE 94901 instruction manual

FUTABA R7108SB Full manual

FUTABA

FUTABA R7108SB Full manual

Invacare G91S user manual

Invacare

Invacare G91S user manual

manuals.online logo
manuals.online logoBrands
  • About & Mission
  • Contact us
  • Privacy Policy
  • Terms and Conditions

Copyright 2025 Manuals.Online. All Rights Reserved.

DISPLAY
AUTO
COOL
DRY
HEAT
FAN
TEMP
SET
CLOCK
SET
HOUR
FANSPEED
1
2
4
7
8
3
6
9
5
ON OFF
Temperature
Transmitting
Operation Mode
Economic Operation
On/Off
Time
Lock
Time On/Off
Fan Speed
1. Temperature - Displays the set temperature.
Temperature is blank if system is operating in fan
mode.
2. Transmitting - The icon will flash when a signal is
sent by remote control to the indoor unit.
3. On/Off - Icon is displayed when the remote
controller is turned on.
4. Operation Mode - Displays system mode operation
(AUTO, COOL, DRY, HEAT and FAN)
5. Time - Displays the current set time.
6. Lock - Indicates if all buttons on remote (except
the LOCK button) are disabled to prevent
tampering.
7. Time On/Off - Displays if the timer settings are on
or off
8. Economy Mode Indicator - Indicates that the
system is operating in economy mode
9. Fan Speed - Sloped graph indicates indoor unit
fan speed (Auto, Low, Medium, High) in visual
increments
FEATURES
• Backlight - Allows easy operation in a dark room
• The remote lights when any button is pressed and
remains lit during remote control access
• Built-In Timer - Timer offers the convenience of
automatically starting and stopping the system
according to a set time
• Address Setting - Manually set indoor unit addresses via
the remote control
• LCD Display - Displays temperature (°F or °C), time,
system ON/OFF, operating mode (AUTO, COOL, DRY,
HEAT, and FAN), wireless transmission, fan speed graph,
economic operation (if available) and lock
• Function Buttons - MODE, UP/DOWN ARROWS
(adjustment), POWER, FAN SPEED, SWING (Horizontal
and Vertical), AIR DIRECTION, CLOCK, TIMER ON, TIMER
OFF, OK (conrm), ECO (Economic Operation if available)
• Recessed RESET button
• Recessed LOCK and COOL/HEAT buttons to prevent
tampering
• Batteries - Operates on two AAA 1.5V batteries
(furnished)
• Dimensions (H x W x D) - 6 x 2.5 x 3/4 in.
Complete indoor unit remote control. Maximum operating
range is 36 ft.
VRF
V0STAT52P-1
Wireless Remote Control
Bulletin No. 210702
July 2014
COMMERCIAL
PRODUCT SPECIFICATIONS
VRF
VARIABLE REFRIGERANT FLOW SYSTEMS
FEATURES AND BENEFITS
Buttons and Functions
POWER
• Turns system on and off
MODE
• Select system operation modes: AUTO/COOL/DRY
(dehumidication)/HEAT/FAN
NOTE - ECO and FAN SPEED is disabled when system is in
DRY (dehumidication) mode.
TEMPERATURE (UP/DOWN ARROWS)
• Adjust arrows (Up/Down) increase or decrease
temperature in one degree increments
• Range: 62 - 88°F
FAN SPEED
• Select fan speed (AUTO/LOW/MEDIUM/HIGH). Fan
speed is displayed at the top of the control display
NOTE - Fan speed is not adjustable in AUTO mode..
RESET
TIMER ON
TIMEROFF
CLOCK
SWING
AIRDIRECTION
OK
ECO
SWING
MODE FAN
SPEED
AUTO
COOL
DRY
HEAT
FAN
TEMP
SET
CLOCK
SET
HOUR
FANSPEED
LOCK
C/H
Mode Setting
Adjust Down
On/Off
Vertical Swing
Horizontal Swing
Reset
Lock
Cool/Heat
Fan Speed Setting
Adjust Up
Air Direction Setting
Time Setting
Timer On
Timer Off
Confirm Button
Economic Operation
SWING (HORIZONTAL)
• Activates the horizontal louver swing function on indoor
unit (if equipped) for improved air distribution
SWING (VERTICAL)
• Activates the vertical louver swing function on indoor
unit (if equipped) for improved air distribution
AIR DIRECTION
• Activates the air deector on indoor unit (if equipped) for
improved air distribution during system heating/cooling
operation
• Air deector will rotate down 6° during heating operation
for improved warm air distribution
CLOCK
• Press and hold CLOCK button for 5 seconds, to display
ashing HOUR icon. Use Up/Down Arrow buttons to
adjust hour
• Press OK button to set
• Press and hold CLOCK button to display ashing
MINUTES icon
• Use Up/Down Arrow buttons to adjust minutes
• Press OK button to set
TIMER ON / TIMER OFF
• TIMER ON (to start the unit at a preset time) and TIMER
OFF (to stop the unit at a preset time) can be used
separately or together
• The clock on the wireless remote control must be set
before using this function
• Pressing the Arrow Up/Down buttons sets time in
thirty-minute increments (hours 1-10) and one hour
increments after 10 hours
• Press OK button to conrm settings
OK
• Used to conrm Clock and Timer settings
ECO
• Turns economic (night) operation on or off on indoor
unit (if equipped)
RESET (Recessed)
• Erases current remote control settings and resets
control to factory specications
LOCK (Recessed)
• Disables/Enables all button operation
ON (Recessed)
• Shifts system mode to cooling only mode. Default
setting is Cool/Heat
NOTE - Due to Lennox’ ongoing commitment to quality, Specications, Ratings and Dimensions subject to change without notice and without incurring liability.
Improper installation, adjustment, alteration, service or maintenance can cause property damage or personal injury.
Installation and service must be performed by a qualied installer and servicing agency. ©2019 Lennox Industries, Inc.
Visit us at www.Lennox.com
For the latest technical information, www.LennoxCommercial.com
Contact us at 1-800-4-LENNOX