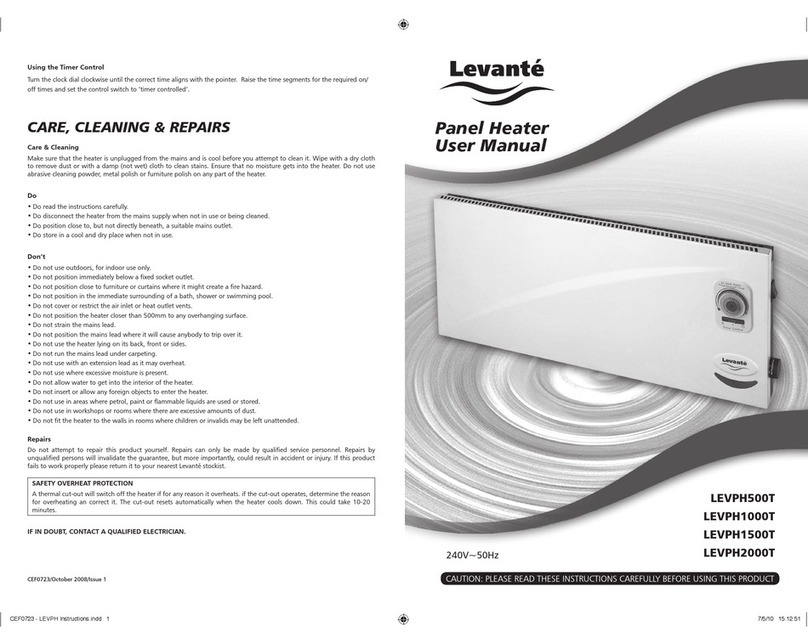
Levante LEVFW200 User manual

LEVFW200
200W Frostwatch Radiant Heater
Operation Manual


3
IMPORTANT: Read these instructions fully before using the heater. Please retain these instructions for future
reference. Make sure that the voltage stated above corresponds with the voltage in your home/office. This
quality product has been tested and certified to meet all applicable UK electrical and safety standards. For
safety reasons, this heater must not be used unless securely fitted to a wall.
We recommend that this product is installed by a qualified Electrician.
REMOVE ALL PACKAGING MATERIALS FROM THIS PRODUCT BEFORE USING IT
Fig. 1
Parts Supplied
Wall mounting Frostwatch heater x 1 Wall plugs x 3 35mm long screws x 3
Before You Start
• Checkthepackandmakesureyouhaveallofthepartslisted
above. If not, contact your Levanté supplier who will be able to
help you.
• Thisapplianceisdesignedforuseasasupplementaryheat
source, it is not intended to be the main source of heat.
• Thisapplianceisintendedtobewallmountedonly.
Assembly Instructions
Important: This appliance is designed only for wall
mounting.
1. Choosepositioncarefullyformountingtheappliance,enough
space must be left around appliance. The heater must be
installed at least 60mm above the floor and leave minimum of
300mm of space to ceiling.
See illustration showing in Fig.1 which Zone(s) it is permissible
to install this heater.
NOTE: DO NOT install this heater in Zones 0, 1 or 2. Please
install it outside of these zones.
CEILING
ZONE 0
ZONE 1 ZONE 2
2.25m
RECESSED
WINDOW
0.6m
LEVFW200
200W Frostwatch Radiant Heater

4
2. Checkthewalltoensurethereisnowiring,
pipework etc in the area to be drilled. Drill two
8mm holes on the wall at a distance of 90mm
on a vertical line, then one more at a distance
of 340mm on the left from the centre of the
horizontal line. (see Fig.2) Ensure the minimum
clearance distances are adhered to (see Fig 3).
3. Insert the three wall plugs into the holes, and
then screw one of the 35mm screws provided
into the left hand hole. Do not screw the screw
fully home as the heater will hang on it later. As
a guide it needs to be left protruding by about
3.5mm.
4. Hang the heater on the screw. Align the heater
with the two holes on the right and screw in the
remaining two screws, ensuring a snug fit.
Electrical Connection
Isolate the mains supply and connect the electrical
wiresofthisappliancetoasuitableRCDprotected
fused connection unit according to the following
colour code (see also Fig 4):
Blue - Neutral
Brown - Live
Green & Yellow - Earth
IMPORTANT:
If in doubt, or if no suitable connection unit
is available, consult a suitably qualified electrician.
Product Specification
Voltage: AC240V
Frequency: 50Hz
Power: 200W
IP Rating: IP23
ClassIProtection
MIN
100mm
Fig. 2
Fig. 3
(L) Brown or Red
(N) Blue or Black
From Mains
(L) Brown
(N) Blue
To Heater
(E) Green & Yellow
(E) Green
& Yellow
Fig. 4
340mm
9mm
MIN 300mm
MIN 60mm

5
Safety Control (Thermal Cut-Out).
CAUTION: This product has overheat protection. Protection is provided by a re-settable overheat switch which,
once the cause of the overheating has been removed AND the heater has cooled down, will allow continued
use. In the event that the heater suffers overheating, please shut down immediately by disconnecting the
power. Remove any objects that may be causing the overheating, set the heater switches to OFF and leave the
heater to cool down fully.
Once completely cool, switch the heater back on.
Do not open this product - There are no user-serviceable parts inside.
Safety Warnings
1. WARNING: The front metal grill of this heater can
be very hot during operation; to avoid burns, do
not let bare skin touch hot surface.
2. In order to avoid overheating, do not cover the
heater.
3. This product is not a toy. It should not be used by
children or infirm persons without supervision.
4. The appliance is not intended for use by persons
(including children) with reduced physical, sensory
or mental capabilities, or lack of experience
and knowledge, unless they have been given
supervision or instruction concerning use of the
appliance by a person responsible for their safety.
5. Childrenshouldbesupervisedtoensurethatthey
do not play with the appliance.
6. Do not operate the appliance with a damaged
cord or plug. If the supply cord is damaged, it
must be replaced by the manufacturer or its
service agent or a similarly qualified person in
order to avoid a hazard.
7. Do not immerse cord, plug or any part of the
appliance in water or any other liquid.
8. Do not use the heater in dusty environments or
where flammable vapours are present (e.g. in a
workshop or garage).
9. Do not place the heater on or near any other
source of heat or flammable gas.
Thermostat control
This heater installed with an adjustable temperature control and by adjusting the thermostat it will set the
productonoroff(ClockwisetoincreasetemperatureandAnti-clockwisetoreducethetemperature).Ifthe
room temperature drops, set the thermostat to the desire ambient temperature and it will turn on the heater
to the set temperature.
When the required temperature is reached, the thermostat will automatic cut off the heater, and vice versa.
Alternativecounter-clockwiserotationthethermostatcontroluntilyouheara‘CLICK’sound.
10.Do not cover the heater. A fire may occur if the
heater is covered with or touches flammable
material, including curtains, drapes, bedding
etc. when in operation. KEEP THE HEATER AWAY
FROMSUCHMATERIALS.
11.Do not use the heater in the immediate
surroundings of bathtubs, showers, washing
stands or swimming pools (i.e.: Do not use in
zones 0, 1 or 2 - see Fig 1).
12.Do not locate the heater below a socket-outlet.
13.Do not use outdoors.
14.Do not use the appliance for other than its
intended use. This appliance is intended for
household use only.
15.Do not attempt to repair, disassemble or modify
the appliance. There are no user-serviceable parts
inside.
16.Do not insert or allow foreign objects to enter the
ventilation or exhaust openings as this may cause
an electric shock, fire or damage to the appliance.
17.Do not use this heater with a programmer, timer
or any other device that switches the heater on
automatically, since a fire risk exists if the heater is
covered or positioned incorrectly.
18.There may be trace of odour/smoke during the
first few minutes of initial use. This is normal and
will quickly disappear.

Care and Cleaning
1. The electric heater should be cleaned regularly.
2. Isolate electricity supply and allow heater to cool, wipe with a soft damp cloth. Do not use detergent or
abrasives.
3. Do not scrape the surfaces with sharp hard tools.
Conformity with Directives
ConformswithallrelevantEuropeanDirectives
6
www.levante-products.com
Warning
In order to avoid overheating,
do not cover the heater.
Disposal
In accordance with European Directive 2002/96 EG
concerning waste electrical and electronic
equipment (WEEE), please return any electrical
equipment that you will no longer use to the
collection points provided for their disposal.
This symbol indicates that the
appliance cannot be treated
as normal domestic waste, but
must be handed to a collection
point for where electric and
electronic appliances are
recycled
Information concerning
where the equipment can be
disposed of can be obtained
from your local authority.
Customer Service
Repairs must be carried out by authorised
specialists, thus ensuring electrical safety. Please
contact a service agent or a suitably qualified
electrician. Improper repairs could lead to
danger to the user.
This warranty does not cover damage of failure
which results from alteration, accident, misuse,
abuse, neglect, commercial use or improper
maintenance.
In line with our policy of continuous product
development we reserve the right to change
the product and documentation specifications
without notice.


www.levante-products.com
LEV0037d
Table of contents
Other Levante Heater manuals
Popular Heater manuals by other brands

Powrmatic
Powrmatic OUH series User, installation and servicing instructions

Kelon
Kelon ND5-46 User instruction

VTS Medical Systems
VTS Medical Systems WING W100-200-EC manual

UNITED
UNITED UHP-772 instruction manual

Wido
Wido IHEAT1 user manual

Siemens
Siemens DE 12415 Installation and operating instructions

Heat Storm
Heat Storm HS-1500-TRC User Manual and Safety Instructions

DeLonghi
DeLonghi HFX30 Series user manual

Neomitis
Neomitis Anthemys Neoboost EcoSens Chrome Installation and operating instructions

BPC
BPC 447602 instruction manual

Truma
Truma Trumatic E 4000 Operating and installation instructions

Crane
Crane Infrared smartHEATER EE-8077W instruction manual