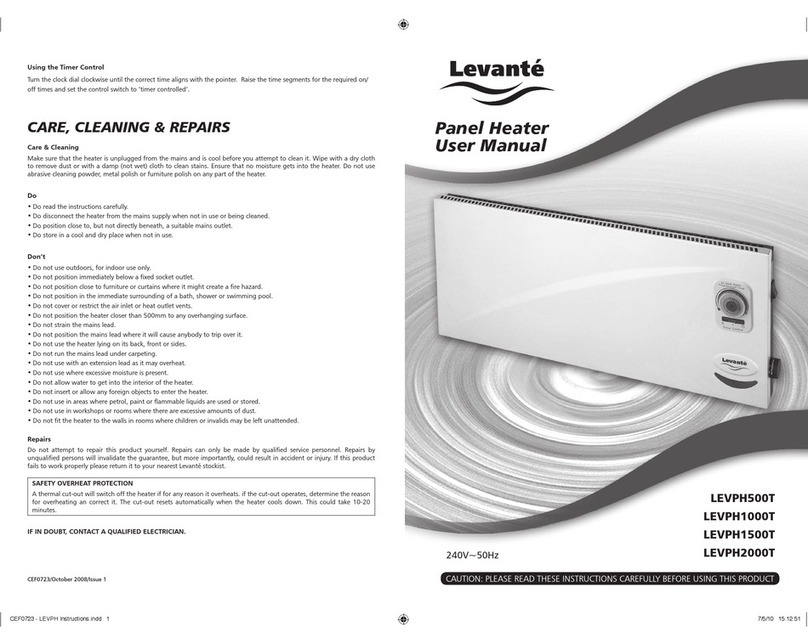
Levante LEVPH500TPSW User manual

www.levante-products.com LEV0411/Page 1 of 4/Issue 1/08.16
Operation Manual
Note: These instructions must be read fully before commencing use of the heater.
Please retain these instructions for future reference.
FOR INDOOR USE ONLY
Slimline Panel Heater
Models: LEVPH500TPSW, LEVPH1000TPSW, LEVPH1500TPSW, LEVPH2000TPSW
Levanté - DN4 5FB, UK

www.levante-products.com LEV0411/Page 2 of 4/Issue 1/08.16
Warning
In order to avoid overheating,
do not cover the heater.
• If the power cord is damaged it must be replaced by
a service agent or a equivalent qualified electrician.
Do not continue to use until repaired, as it may
cause a hazard.
• This appliance is not intended to be used by young
children or disabled persons unless they have been
adequately supervised by a responsible adult to
ensure the appliance is used correctly and safely.
• Young children should be supervised to ensure they
do not play with the product.
• To protect against fire, electrical shock and injury to
persons, do not immerse the appliance power cord
or plug in water or other liquid.
• This appliance is intended for use indoor only. Avoid
overheating do not cover the heater with towels,
curtains, clothing etc.
• Never use the heater to dry clothing or similar items,
or handle the plug with wet hands.
• Ensure the heater is installed so that the switches
and other controls cannot be touched by a person in
the bath or shower.
• Ensure the appliance is securely fixed to the wall and
is correctly positioned level. The appliance should be
placed no less than 150mm from a barrier/wall on all
sides - top, bottom, left and right.
• Always unplug, wait for appliance to cool down, and
store if not to be used for prolonged periods of time.
IMPORTANT SAFEGUARDS
• When first installed you may experience a burning
smell or a little smoke, this is normal and will fade
within a few minutes.
• The surface temperature of this heater can be very
hot, do not touch when the heater is turned on.
• Only connect the product if the voltage indicated
on the product label(s) corresponds with the
mains voltage.
• The heater must not be located directly below a
wall socket.
• Do not unplug the product by pulling on the cord.
To unplug grasp the plug, not the cord.
• This product has an overheat protection safeguard
that turns off the heater whenever it begins to
overheat. If it does overheat switch off the heater,
remove mains plug from wall socket and allow to
cool down for 45 minutes. The heater will work
again when cooled. Carefully check prior to using
again that the reason for overheating was not
curtains, clothing, furniture etc covering any of the
heaters air vents.
• Turn off the appliance and unplug from socket when
not in use. Allow to cool down prior to cleaning. Use
a damp cloth for clean and a dry cloth to dry. Do not
use cleaning chemicals.
• Do not use the product in areas where petrol, paint
or flammable liquids are used or stored.
Before use, please read and follow these instructions carefully, even if you feel you are familiar with the product.
They contain important information concerning the operation, safety and maintenance when using the product.
Please retain these instructions for future use and reference.
LEVPH500TPSW
- 500W c/w thermostat and timer
Suggested room size: Up to 5m
2
Dimensions: 380 x 70 x 280mm
LEVPH1000TPSW
- 1000W c/w thermostat and timer
Suggested room size: 5 - 10m
2
Dimensions: 540 x 70 x 280mm
LEVPH1500TPSW
- 1500W c/w thermostat and timer
Suggested room size: 10 - 15m
2
Dimensions: 790 x 70 x 280mm
LEVPH2000TPSW
- 2000W c/w thermostat and timer
Suggested room size: 15 - 20m
2
Dimensions: 1140 x 70 x 280mm
Models covered by this instruction guide:

www.levante-products.com LEV0411/Page 3 of 4/Issue 1/08.16
INSTALLATION
fig. 1 fig. 2 fig. 3
Wall Plug & Screw x4
• Remove the mounting bracket from the heater by pressing inwards on the two clips then pulling the bracket down and
away from the heater (fig. 1).
• Fix the mounting bracket to the wall via the four fixing holes using wall plugs and screws (fig. 2).
• Re-attach the heater onto the mounting bracket. Hook the bottom holes onto the mounting bracket, then push the heater
so the slots lock onto the bracket clips (fig. 3). When satisfied with the installation plug in the heater to the mains power
socket and switch on to test and operate as described in the next section.
Mounting Bracket
Clip
Carefully select a suitable mounting position on a wall, near to a mains 13 Amp power outlet/socket, allowing sufficient free
space around the heater as per fig. 4.
Note: The heater is supplied with 1.2 metres of cable, but requires a 13A 3 pin plug connecting to it. Alternatively, it may be
wired directly into the nearest fused spur unit.
1
2
4
2
3
2
2
2
1
2
0
1
9
1
8
1
7
1
6
1
5
1
4
1
3
1
2
1
1
1
0
9
8
7
6
5
4
3
2
.
.
.
.
.
.
.
.
.
.
.
.
.
.
.
.
.
.
.
.
.
.
.
.
.
.
.
.
.
.
.
.
.
.
.
.
.
.
.
.
.
.
.
.
.
.
.
.
.
.
.
.
.
.
.
.
.
.
.
.
.
.
.
.
.
.
.
.
.
.
.
.
.
.
.
.
.
.
.
.
.
.
.
.
.
.
.
.
.
.
.
.
.
.
.
.
.
.
.
.
.
.
.
.
.
.
.
.
.
.
.
.
.
.
.
.
.
.
.
.
.
.
.
.
.
.
.
.
.
.
.
.
.
.
.
.
.
.
.
.
.
.
.
.
.
.
.
.
.
.
.
.
.
.
.
.
.
.
.
.
.
.
.
.
.
.
.
.
.
.
.
.
.
.
.
.
.
.
.
.
.
.
.
.
.
.
.
.
.
.
.
.
.
.
.
.
.
.
.
.
.
.
.
.
.
.
.
.
.
.
.
.
.
.
.
.
.
.
.
.
.
.
.
.
.
.
.
.
.
.
.
1
2
4
2
3
2
2
2
1
2
0
1
9
1
8
1
7
1
6
1
5
1
4
1
3
1
2
1
1
1
0
9
8
7
6
5
4
3
2
.
.
.
.
.
.
.
.
.
.
.
.
.
.
.
.
.
.
.
.
.
.
.
.
.
.
.
.
.
.
.
.
.
.
.
.
.
.
.
.
.
.
.
.
.
.
.
.
.
.
.
.
.
.
.
.
.
.
.
.
.
.
.
.
.
.
.
.
.
.
.
.
.
.
.
.
.
.
.
.
.
.
.
.
.
.
.
.
.
.
.
.
.
.
.
.
.
.
.
.
.
.
.
.
.
.
.
.
.
.
.
.
.
.
.
.
.
.
.
.
.
.
.
.
.
.
.
.
.
.
.
.
.
.
.
.
.
.
.
.
.
.
.
.
.
.
.
.
.
.
.
.
.
.
.
.
.
.
.
.
.
.
.
.
.
.
.
.
.
.
.
.
.
.
.
.
.
.
.
.
.
.
.
.
.
.
.
.
.
.
.
.
.
.
.
.
.
.
.
.
.
.
.
.
.
.
.
.
.
.
.
.
.
.
.
.
.
.
.
.
.
.
.
.
.
.
.
.
.
.
.
1
2
4
2
3
2
2
2
1
2
0
1
9
1
8
1
7
1
6
1
5
1
4
1
3
1
2
1
1
1
0
9
8
7
6
5
4
3
2
.
.
.
.
.
.
.
.
.
.
.
.
.
.
.
.
.
.
.
.
.
.
.
.
.
.
.
.
.
.
.
.
.
.
.
.
.
.
.
.
.
.
.
.
.
.
.
.
.
.
.
.
.
.
.
.
.
.
.
.
.
.
.
.
.
.
.
.
.
.
.
.
.
.
.
.
.
.
.
.
.
.
.
.
.
.
.
.
.
.
.
.
.
.
.
.
.
.
.
.
.
.
.
.
.
.
.
.
.
.
.
.
.
.
.
.
.
.
.
.
.
.
.
.
.
.
.
.
.
.
.
.
.
.
.
.
.
.
.
.
.
.
.
.
.
.
.
.
.
.
.
.
.
.
.
.
.
.
.
.
.
.
.
.
.
.
.
.
.
.
.
.
.
.
.
.
.
.
.
.
.
.
.
.
.
.
.
.
.
.
.
.
.
.
.
.
.
.
.
.
.
.
.
.
.
.
.
.
.
.
.
.
.
.
.
.
.
.
.
.
.
.
.
.
.
.
.
.
.
.
.
OFF ON
Constant
Timer
Controlled
20 minute Time Segments
(Outwards = ON, Inwards = OFF)
Heater Power Thermostat Timer Control
Max.
Temp.
Min.
Temp.
Temperature
Indicator
Mark
OFF
ON
HEATER OPERATION
1
2
min.
450mm
min.
250mm
min.
250mm
min.
150mm
fig. 4
The convector heater can be adjusted to maintain a constant
room temperature by using the thermostat. Rotate the control
clockwise to turn on and increase the room temperature.
Use along with the timer control selected to ‘ON’ or ‘timer
controlled’. When the room has reached the required
temperature the light on the front of the heater will turn off.
Please note that if the indicator light is not lit when the
heater is switched on:
a. Turn the thermostat control clockwise to a higher setting.
b.Ensure that the override switch on the timer is set to the
‘ON’ position.
Frost Protection: Turn the thermostat to the ‘MIN’ setting for
the heater to maintain a temperature above freezing.
Using the Timer Control
Turn the clock dial clockwise until the correct time aligns
with the pointer. Raise the time segments for the required
ON/OFF times and set the control switch to ‘timer controlled’.
Thermostat Control

www.levante-products.com LEV0411/Page 4 of 4/Issue 1/08.16
LIMITED WARRANTY
This product has been made under strictest quality control procedures to ensure good performance and reliability.
This product has a warranty against defects in materials and workmanship for 12 months from the date of purchase.
PROVIDED:
1. Reasonable evidence is supplied to prove the product has been purchased within 12 months prior to the
date of claim.
2. The defect is not due to misuse, neglect, accidental damage or repair by unqualified engineers.
This warranty does not cover any claims for consequential loss or damage.
These statements do not affect your statutory rights as a customer.
EN 60335-1:2012
1. This appliance can be used by children aged from 8
years and above and persons with reduced physical,
sensory or mental capabilities or lack of experience
and knowledge if they have been given supervision
or instruction concerning use of the appliance in a
safe way and understand the hazards involved.
2. Children shall not play with the appliance.
3. Cleaning and user maintenance shall not be made
by children without supervision.
EN 60335-2-30:2009+A11
1. Children of less than 3 years should be kept away
unless continuously supervised. Children aged from
3 years and less than 8 years shall only switch
on/off the appliance provided that it has been placed
or installed in its intended normal operating position
and they have been given supervision or instruction
concerning use of the appliance in a safe way and
understand the hazards involved. Children aged
from 3 years and less than 8 years shall not plug in,
regulate and clean the appliance or perform user
maintenance.
2. Some parts of this product can become very hot and
cause burns. Particular attention has to be given
where children and vulnerable people are present.
DISPOSAL
In accordance with European Directive
2002/96/EG concerning waste electrical
and electronic equipment (WEEE), please
return any electrical equipment that you
will no longer use to the collection points
provided for their disposal.
This symbol indicates that the appliance cannot be treated
as normal domestic waste, but must be handed to a
collection point for where electric and electronic appliances
are recycled.
Information concerning where the equipment can be
disposed of can be obtained from your local authority.
CARE AND CLEANING
Ensure that the heater is unplugged from the mains and is
cool before you attempt to clean it. Wipe with a dry cloth
to remove dust or with a damp (not wet) cloth to clean
stains. Ensure that no moisture gets into the heater.
Do not use abrasive cleaning powder, metal polish or
furniture polish on any part of the heater.
CUSTOMER SERVICE
Repairs must be carried out by authorised specialists, thus
ensuring electrical safety. Please contact a service agent or
a suitably qualified electrician. Improper repairs could lead
to danger to the user.
The warranty does not cover damage of failure which
results from alteration, accident, misuse, abuse, neglect,
commercial use or improper maintenance.
In line with our policy of continuous product development
we reserve the right to change the product and
documentation specifications without notice.
This manual suits for next models
3
Table of contents
Other Levante Heater manuals
Popular Heater manuals by other brands

Stanley
Stanley ST-125T-KFA-E quick start guide

Superior Radiant
Superior Radiant eWAVE Series Installation, operation and service instructions

Homelite
Homelite HHC50LP owner's manual

dreo
dreo DR-HSH004 user guide

Comfort Home Products
Comfort Home Products SeasonsComfort ECH440 manual

DèLonghi
DèLonghi EW0507 Instructions for use