manuals.online logo
Brands
  1. Home
  2. •
  3. Brands
  4. •
  5. Leviton
  6. •
  7. Switch
  8. •
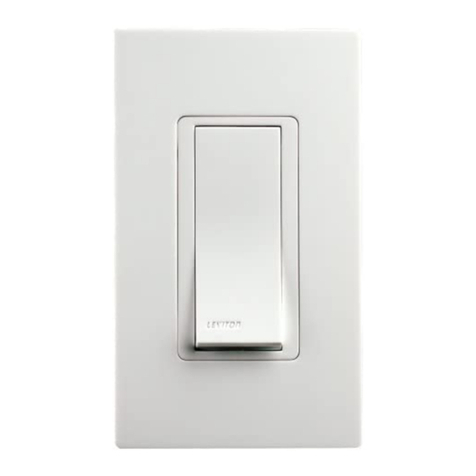
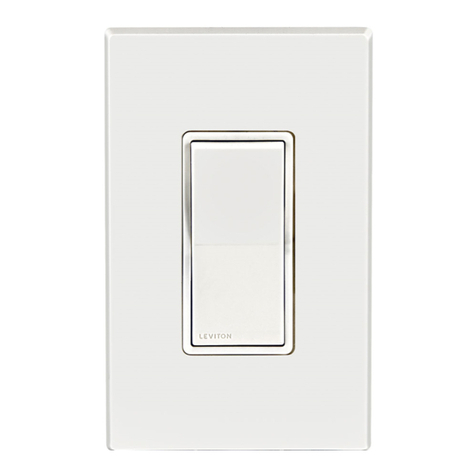
  9. Leviton Acenti AC201-1L User manual

Leviton Acenti AC201-1L User manual

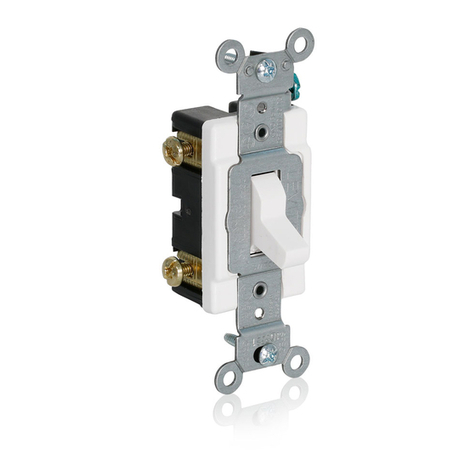
Single Pole Switch
AC201-1L
20A-120V AC
AC201-7L
20A-277V AC
INSTALLATION INSTRUCTIONS
DI-000-AC201-00C
Tools needed to install your Switch:
Slotted/Phillips Screwdriver
Pliers
Cutters
INSTALLING YOUR SWITCH
NOTE: Use check boxes when Steps are
completed.
WARNING: TO AVOID FIRE, SHOCK,
OR DEATH; TURN OFF POWER at
circuit breaker or fuse and test that power
is off before wiring!
Preparing wires:
This switch can be wired using side
wire terminal screws or through back
wire openings. Choose appropriate
wire stripping specifications accordingly.
Installing your Alignment Plate:
Important Notice for Installer
To achieve proper aesthetic installation of the
Acenti products, the wall surface surrounding
the wall box opening must be fairly flat and free
of irregularities. The wall box must be level and
recessed or flush to the wall surface. The Acenti
installation system allows for adjustments that
will correct minor flaws that may be present in
the installation area.
This device must be installed with the Acenti™
Alignment Plate. The Alignment Plate is
packaged with the Acenti™ Wallplate, which is
sold separately from this device.
The Alignment Plate will function properly only if
it is mounted to a flat wall surface as described
above.
•Leviton recommends to temporarily position
the Alignment Plate prior to wiring the device.
If the wall box wires extend at least 6 inches
out of the wall box, it is also possible to install
the Alignment Plate after the device has been
wired (refer to Wallplate instruction sheet).
•The Alignment Plate must be installed with
the tab towards the bottom.
•Leviton recommends the following 3 methods
to temporarily hold the Alignment Plate –
use of device mounting screw, use of wall box
wires, or use of electrical tape (refer to the
following figures):
Step 2
Step 1
ONOFF
ONOFF
ONOFF
ONOFF
ONOFF
ONOFF
ONOFFONOFF
ONOFF
ONOFF
ONOFF
ONOFF
WARNINGS AND CAUTIONS:
•To be installed and/or used in accordance with appropriate electrical codes
and regulations.
•If you are unsure about any part of these instructions, consult a qualified
electrician.
WARNINGS AND CAUTIONS:
•Disconnect power at circuit breaker or fuse when servicing, installing or
removing device.
•Use this device only with copper or copper clad wire. With aluminum wire use
only devices marked CO/ALR or CU/AL.
•Make sure that the ends
of the wires from the
wall box are
straight
(cut if necessary)
.
•Remove insulation from
each wire in the wall
box as shown.
√
Step 3 cont'd
Cut
(if necessary)
Strip 1/2" (Back wire)
Strip 3/4" (Side wire)
Strip Gage (measure bare wire here)
Step 3
3/4"
(1.9 cm)
Side Wire 1/2"
(1.3 cm)
Back Wire
Alignment Plate Held By Tape
Alignment Plate Held By Wires
Alignment Plate Held By Mounting Screw
TOP
TOP
Mounting
Screw
TOP
Electrical
Tape
Alignment
Plate
Installing your Switch –
NOTE: Ensure that the word "TOP" on
strap is facing up when wiring switch.
LIMITED 5 YEAR WARRANTYAND EXCLUSIONS
Leviton warrants to the original consumer purchaser and not for the benefit of anyone else that this product at the time of its sale by Leviton is free of defects in materials and workmanship under normal
and proper use for five years from the purchase date. Leviton’s only obligation is to correct such defects by repair or replacement, at its option, if within such five year period the product is returned
prepaid, with proof of purchase date, and a description of the problem to Leviton Manufacturing Co., Inc., Att: QualityAssurance Department, 59-25 Little Neck Parkway, Little Neck, New York
11362-2591. This warranty excludes and there is disclaimed liability for labor for removal of this product or reinstallation. This warranty is void if this product is installed improperly or in an improper
environment, overloaded, misused, opened, abused, or altered in any manner, or is not used under normal operating conditions or not in accordance with any labels or instructions. There are no other
or implied warranties of any kind, including merchantability and fitness for a particular purpose, but if any implied warranty is required by the applicable jurisdiction, the duration of any such
implied warranty, including merchantability and fitness for a particular purpose, is limited to five years. Leviton is not liable for incidental, indirect, special, or consequential damages, including
without limitation, damage to, or loss of use of, any equipment, lost sales or profits or delay or failure to perform this warranty obligation. The remedies provided herein are the exclusive
remedies under this warranty, whether based on contract, tort or otherwise.
TO BACK WIRE:
NOTE: Back wire terminals accept up to #10 AWG
wire.
•Insert straight wires into holes next to appropriate
terminal screws.
•Loop Green or bare copper wall box wire (Ground)
clockwise 3/4 turn around Green terminal screw.
•Black wall box wire to any Brass screw hole.
•Remaining Black wall box wire to remaining Brass
screw hole.
•Tighten terminal screws to 14-16 in.-lbs. of torque.
Switch Mounting:
DI-000-AC201-00C
Step 4 Step 4 cont'd
Step 5
Ground
Connect wires per WIRING DIAGRAM as follows:
TO SIDE WIRE:
NOTE: Side wire terminals accept up to #10 AWG
wire.
•Loop wires clockwise 3/4 turn around terminal
screws.
•Green or bare copper wall box wire (Ground) to
Green screw.
•Black wall box wire to any Brass screw.
•Remaining Black wall box wire to remaining
Brass screw.
•Tighten terminal screws to 14-16 in.-lbs. of
torque.
•Proceed to Step 5.
For additional information, contact the Acenti™
Information Hotline at
1-888-4-ACENTI
or visit
Leviton's website at
www.leviton.com/acenti
U.S. & Foreign Patents Pending
Copyright©2004 Leviton Manufacturing Co., Inc.
All Rights Including Trade Dress Rights Reserved
To complete the Acenti™Switch
and Wallplate installation, please
refer to the instructions included
with the Acenti™Wallplate and
Alignment Plate.
TOP
DOCUMENTATION
DOCUMENTATION
LEVITON INSTRUCTION SHEET/MANUAL
SPECIFICATIONS
SPECIFICATIONS
H2D 07/06/05
Helvetica
DI-000-AC201-00C
Black
5090383
Final fold size:
Final fold size:
40 Lb. offset
2.83" X 4.25"
Overall size:
Overall size:
8.5" X 8.5"
Paper size:
Paper size:
Front Panel
Front Panel
Front Panel
FOLD SCHEME
8.5¨
8.5¨
Fold Line
Center Line
Cat. No.
Cat. No.
Cat. No.

This manual suits for next models

1

Other Leviton Switch manuals

Leviton Powerswitch MDS30-AX User manual

Leviton

Leviton Powerswitch MDS30-AX User manual

Leviton Renu RE634 User manual

Leviton

Leviton Renu RE634 User manual

Leviton 83A00-1 User manual

Leviton

Leviton 83A00-1 User manual

Leviton 2653 User manual

Leviton

Leviton 2653 User manual

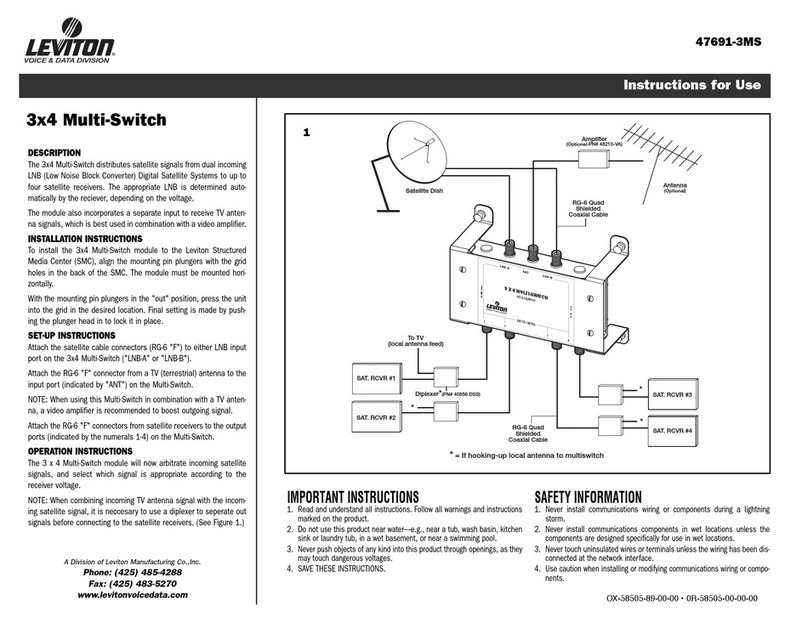
Leviton 47691-3MS User manual

Leviton

Leviton 47691-3MS User manual

Leviton Lumina ZS10S User manual

Leviton

Leviton Lumina ZS10S User manual

Leviton Decora IPV0R User manual

Leviton

Leviton Decora IPV0R User manual

Leviton decora L5613 User manual

Leviton

Leviton decora L5613 User manual

Leviton DECORA VPT24 Operating instructions

Leviton

Leviton DECORA VPT24 Operating instructions

Leviton 5604 User manual

Leviton

Leviton 5604 User manual

Leviton POENS-8PT User manual

Leviton

Leviton POENS-8PT User manual

Leviton Scene Capable Electronic Switch User manual

Leviton

Leviton Scene Capable Electronic Switch User manual

Leviton RZS15-1L User manual

Leviton

Leviton RZS15-1L User manual

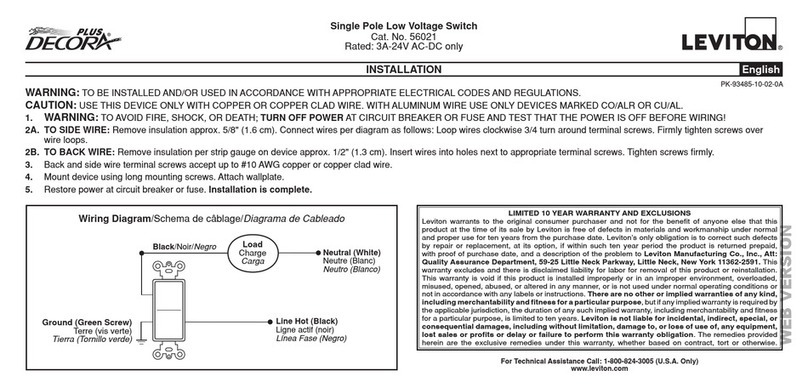
Leviton Single Pole and 3-Way Switch User manual

Leviton

Leviton Single Pole and 3-Way Switch User manual

Leviton TOGGLE TOUCH TGI06-10 User manual

Leviton

Leviton TOGGLE TOUCH TGI06-10 User manual

Leviton W5603 User manual

Leviton

Leviton W5603 User manual

Leviton UPB 38A00-1 Mounting instructions

Leviton

Leviton UPB 38A00-1 Mounting instructions

Leviton 41920-SW4 User manual

Leviton

Leviton 41920-SW4 User manual

Leviton W5601 User manual

Leviton

Leviton W5601 User manual

Leviton powerswitch MDS3-AC User manual

Leviton

Leviton powerswitch MDS3-AC User manual

Leviton 37A00-1 Mounting instructions

Leviton

Leviton 37A00-1 Mounting instructions

Leviton 1080 Instruction manual

Leviton

Leviton 1080 Instruction manual

Leviton decora smart DZ15S User manual

Leviton

Leviton decora smart DZ15S User manual

Leviton Decora Smart DG3HL User manual

Leviton

Leviton Decora Smart DG3HL User manual

Popular Switch manuals by other brands

Digitus DC-11201-1 user manual

Digitus

Digitus DC-11201-1 user manual

Teseq NSG 439 user manual

Teseq

Teseq NSG 439 user manual

Festo CDSM-S1 operating instructions

Festo

Festo CDSM-S1 operating instructions

LevelOne GEU-0520 Qig manual

LevelOne

LevelOne GEU-0520 Qig manual

MS Electronics RTDS3 Product guide

MS Electronics

MS Electronics RTDS3 Product guide

Elkay 350A-1 Fitting & operating instructions

Elkay

Elkay 350A-1 Fitting & operating instructions

Siemens SITRANS LPS200 operating instructions

Siemens

Siemens SITRANS LPS200 operating instructions

Apollo HF1000 Specifications

Apollo

Apollo HF1000 Specifications

ZyXEL Communications XS3800-28 user guide

ZyXEL Communications

ZyXEL Communications XS3800-28 user guide

IBM Nortel Networks L2/3 manual 

IBM

IBM Nortel Networks L2/3 manual 

Hama 00011576 user manual

Hama

Hama 00011576 user manual

EtherWAN EX48050-00B quick start guide

EtherWAN

EtherWAN EX48050-00B quick start guide

ATCOM APBX IP01 user manual

ATCOM

ATCOM APBX IP01 user manual

3Com NBX 100 release note

3Com

3Com NBX 100 release note

Linksys Etherfast EF24G2M Specifications

Linksys

Linksys Etherfast EF24G2M Specifications

ANTIFERENCE Clear Switch CF-POE4 user guide

ANTIFERENCE

ANTIFERENCE Clear Switch CF-POE4 user guide

Franklin Electric INLINE FLOW owner's manual

Franklin Electric

Franklin Electric INLINE FLOW owner's manual

HP 6125G Configuration guide

HP

HP 6125G Configuration guide

manuals.online logo
manuals.online logoBrands
  • About & Mission
  • Contact us
  • Privacy Policy
  • Terms and Conditions

Copyright 2025 Manuals.Online. All Rights Reserved.