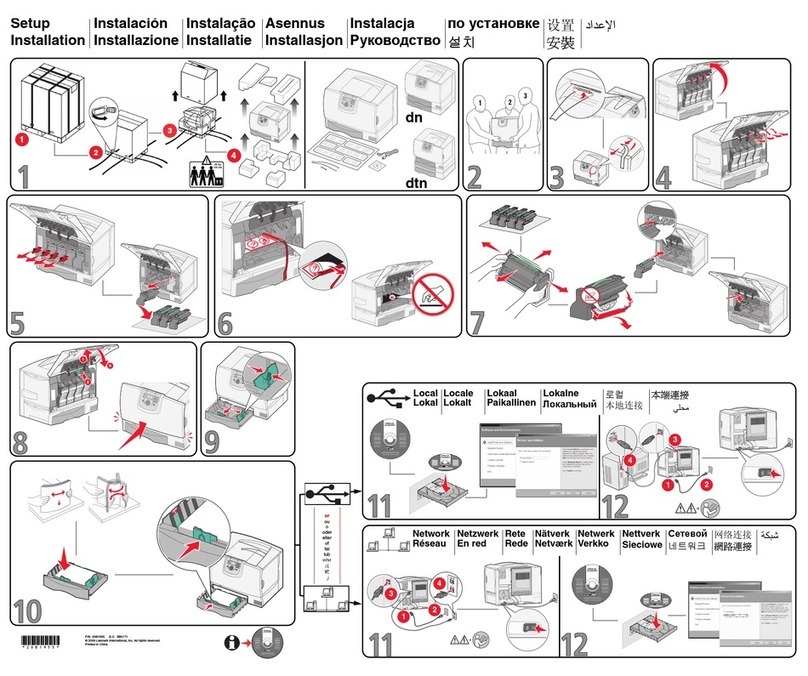
For non-touch-screen printer models, press to navigate
through the settings.
2
Set the paper size and type.
Notes:
•
For two-sided printing on A4
‑
size paper, make sure that the
paper size setting in the duplex unit is set to A4.
•
For two-sided printing on letter
‑
, legal
‑
, Oficio
‑
, or folio
‑
size
paper, make sure that the paper size setting in the duplex
unit is set to Letter.
Installing the printer software
Notes:
•
The print driver is included in the software installer package.
•
For Macintosh computers with macOS version 10.7 or later,
you do not need to install the driver to print on an AirPrint-
certified printer. If you want custom printing features, then
download the print driver.
1
Obtain a copy of the software installer package.
•
From the software CD that came with your printer.
•
From our website or the place where you purchased the
printer.
2
Run the installer, and then follow the instructions on the
computer screen.
Installing the fax driver
1
Go to our website or the place where you purchased the
printer, and then obtain the installer package.
2
Run the installer, and then follow the instructions on the
computer screen.
Updating firmware
Some applications require a minimum printer firmware level to
operate correctly.
For more information on updating the device firmware, contact
your sales representative.
1
Open a web browser, and then type the printer IP address in
the address field.
Notes:
•
View the printer IP address on the printer home screen.
The IP address appears as four sets of numbers
separated by periods, such as 123.123.123.123.
•
If you are using a proxy server, then temporarily disable
it to load the web page correctly.
2
Click Settings > Device > Update Firmware.
3
Do either of the following:
•
Click Check for updates > I agree, start update.
•
Upload the flash file.
a
Browse to the flash file.
b
Click Upload > Start.
Adding printers to a computer
Before you begin, do one of the following:
•
Connect the printer and the computer to the same network.
For more information on connecting the printer to a network,
see “Connecting the printer to a Wi
‑
Fi network” on page 11.
•
Connect the computer to the printer. For more information, see
“Connecting a computer to the printer” on page 11.
•
Connect the printer to the computer using a USB cable. For
more information, see “A tta chi ng ca ble s” o n page 6.
Note: The USB cable is sold separately.
For Windows users
1
From a computer, install the print driver.
Note: For more information, see “Installing the printer
software” on page 10.
2
Open Printers & scanners, and then click Add a printer or
scanner.
3
Depending on your printer connection, do one of the following:
•
Select a printer from the list, and then click Add device.
•
Click Show Wi
‑
Fi Direct printers, select a printer, and then
click Add device.
•
Click The printer that I want isn’t listed, and then from the
Add Printer window, do the following:
a
Select Add a printer using a TCP/IP address or
hostname, and then click Next.
b
In the “Hostname or IP address” field, type the printer
IP address, and then click Next.
Notes:
–
View the printer IP address on the printer home
screen. The IP address appears as four sets of
numbers separated by periods, such as
123.123.123.123.
–
If you are using a proxy server, then temporarily
disable it to load the web page correctly.
c
Select a print driver, and then click Next.
d
Select Use the print driver that is currently installed
(recommended), and then click Next.
e
Type a printer name, and then click Next.
f
Select a printer sharing option, and then click Next.
g
Click Finish.
For Macintosh users
1
From a computer, open Printers & Scanners.
2
Click , and then select a printer.
3
From the Use menu, select a print driver.
Notes:
•
To use the Macintosh print driver, select either AirPrint
or Secure AirPrint.
•
If you want custom printing features, then select the
manufacturer print driver. To install the driver, see
“Installing the printer software” on page 10.
4
Add the printer.
Configuring Wi‑Fi Direct
Wi-Fi Direct
®
is a Wi-Fi-based peer-to-peer technology that allows
wireless devices to connect directly to a Wi-Fi Direct
‑
enabled
printer without using an access point (wireless router).
1
From the control panel, navigate to:
Settings > Network/Ports > Wi-Fi Direct
For non
‑
touch
‑
screen printer models, press to navigate
through the settings.
2
Configure the settings.
•
Enable Wi
‑
Fi Direct—Enables the printer to broadcast its
own Wi
‑
Fi Direct network.
•
Wi
‑
Fi Direct Name—Assigns a name for the Wi
‑
Fi Direct
network.
10

