OTHER NOTABLE SETTINGS
CUSTOMIZABLE FEATURES
CAMERA FEATURES
CONNECTIVITY FEATURES
PERSONAL INFORMATION TOOLS
PM225 PM225 PM225
>>
>
>
>
>
>
>
>
>
>
>
The PM225 has an array of features for taking VGA-quality photographs and viewing, storing or sharing them.
Taking and Sending a Picture
1. Press and hold the OK/Camera Key until the camera viewfinder turns on.
2. Press left or right on the Navigation Key to zoom, and up or down to adjust the brightness.
3. Press the OK/Camera Key to take the picture. Pictures are automatically saved in the Pictures > My
Pictures > In Camera menu.
4. Press the Left Soft Key for Next. Select Send Picture and press OK.
5. Choose Mobile, Email, Contact(s), Recent List, or Other Services and press OK.
6. Enter the mobile number, e-mail address, or select the contact(s) to which you would like to send the
message and press OK.
7. Press the Left Soft Key for Next to preview or to add a text or voice memo.
8. Press the Left Soft Key for Send.
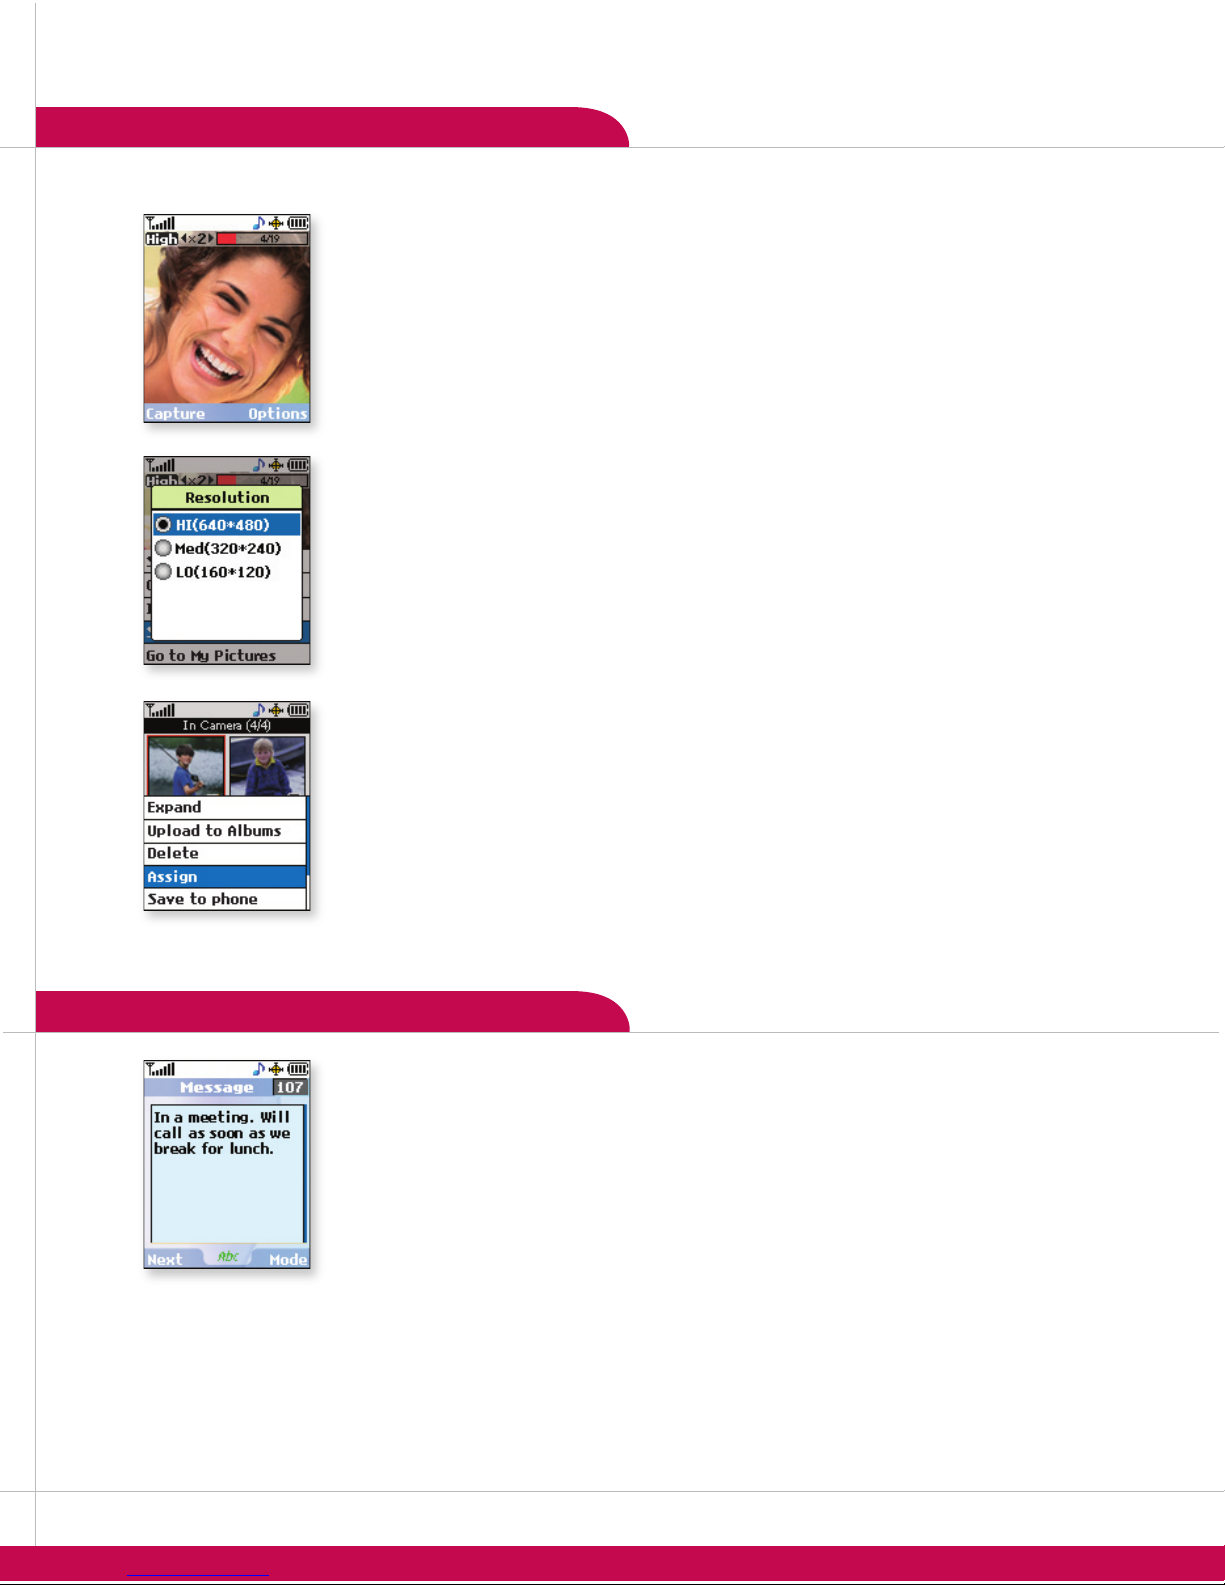
Changing the Resolution
The PM225 can store up to 20 high (VGA), 42 medium (QVGA) or 100 low (QQVGA) images.
1. Press and hold the OK/Camera Key until the camera viewfinder turns on.
2. Select the Right Soft Key for Options.
3. Select Settings and press OK.
4. Select Resolution and press OK.
5. Select HI (640x480 pixels), Med (320x240 pixels) or LO (160x120 pixels) and press OK.
Setting a Picture as Caller ID
1. From the Pictures (1) menu, select My Pictures and press OK.
2. Select In Camera and press OK.
3. Use the Navigation Key to highlight the desired picture and press OK. (A red check mark will appear)
4. Press the Right Soft Key for Options and select Assign.
5. Select Picture ID.
6. Select New Entry or Existing Entry and press OK.
7. For a New Entry, enter the information and press the Left Soft Key for Done. For an Existing Entry,
highlight the desired contact and press OK.
Sending a Text Message
1. From the Messaging (2) menu, select Send Message.
2. Select Text Message.
3. Enter the ten-digit telephone number, select a name from your contact or recent list or enter an e-mail
address into the appropriate field and press OK.
4. Press the Left Soft Key for Next. Enter the message (up to 160 characters) using the keypad and press OK.
5. Press the Left Soft Key for Send.
Shortcut: While in standby mode, press up on the Navigation Key to access the default Messaging shortcut.
Downloading New Content from PCS Vision (Games, Ringers, Screen Savers, etc.)
The PM225 can store up to 1,024 kilobytes of downloaded content from PCS Vision.
1. From the Downloads (8) menu, select the desired content classification (Games, Ringers, Screen
Savers, or Applications) and press OK.
2. Select Get New and press OK to initiate a web session.
3. Select the desired content and follow PCS Vision prompts to complete the purchase and download (extra
fees may apply on some services).
Shortcut: While in standby mode, press down on the Navigation Key to access the default Downloads shortcut.
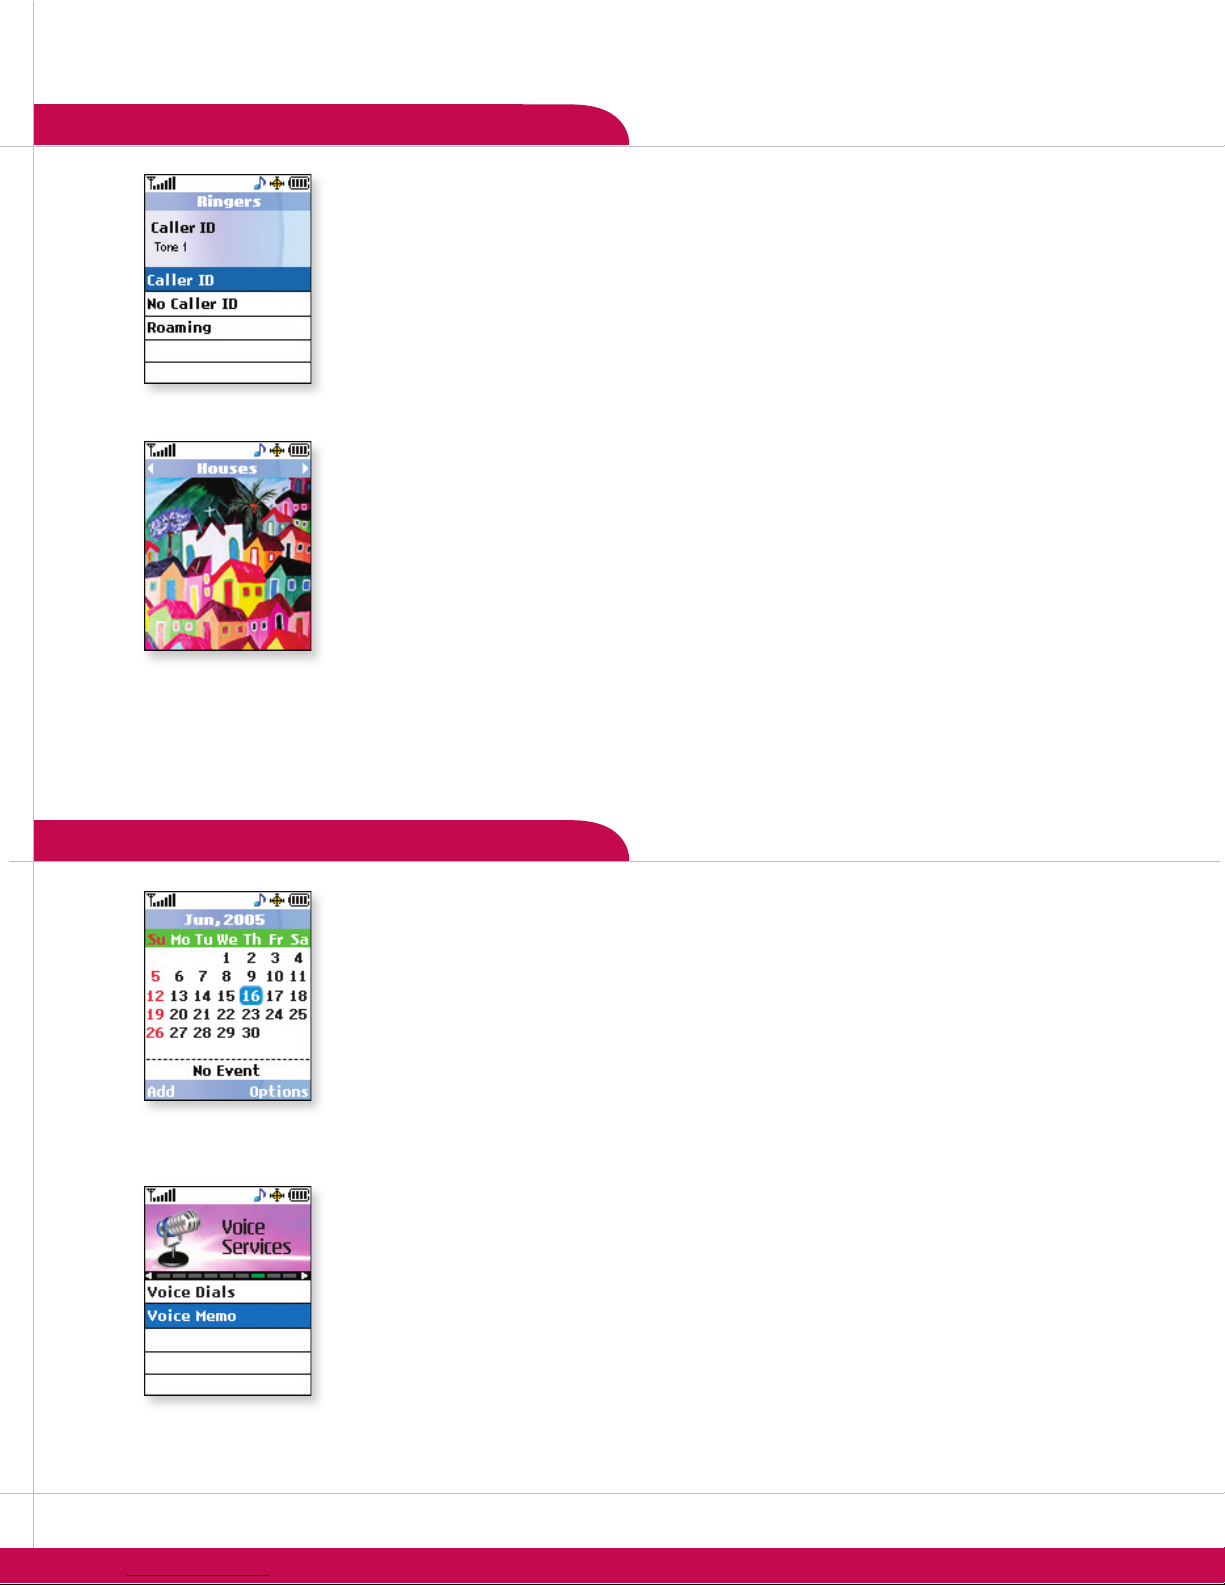
Changing the Call Ringer
1. From the Settings (9) menu, select Sounds.
2. Select Ringers.
3. Select Caller ID, No Caller ID or Roaming.
4. Choose from the list of available default, downloaded or voice memo ringers and press OK.
Adjusting Volume Settings
Ringer Volume: While in standby mode, press the side volume keys to adjust the ringer volume.
Earpiece Volume: During a conversation, press the side volume keys to adjust the earpiece volume.
Silent Mode: While in standby mode, press the lower volume key until it reads Silent to mute all sounds.
Changing the Screen Saver Image
1. From the Settings (9) menu, select Display.
2. Select Screen Saver.
3. Select Main LCD or Front LCD.
4. Select from the list of ten default images, or press left or right on the Navigation Key to view the list of
downloaded (only for main LCD), in camera, and saved to phone images.
5. Press OK to preview the image, and press OK again to save.
Changing the Theme Skin
1. From the Settings (9) menu, select Display.
2. Scroll to Theme Skins and press OK.
3. Select from the list of six available theme skins and press OK.
Shortcut: From the main menu, press the Right Soft Key to access theme skins.
Scheduling an Event
1. From the Tools (4) menu, select Scheduler.
2. Highlight the event date using the Navigation Key and press the Left Soft Key for Add.
3. You may set the appropriate start and end times, content, recurrence (if any), alarm and ringer by
scrolling to the corresponding field, and entering the desired information and pressing OK.
4. Press the Left Soft Key for Save.
Shortcut: While in standby mode, press left on the Navigation Key to access the default Scheduler shortcut.
Scheduling an Alarm
1. From the Tools (4) menu, select Alarm Clock.
2. Select Alarm 1, Alarm 2, Alarm 3 or Quick Alarm and press OK.
3. You may set the appropriate time, recurrence (if any) and ringer by scrolling to the corresponding field
and entering the desired information.
4. Press the Left Soft Key for Save.
Recording a Voice Memo
Record up to 30 voice memos (3 minutes total), which may also be assigned as caller ID ringers.
1. From the Voice Services (7) menu, select Voice Memo.
2. Select Record New.
3. Start recording after the tone. To stop recording, press OK.
Note: Recorded voice memos can be found in the Voice Services (7) > Voice Memo menu.
Adding a New Phone Contacts Entry
The internal phone book is capable of storing up to 500 entries with up to 5 numbers, 3 e-mail
addresses and 1 web address per entry.
1. From the Contacts (6) menu, select Find/Add Entry, then select New Entry and press OK.
2. Enter the name and number into the appropriate fields and press OK.
3. Select a label (Mobile, Home, Office, Fax or Pager) and press OK.
4. To set the speed dial or voice dial, highlight the number and press the Right Soft Key for Options.
• Select Set Speed Dial and press OK. Enter the speed dial number (2–99) and press OK
twice to set.
• Select Set Voice Dial and press OK. Select OK to record voice dial. Up to 30 three-
second voice dials may be recorded.
5. Press the Left Soft Key for Done.
Shortcut: While in standby mode, press right on the Navigation Key to access the default
Find/Add Entry shortcut.
Activating Speakerphone
1. During a call, press the Speakerphone Key for hands-free conversation.
2. Press the Speakerphone Key a second time to return to normal conversation.
Warning! Due to higher volume levels, don’t place the phone near your ear while the
speakerphone is enabled.
Locking the Handset
This helps protect the phone from unauthorized use. Once the phone is locked, the phone is
restricted from making calls until the lock code is entered. However, you can make emergency
calls and calls to up to 10 stored security phone numbers, as well as receive incoming calls while in
the locked mode.
1. From the Settings (9) menu, scroll to Security and press OK.
2. Enter your lock code (commonly the last four digits of your mobile phone number).
3. Choose Lock Phone, select Lock now or On power up, and press OK. The On power up
function will lock the handset when the phone is power cycled.
Programming Navigation Key Shortcuts
1. From the Settings (9) menu, scroll to Setup/Others and press OK.
2. Select Shortcuts and press OK. Press OK again after reading the instructions on the screen.
3. Choose Left Navigation, Right Navigation, Up Navigation or Down Navigation and press OK.
4. Select the desired function from the list provided and press OK.
Note: Pressing a direction on the Navigation Key in standby mode will now access the set function(s).
Upgrading Software
Software upgrades for your handset may periodically be available. Use this feature to check for
upgrade availability and to download and install the update package. Service and activation are
required for this feature.
1. From the Settings (9) menu, scroll to Setup/Others and press OK.
2. Scroll to Update Phone SW and press OK.
3. Follow the on-screen prompts.