CONNECTIVITY FEATURES
USING THE VIDEO CAMERA
Recording and Sending a Video
You can save up to 100 fifteen-second video clips depending on memory usage.
1. From standby mode, press the Camera/Video Key twice.
2. Press OK for REC to start recording.
3. Press OK for STOP to stop recording.
4. When finished, press Left Soft Key for Save to keep the video in the gallery, or press OK for SEND.
5. Press Left Soft Key for Add to enter a recipient from the Contacts (1), Group (2) or Recent Calls (3)
menus, or use the keypad to enter a new e-mail address or phone number. Up to ten recipients can
be added.
6. Scroll down using the Navigation Key to enter the Te x t ,Sounds and Subject you wish to add to the
message and press OK for SEND.
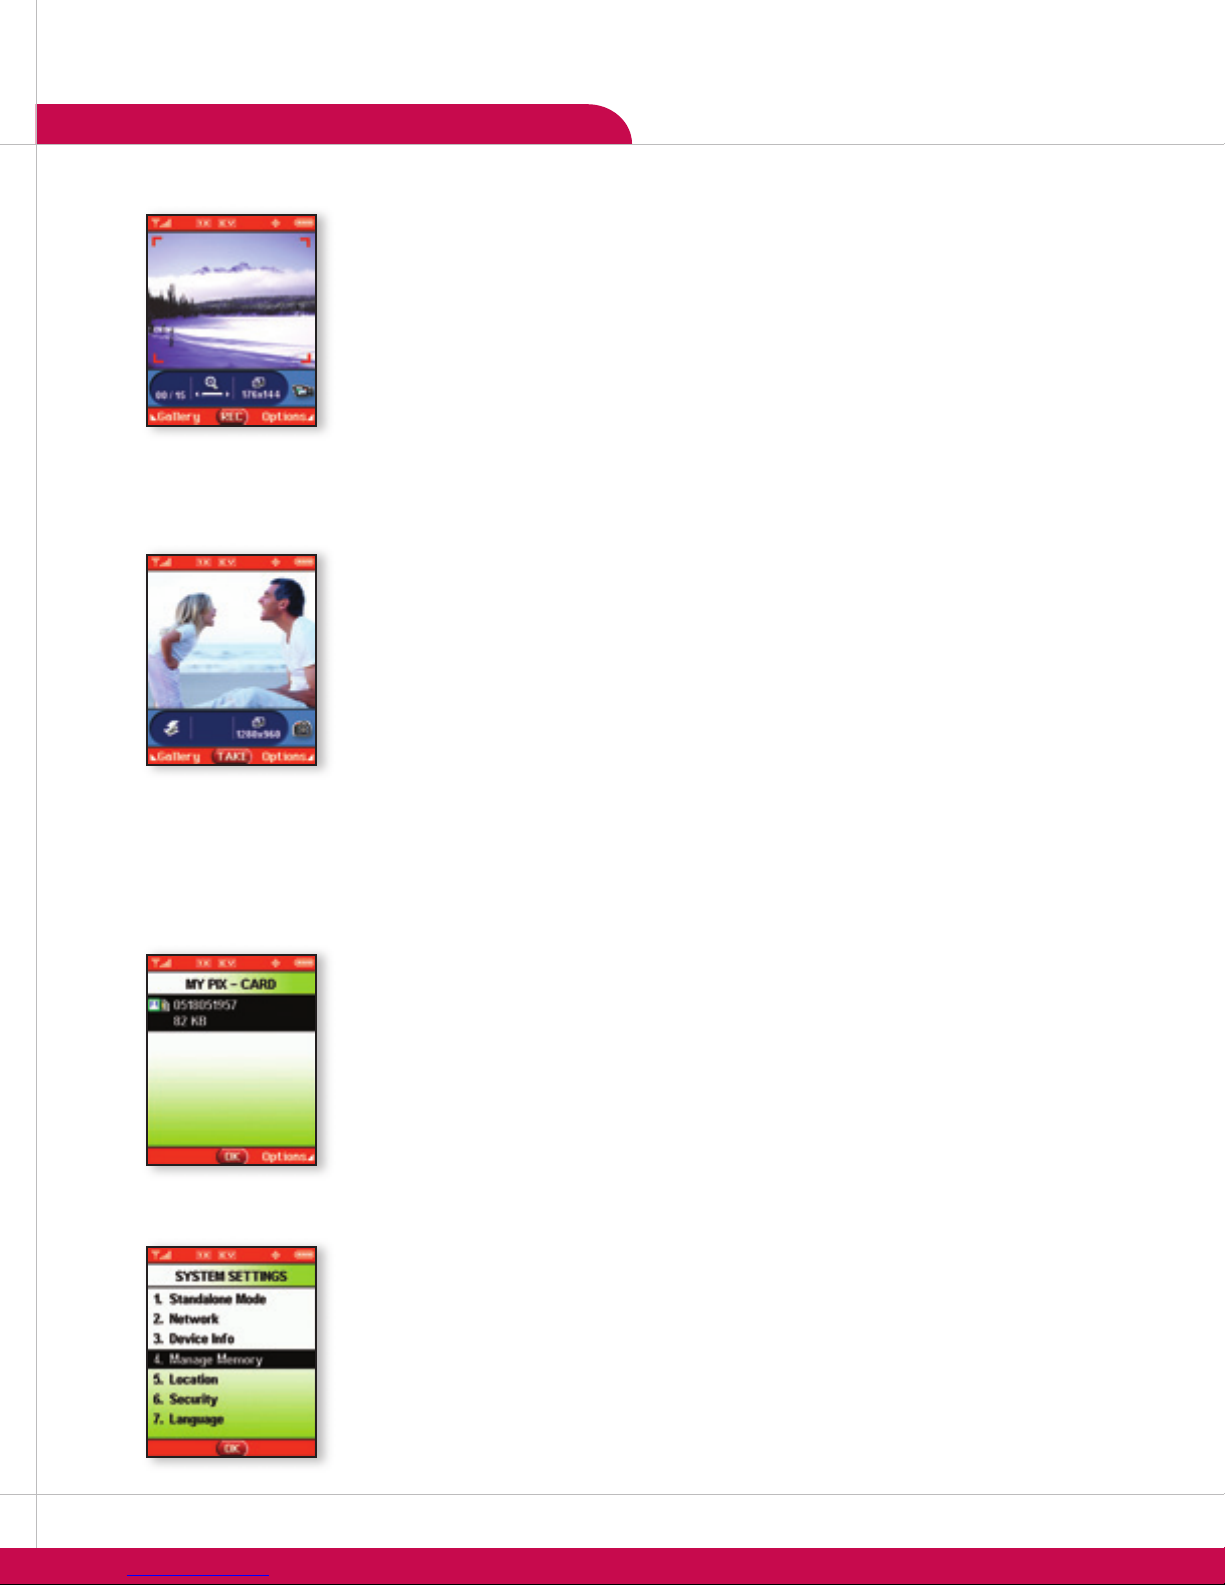
USING THE CAMERA
Taking a Photo
You can save up to 100 photos depending on memory usage.
1. From standby mode, press the Camera/Video Key.
2. Press left or right on the Navigation Key to zoom and up or down to adjust the brightness.
3. Press the side flash key to turn the flash on or off as needed.
4. Press OK for TAKE.
5. Press Left Soft Key for Save.
Note: You may move certain multimedia files from your phone to a MiniSD card. Select the desired file
from the gallery, press Right Soft Key for Options and select Move.
Changing the Resolution
1. From standby mode, press the Camera/Video Key.
2. Press Right Soft Key for Options and select Resolution (1).
3. Use the Navigation Key to select from 1280x960, 640x480, 320x240, 176x144 or 16 0 x 12 0 and
press OK.
MINISD™EXTERNAL MEMORY
The VX8100 can access the following file types stored on the removable MiniSD card:
My PIX: gif, png, jpg, bmp My Sounds: qcp, mid My FLIX: 3gp, 3g2
Accessing the MiniSD Card
1. Press OK, press right on the Navigation Key twice for the SETTINGS & TOOLS menu.
2. Select System (4), select Manage Memory (4) and press OK.
3. Select Card Memory (3) and press OK.
4. Select My PIX (2), My FLIX (3) or My Sounds (4) and press OK.
5. Highlight the desired file and press Right Soft Key for Options to erase or move the file from the
MiniSD card to the phone.
Note: Do not remove the miniSD card while playing, deleting or moving files.
Managing Memory
You can choose whether to save your multimedia files in the phone’s memory or the MiniSD card by default.
1. Press OK, press right on the Navigation Key twice for the SETTINGS & TOOLS menu.
2. Select System (4), select Manage Memory (4) and press OK.
3. Select Save Options (1) and press OK.
4. Select PIX (1), FLIX (2) or Sounds (3) and press OK.
5. Choose either Phone Memory or Card Memory and press OK.
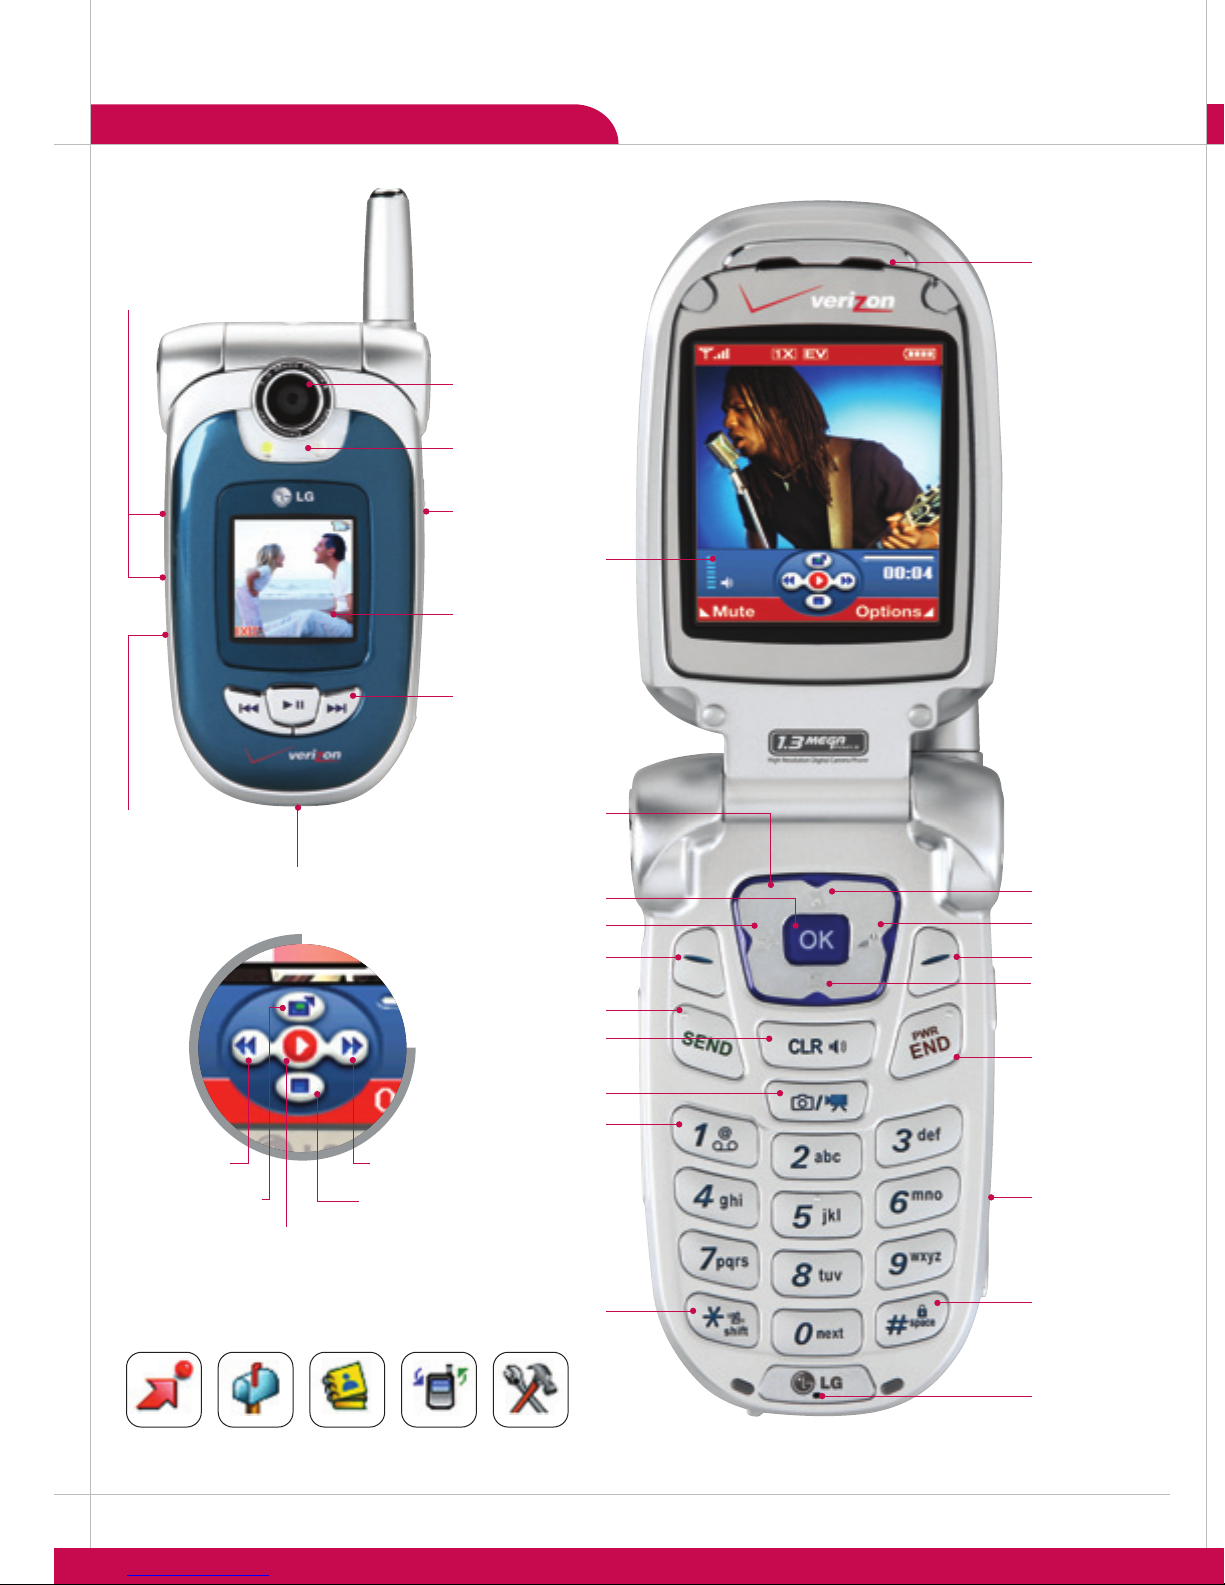
VIDEO/CAMERA FEATURES
Activating Speakerphone
1. From standby mode, press and hold the Speakerphone Key and “SPEAKER ON” will
appear on the screen. To deactivate, press and hold the key again and “SPEAKER OFF” will
appear on the screen.
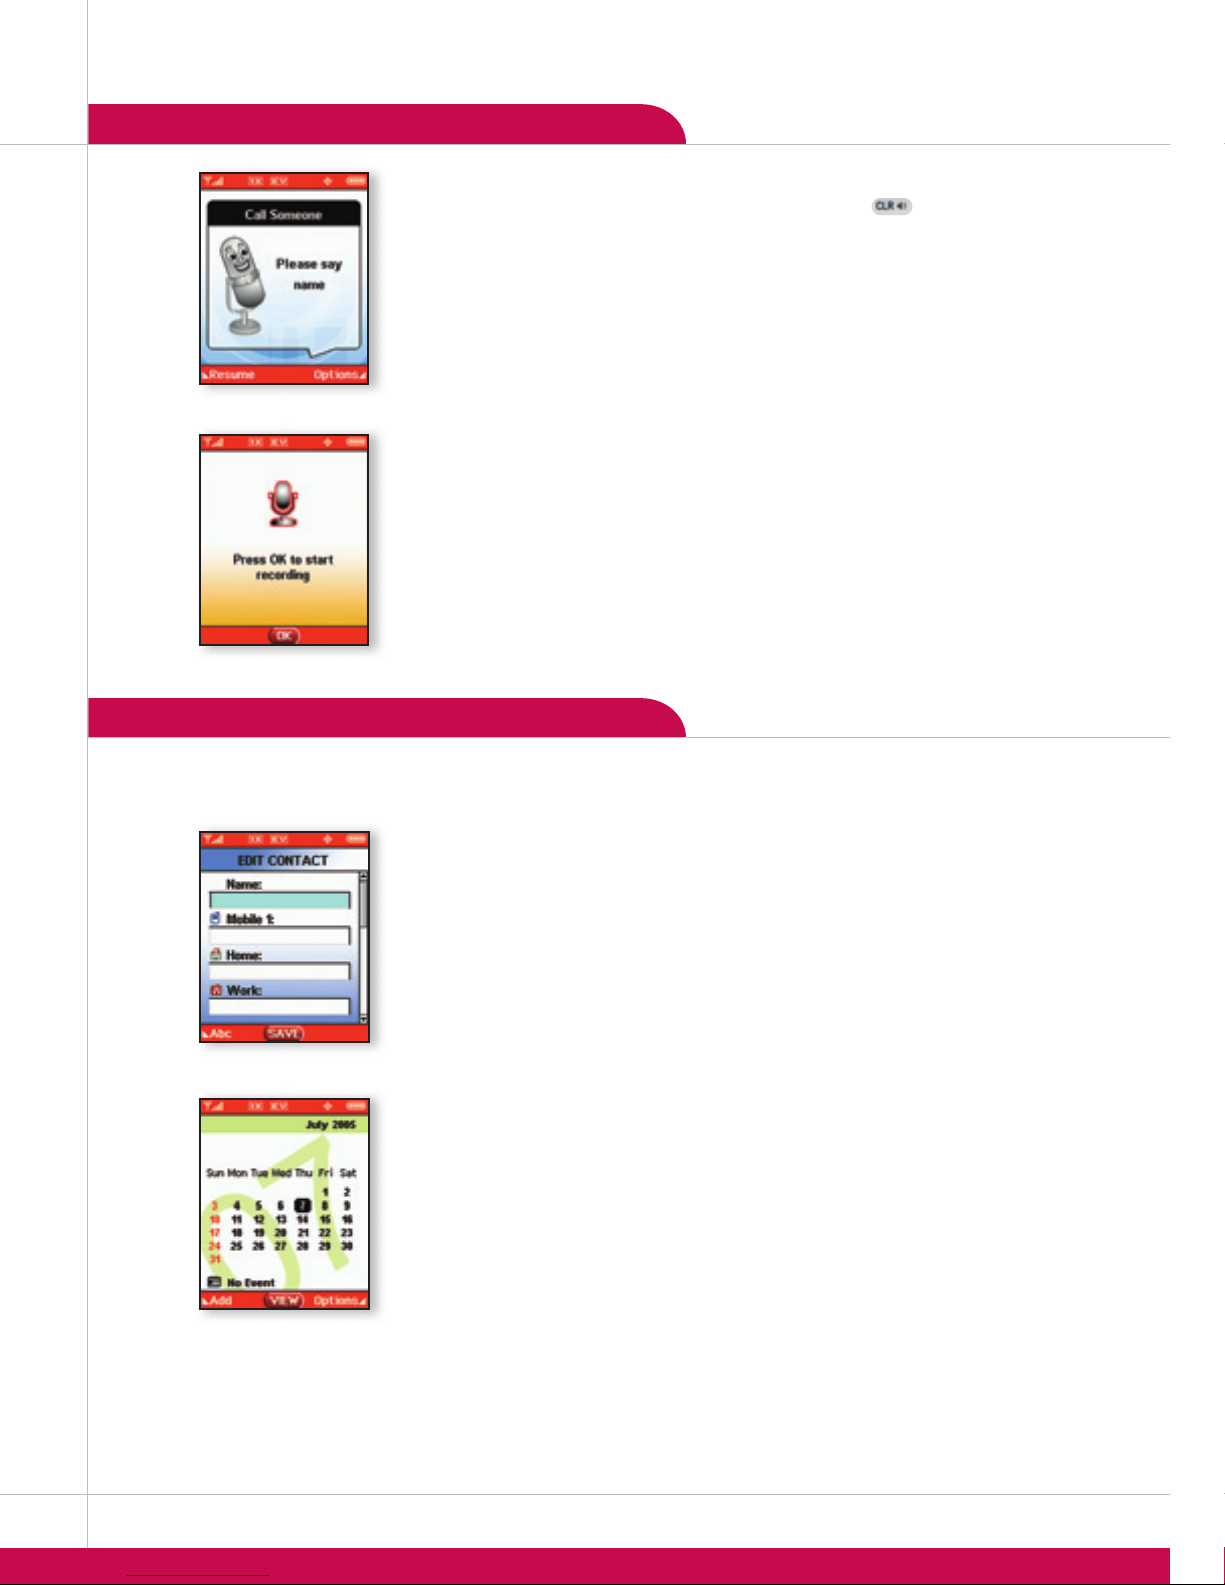
Using Voice Commands
1. From standby mode, press the side Voice Command Key.
2. You will be asked to “Please Say a Command.” Clearly speak a command from the list:
Call Someone: to call a contact from your phone book.
Digit Dial: to dial a phone number by speaking the digits.
Voicemail: to call your voicemail.
Missed Calls: to check your missed calls.
Messages: to check voicemails or new messages.
Time & Date: to hear the current time and date.
Recording a Voice Memo
1. From standby mode, press and hold the side Voice Memo Key.
2. Press OK to start recording.
3. Press OK to stop recording.
Note: Recorded voice memos can be found in GET IT NOW > Get Tunes & Tones (1) > My
Sounds (3) menu.
CONTACTS
The internal phone book is capable of storing up to 500 contacts with up to 5 numbers and
2 e-mail addresses per entry.
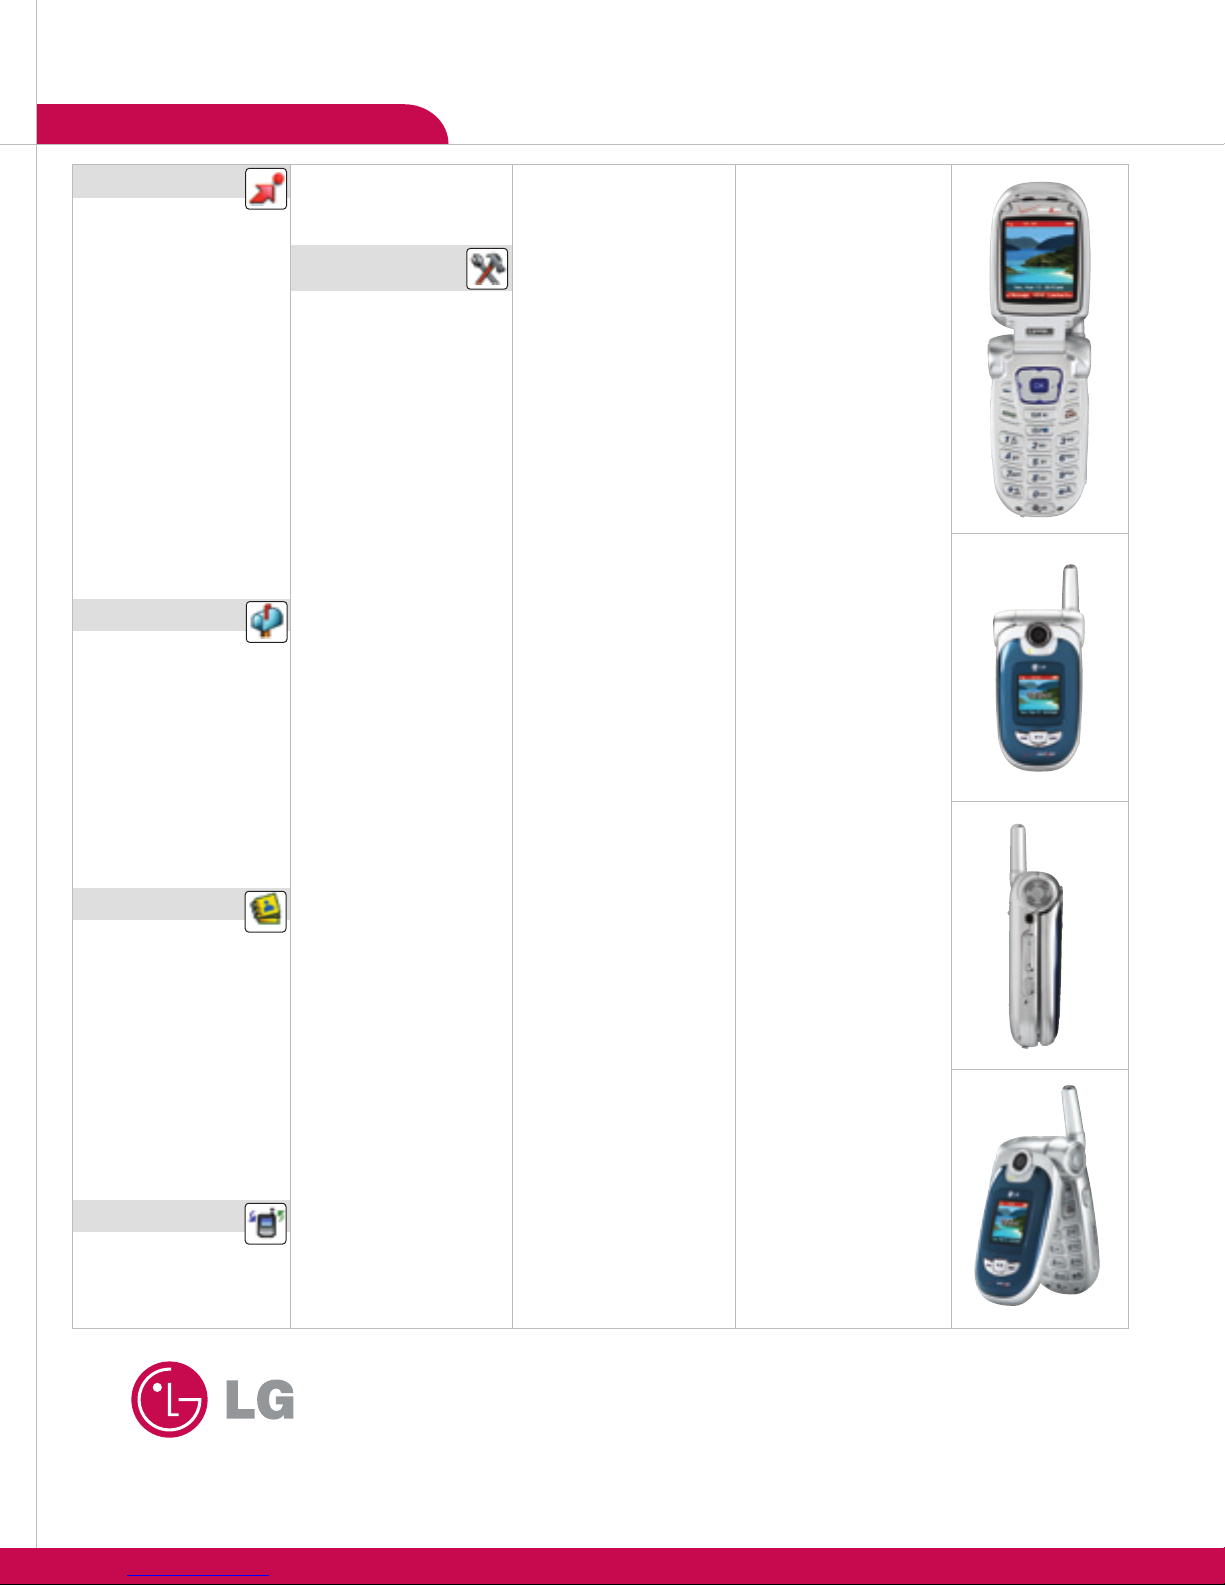
Adding a New Contact Entry
1. Press OK and select New Contact (1).
2. Enter the name for the entry.
3. Scroll down with the Navigation Key to enter content in the optional fields (Mobile 1, Home,
Work, Email 1, Group, Picture, Ringtone, MSG Ringtone, Mobile 2, Email 2 or Fax).
4. To set the speed dial, highlight the number and press the Right Soft Key for Options.
5. Select Set Speed Dial (1). Enter the speed dial number (2–99) and press OK twice.
6. Press OK for SAVE.
Note: While in standby mode, press the Right Soft Key to access the Contact List menu.
Scheduling an Event
1. From standby mode, press the Calendar icon (down) on the Navigation Key.
2. Highlight the event date using your Navigation Key and press Left Soft Key for Add.
3. You may set the appropriate appointment name, date, time, recurrence (if any), alert tone
and reminder by scrolling to the corresponding field and entering the desired information or
by pressing the Left Soft Key for Set and choosing an option.
4. Press OK for SAVE.
VOICE SERVICES
PERSONAL INFORMATION TOOLS
VX8100VX8100 VX8100
USING BLUETOOTH®
The VX8100 is compatible with devices that support the Bluetooth headset and/or hands-free profile(s).
You may create and store 20 pairings within the VX8100 and connect to one device at a time. The
approximate communication range for Bluetooth wireless technology is up to 30 feet (10 meters).
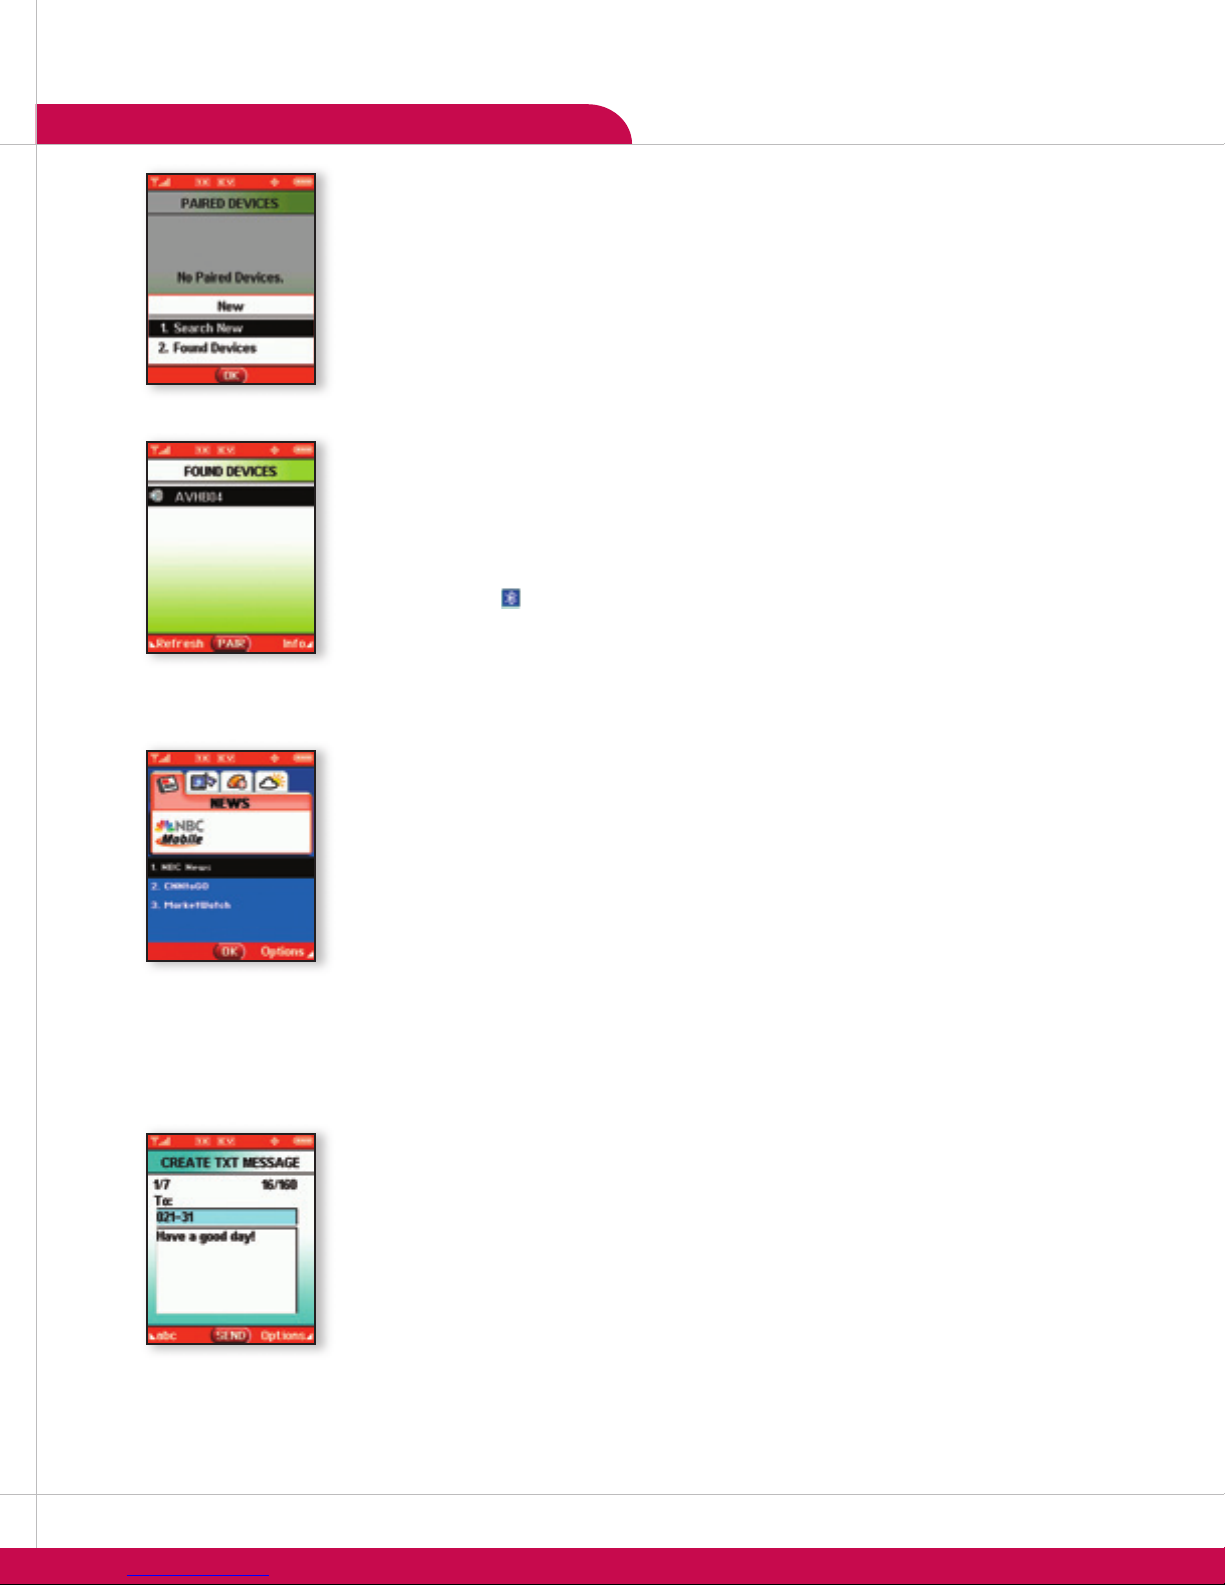
Pairing the Devices
1. Press OK, press right on the Navigation Key twice for the SETTINGS & TOOLS menu.
2. Select Bluetooth (0), select Paired Devices (1) and press OK.
3. Consult the Bluetooth accessory instructions to set the device to pairing mode.
4. Press Right Soft Key for New. Select Search New (1) and press OK.
5. If Bluetooth is set to off, you will be prompted to turn power on. Select Yes (1) and press OK.
6. The device will appear in the Found Devices menu once it has been located. Highlight the device and
press OK.
7. The handset will prompt you for the passkey. Consult the Bluetooth accessory instructions for the
appropriate passkey (typically “0000” - 4 zeroes). Enter the passkey and press OK.
8. Once pairing is successful, select Yes (1) and press OK to connect with the device.
9. Once connected, you will see the device listed in the Paired Devices menu and the Bluetooth
connected icon will show up on your idle screen.
V CAST
V CAST is a new multimedia service that brings the world to your mobile phone in full motion. It's
entertainment with the richness of broadband that features video clips from news, entertainment, sports
or weather.
Streaming a Video Clip
1. From standby mode, press the Get Pix & Flix icon (left) on the Navigation Key.
2. Select Get V CAST Video (1).
3. Use the Navigation Key to choose from News, Entertainment, Sports or Weather and select the video
clip you wish to view and press OK.
Downloading a Video Clip
1. From standby mode, press the Get Pix & Flix icon (left) on the Navigation Key.
2. Select Get V CAST Video (1).
3. Use the Navigation Key to choose from News, Entertainment, Sports or Weather and highlight the video
clip you wish to download.
4. Press Right Soft Key for Options, and select Save Video (1).
Note: Downloaded video clips are stored in My FLIX gallery. Not all video clips are downloadable.
MESSAGING
Sending a Text, EMS or MMS Message
1. Press Left Soft Key for Message, select New TXT MSG (1).
2. Press Left Soft Key for Add to select a recipient from the Contacts (1), Group (2) or Recent Calls (3)
menus, or use the keypad to enter a new e-mail address or phone number and press OK. Up to ten
recipients can be added.
3. Scroll down and enter the message (up to 160 characters) using the keypad.
4. To add an attachment press Right Soft Key for Options, select Add (1) and choose from Graphics (1),
Animations (2), Sounds (3), Quick Text (4) or Signature (5).
5. Once your message is complete press OK for SEND.
Note: The ability to send text, EMS or MMS messages is subject to network service availability.
>
>
>
>
>
>
>
>
>
>
>
>