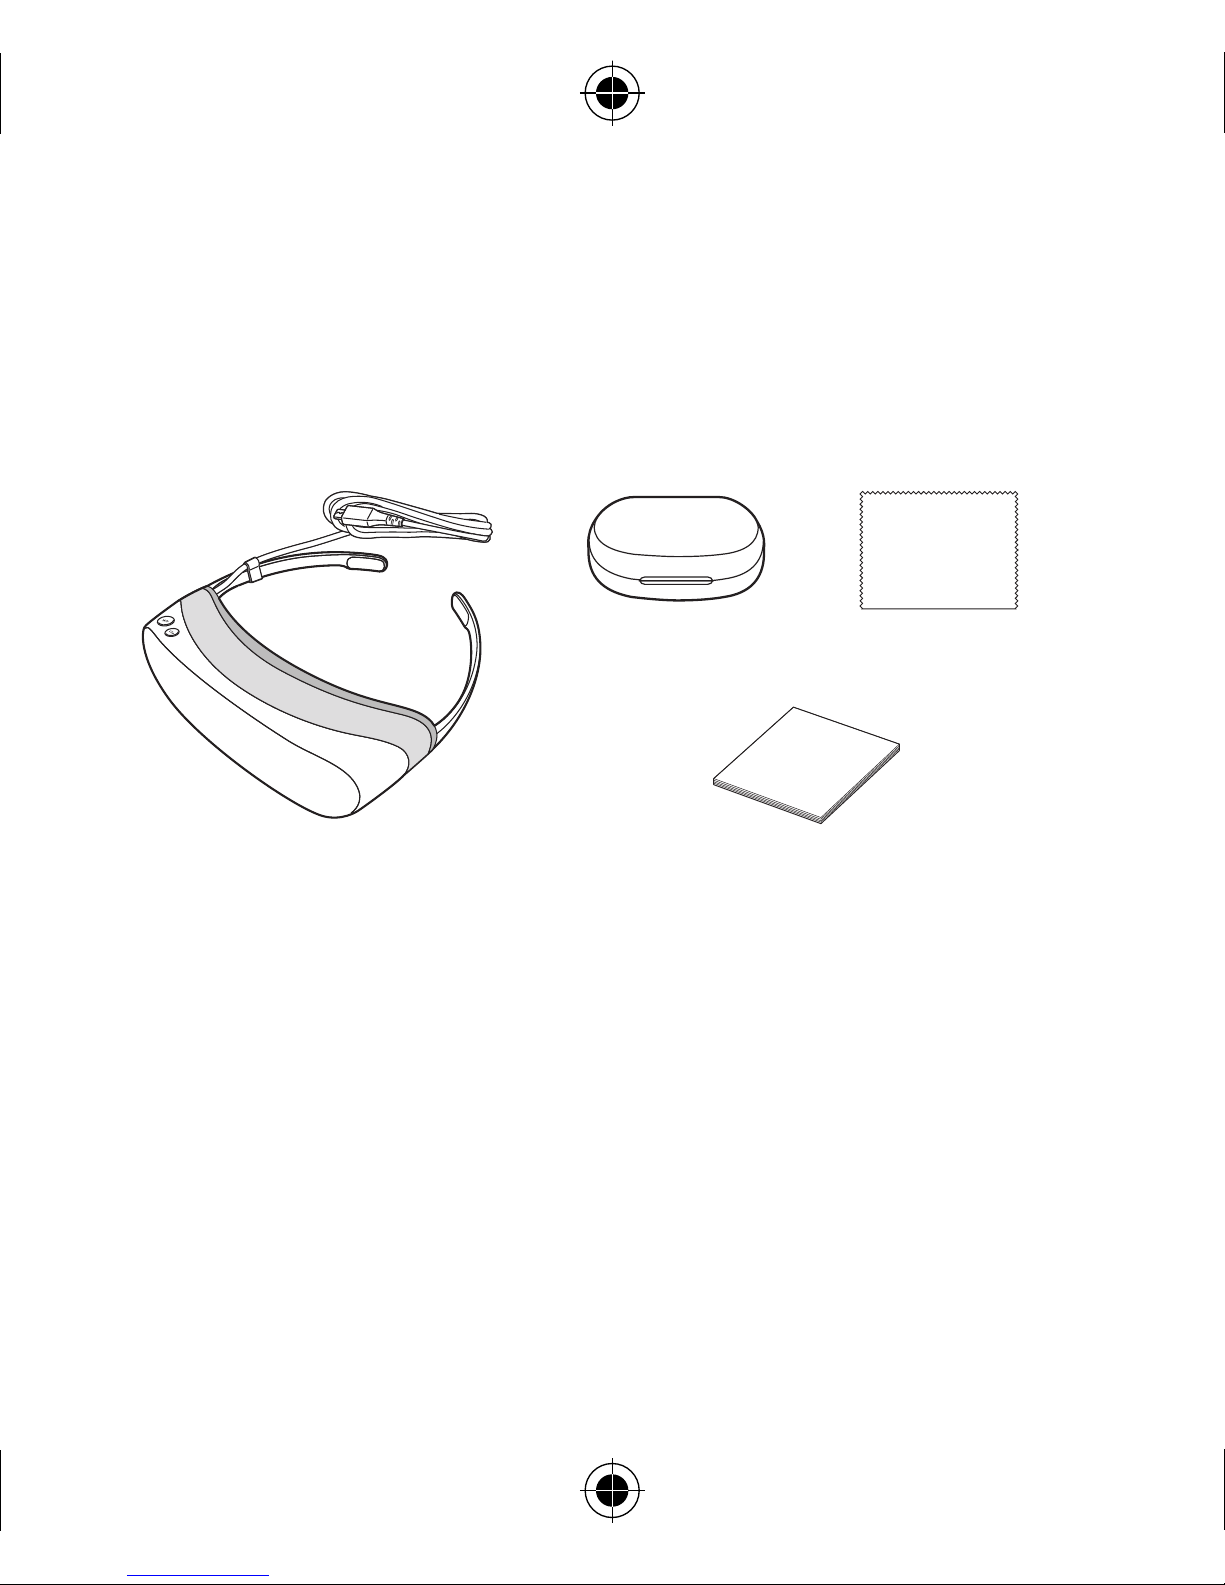
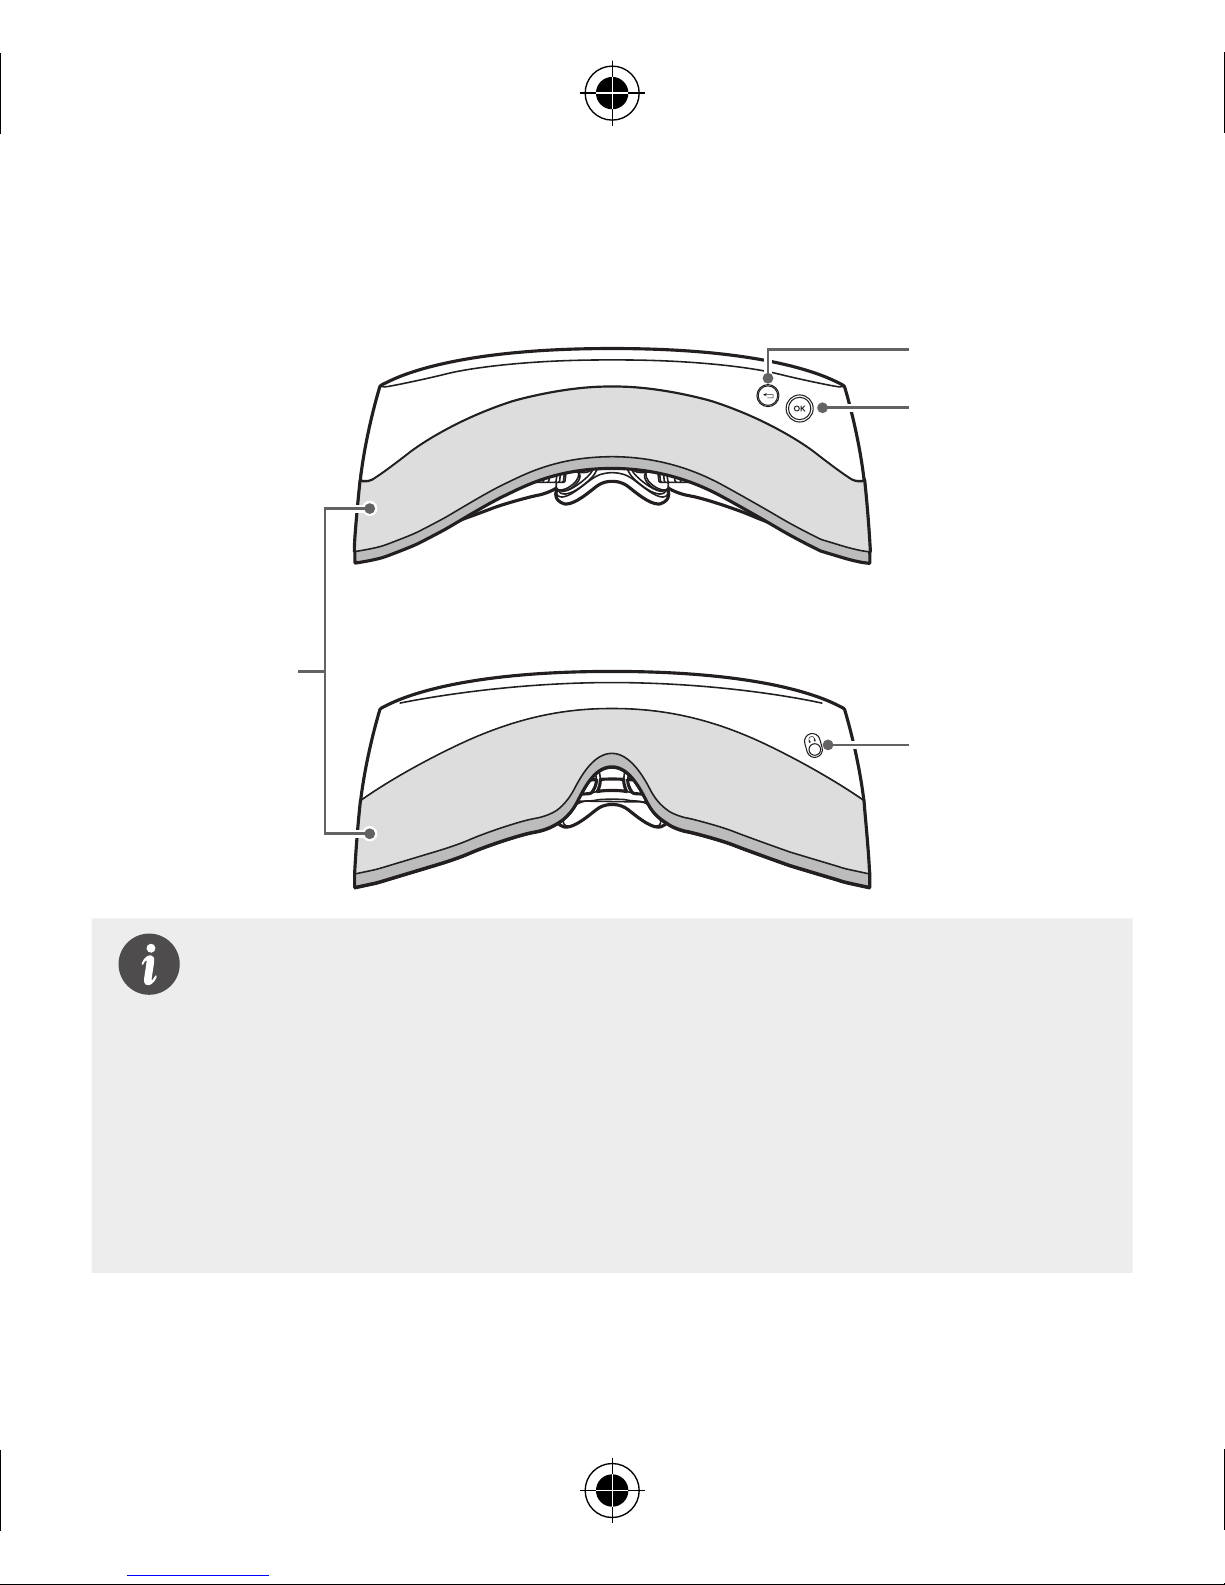
Getting to Know the Product
LG 360 VR Overview
The LG 360 VR enables users to enjoy virtual reality (VR) content
with VR technology.
When using this product to play VR content, you will be able to turn
your head to look in any direction, as if you are truly in the content.
With the LG 360 VR, you can view photos and videos taken by the
LG 360 CAM (product sold separately) more vividly.
• This product is solely compatible with the LG G5 and cannot
be used with any other mobile device.
• This device is not compatible with the LG G5SE.
• Compatible 3rd party contents downloaded from the Google
Play Store may not correspond with the basic operations of
this product.