9
Palm T/X Configuration Procedure
Introduction
Before you start the configuration process, make sure the Palm T/X is fully
charged.
●Connect the Palm to the AC power cable (if you are outside the United
States you may also need to use the Palm Travel Charger). Let it charge
fully (this can take a few minutes to a few hours).
●When done charging the Palm T/X, insert the Software Installation CD and
follow the Palm software installation process.
●Next, take a few moments to familiarize yourself with the Palm T/X, if you
are not already.
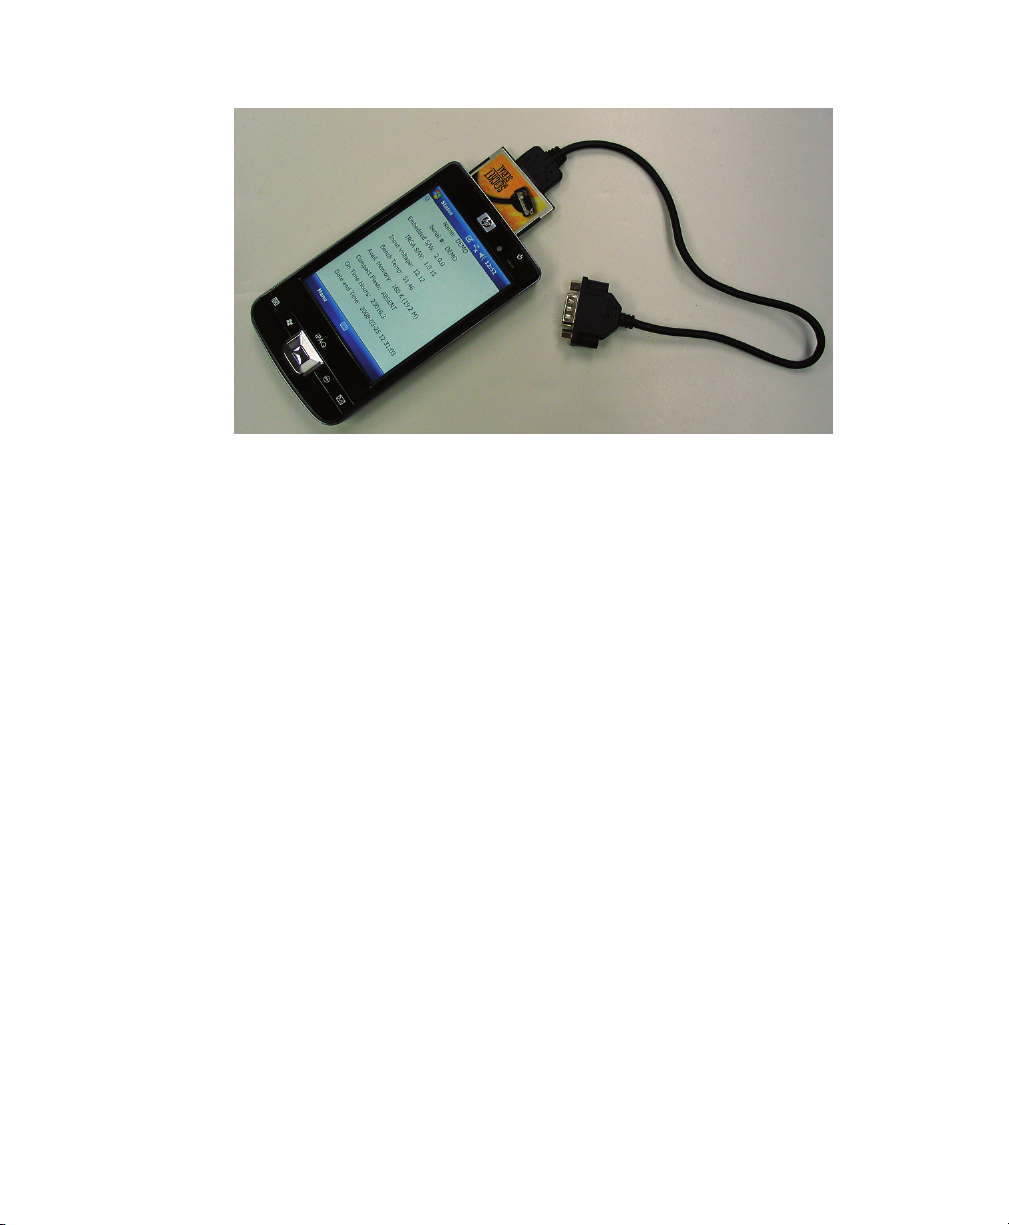
Configuring the Serial Cable
The RS-232 Serial Cable (p/n 8100-558) from PN Technologies requires that
the Power_Out pin be turned ON before it will function with the LI-8100A. A
mini CD from PN Technologies is included with the cable, which contains a
Palm application (PowerPro.prc) that must be loaded onto your T/X. The
Power_Out program that is installed can then be run to turn on the Power_Out
pin. Follow these steps to configure the serial cable:
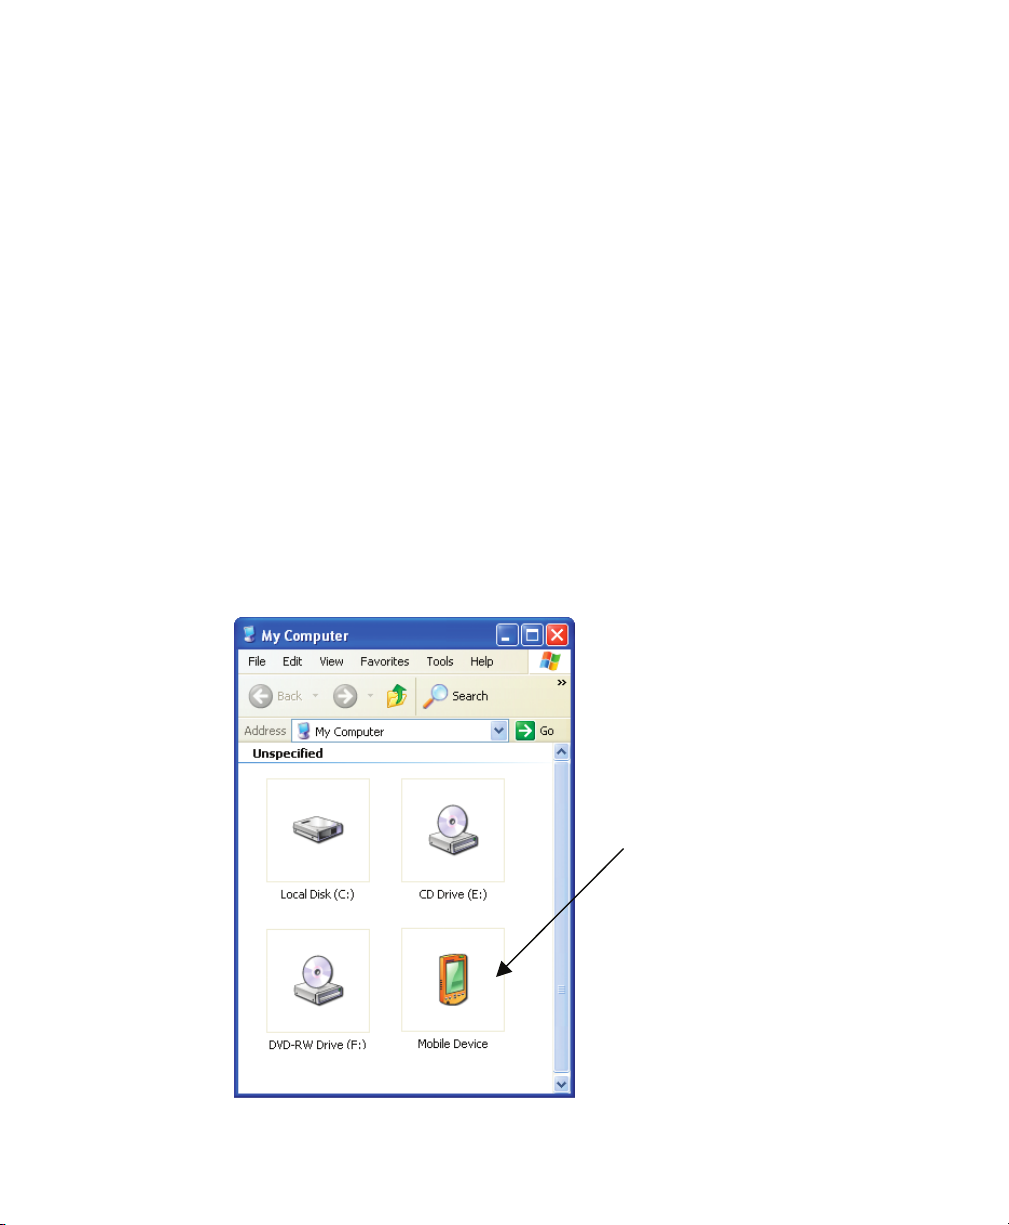
1. Click on the Windows Start menu and choose All Programs. Locate the
Palm Desktop group. Open the Palm Desktop program.
2. Click Quick Install on the sidebar. Click the Add button.
3. Insert the mini CD into your drive, if you haven’t done so already. In the
Open dialog, locate the drive, and select the PowerPro.prc file. Click the
Open button.
4. Click Done. Hotsync your Palm T/X to add the application.
5. Go to the Home screen on the T/X and start the Power_Out application.
Tap the ON button. Click the Home button to exit the program. The serial
cable is now configured to be used with the
LI-8100A.
Configuring the Palm
To configure the Palm T/X for use with the LI-8100/A, follow the steps below:
1. If you have not installed the Palm software, insert the Palm T/X Software
Installation CD into the CD-ROM drive of your computer. Follow the
instructions to complete the installation.