manuals.online logo
Brands
  1. Home
  2. •
  3. Brands
  4. •
  5. Lightolier
  6. •
  7. Lighting Equipment
  8. •
  9. Lightolier PowerWash T5 LUMINAIRE User manual

Lightolier PowerWash T5 LUMINAIRE User manual

CAVITY
TRACK
Fig. 3
LOCK TO LOWER
CABLE; DEPRESS
HOLD THIS
RAISE
PULL TO
before installation. To prevent electric shock, turn off electricity at fuse box before proceeding.
To assure full compliance with local codes and regulations, check with your local electrical inspector
This luminaire is intended for installation in accordance with the National Electrical Code and local regulations.
READ AND UNDERSTAND THESE INSTRUCTIONS BEFORE INSTALLING LUMINAIRE
Page 1 of 4A0101
INSTRUCTION SHEET NO.
Retain these instructions for maintenance reference.
LIGHTOLIER a GENLYTE THOMAS company.
631 Airport Road, Fall River, MA 02720
WARNING: Do not damage WHITE, BLACK, or GREEN insulation.
be removed.
NOTE: To reposition HOUSING, HOUSING COVER does not have to
pull CABLE down. See. Fig 3.
NOTE: To lower luminaire, hold CABLE, depress CABLE LOCK, and
PRIOR TO WIRING.
WARNING: Do not attach POWER STEM BASE into TRACK
INSIDE TRACK CAVITY (see Fig. 3).
POWER TO TRACK. NEVER PLACE AIRCRAFT CABLE
WARNING: TO PREVENT ELECTRIC SHOCK, TURN OFF
using HOUSING SCREWS. See Fig. 10.
8. Fasten POWER STEM HOUSING to POWER STEM BASE
BLACK WIRE to BRASS SCREW
WHITE WIRE to SILVER SCREW
7. Connect: GREEN WIRE to GREEN SCREW MARKED "GND"
6. Twist strands of wire together and form a "J" loop. See Fig. 10.
5. Tie knot in CORD as shown in Fig. 9.
4. Strip CORD and WIRES to lengths shown in Fig. 9.
3. Pull CORD through POWER STEM HOUSING. See Fig. 9.
If CORD RETAINERS are not used, cut off. See Fig. 8.
standard TIE WRAP (local hardware item) may also be used.
CORD through RETAINERS and position where needed. A
2. If a CORD RETAINER is desired, two are provided. Pull
it up to the TRACK and cutting. See Fig. 7.
1. Leaving slack, CORD length can be determined by bringing
PowerWash T5 POWER STEM:
INSTRUCTIONS FOR WIRING SUSPENDED
TM
HOUSING 90fl counter clockwise. See Fig. 2.
8. To remove or reposition on track, rotate SUSPENSION
HOUSING as shown in Fig. 6.
7. Slide up HOUSING COVER and snap onto SUSPENSION
COPPER STOP (provided) onto AIRCRAFT CABLE. See Fig. 5.
CABLE leaving approx 1/2" above CABLE LOCK. Crimp
in Fig. 4. If no adjustment will be desired, cut AIRCRAFT
BODY and pinned down using HOUSING SLOTS as shown
feet of AIRCRAFT CABLE can be wrapped around HOUSING
6. If future suspension length adjustment is desired, up to two
CABLES through CABLE LOCK. See Fig. 3.
5. Adjust suspension length and leveling by pulling AIRCRAFT
4. Rotate SUSPENSION HOUSINGS 90fl clockwise. See Fig. 2.
Fig. 2.
bottom of HOUSING pointing toward BEAD on TRACK. See
3. Insert SUPSENSION HOUSINGS into TRACK with ARROW on
CABLE LOCK. See Fig. 1.
pull AIRCRAFT CABLE through, leaving approx 1" above
2. Unwrap AIRCRAFT CABLE. While depressing CABLE LOCK,
See Fig. 1.
1. Remove WARNING LABEL on SUSPENSION HOUSING.
T5 SUSPENSION HOUSING TO LYTESPAN TRACK:
INSTRUCTIONS FOR ATTACHING SUSPENDED PowerWash
A LYTESPAN TRACK SYSTEM. FOR USE WITH LYTESPAN TRACK SYSTEMS ONLY.
INSTRUCTIONS FOR ATTACHING SUSPENDED PowerWash T5 SUSPENSION HOUSING TO
NOTE: Not for use with ProSpec Track.
WARNING: If Mounting on wall or sloped ceiling, COPPER STOP must always be used
Fig. 5
STOP
COPPER
ARROW
CABLE
AIRCRAFT
SLOTS
HOUSING
BODY
HOUSING
Fig. 4
HOUSING
SUSPENSION
BEAD
TRACK
Fig. 2
HOUSING SCREWS
STEM BASE
POWER
POWER STEM HOUSING
(GREEN WIRE)
GREEN "GND" SCREW
(WHITE WIRE)
SILVER SCREW
(BLACK WIRE)
BRASS SCREW
WIRES
Fig. 10
3/4"
1/4"2
3/4"15/16"1
WIRES
POWER STEM HOUSING
CORD
GREEN
WHITE
BLACK
Fig. 9
RETAINER
CORD
CORD
Fig. 8
CORD
TRACK
Fig. 7
COVER
HOUSING
Fig. 6
1"
CABLE LOCK
LABEL
WARNING
CABLE
AIRCRAFT
Fig. 1
Fig. 22
Fig. 21
LAMPS SOCKETS
BRACKET
SOCKET
SOCKETS
BRACKET
SOCKET
Retain these instructions for maintenance reference.
before installation. To prevent electric shock, turn off electricity at fuse box before proceeding.
To assure full compliance with local codes and regulations, check with your local electrical inspector
This luminaire is intended for installation in accordance with the National Electrical Code and local regulations.
READ AND UNDERSTAND THESE INSTRUCTIONS BEFORE INSTALLING LUMINAIRE
LIGHTOLIER a GENLYTE THOMAS company.
631 Airport Road, Fall River, MA 02720
INSTRUCTION SHEET NO.
A0101 Page: 4 of 4
MAKING ANY ADJUSTMENTS!
CAUTION: ALLOW TIME FOR LUMINAIRE TO COOL BEFORE
rotates 360fl.
DOING SO MAY CAUSE AN ELECTRICAL HAZARD). HEAD
rotation stops (DO NOT FORCE LUMINAIRE PAST STOPS.
Rotate HEAD of luminaire to desired position. Luminaire has
SEE LABEL ON LUMINAIRE FOR PROPER WATTAGE.
WARNING: USE PROPER WATTAGE T5 HIGH OUTPUT LAMPS ONLY.
AIMING INSTRUCTIONS (see Fig. 23)
TM
remove from SOCKET.
7. To remove LAMP, repeat steps 1-3. Rotate LAMP(s) 90fland
(see Fig. 22).
6. Push SOCKET BRACKETS back into their original position
5. For two LAMP luminaire, repeat step 4 for the second LAMP.
in place.
4. Insert LAMP into SOCKET and rotate LAMP 90fllocking it
required. Pull with hands.
3. Slide out both SOCKET BRACKETS (see Fig. 21). No tools
2. Remove LOUVER (see Page 3).
1. Turn off power to track.
PowerWash T5 LUMINAIRE:
INSTRUCTIONS FOR LAMPING A SUSPENDED
INSTRUCTIONS FOR LAMPING AND OPERATING A SUSPENDED PowerWash T5 LUMINAIRE.
will extinguish when one fails.
Assure that both lamps are properly installed. Also, both lamps
NOTE: A two lamp luminaire will not operate with only one lamp.
Fig. 23
HEAD
IS: 9279
IS: 9279
LEVER
STEM
POWER
STEM
POWER
BEAD
TRACK
Fig. 11
Retain these instructions for maintenance reference.
before installation. To prevent electric shock, turn off electricity at fuse box before proceeding.
To assure full compliance with local codes and regulations, check with your local electrical inspector
This luminaire is intended for installation in accordance with the National Electrical Code and local regulations.
READ AND UNDERSTAND THESE INSTRUCTIONS BEFORE INSTALLING LUMINAIRE
LIGHTOLIER a GENLYTE THOMAS company.
631 Airport Road, Fall River, MA 02720
INSTRUCTION SHEET NO.
A0101 Page 2 of 4
Do not try to move stationary silver contact.
OPERATE ON 2 CIRCUIT ADVENT LYTESPAN TRACK:
PowerWash T5 POWER STEM ATTACHMENT FITTING TO
INSTRUCTIONS FOR CONVERTING SUSPENDED
on BLACK SPACER as shown in Fig. 14 & 15.
line) by pulling CONTACT as high as stop permits and slipping
raise BRASS CONTACT to high position (as indicated by dotted
To convert power stem attachment fitting for upper circuit,
UPPER CIRCUIT, Fig. 14, 15, & 16:
SPACER in place for lower circuit.
Illustrates BRASS CONTACT in low position with BLACK
LOWER CIRCUIT, Fig. 13 & 16:
LYTESPAN TRACK SYSTEM. FOR USE WITH LYTESPAN TRACK SYSTEMS ONLY.
INSTRUCTIONS FOR ATTACHING SUSPENDED PowerWash T5 POWER STEM TO A
LYTESPAN TRACK
PowerWash T5 POWER STEM TO SINGLE CIRCUIT
INSTRUCTIONS FOR ATTACHING SUSPENDED
using POWER STEM LEVER.
4. To remove: rotate POWER STEM 90flcounterclockwise
with TRACK. See Fig. 12.
STEM LEVER. POWER STEM LEVER should be parallel
3. Rotate POWER STEM 90flclockwise using POWER
must be on the same side as the track BEAD. See Fig. 11.
2. Insert POWER STEM into TRACK. The POWER STEM LEVER
1. Turn off power to TRACK.
operating PowerWash T5 on Single Circuit Track.
must be used at all times. The BLACK SPACER is not used when
on Two Circuit Lytespan Track, the BLACK SPACER (provided)
NOTE: To insure proper operation of PowerWash T5 suspension
TM

NOTE: Not for use with ProSpec Track.
Fig. 12
Fig. 13
Fig. 15
NEUTRAL
CIRCUIT
LOWER
CIRCUIT
UPPER
Fig. 16
ASSEMBLY
PLUG
SPACER
BLACK
CONTACT
BRASS
MOVABLE SPACER
BLACK
ASSEMBLY
PLUG
(Neutral)
CONTACT
STATIONARY
CONTACT
BRASS
MOVABLE
ASSEMBLY
PLUG
SPACER
BLACK
CONTACT
BRASS
MOVABLE
Fig. 14
®
®
SPRINGS
BOTTOM
GROOVE
BOTTOM
Fig. 18
GROOVE
TOP
FRONT STEP
LOUVER
Fig. 19
Fig. 20
before installation. To prevent electric shock, turn off electricity at fuse box before proceeding.
To assure full compliance with local codes and regulations, check with your local electrical inspector
This luminaire is intended for installation in accordance with the National Electrical Code and local regulations.
READ AND UNDERSTAND THESE INSTRUCTIONS BEFORE INSTALLING LUMINAIRE
Page 3 of 4A0101
INSTRUCTION SHEET NO.
Retain these instructions for maintenance reference.
LIGHTOLIER a GENLYTE THOMAS company.
631 Airport Road, Fall River, MA 02720
LOUVER:
INSTRUCTIONS FOR INSTALLING A PowerWash T5
away from the luminaire (see Fig. 19).
4. To remove, push down the TOP SPRING TABS and rotate
into the TOP GROOVE (see Fig. 17, 19, & 20).
FRONT STEP on the luminaire. Release the TOP SPRING TABS
toward the TOP GROOVE in the luminaire until it hits the
3. While pushing down TOP SPRING TABS, rotate LOUVER
BOTTOM GROOVE in the luminaire (see Fig. 17 & 18).
2. First insert BOTTOM SPRINGS on the LOUVER into the
1. Turn off power to TRACK.
for safe operation (see Fig. 20).
NOTE: Ensure that all four LOUVER SPRINGS are fully engaged
NOTE: Luminaire may be used without LOUVER if desired.
INSTRUCTIONS FOR INSTALLING A PowerWash T5 LOUVER
TM

SPRING TAB
SPRINGS
BOTTOM
Fig. 17
SPRINGS
TOP
IS: 9279
IS: 9279

Other Lightolier Lighting Equipment manuals

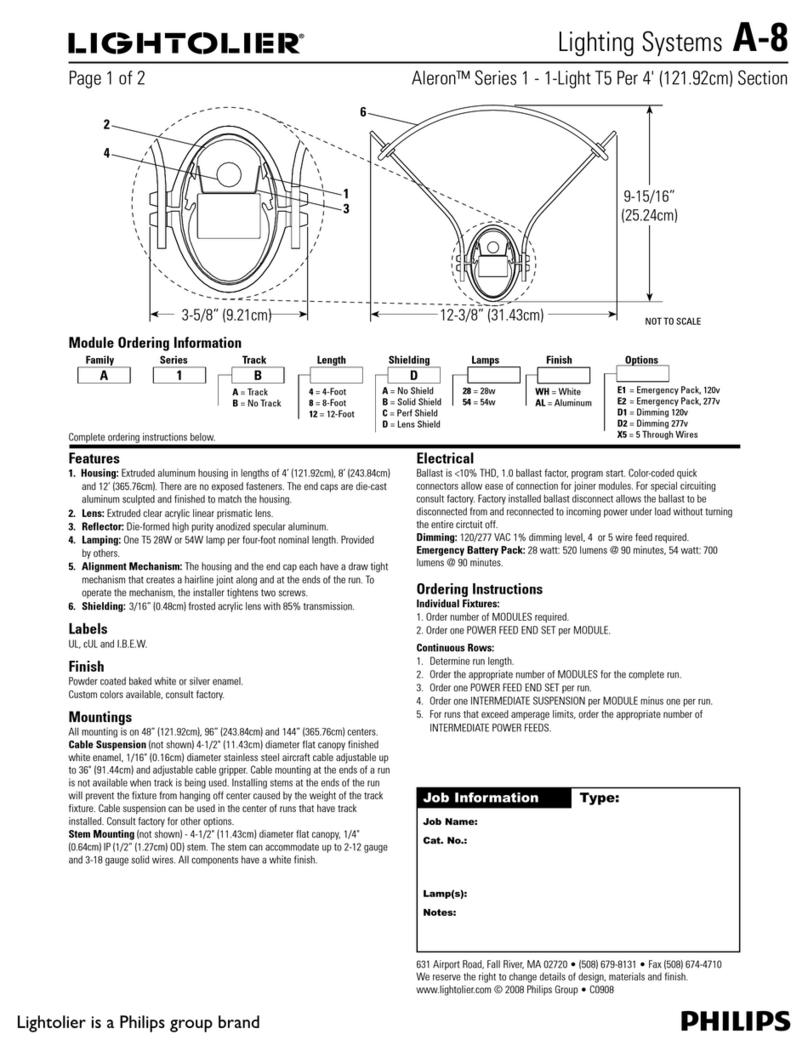
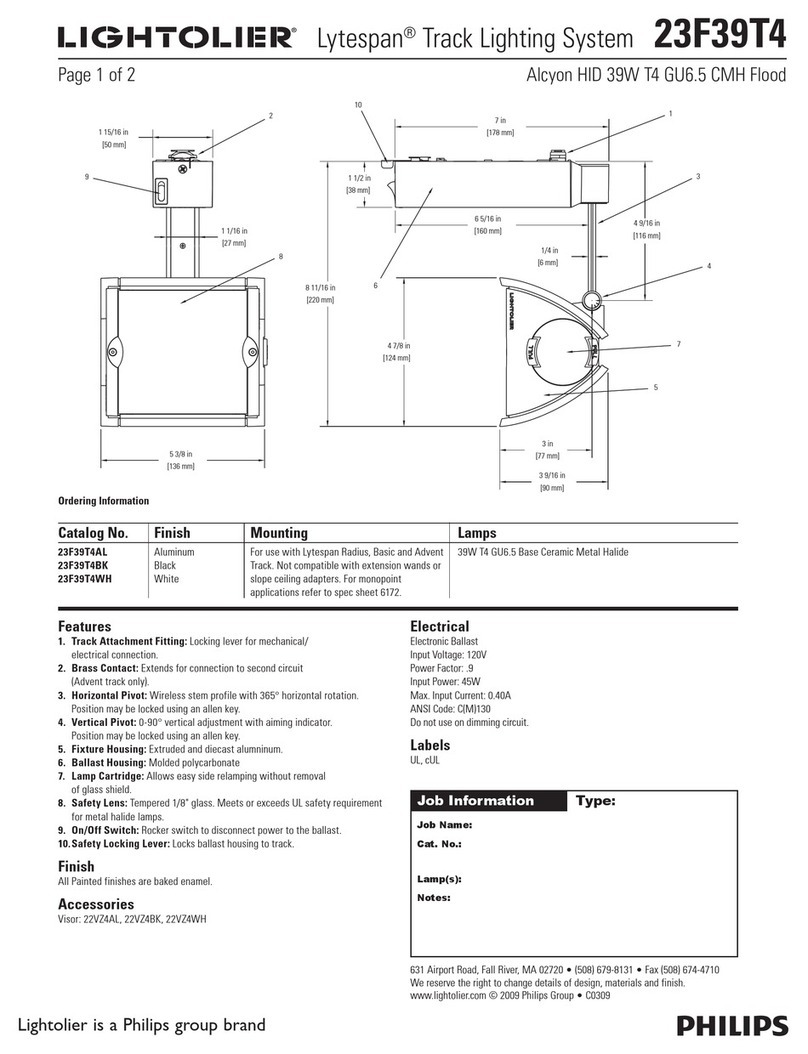
Lightolier Lytespan 23F39T4 User manual

Lightolier

Lightolier Lytespan 23F39T4 User manual

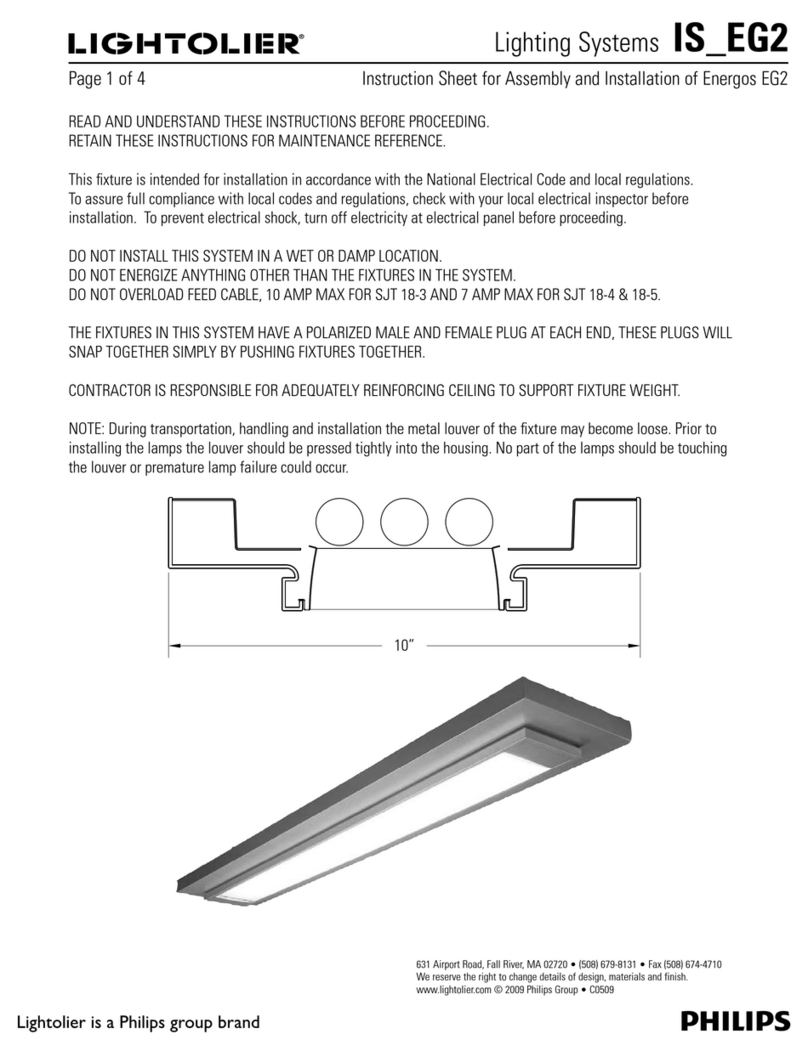
Lightolier IS_EG2 Instruction Manual

Lightolier

Lightolier IS_EG2 Instruction Manual

Lightolier EC2-1 User manual

Lightolier

Lightolier EC2-1 User manual

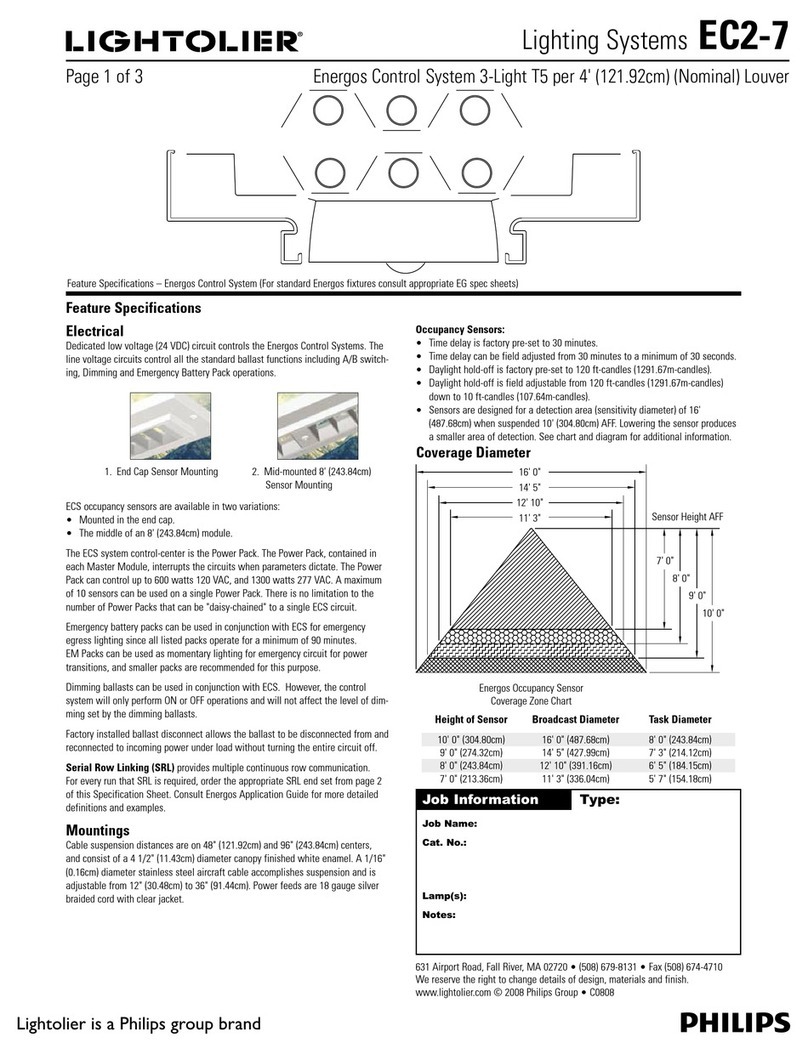
Lightolier Lighting Systems EC2-7 User manual

Lightolier

Lightolier Lighting Systems EC2-7 User manual

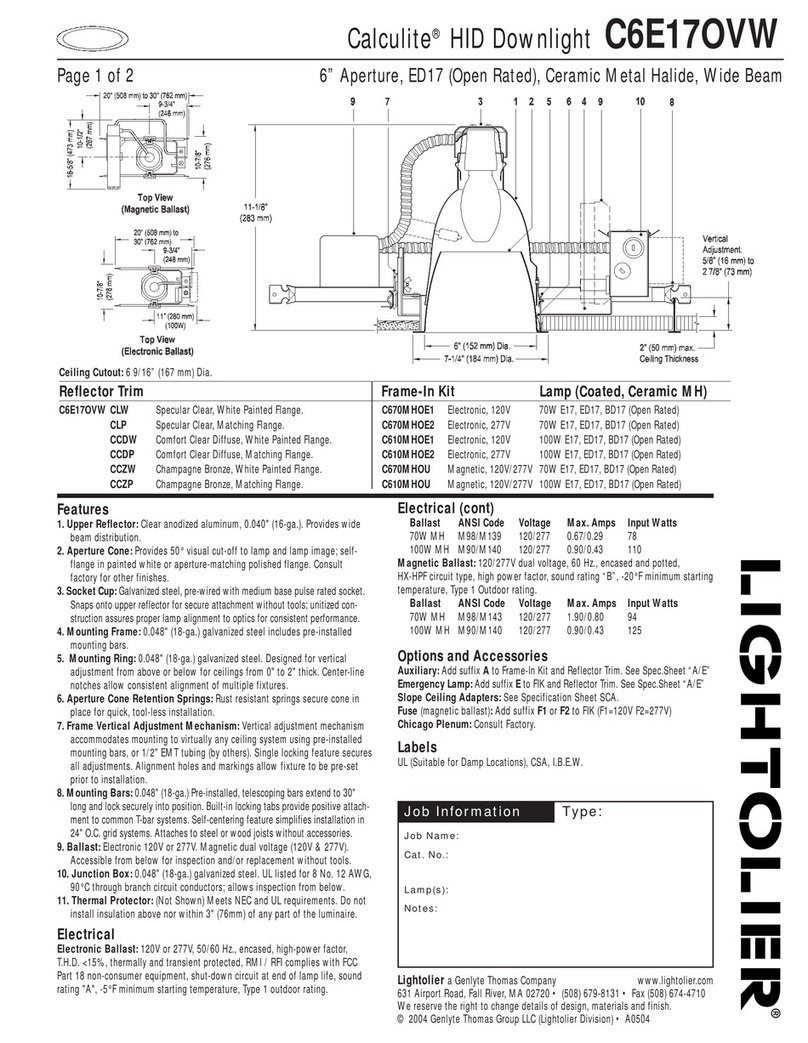
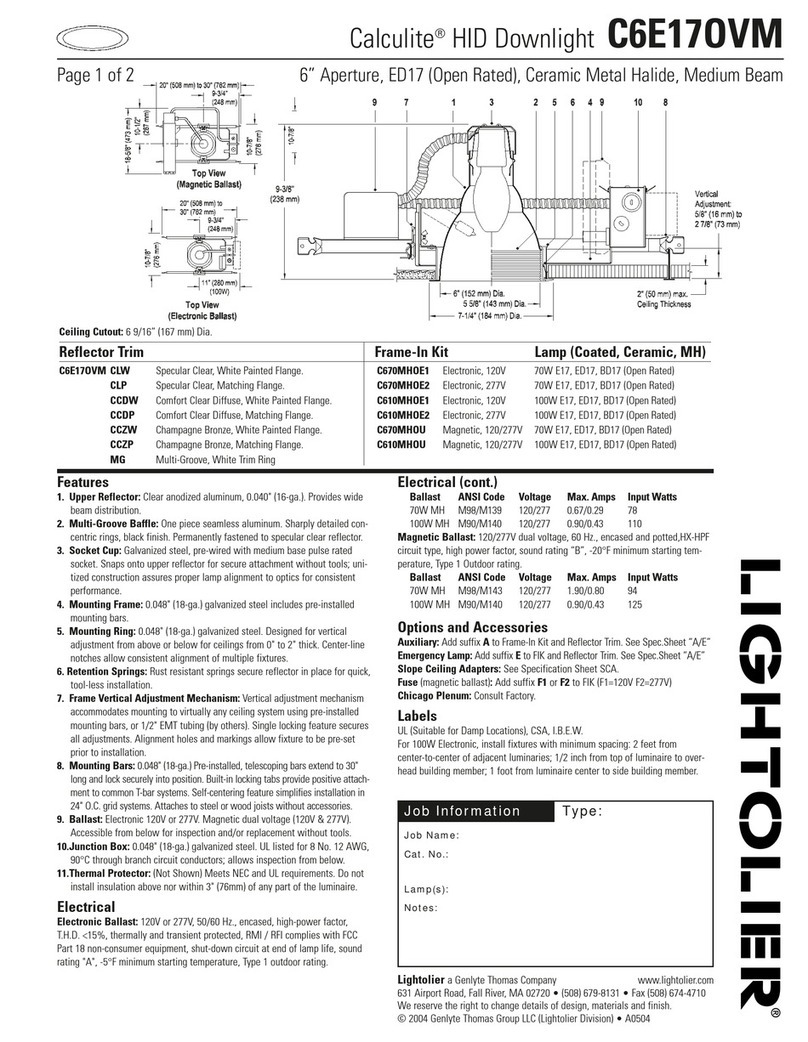
Lightolier Calculite C6E17OVW User manual

Lightolier

Lightolier Calculite C6E17OVW User manual

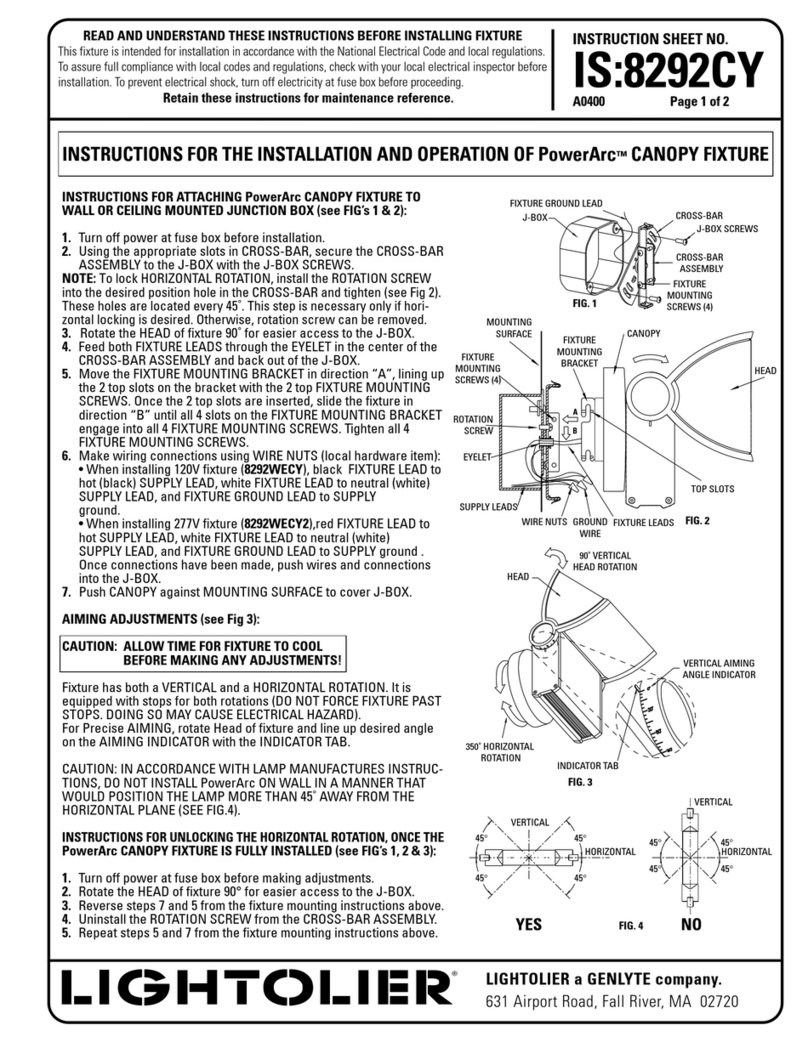
Lightolier PowerArc CANOPY FIXTURE Guide

Lightolier

Lightolier PowerArc CANOPY FIXTURE Guide

Lightolier MBS2GPW224 User manual

Lightolier

Lightolier MBS2GPW224 User manual

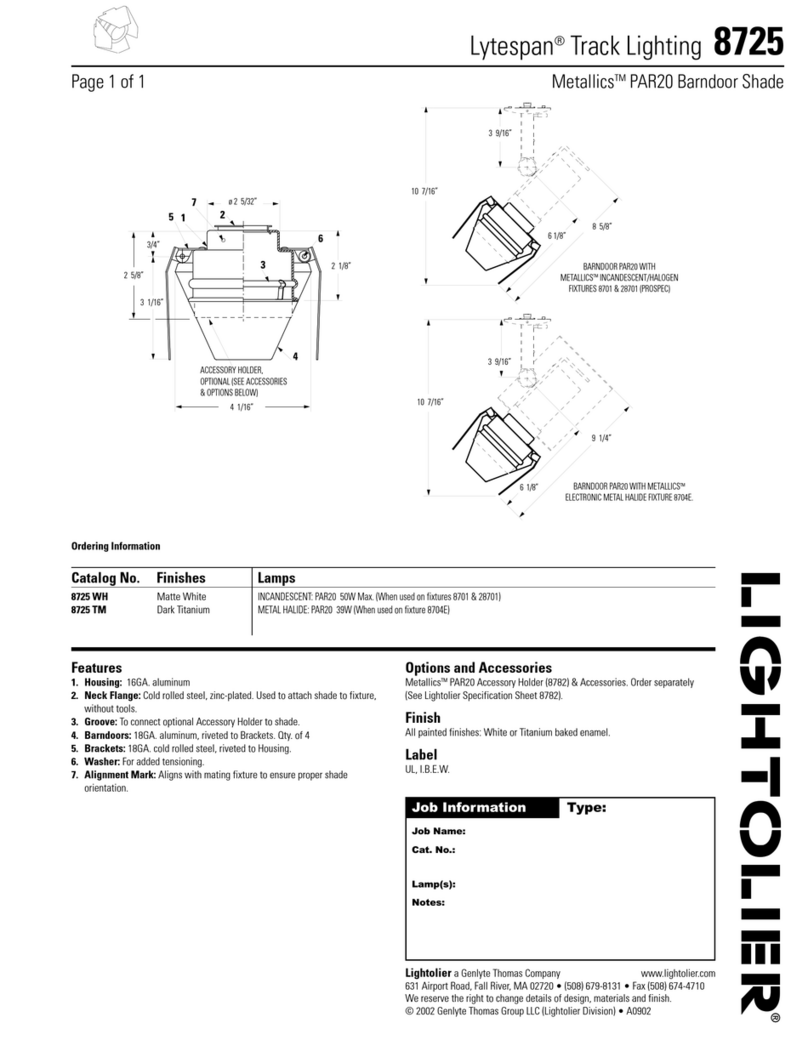
Lightolier Lytespan 8725 User manual

Lightolier

Lightolier Lytespan 8725 User manual

Lightolier Calculite C6E17OVM User manual

Lightolier

Lightolier Calculite C6E17OVM User manual

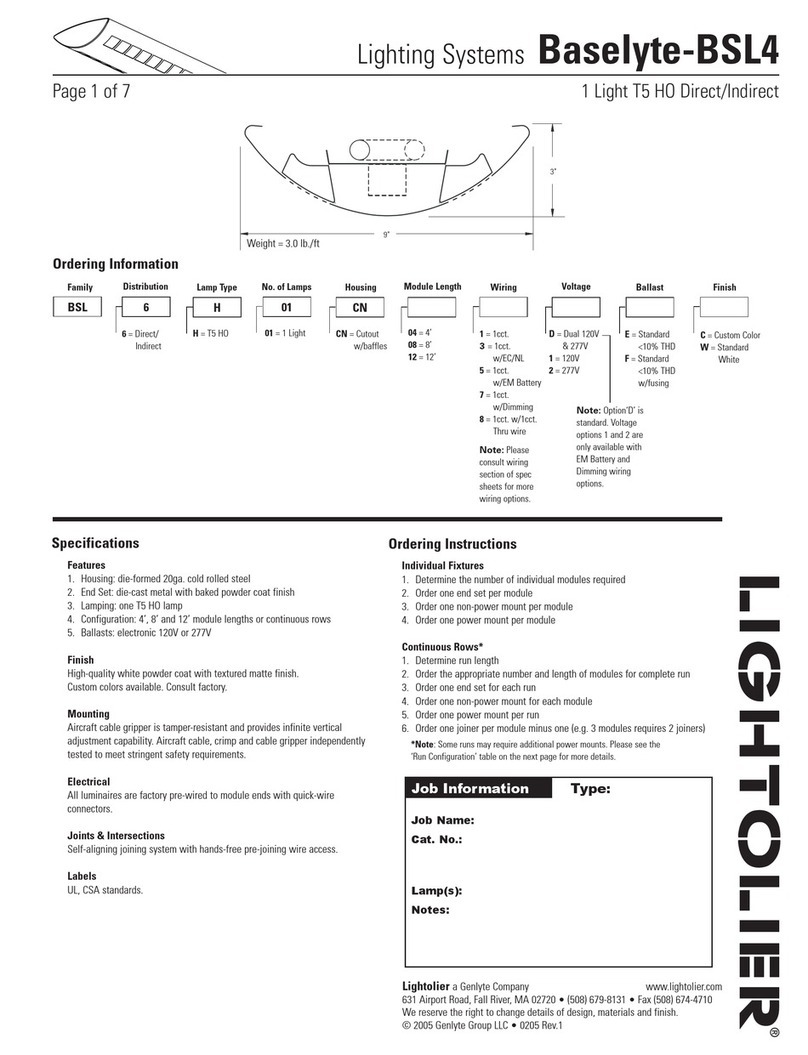
Lightolier Baselyte-BSL4 User manual

Lightolier

Lightolier Baselyte-BSL4 User manual

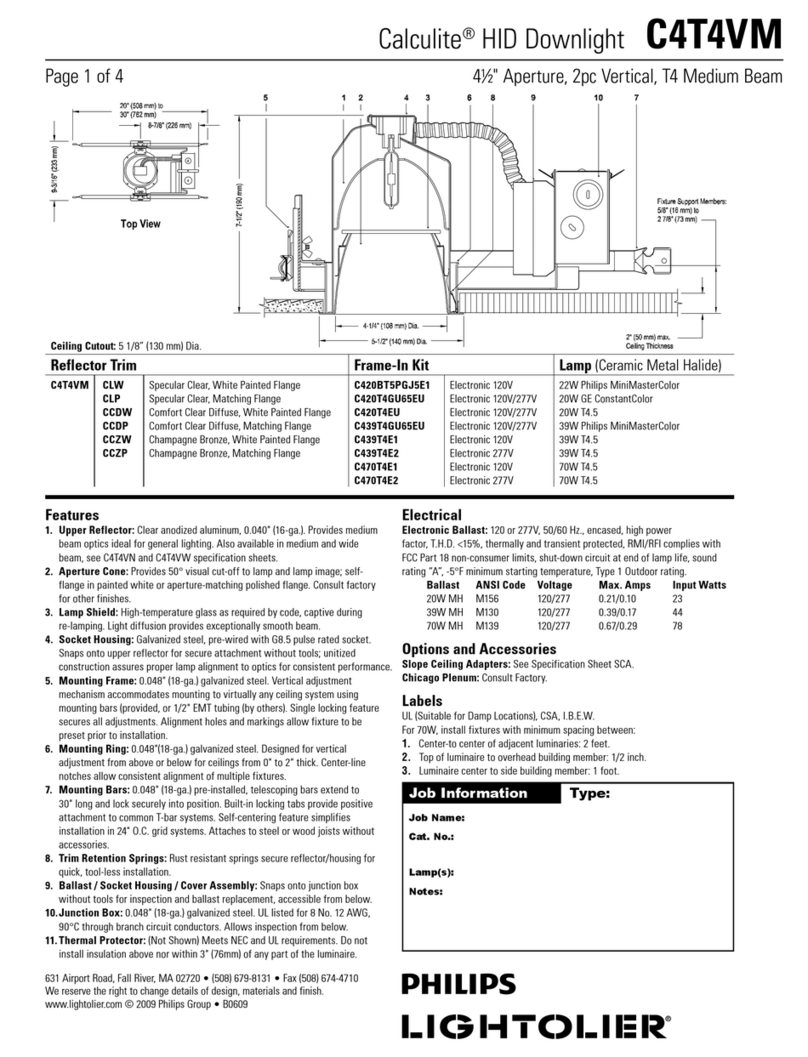
Lightolier Calculite C4T4VM User manual

Lightolier

Lightolier Calculite C4T4VM User manual

Lightolier XA432 User manual

Lightolier

Lightolier XA432 User manual

Lightolier Alcyon 23S20P3 Guide

Lightolier

Lightolier Alcyon 23S20P3 Guide

Lightolier Lighting Systems EC2-10 User manual

Lightolier

Lightolier Lighting Systems EC2-10 User manual

Lightolier Calculite ProSpec PA2P3075 User manual

Lightolier

Lightolier Calculite ProSpec PA2P3075 User manual

Lightolier Lighting Systems Baselyte-BSL11 User manual

Lightolier

Lightolier Lighting Systems Baselyte-BSL11 User manual

Lightolier IS-SIL_J User manual

Lightolier

Lightolier IS-SIL_J User manual

Lightolier QVF2SPFOS User manual

Lightolier

Lightolier QVF2SPFOS User manual

Lightolier Lighting Systems Baselyte-BSL15 User manual

Lightolier

Lightolier Lighting Systems Baselyte-BSL15 User manual

Lightolier Lighting Systems Baselyte-BSL3 User manual

Lightolier

Lightolier Lighting Systems Baselyte-BSL3 User manual

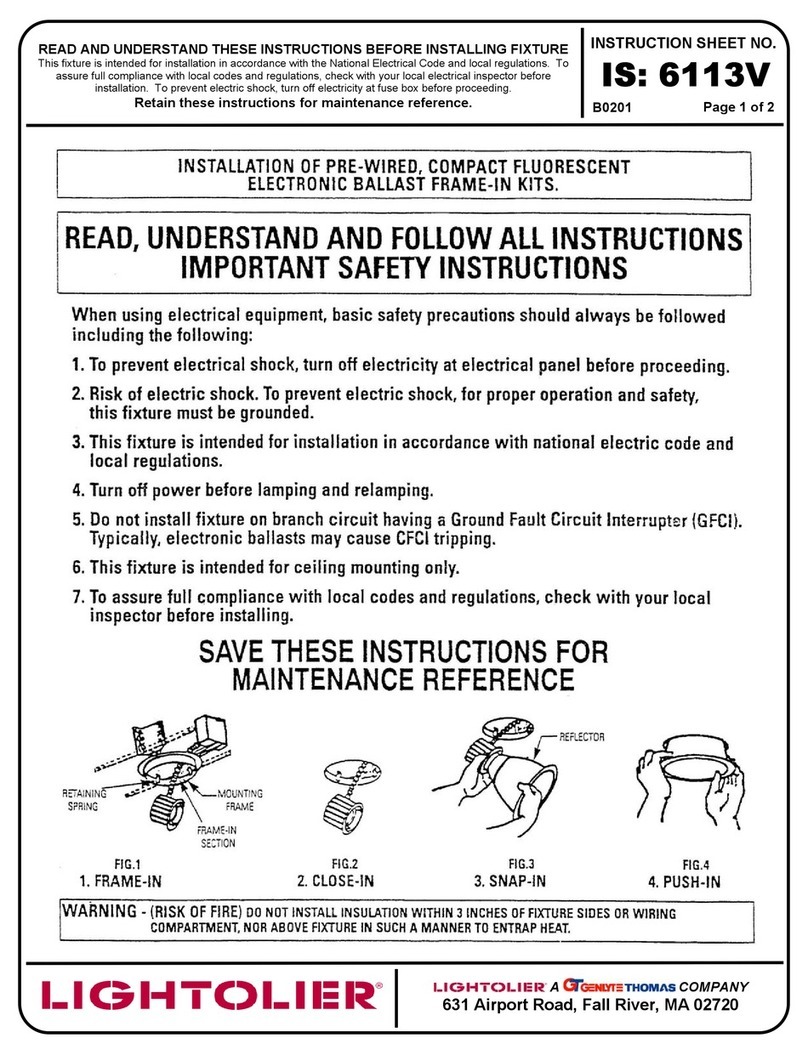
Lightolier Pre-wired, compact fluorescent electronic... User manual

Lightolier

Lightolier Pre-wired, compact fluorescent electronic... User manual

Lightolier Advent Lytespan 1 6101 User manual

Lightolier

Lightolier Advent Lytespan 1 6101 User manual

Lightolier Aleron A-8 User manual

Lightolier

Lightolier Aleron A-8 User manual

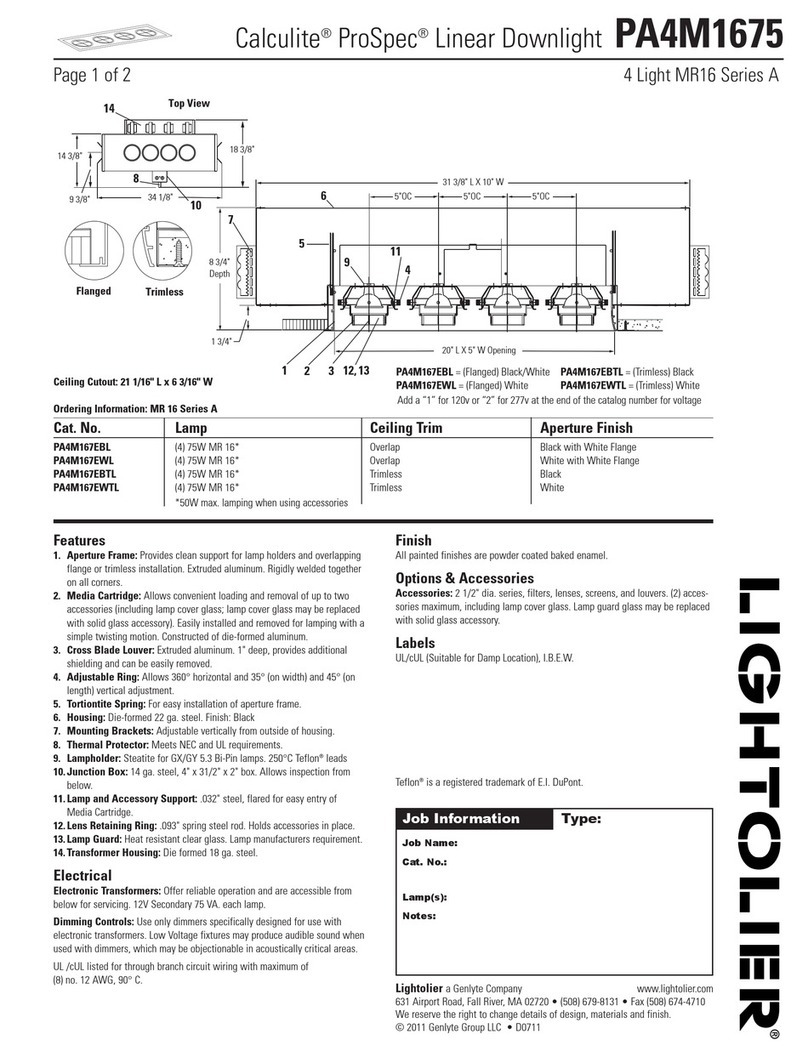
Lightolier Calculite ProSpec PA4M1675 User manual

Lightolier

Lightolier Calculite ProSpec PA4M1675 User manual

Popular Lighting Equipment manuals by other brands

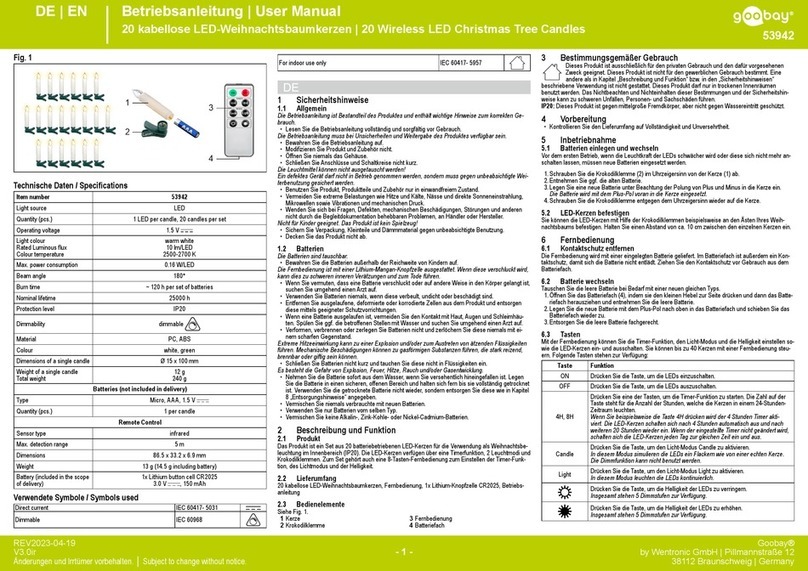
goodbay 53942 user manual

goodbay

goodbay 53942 user manual

Home Venus Smart Bulb user manual

Home Venus

Home Venus Smart Bulb user manual

Lastolite Cubelite operating instructions

Lastolite

Lastolite Cubelite operating instructions

Satco NUVO 67-130 Installation and safety instructions

Satco

Satco NUVO 67-130 Installation and safety instructions

Philips MasterColor CDM P-5970 Brochure & specs

Philips

Philips MasterColor CDM P-5970 Brochure & specs

Daewoo DASL-MS34 user manual

Daewoo

Daewoo DASL-MS34 user manual

American DJ LED Pixel Tube 360 Information sheet

American DJ

American DJ LED Pixel Tube 360 Information sheet

Chauvet Colorado 1 Tri IP Quick reference guide

Chauvet

Chauvet Colorado 1 Tri IP Quick reference guide

Home Decorators Collection HD7839E Use and care guide

Home Decorators Collection

Home Decorators Collection HD7839E Use and care guide

Velleman HQ Power VDLLBPS6 user manual

Velleman

Velleman HQ Power VDLLBPS6 user manual

Osram TRAXON Media Pixel Ribbon DMX Outdoor Flat Mounting guide

Osram

Osram TRAXON Media Pixel Ribbon DMX Outdoor Flat Mounting guide

SMARTPOINT SPSMGBLTS-15 user manual

SMARTPOINT

SMARTPOINT SPSMGBLTS-15 user manual

LUCIS OMNIA ZT4 Mounting instructions

LUCIS

LUCIS OMNIA ZT4 Mounting instructions

Lowel Scandles LSF-24DA instructions

Lowel

Lowel Scandles LSF-24DA instructions

Spitzer LIGHTING DSKL10-18WCC-S installation manual

Spitzer LIGHTING

Spitzer LIGHTING DSKL10-18WCC-S installation manual

ML Accessories FL8ABK Installation & maintenance manual

ML Accessories

ML Accessories FL8ABK Installation & maintenance manual

Philips Selecon Fresco Operation manual

Philips

Philips Selecon Fresco Operation manual

luceco Ceres Series Installation & operating instructions

luceco

luceco Ceres Series Installation & operating instructions

manuals.online logo
manuals.online logoBrands
  • About & Mission
  • Contact us
  • Privacy Policy
  • Terms and Conditions

Copyright 2025 Manuals.Online. All Rights Reserved.