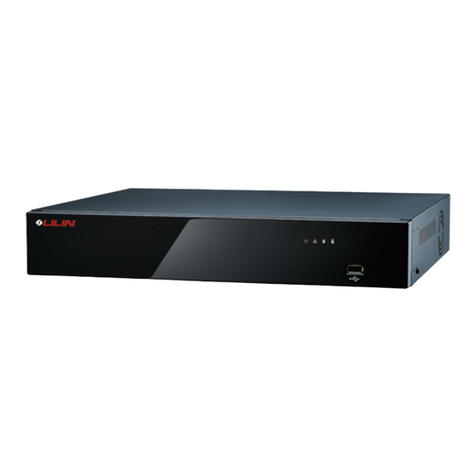
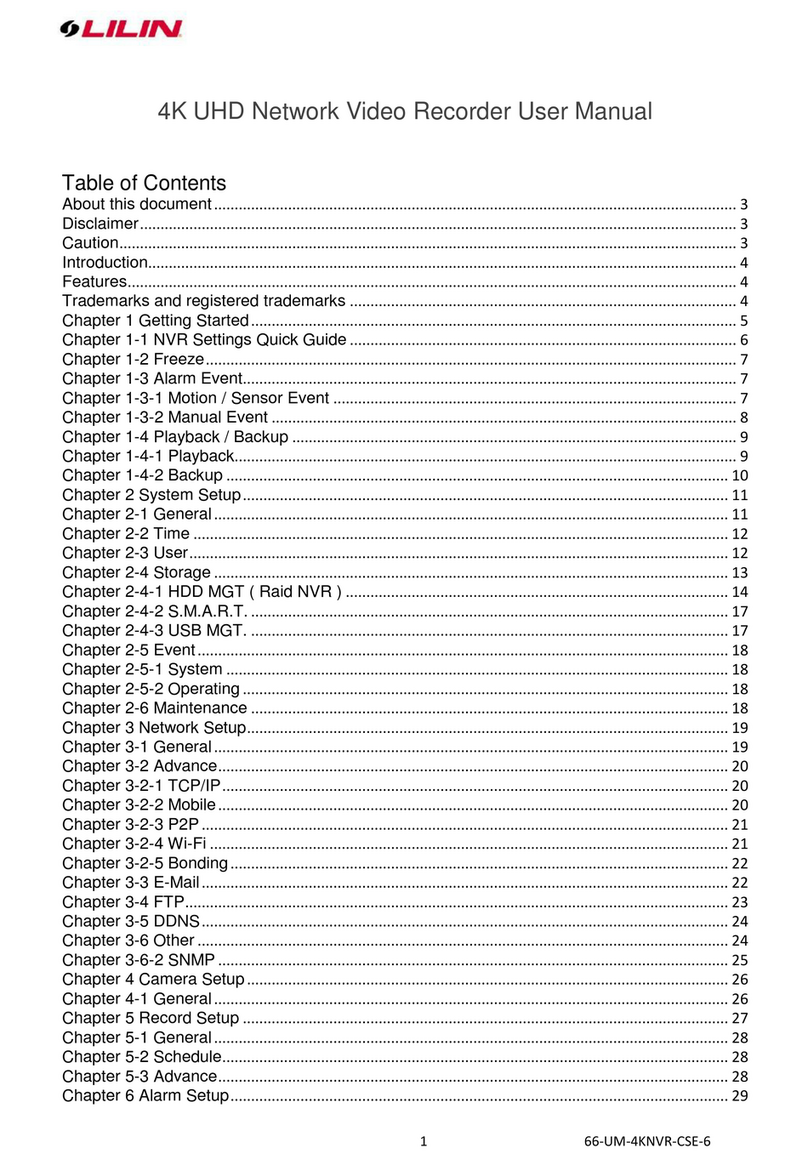
Lilin 4ch PoE Network Video Recorder Series User manual

4K UHD
4K UHD
4ch/8ch/16ch PoE Network Video Recorder Series
Installation Guide

Features:
Standalone NVR Linux operating system.
Support 4K (UHD) H.264 realtime 4K video input.
Each channel can support PoE power supply.
H.264 dual-stream decoding.
Support simultaneous recording, remote live viewing, playback and backup.
Standard ONVIF, RTSP protocols.
Support DDNS, Email, UPNP, NTP.
Support WEB, APP video preview and video playback.
Support P2P network quick connect.
Caution:
Do not drop or strike the equipment.
Do not install the equipment near naked flames or heat sources. Please keep the
equipment installed in a level place to avoid falling.
Do not expose this unit to rain, moisture, smoke or dusty environments.
Do not cover the opening of the unit with cloth or plastic or install this unit in a poorly-
ventilated place. Allow 10 cm between this unit and its surroundings.
Do not continue to operate the unit under abnormal conditions such as detection of
smoke, strange smell or malfunctioned screen whilst power is turned on.
Do not touch the power connection with wet hands.
Do not damage the power cord or leave it under pressure.
To avoid unnecessary magnetic interference, do not operate this unit near magnets,
speaker system, etc.
All connection cables must be grounded properly.
Warning: Do not throw your product in municipal waste.
This product has been designed to enable proper reuse of parts and recycling.The symbol of the
crossed out wheeled bin indicates that the product (electrical and electronic equipment) should
not be placed in municipal waste.Check local regulation for disposal of electronics products.
Disclaimer:
Subject to the actual product, the installation guide is for your reference only.
The installation guide and procedures will be updated according to the product, and
will be upgraded without further notice.
The installation guide may contain technical or product function mismatches or
typographical errors, which will be subject to the company’s final interpretation.
CAUTION
RISK OF EXPLOSION IF BATTERY IS REPLACED WITH AN INCORRECT TYPE
DISPOSE OF USED BATTERIES ACCORDING TO THE INSTRUCTIONS

166‐NVRE‐OOE‐3
Product Overview
Standard PoE NVR Front View:
Sign Code name Description
PWR Power LED Blue, power on/off indicator
HDD Hard disk LED Blue, HDD activity indicator
NET Network LED Blue, LAN activity indicator
USB port USB2.0 port, connects to mouse, USB flash drive, etc.
Hard Drives Installation Instructions
1. Remove the upper casing and loosen the screws on both sides, total seven screws
on the back cover of the main unit casing.
2. Install hard drives and plug in the hard disk cable and power cord.
3. Align the hard disk with the four holes on the bottom plate and lock the four screws
to secure the hard disk to the bottom plate.
4. Lock the cover of the case back with the screws.

266‐NVRE‐OOE‐3
Start using the PoE NVR
You will see the following screen through HDMI or VGA connection once you power on the
NVR.
Step 1: Enter the login
Click “Start” button, select “Login”, enter “User Name” and “Password” to login。
(Default: admin / 1111, it’s recommended to change the username and password after logging
in.)
Step 2: Basic setting (Click “Start” in the toolbar above)
1. Language settings: click “Start” button, select “Guide”, select the applicable language,
and proceed to next step.
2. Resolution settings: recommended setting at 1920x1080, proceed to the next step.
3. Network settings: IP address default is 192.168.0.100 / Mask preset default is
255.255.255.0 / Gateway default is 192.168.0.1, proceed to the next step.

366‐NVRE‐OOE‐3
4. QR code description: scan EZ Viewer for serial number of the P2P. Scan Apple or
Android for APP download.
Note: If checked and saved, it will not be displayed next time (Don’t display next time) and
resetting when you login next time.
Step 3: Time settings (Click “System Setting” in the toolbar above)
Time settings: select the applicable time zone to ensure local time is met.
Step 4: Device settings (Click “Channel Setting” in the toolbar above)
1. Click Protocol button – check the Onvif and SLINK then click “Search”, it will display
related devices connected to the NVR in the list.
Note: NVR and IP camera must be on the same network segment
2. In the left window list, click the desired device to move to the right window list.
3. When Protocol check Onvif button, the status is display “Connect Failed” on the right

466‐NVRE‐OOE‐3
window, you need to manually enter the address and port to save and exit as below:
(The Onvif protocol of LILIN E series that general port is set to 2000)
Step 5: System time settings (Click “System Setting” in the toolbar above)
Choose “System Setting” in the toolbar above to click “Time Setting” and “IPC Check Time”.
Mirror the IP cameras connected to the NVR for time synchronization.
Step 6: Preview (Click “Preview” in the toolbar above) Display the image

566‐NVRE‐OOE‐3
Step 7: Hard Disk Format (Click “Disk Manager” in the toolbar above)
1. When the hard disk status display needs to be formatted (red font), you will need
to check “Format” and the hard disk will be formatted.
2. When “Status” display blue font “Normal”, it means the hard disk has started
recording.

666‐NVRE‐OOE‐3
Step 8: Playback (Click “Playback” in the toolbar above)
Click “Playback”, search for content to be playback according to date and time.
Start using Web to connect NVR
1. To set the computer network protocol, enter the IP address and subnet mask and
preset gateway.
2. Log in to the web by typing http://192.168.0.100 into the webpage.

766‐NVRE‐OOE‐3
3. Enter “Username”, ”Password” and check “Language” will connect the NVR.
4. Click on the device list on the left to the right window position, and instant image
will appear on the web page.
Note: For Windows PC download and install, please connect the below link:
http://www.ddnsipcam.com/bridge/WindowsEZViewer
Start using App to connect to NVR
Mobile download and registration
1. Please enter EZ Viewer in the APP Store or Google Play to download and install
on your mobile and register.
2. Or scan the QR code to download the APP and register it.

866‐NVRE‐OOE‐3
3. After registering and logging in, click “+” in “Favorites” to add a device, then click
the serial number 2D barcode to search.
4. The device name can be set by yourself. Enter the username and password (for
NVR username and password) and add it.

966‐NVRE‐OOE‐3
5. When the device settings are completed, click “Live” and the mobile App will
display the live image.
6. Click “Playback”, Search for content to be played back according to date and time.
This manual suits for next models
2
Table of contents
Other Lilin Network Hardware manuals