This appliance must be connected to the electricity supply by a qualified electrician, in
accordance with relevant regulations.
This appliance should be connected to mains electricity via a suitable isolating switch, which
should have at least a 3mm contact separation on all poles.
Remove link wires between terminal blocks (4 off) when connecting to Two Mains Supplies.
The isolator should be easily accessible in the event of an emergency.
Check that the power supply and the supply cable to be used, is compatible with the rating of the
unit.
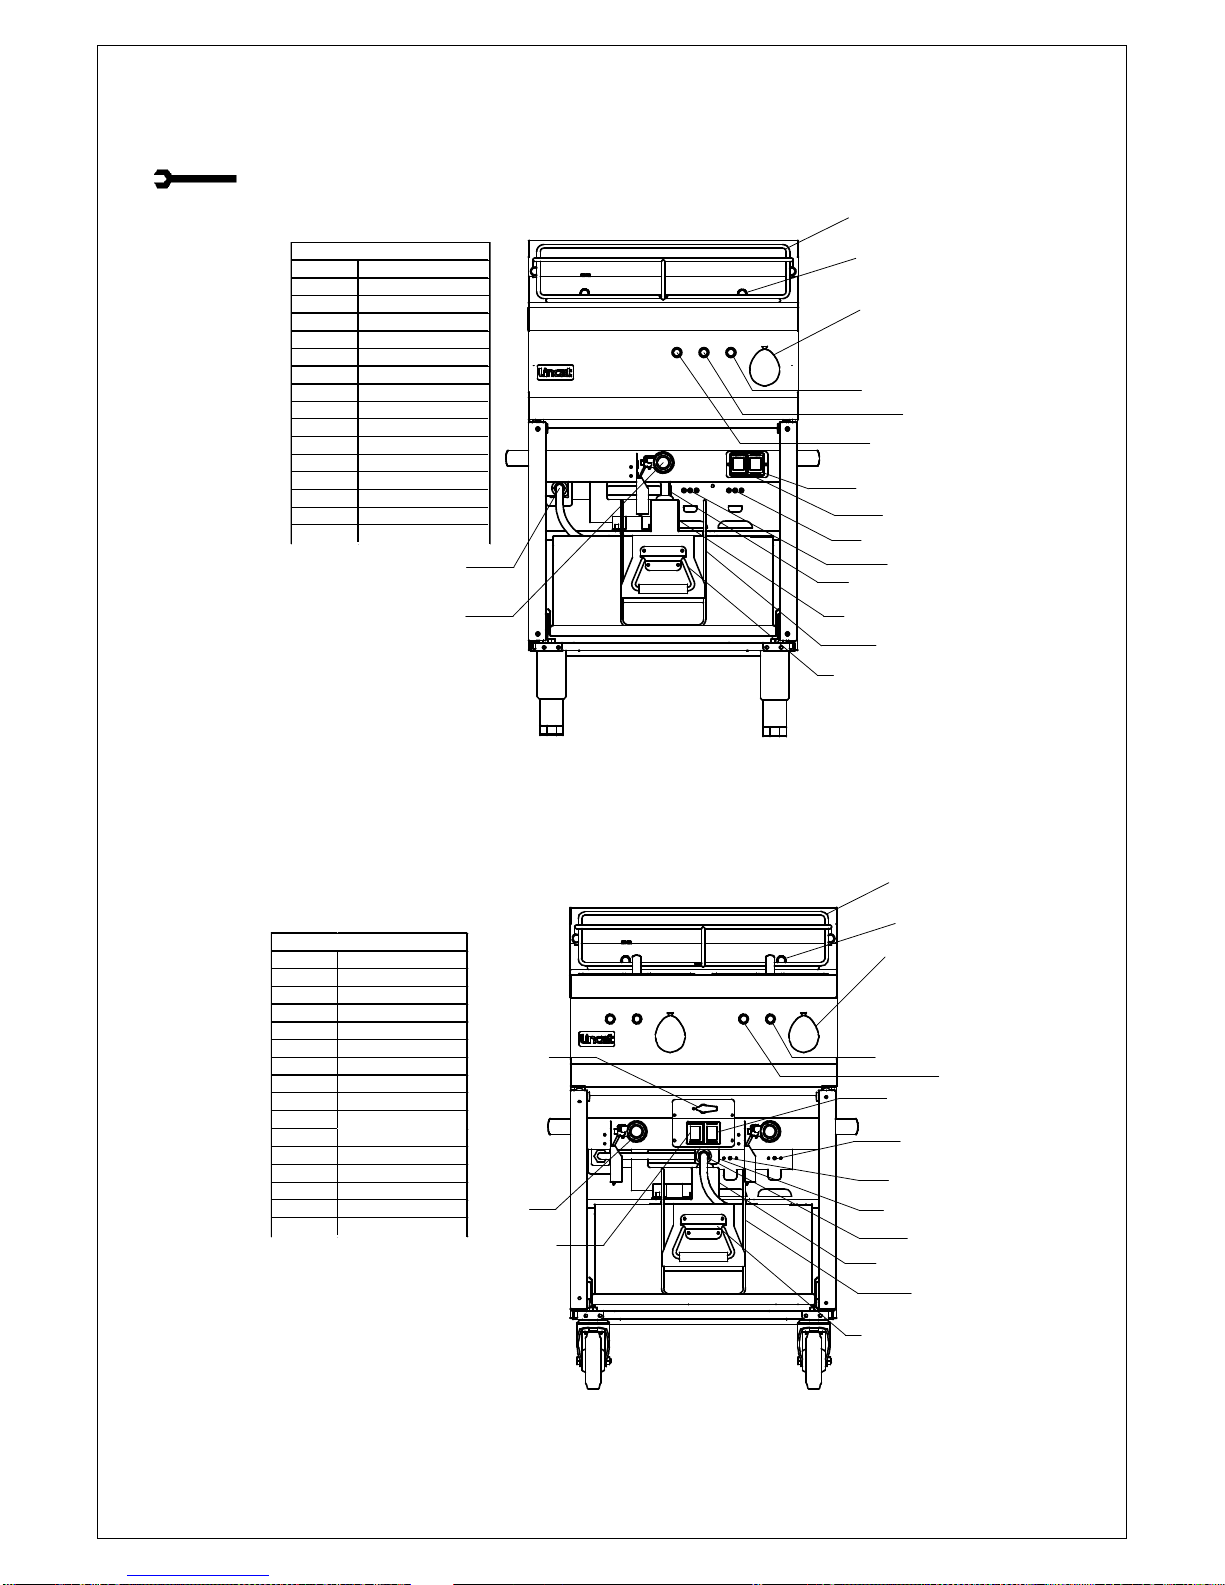
Remove the rear panel to gain access for connections.
The appliance is fitted with a safety cut out switch on the element mounting that disconnects the
supply to the element when it is raised to the cleaning position. (See user instructions)
Never operate the unit without oil in the tank
PREPARATION
Ensure that the oil drain taps are closed.
Remove the filter pad holder from the oil drain tank
Clean the fryer tank thoroughly with a warm mild detergent solution.
Rinse the tanks, drain pipes and taps, and then dry thoroughly.
Run a small quantity of oil across the bottom of each tank. Open the drain tap and drain any
residual water into the oil drain tank. Coat the base of the tank with a layer of oil.
Close the drain taps.
Empty oil drain tank, dry thoroughly and re-fit oil drain tank back into the base of the fryer.
Ensure:-
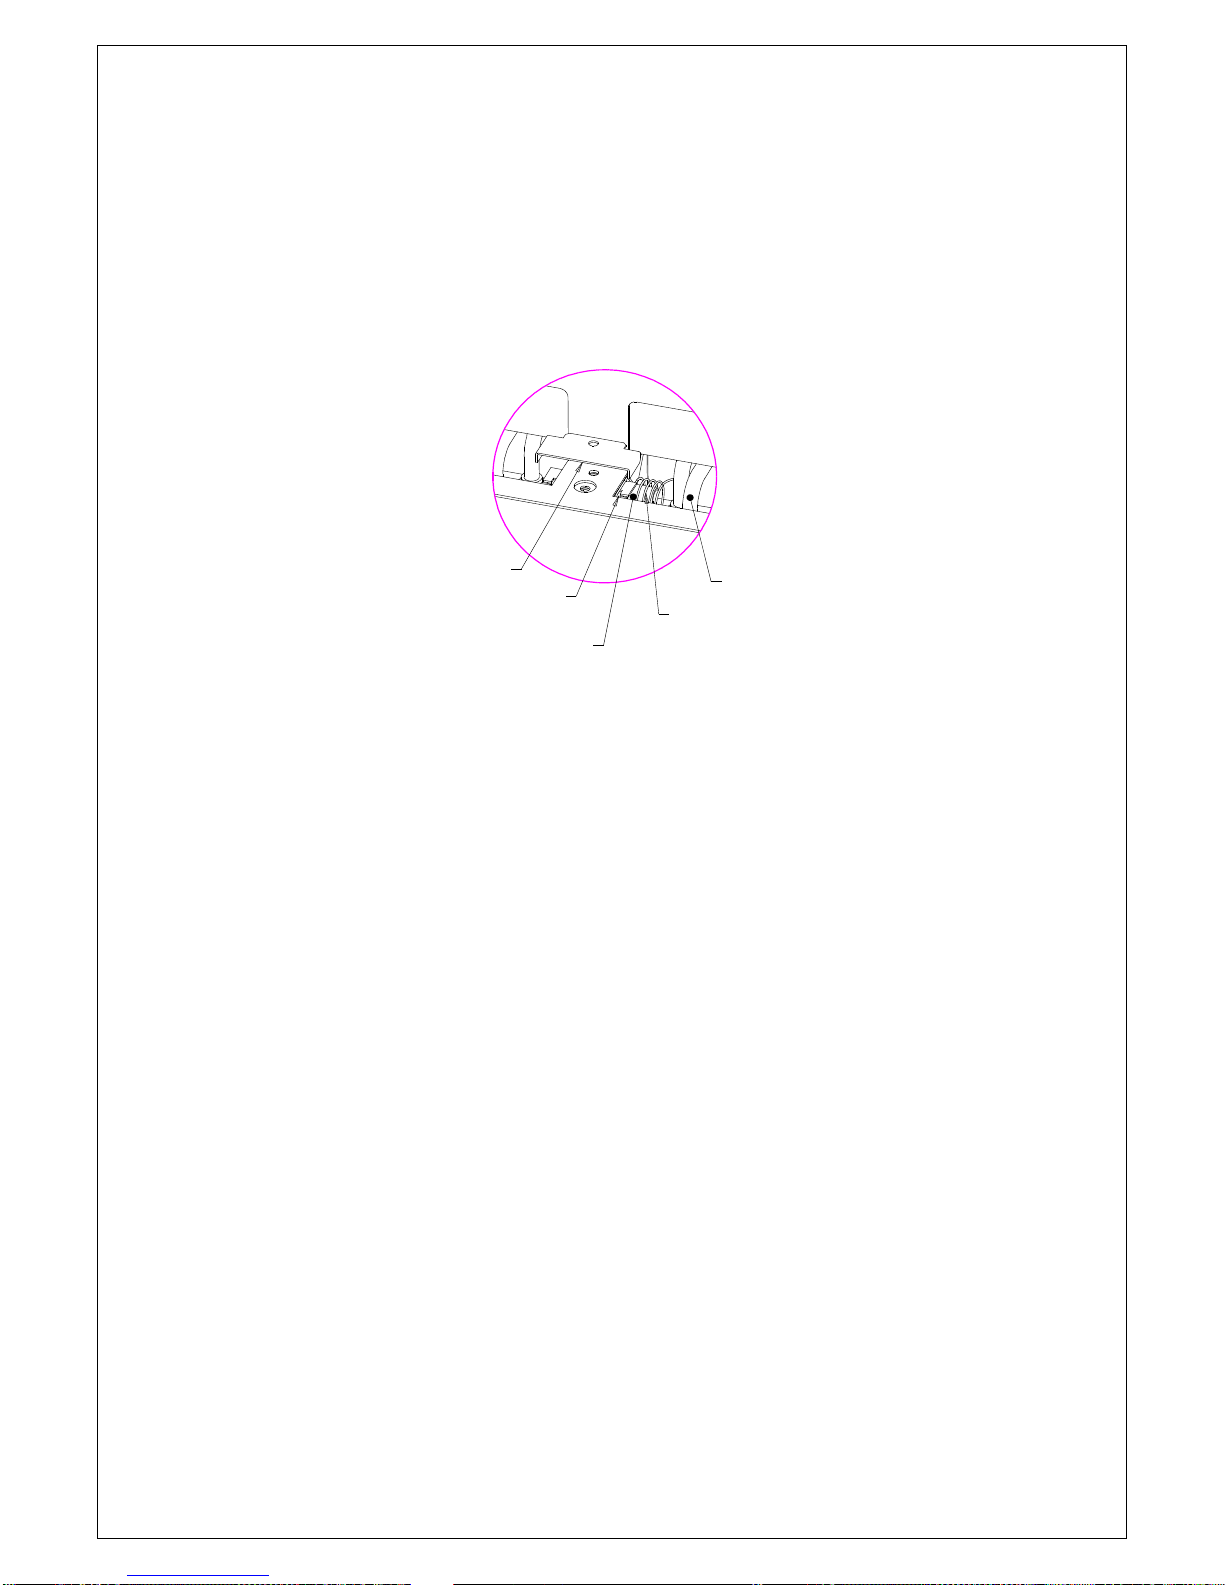
A carbon filter pad is securely fitted in the filter pad holder
The filter pad holder is placed in the oil drain tank
The filter pad holder flexible hose is securely fitted to the pump suction quick coupling
Fill the tank with oil midway between the min and max level marks.
SWITCHING ON
With the control knob in the off position and the „Filter/fryer mode‟ toggle switch in fryer
mode, switch the unit on at the isolator.
The green neon will light.
Turn a thermostat control knob clockwise to the required temperature.
The adjacent amber neon will light, indicating that the heating elements are energised.