Lindsay VacuMaid User manual

Owners Manual
IMPORTANT: Carefully read and retain this booklet.
Safety Instructions
Grounding Instructions
Operating Your Central Vacuum
Installation Tips
Typical Installation
Filtered Units
Single Piece Units - Cyclonic
Split Canister Single Motor Units
Split Canister Double Motor Units
Maintenance
Single Piece Cyclonic Units
Split Canister Cyclonic Units
Filter Screens
Inverted Bag Units
Paper Bag Units
Servicing Air Channel
Troubleshooting Guide
Warranty
Serial Number Location
Tips on the Care of Your Central Vacuum
TABLE OF CONTENTS
Pg. 1-2
Pg. 2-3
Pg. 4
Pg. 5
Pg. 6
Pg. 7
Pg. 8
Pg. 9
Pg. 10
Pg. 11-12
Pg. 12
Pg. 13
Pg. 14
Pg. 15-16
Pg. 17-19
Pg. 20
Pg. 21
Pg. 22
Lindsay Manufacturing, Inc.
www.lindsaymfg.com

This appliance is for residential or commercial use
1 www.lindsaymfg.com
• Do not leave room when hose is plugged
in to the inlet.
• Disconnect power before servicing.
• Electric shock could occur if used on wet
surfaces.
• Do not allow to be used as a toy. Close
attention is necessary when used by or
near children.
• Use only as described in this manual. Use
onlythose attachments thatarerecommended.
• Do not use with damaged cord or plug. If
applicance is not working as it should,
has been dropped, damaged, left out
doors, or dropped into water, return it to
an authorized dealer.
• Do not pull or carry by cord, use cord
as a handle, close a door on cord, or pull cord
around sharp edges or corners. Do not
run appliance over cord. Keep cord away
from heated surfaces.
• Do not unplug by pulling on cord. To
unplug, grasp the plug, not the cord.
• Do not handle plug, valves or appliance
with wet hands.
• Do not unplug system by pulling on
vacuum hose. To unplug, grasp the cu,
located on the end of the hose. If you have
a standard non-electric hose, pull out with
a twisting motion.
• Do not put anything into vacuum inlets or
vents. Keep all inlets free of things that might
slow airow, such as lint, dust and hair. Do not
use thevacuum systemifsomethingis blocking
an opening.
When using an electrical appliance, basic precautions should always be
followed. Read all instructions before using this appliance.
WARNING: To reduce the risk of re, electric shock or injury
always follow these safety instructions
IMPORTANT SAFETY INSTRUCTIONS
• Ifequipped withan airturbinepower
brush, unplug the vacuum hose before at-
taching power brush. Keep ngers, hands
and toes away from the base of the power
brush. Failure to do so could result in injury
from moving parts.
• Inthe eventthepower unitshouldget
wet, do not use the vacuum system until
it hasbeenproperlyservicedandexamined
by a serviceman or installer.
• Keep hair, loose clothing, ngers and all
parts of the body away from wand, other
openings and moving parts.
• Ifso equipped,do notuse yourcentral
vacuum system without dustbag and/or
lters in place.
• Always disconnect vacuum system be-
fore emptying dirt canister, cleaning lters
or replacing dustbag.
• Use extra care when cleaning on stairs.
• Donot useto pickup ammableor
combustible liquids such as gasoline or
use in areas where such liquids may be
present.
• Do not use to pick up dry wall or cement
dust. Doing so will void warranty.
• Do not pick up anything that is burning
or smoking, such as cigarettes, matches or
hot ashes.
• When nished put the vacuum hose and
attachments away to prevent tripping
accidents.
• For electric vacuum hose, connect to a
properly wired 2-pole polarized outlet.
• Electric vacuum hose, use only with the
electric power brush for use with the
central vacuum system.
• The extension cord provided may only be
used with the electric power brush for use
with the central vacuum system.
• DO NOT USE the electric vacuum hose or
extension cord with any appliance other
than the central vacuum electric power
brush for which it is intended.
CAUTION: Do not use when rug (or oor) is wet.
ATTENTION: Ne pas utiliser lorsque le tapis (ou le plancher) est moduille.
SAVE THESE INSTRUCTIONS
-WARNING-
ELECTRIC SHOCK COULD OCCUR IF USED ON WET SURFACES
FOR CORD CONNECTED APPLIANCE
GROUNDING INSTRUCTIONS
This appliance must be grounded. If
it should malfunction or breakdown,
grounding provides a path of least
resistance for electric current to reduce
the risk of electric shock. Your central
vacuum system is supplied with an
electrical cord having a grounding pin.
It is recommended that this plug be
used only with an appropriate outlet
that is properly installed and grounded
in accordance with all local codes and
ordinances. This appliance is for use on
a nominal 120-volt circuit (U.S. only) or
230/250 volt circuits where applicable,
and has a grounded plug that looks like
the plug shown in Figure A. A tempo-
rary adapter, that looks like the adapter
illustrated in Figure B, may be used to
connect this plug to a 2-pole recepta-
cle as shown in Figure B if a properly
grounded outlet is not available.
• For a grounded appliance, connect to a
properly grounded outlet only. See
grounding instructions.
• Do not handle electric hose or inlets
with wet hands.
• If your system is equipped with an elec-
trical vacuum hose, do not use if damaged.
Do not pull hose around sharp corners, and
keep hose away from heated services.
Do not run other appliances over vacuum
hose.
• Donot usetheelectricvacuumhose ifit is
damaged, cut or punctured. Do not pick
up sharp objects with the vacuum nozzle
or hose. Hose may contain electrical wires.
www.lindsaymfg.com 2

The temporary adapter should be used
only until a properly grounded outlet
(Figure A) can be installed by a qualied
electrician. NOTE: Temporary adapt-
ers are not permitted in Canada. The
green colored rigid ear, lug or the like,
extending from the adapter, must be
connectedtoa permanent groundsuch
asa properlygroundedoutletbox cover.
Whenevertheadapteris used,it mustbe
held in place by a metal screw.
DANGER-
FOR PERMANENTLY CONNECTED APPLIANCE
Thisappliance mustbe connected toa groundedmetal, permanentwiringsystem;
or an equipment-grounding conductor must be run with the circuit conductors
and connected to the equipment-grounding terminal or lead on the appliance.
Improper connection
of the equipment - grounding conduc-
tor can result in a risk of electric shock.
Check with a qualied electrician or your
installer if you are in doubt as to wheth-
er the outlet is properly grounded. Do
not modify the plug provided with the
appliance - if it will not t the outlet use
a temporary adaptor as shown and have
a proper outlet installed by a qualied
electrician as soon as possible.
OPTIONAL EQUIPMENT
FOR ELECTRIC HOSE OR VACUUM HOSE USED WITH EXTENSION CORD
This appliance must be connected to a polarized (2-pole receptacle),
permanent wiring system.
RECEIVER BOX FOR REMOTE CONTROL
This receiver box must be directly plugged into a polarized (2-pole receptacle)
permanent wiring system. Do not use an adapter.
DANGER ---Do not use the receiver box for any other purpose except for
use with the intended central vacuum system, 24 volt remote control system. Any
other use may cause malfunction or breakdown of the receiver box.
GROUNDING INSTRUCTIONS
GROUNDING
PIN
GROUNDED
OUTLET ADAPTER
METAL
SCREW
TAB FOR
GROUNDING SCREW
FIGURE A FIGURE B
3 www.lindsaymfg.com
on and try to open the door of another
inlet, since this will tend to pull the rub-
ber gasket from the door. If inlet does
not have remote on/o hose activated,
leave door open for a few seconds after
removing hose from inlet so the cyclonic
ltration has time to shut down and
debris can settle back down into the
dirt can. If the power unit continues to
run after the hose is removed from the
inlet, the small ball which activates the
low voltage switch at the inlet should be
checked to make sure it has not become
lodged in some way. Should this not
shut the unit o, disconnect the electri-
cal supply to the power unit and notify
your local dealer or serviceman.
VACUUM POWER UNIT - Your power
unit does not require any oil. The
bearings in the motor are greased and
sealed for life. The motor of the unit
has contact brushes inside. As the unit
is used, the brushes will wear, even
when functioning properly. Because
of this, the brushes in most power
units will need to be replaced after
700 to 1,500 hours of use. Brush life
is also aected by humidity, altitude,
temperature and the number of starts
and stops. So, there is a wide spread
in the actual life of the motor brush-
es. On average the life of the motor
brush, when used in a normal manner,
will be from ten to twenty years. The
cost of replacing your motor brushes
is not great; but, the damage that can
be done to the motor through not
replacing the brushes before they are
completely worn out is considerable.
We recommend that you have your
unit and motor brushes inspected by a
qualied serviceman every 4-6 years.
THANK YOU FOR CHOOSING A PRODUCT OF LINDSAY MANUFACTURING, INC.
OPERATING YOUR CENTRAL VACUUM
Your central vacuum system has been
engineered for a long, trouble-free ser-
vice life. Your power unit is covered by a
factory limited warranty that is enclosed
with these instructions. Please read your
limited warranty carefully. Be sure to ll
out your registration at:
www.lindsaymfg.com/registration
This will validate your factory warranty.
Remember, yourwarrantydoesnotcover
abuse or misuse of the equipment.
CLEANING TOOLS - Since there are
several tool kits available, the use and
care of these tools is explained in a sep-
arate booklet packed with each of the
tool kits. It is very important to utilize
the tool that is designed to perform
a particular cleaning job, in order to
obtain full eciency from your system.
Each of the tools and their designed
use is explained in the booklet packed
with your particular tool kit. Also,
other special carpet & ooring tools
are available, which are not included
as part of the normal tool kits. A few of
these are a vibrating upholstery tool, a
pet grooming tool, and a hand held air
turbine. In addition, there are acces-
sories designed to allow you to safely
pick up liquids with your cleaning
system such as the Wet Pick-Up. Each
of these tools is available for purchase
from your local dealer; if you would
like to know more about a certain tool,
please contact them.
VACUUM INLETS - When opening the
door of the vacuum inlet valve to insert
the cleaning hose, care should be tak-
en not to distort the door by forcing it
too far open. Do not turn the system
www.lindsaymfg.com 4
Installation Tips
5 www.lindsaymfg.com
Mounting Bracket
All VacuMaid® central vacuum units have the same mounting bracket. It is at-
tached to the unit for shipping and then must be removed for installation to the
wall.
1Remove the small
piece of metal on the
side of the mounting
bracket and discard.
2To remove the
mounting bracket, tap
lightly with a mallet.
The mounting bracket
will slide down.
3Continue
to tap with a mallet
until the mounting
bracket is completely
removed.
4Attach the removed
bracket to the wall
and slide the unit onto
the bracket.
Low Voltage Wire Connections
Strip the wire, press the Quick Clips to the
right and insert the wire
into
the holes.
Utility Valve Installation
Airflow Direction Low Voltage Terminals
Make sure the Protector Plate is in place. This is necessary
for proper suction.
Upon receiving your vacuum system, lift o the lid. The
protector plate should be located inside the can just
below the HEPA bag.
The protector plate is installed correctly when it lays at,
prong side down, directly under the HEPA bag. The warn-
ing label should be facing up. The plate provides a barrier
between the HEPA bag and mesh screen. This
allows air to circulate preventing the motor from
overheating.
Do not to throw this part away.
Protector Plate
Protector plate must be installed
properly for the vacuum to work
Proper placement of protector plate (for paper bag models only)
Typical Installation Design of Paper Bag Units
www.lindsaymfg.com 6
Typical Installation Design of Paper Bag Units
Filtered Units
NOTE:
* Power unit must be
mounted at least 6
inches from sidewall,
oor & ceiling.
48” from oor
to top hole of
can bracket
48”
Hanger Bracket
Suggested
Guidelines
48”
Hanger Bracket
Suggested
Guidelines
48” from oor
to top hole of
can bracket
Typical Installation Design of Inverted Bag Units

7 www.lindsaymfg.com
NOTE:
* Power unit must be
mounted at least 6
inches from sidewall,
oor & ceiling.
48” from
oor to top
hole of can
bracket
48”
Typical Installation Single Canister,
Cyclonic Units
Hanger Bracket
Suggested
Guidelines
Typical Installation Design of Split Canister,
Single Motor Units
NOTE:
* Motor unit must
be mounted at
least 6 inches from
sidewall, oor &
ceiling.
Hanger Bracket
Suggested
Guidelines
48” from
oor
to top
hole of
dirt can
bracket
48”
32” between
top dirt can
bracket hole
& top motor
unit bracket
hole
32”
www.lindsaymfg.com 8
Other manuals for VacuMaid
1
Table of contents
Popular Central Vacuum System manuals by other brands

Disan
Disan DS SUPER COMPACT 1,5 Instructions for use

Rehau
Rehau VACUCLEAN 2000 Fitting instructions

TECNOPLUS
TECNOPLUS Sistem-Air revo block professional Technical manual

TECNOPLUS
TECNOPLUS Sistem-Air Industrial Clean Basic Technical manual

NuTone
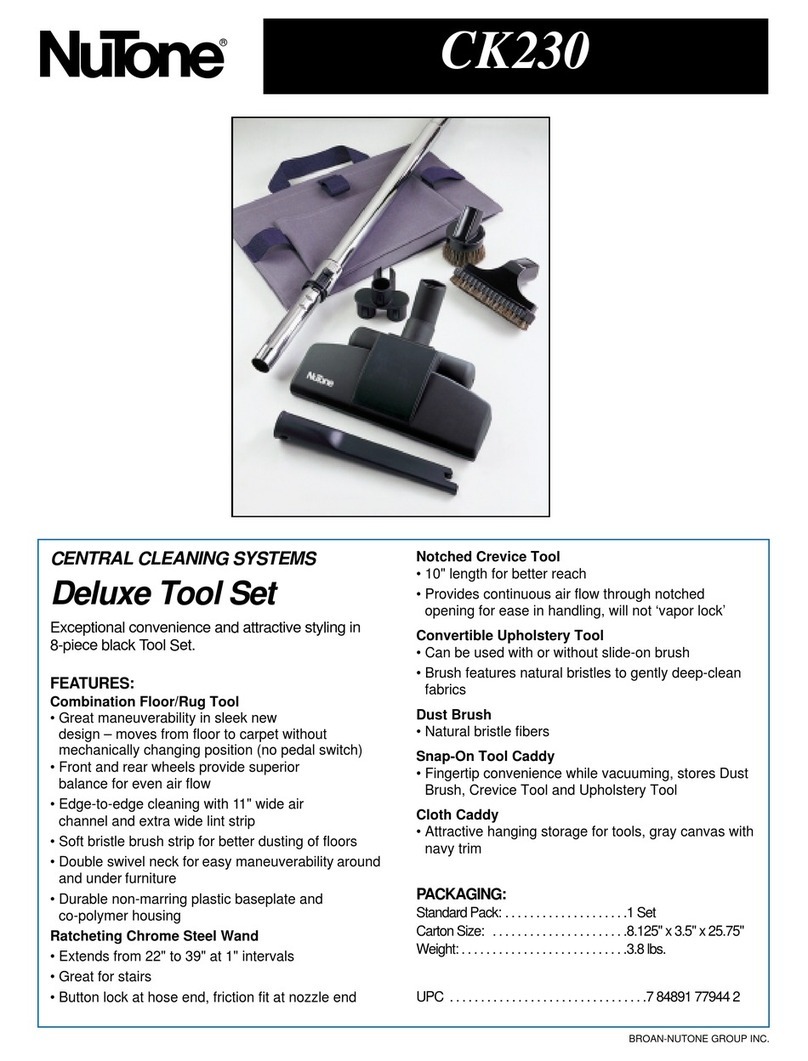
NuTone CV353 Specifications

Broan
Broan BQ2 Installation and user guide