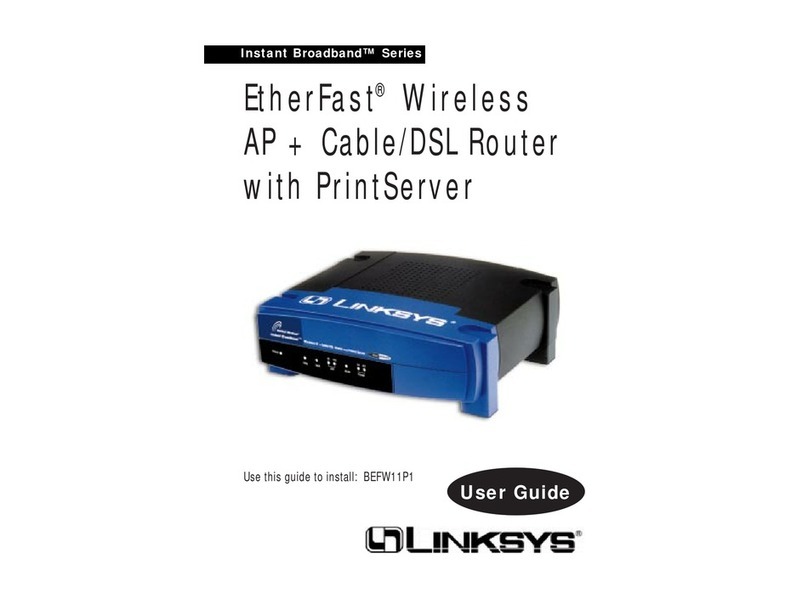
EtherFast®Cable/DSL VPN Router with 4-Port 10/100 Switch
3. If you are using Port 4 to connect to a PC, set the Crossover Switch to
straight-through mode (II). If you are connecting the Router to a hub or
switch, please refer to the chart shown in Figure 3-1 when setting the
Crossover Switch.
4. Connect the network cable from your cable or DSL modem to the WAN
port on your Router’s rear panel. This is the only port that will work for your
modem connection.
5. Connect the power adapter to the Power port on the rear panel of the
Router, and then plug the power adapter into a power outlet.
• The Power LED on the front panel will light up green as soon as the power
adapter is connected properly.
• The Diag LED will light up red for a few seconds when the Router goes
through its self-diagnostic test. This LED will turn off when the self-test is
complete.
8
Instant Broadband™ Series
7
Dynamic IP Addresses A dynamic IP address is an IP address that is automati-
cally assigned to a client station (computer, printer, etc.) in a TCP/IP network.
Dynamic IP addresses are typically assigned by a DHCP server, which can be
a computer on the network or another piece of hardware, such as the Router. A
dynamic IP address may change every time your computer connects to the net-
work.
DHCP (Dynamic Host Configuration Protocol) DHCP is software that automati-
cally assigns IP addresses to client stations logging onto a TCP/IP network.
DHCP eliminates having to manually assign permanent IP addresses to every
device on your network. DHCP software typically runs in servers and is also
found in network devices such as Routers.
Connecting Everything Together & Booting Up
Once you are sure that you have the above values on hand, you can begin the
installation and setup of the EtherFast® Cable/DSL VPN Router.
1. Power everything down, including your PCs, your Cable or DSL modem
and the Router.
2. Connect a network cable from one of your PCs’Ethernet ports to one of the
LAN ports on the back of the Router. Do the same with all the PCs you wish
to connect to the Router.
Note: Some ISPs—most notably some cable providers—configure
their networks so that you do not have to enter a full Internet address
into your web browser or e-mail application to reach your home page
or receive your e-mail. If your Internet home page address is some-
thing very simple, such as “www”, rather than “www.linksys.com”,
or your e-mail server’s address is something similar to “e-mail” or
“pop3”, rather than “pop.mail.linksys.com”, you won’t be able to
properly configure the Cable/DSL VPN Router until you determine
the actual Internet addresses of your Web and e-mail connections.
You must obtain this information prior to connecting the Router to
your network.You can obtain this information by contacting your ISP,
or turn to the How to PingYour ISP’s E-mail and Web Addresses
section in the Appendix.
Note: The diagram above is for reference purposes only. Every
network is different. If you do not make a connection to a hub or
switch by using the settings above, change the position of the
Crossover Switch.
Figure 3-1
Important: It is highly recommended that you plug your Router
into a power strip with surge protection.
