manuals.online logo
Brands
  1. Home
  2. •
  3. Brands
  4. •
  5. Lippert
  6. •
  7. Controllers
  8. •
  9. Lippert Curt 51189 User manual

Lippert Curt 51189 User manual

CURTMFG.COM •PRODUCT SUPPORT: 877.287.8634 •51189-INS-RB •07/26/2023 •ECN10986 •PAGE 1
Product Registration and Warranty
CURT stands behind our products with
industry-leading warranties. To get copies
of the product warranties, register your
purchase or provide feedback, visit:
warranty.curtgroup.com/surveys
INSTALLATION MANUAL 51189
Tools Required
None
Product Photo Echo®Mobile Brake Controller (not included)
Maintenance
This button uses a CR2032 coin cell battery.
Periodic inspection should be performed
to ensure there is no visible damage.
NOTICE
Before you begin installation, read all instructions thoroughly.
All steps must be followed to ensure the product will function properly. Once installed,
test for proper function by using a test light or connecting a properly wired trailer.
Battery life will be shortened with heavy usage and / or use in extreme conditions.
Do not use product in temperatures below -4°F (-20°C) or above 129.2°F (54°C).
This button is rated as splash-proof only. Do not submerge or attempt to use under water
as this will result in irreversible damage that is outside our warranty coverage.
Clean with a damp cloth and do not use chemical or abrasive cleaning products.
WARNING
This device contains a battery composed of lithium, organic solvents and
other combustible materials. Improper handling of the battery could lead
to distortion, leakage, overheating, explosion or fire, causing personal injury.
Never swallow, charge, heat, expose to open flames, moisture or liquid.
Never attempt to disassemble, reverse the polarity or short circuit.
CAUTION
When disposing of used batteries, remove the batteries in advance. If not possible,
dispose entire product in a waste bin specific for electronics, as per the WEEE directive.
Follow any national or local regulations for battery disposal that apply to your area.
This button is not a toy. It contains small parts and accessories
that present a choking hazard. Keep away from children or pets.
Do not attempt to service this product.
Level of Difficulty
Easy
Installation difficulty levels are based on time
and effort involved and may vary depending on
the installer level of expertise, condition of the
vehicle and proper tools and equipment.
Parts List
Qty Description
1Echo®manual override button
1Reusable adhesive sticker
CURTMFG.COM •PRODUCT SUPPORT: 877.287.8634 •51189-INS-RB •07/26/2023 •ECN10986 •PAGE 2
Step 2
Select the pair device button in the app.
While the app is scanning, press and
hold the manual override button to pair.
If at any point, you want to stop
the scan, press the 'Cancel' button.
Step 1
Follow the instructions included with your
Echo®mobile brake controller on how to
install the unit and pair it to the app.
Once the Echo®mobile brake controller
is paired to your device, select open button.
Select the 'Echo®Manual Override
Button' option from this screen.
CURTMFG.COM •PRODUCT SUPPORT: 877.287.8634 •51189-INS-RB •07/26/2023 •ECN10986 •PAGE 3
Step 4
To view the connection status, battery
level and other details of the override
button, select the 'Echo®Manual Override
Button' option from the main screen.
The override button will continue to operate
on any screen within the app or if the device
screen is off, as long as the app is still running.
However, you will only have visibility of the
manual brake activation ring, displaying the
stopping power being applied to the brakes
while on the 'Active Profile' screen.
If you close and reopen the app, you must
press the override button to reactivate
and pair to your phone again.
As you press the override button, the
brake activation ring will show stopping
power being applied to the brakes.
Step 3
After notification 'Pairing Successful'
appears, select 'Next' to complete pairing.
If the notification 'Device Not Found'
appears, pairing was unsuccessful
and you will need to repeat step 2.
CURTMFG.COM •PRODUCT SUPPORT: 877.287.8634 •51189-INS-RB •07/26/2023 •ECN10986 •PAGE 4
Step 8
Locate a suitable mounting location for the
override button inside the vehicle. Clean the
mounting surface prior to adhering the button.
The override button comes with a
reusable adhesive sticker on the base.
Peel off the protective film and mount
the button in an safe and convenient
place to operate while driving.
Do not place the button over vehicle
safety devices such as air bags,
vehicle indicators or displays.
If you want to change the position of the
button, you can remove it by peeling the button
along with the adhesive off of the surface.
NOTICE
Be sure to peel rather than pull when removing
the override button and adhesive to avoid
damage to the mounting surface.
To clean your reusable adhesive, remove
it from the button's base and rinse with
water. Rub carefully and rinse again.
NOTICE
Do not apply solvents, chemicals
or abrasive cleaning products as
this will damage the adhesive.
Let the adhesive air-dry and it will return to
its initial state and be ready to adhere again.
Step 7
To disconnect the override button, select
'Disconnect / Forget' button from the 'Echo®
Manual Override Button' status screen
CURTMFG.COM •PRODUCT SUPPORT: 877.287.8634 •51189-INS-RB •07/26/2023 •ECN10986 •PAGE 5
Step 3
To change the battery, follow these steps:
1. Open the battery hatch by sticking
your Echo manual override button to
a surface and twisting it to the left.
2. Remove the old battery and replace
it with a new CR2032 battery with
the '+' side facing towards you.
3. Place the top part of the Echo manual
override button back onto the bottom
and twist to the right until it clicks
and the adhesive releases the surface.

Other Lippert Controllers manuals

Lippert Ground Control 3.0 User manual

Lippert

Lippert Ground Control 3.0 User manual

Lippert True Course Installation instructions

Lippert

Lippert True Course Installation instructions

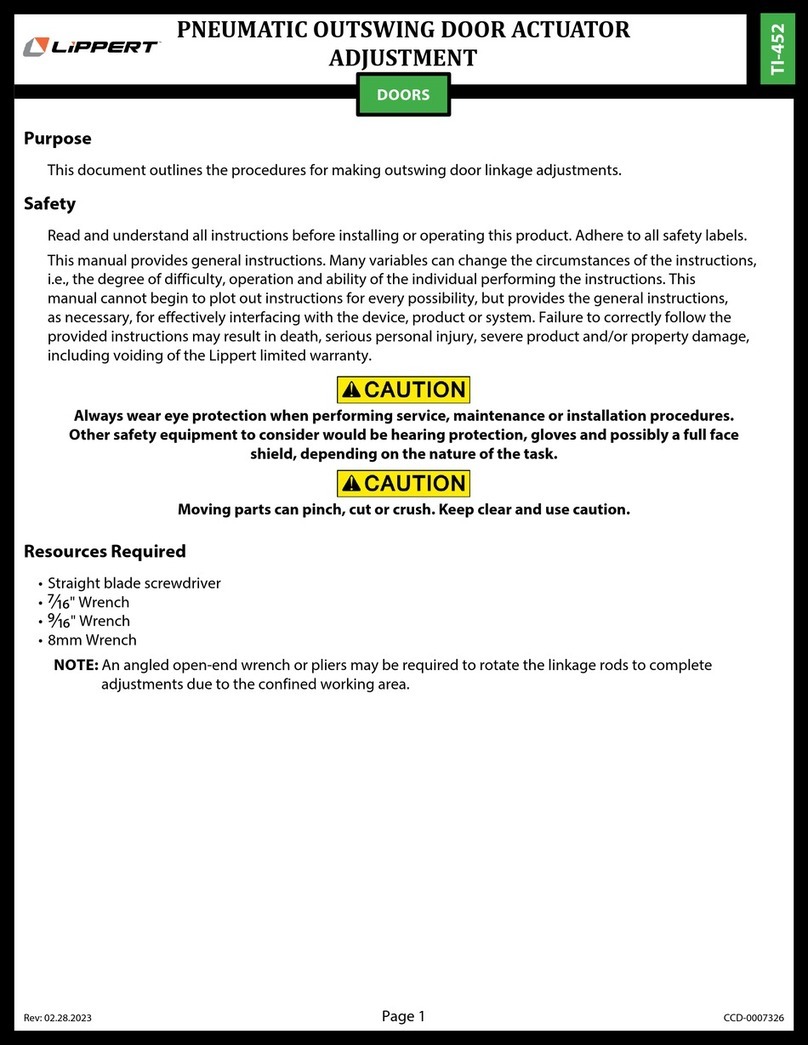
Lippert TI-452 Guide

Lippert

Lippert TI-452 Guide

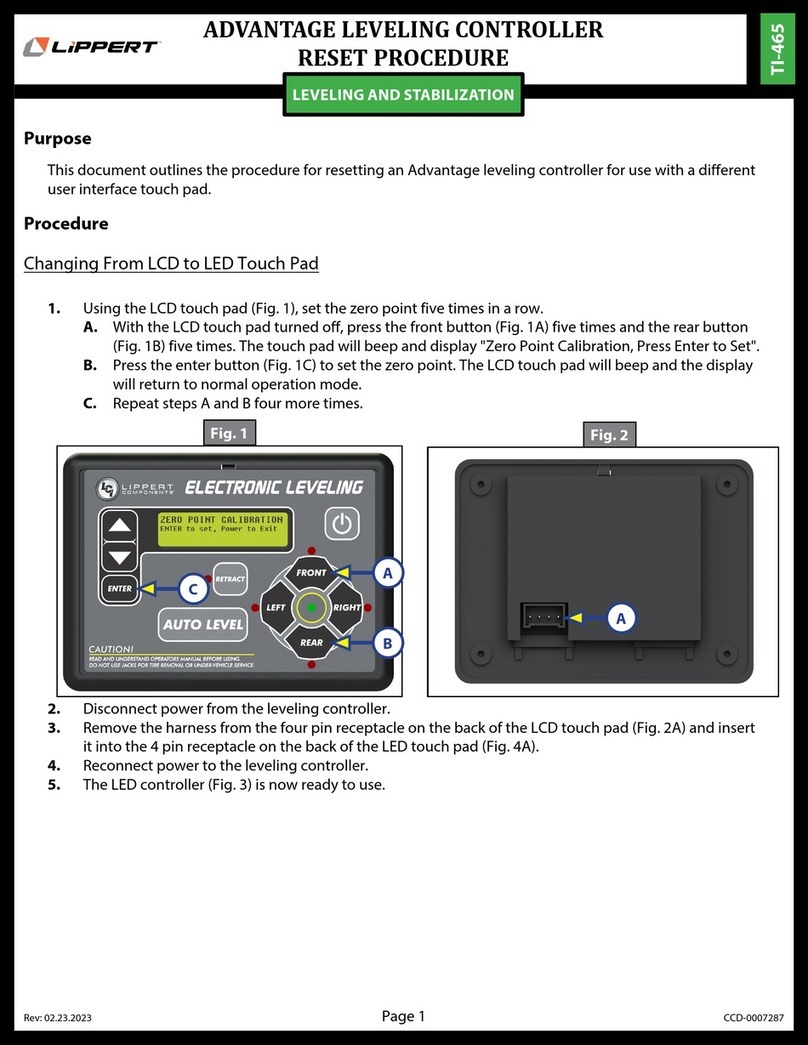
Lippert TI-465 User manual

Lippert

Lippert TI-465 User manual

Popular Controllers manuals by other brands

Unitek BAMOCAR-PG-D3-400/400 manual

Unitek

Unitek BAMOCAR-PG-D3-400/400 manual

Allen-Bradley PanelView 800 installation instructions

Allen-Bradley

Allen-Bradley PanelView 800 installation instructions

Plane-Power R1224 installation instructions

Plane-Power

Plane-Power R1224 installation instructions

GE Multilin F650 user guide

GE

GE Multilin F650 user guide

Siemens SINUMERIK 810D Configuration manual

Siemens

Siemens SINUMERIK 810D Configuration manual

rotork CK Series Use and installation  manual

rotork

rotork CK Series Use and installation manual

Siemens North American Electric 3RW30-40 Series quick start guide

Siemens

Siemens North American Electric 3RW30-40 Series quick start guide

Genelec 9101A-B operating manual

Genelec

Genelec 9101A-B operating manual

Panasonic TY-FB12LC operating instructions

Panasonic

Panasonic TY-FB12LC operating instructions

Honeywell SP10K installation instructions

Honeywell

Honeywell SP10K installation instructions

SMC Networks AS-FS A Series Operation manual

SMC Networks

SMC Networks AS-FS A Series Operation manual

CKD FCM Series manual

CKD

CKD FCM Series manual

weintek MT-506T Installation instruction

weintek

weintek MT-506T Installation instruction

WIKA CPC7000 operating instructions

WIKA

WIKA CPC7000 operating instructions

WOBIT SMC64 WP v2 manual

WOBIT

WOBIT SMC64 WP v2 manual

Maico EAQ 10/3 Mounting and operating instructions

Maico

Maico EAQ 10/3 Mounting and operating instructions

ComAp InteliNano NT MRS Fast user's guide

ComAp

ComAp InteliNano NT MRS Fast user's guide

Carrier 38CQ installation instructions

Carrier

Carrier 38CQ installation instructions

manuals.online logo
manuals.online logoBrands
  • About & Mission
  • Contact us
  • Privacy Policy
  • Terms and Conditions

Copyright 2025 Manuals.Online. All Rights Reserved.