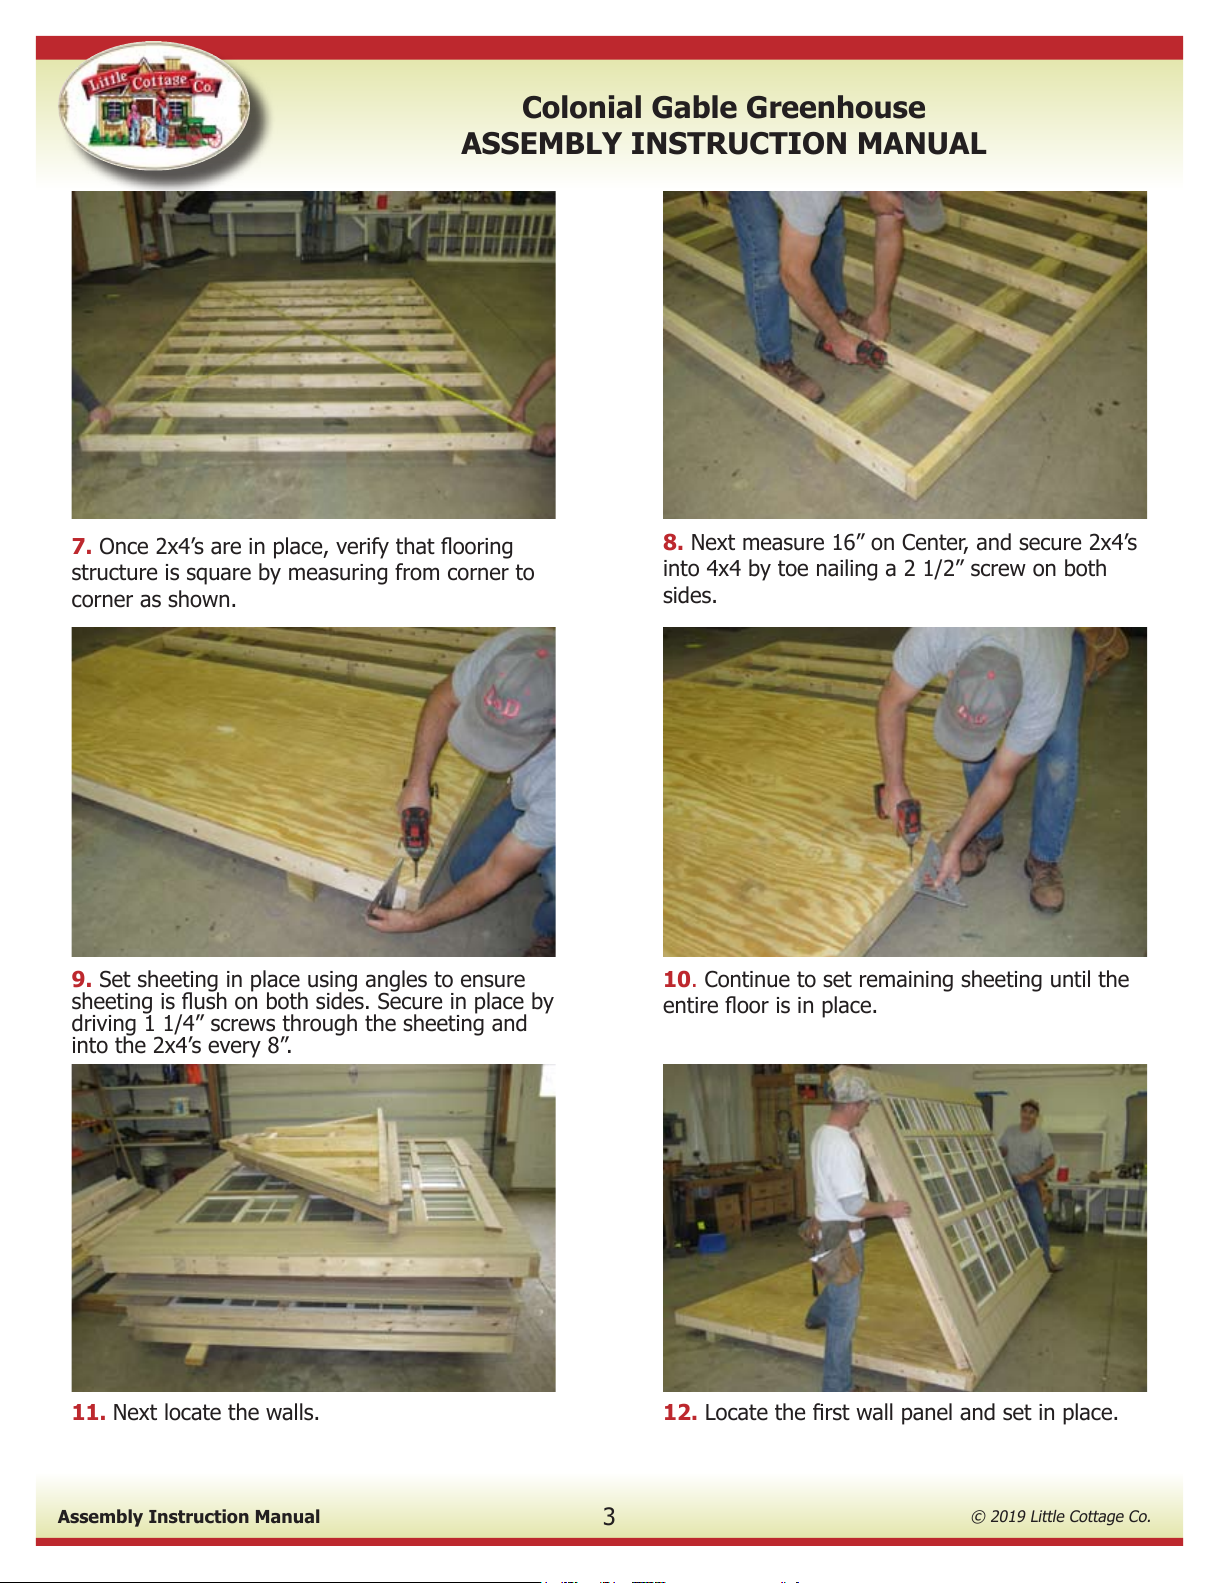
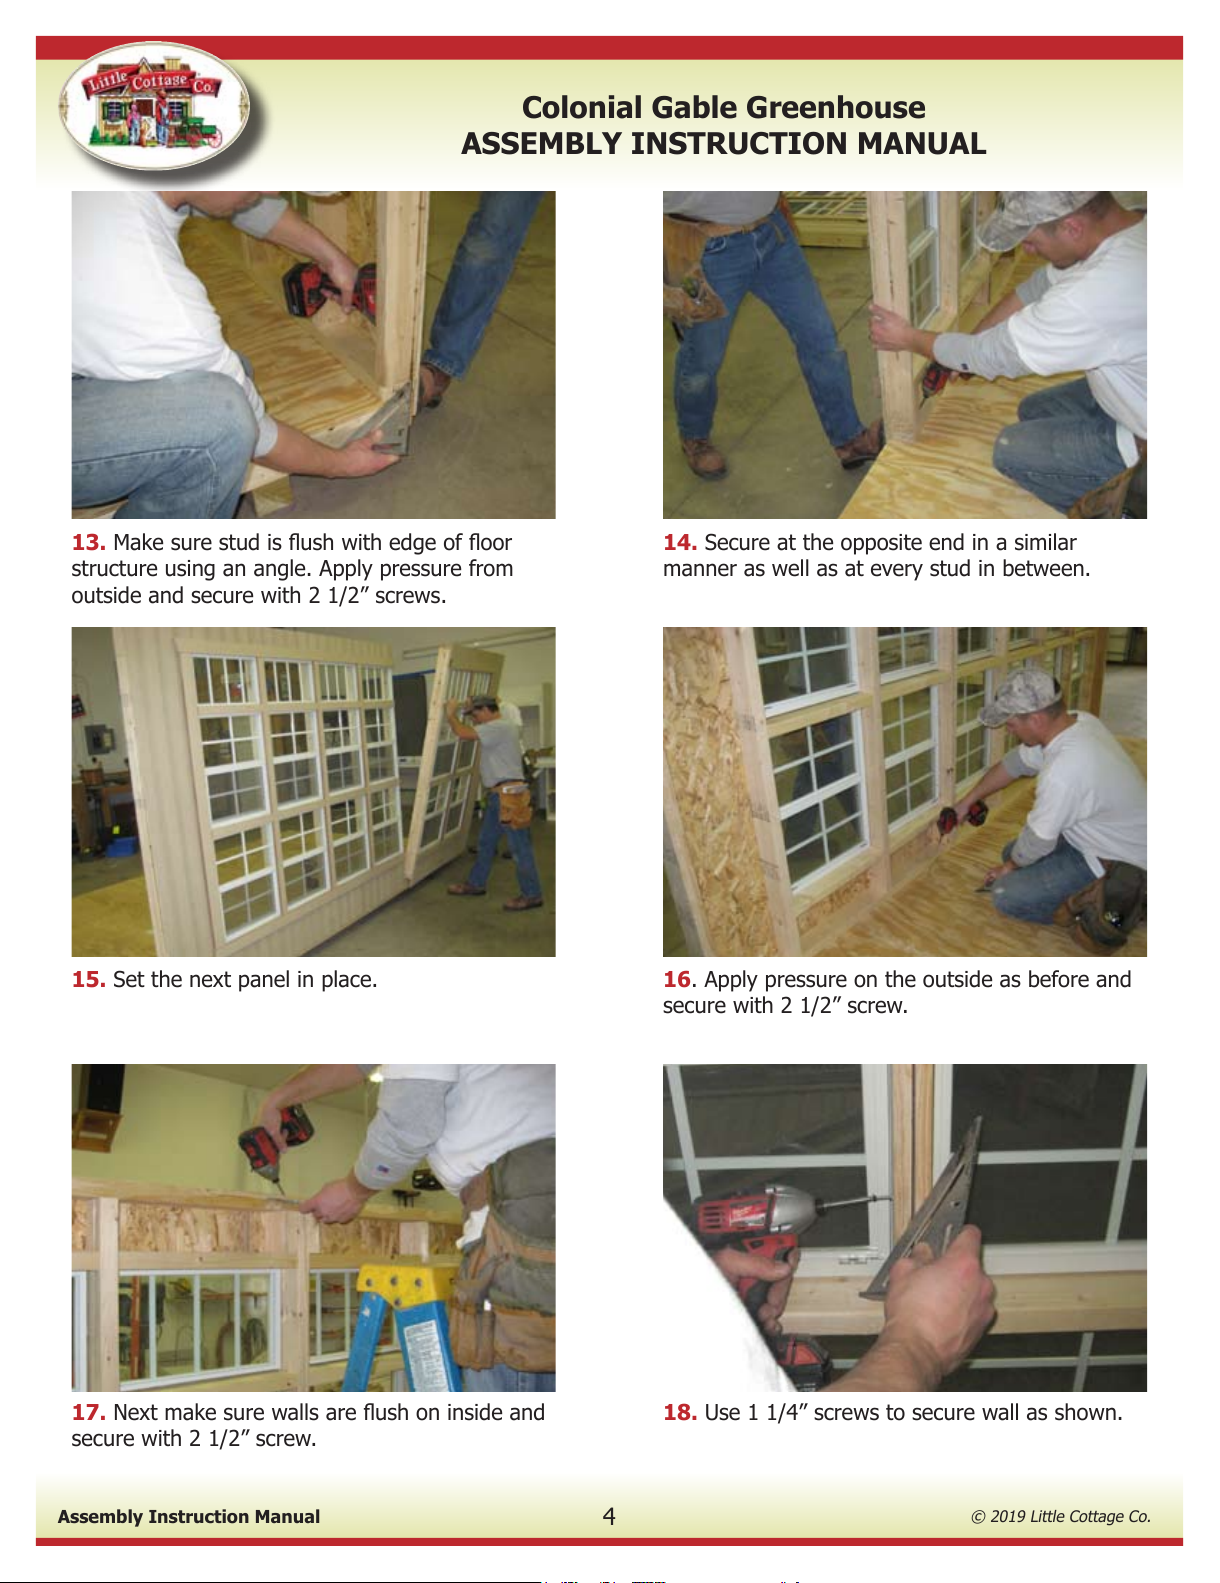
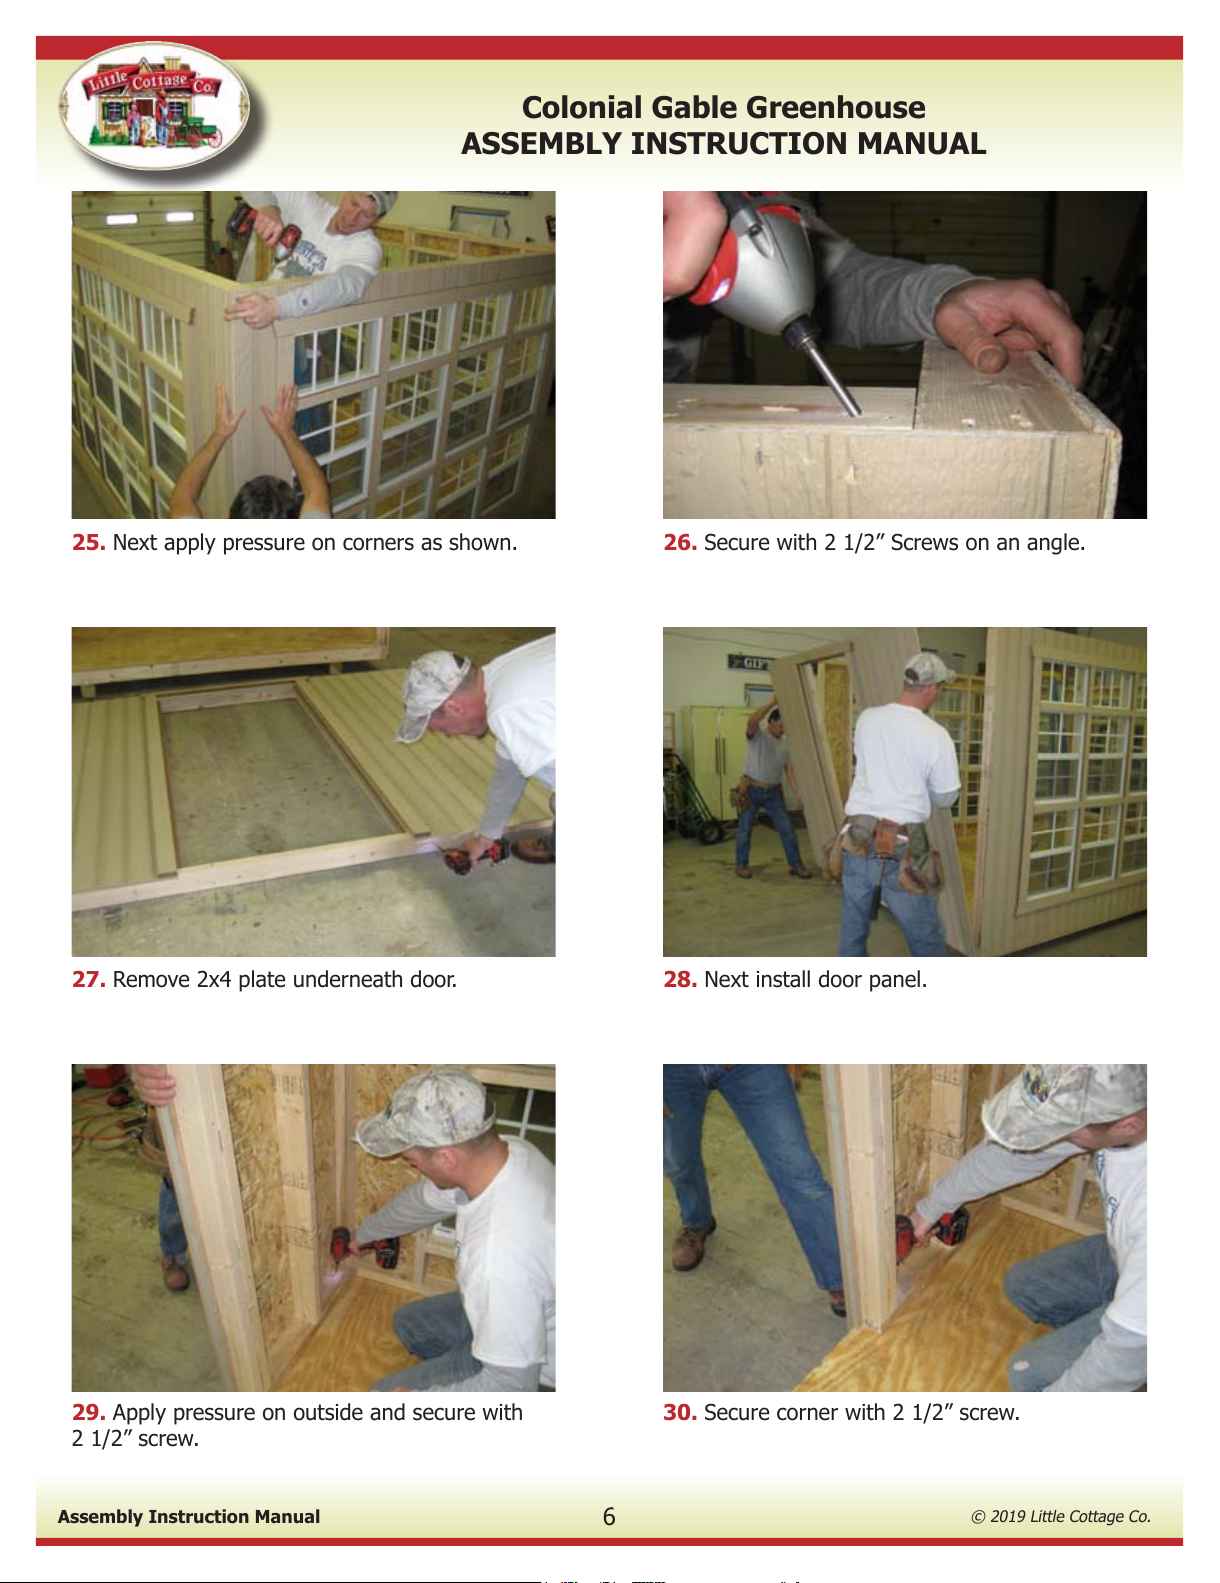
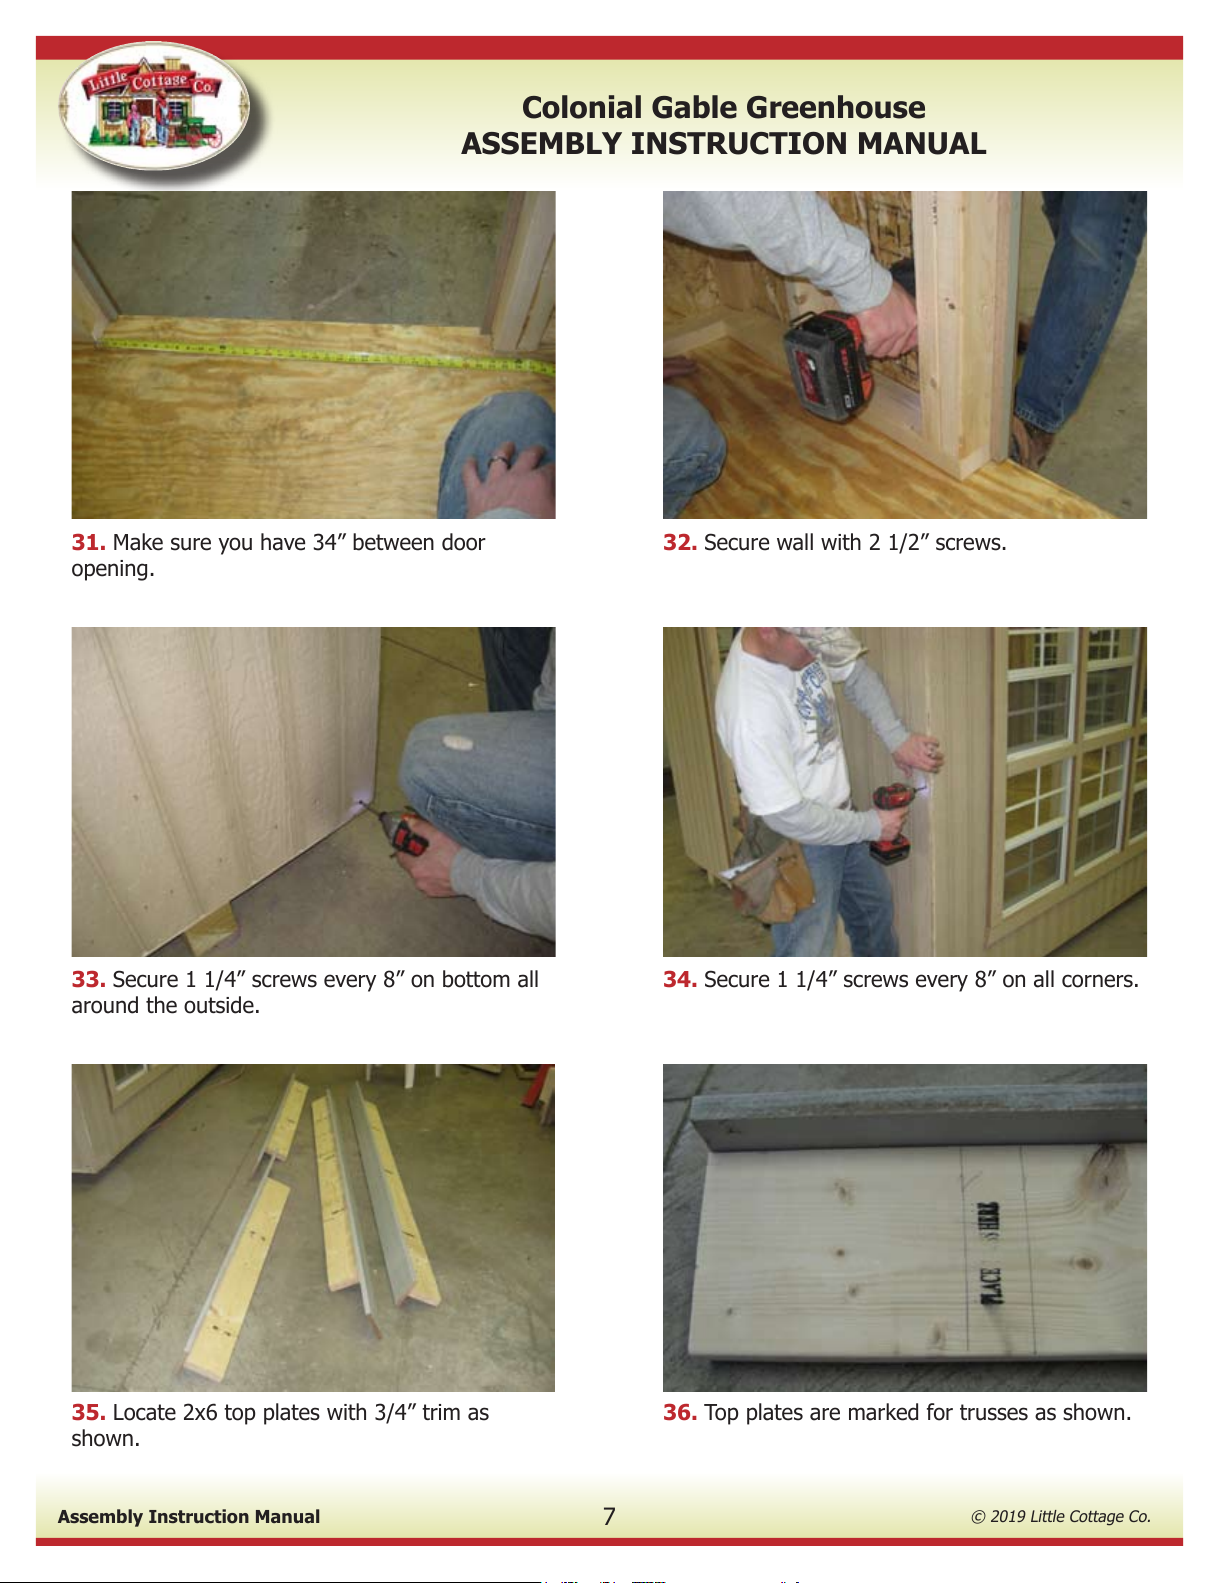
Little Cottage Colonial Gable Greenhouse Installation guide
Other Little Cottage Greenhouse Kit manuals


Popular Greenhouse Kit manuals by other brands


Vitavia
Vitavia GAIA JUMBO Assembly instructions

Palram
Palram Harmony 6'x4' Assembly instructions

ClearSpan
ClearSpan Storage Master 104598 instruction manual

Sproutwell
Sproutwell GRANGE - 5 Assembly instructions

STC
STC Easy Grow 6x12 Greenhouse Assembly instructions

Growhouse
Growhouse Lean To 6 x 8 Erection and Glazing Instructions