littlehippo Kelvin User manual

KELVIN
Color Changing Night Light,
Room Thermometer and Hygrometer
littlehippo
SETUP GUIDE
1 Year Limited Warranty
support@littlehippo.com
650-395-7884
littlehippo.com

2
CONGRATULATIONS on your purchase
of KELVIN, the all-in-one room monitor to
help give you peace of mind!
MEET KELVIN 3
IN THE BOX 3
SETUP AND MAINTENANCE 4
DISPLAY 4
CONTROL PANEL 5
TEMPERATURE TOGGLE 5
NIGHT LIGHT TOGGLE 6
INFANT SAFER SLEEP INFORMATION 6
TEMPERATURE RANGE 7
SAFER SLEEP GUIDELINES 11
HUMIDITY GUIDELINES 12
ONE YEAR WARRANTY 13
TECHNICAL INFORMATION 13
IMPORTANT SAFETY INFORMATION 14
FCC DISCLAIMER 15

MEET KELVIN
Thank you for purchasing KELVIN,
the children’s all-in-one room
monitor. KELVIN displays the room’s
temperature and humidity so you can
keep your child’s room comfortable
and safe.
KELVIN is also a night light that
changes color based on the room
temperature. Blue means it is
too cold; red means it is too hot;
and amber means it is within our
Fig. 1 KELVIN
TEMPERATURE
AND HUMIDITY
DISPLAY
NIGHT
LIGHT
recommended range! Because each
infant’s environment is dierent,
you may program KELVIN’s amber
range to follow your doctor’s
recommendations.
Each Little Hippo purchase comes
with a 100% Satisfaction Guarantee
and one year warranty. Contact
support@littlehippo.com for support,
warranty claims and inquiries.
Now, let’s get started.
KELVIN AC ADAPTER
IN THE BOX
3

DISPLAY
SET UP
Attach the AC adapter jack to KELVIN’s base (Fig. 2)
and insert the cord into a 100V-240V household outlet.
STORE
KELVIN should be left on display, or stored in its box or
a cool, dry place. Avoid putting KELVIN over or close to
heat sources (such as a radiator) or in direct sunlight,
for safety and accuracy reasons.
CLEAN
Wipe o dust with a soft, damp cloth. Do not use liquids
or abrasive cleaners. Avoid cleaning with liquids or
cleaners near the sensor opening on the base.
Fig. 2 KELVIN’s Base
SETUP AND MAINTENANCE
LED
Temperature Humidity
Fahrenheit/Celsius
F/C
4

CONTROL PANEL
Sensor
Opening
LED On/O
Fahrenheit/
Celsius Toggle
Rubber Feet
Fig. 3 Control Panel
To program all settings, use the control panel on the bottom of KELVIN (Fig. 3).
TEMPERATURE TOGGLE
When KELVIN is first plugged in, the display will read in
Fahrenheit.
To toggle between Fahrenheit and Celsius, press the F/C
button on the base of the device (Fig. 4).
Fig. 4 F/C Button
5

NIGHT LIGHT TOGGLE
When KELVIN is first plugged in, the color changing
night light will turn on.
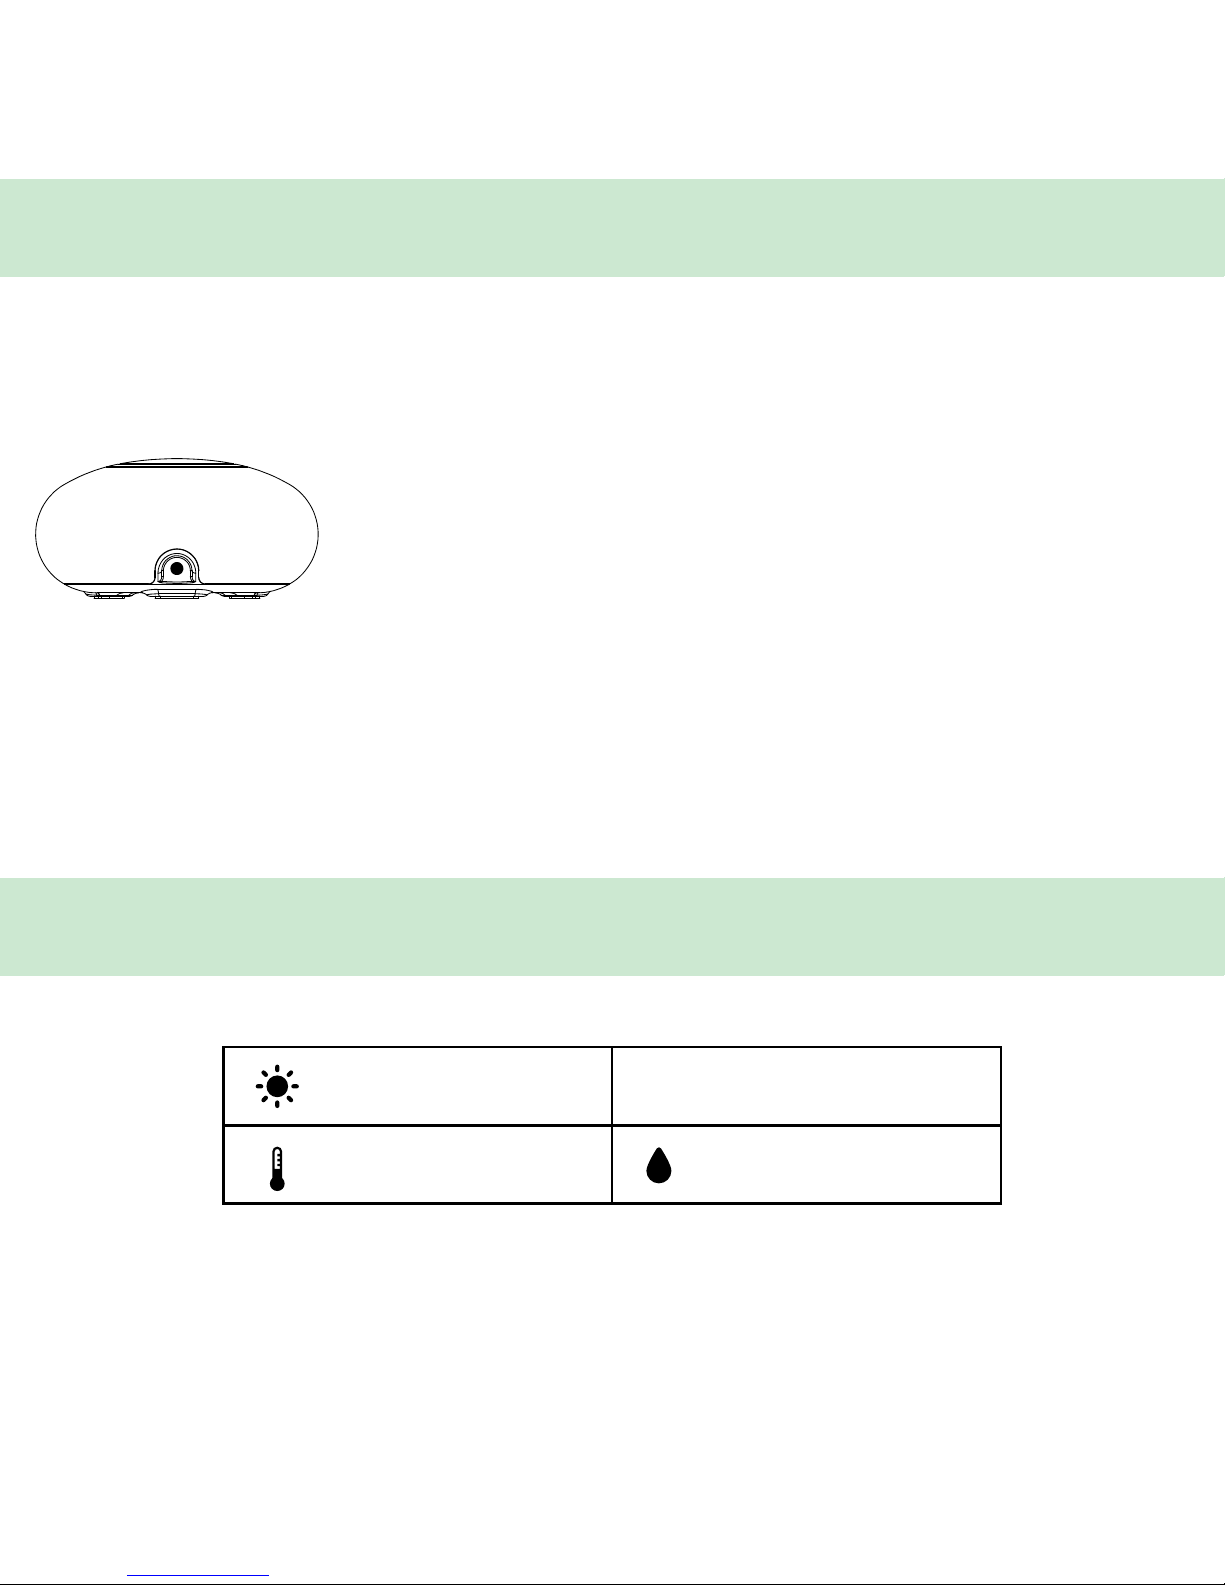
To toggle the night light on or o, press the LED button
on the base of the device (Fig. 5).
Fig. 5 LED Button
INFANT SAFER SLEEP INFORMATION
USER TIP
When toggling between temperature scales, it is possible for the colors to change
due to rounding during conversions to Fahrenheit or Celsius.
Sleep experts advise to keep a baby’s
room at a temperature level that is
comfortable for an adult. Studies have
shown that overheating, along with
other factors, can increase the risk
of Sudden Infant Death Syndrome
(SIDS). It is dicult to provide specific
room temperature guidelines to avoid
overheating, although “acceptable”
ranges generally lie between 61-72° F
(16-22° C).
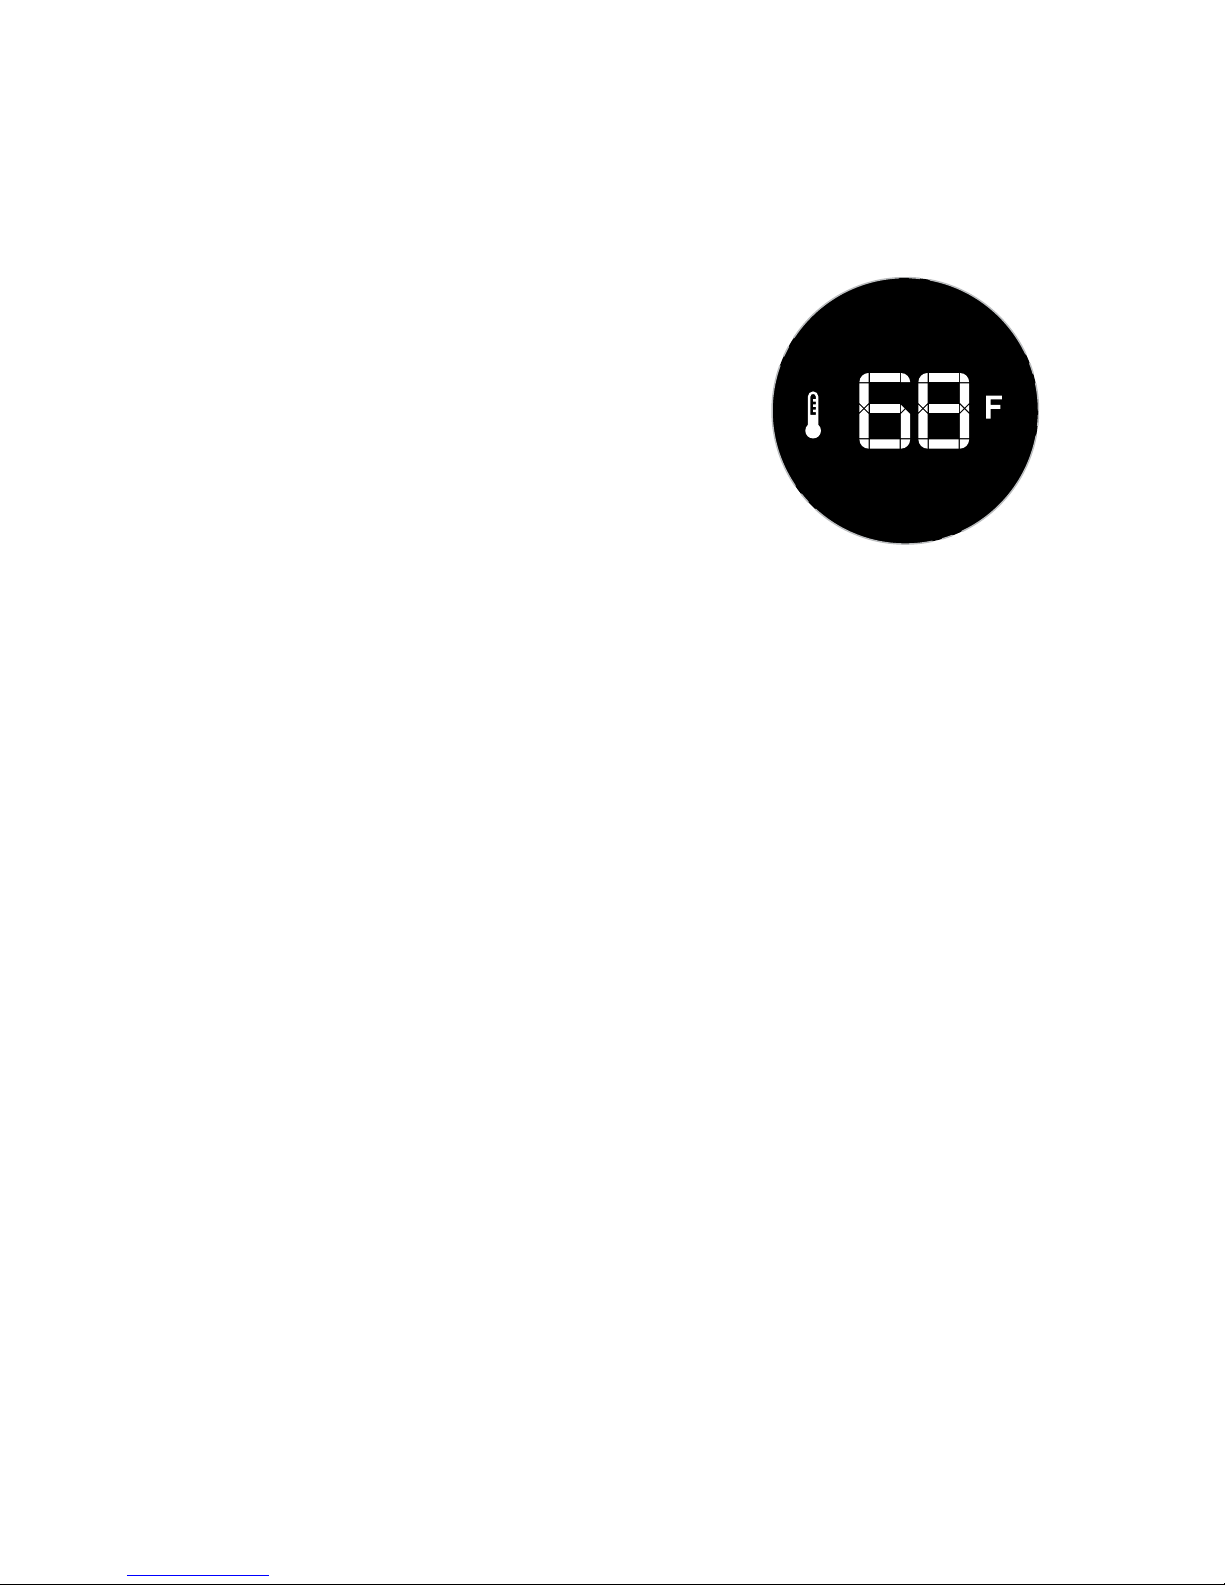
KELVIN displays an amber light if the
room temperature is within its default
range of 68-72° F (20-22° C). Outside
this range, KELVIN will display a blue
light if the room is too cold, and will
display a red light if the room is too
hot.
Because a “comfortable” yet realistic
temperature level can depend on
multiple factors including geography,
you may customize KELVIN’s amber
6

range. We strongly encourage
consulting your doctor if you are
unsure of what temperature range is
safe for your infant.
This setup guide provides additional
information on how to create a safer
sleeping environment for your baby.
KELVIN is not a substitute for active
monitoring. Be sure to check your
infant regularly to ensure he/she is not
too hot or cold. Signs of overheating
include sweating or the baby’s chest
feeling hot to the touch.
Always consult your doctor before
settling on conditions in your baby’s
room and if you have any questions
or concerns.
TEMPERATURE RANGE
KELVIN will display one of three colors depending on what the room
temperature is. If the temperature displays a blue or red light, take steps to heat
or cool your baby’s room, respectively.
DEFAULT RANGES
BLUE
Under 68° F (Under 20° C)
AMBER
68-72° F (20-22° C)
RED
Over 72° F (Over 22° C)
7

CUSTOMIZE THE AMBER RANGE
Fig. 6 Set Temperature
Mode (in ° F)
1. Hold down the F/C button
for 2 seconds to enter Set
Temperature mode. When setting
for the first time, KELVIN will
display the temperature icon and
the lowest temperature in the
default amber range - 68° F
(20° C) (Fig. 6).
2. Press the LED button
to increase the temperature up
to a maximum of 72° F (22° C).
Press the F/C button
to decrease the temperature
down to a minimum of 61° F
(16° C).
Adjust the amber range by
selecting the lowest temperature
desired in the range. The amber
range is always a five degree
range in Fahrenheit (or three
degree range in Celsius), inclusive
of the endpoint degrees. Refer to
the charts on pages 9 and 10 for
allowable custom amber ranges.
3. Hold down the F/C button
for 2 seconds to save and exit Set
Temperature mode.
Example: If you adjust the lower
bound temperature from 68° F
to 70° F, the amber range will
change from 68-72° F to the new
custom range, 70-74° F.
8

Refer to the following tables for the allowable custom amber ranges. Cells
highlighted in green are lower bound temperature options you may select.
KELVIN’s default settings are highlighted in yellow.
Acceptable Range Too Cold Too Hot
Display Setting
Lower Bound
Amber (° F)
Upper
Bound
Amber (° F)
Blue (° F) Red (° F)
61 65
62 66
63 67
64 68
65 69
66 70
67 71
68 72
69 73
70 74
71 75
72 76
≤60
≤61
≤62
≤63
≤64
≤65
≤66
≤67
≤68
≤69
≤70
≤71
≥66
≥67
≥68
≥69
≥70
≥71
≥72
≥73
≥74
≥75
≥76
≥77
9

Acceptable Range Too Cold Too Hot
Display Setting
Lower Bound
Amber (° C)
Upper
Bound
Amber (° C)
Blue (° C) Red (° C)
16 18 ≤15 ≥19
17 19
18 20
19 21
20 22
21 23
22 24
≤16
≤17
≤18
≤19
≤20
≤21
≥20
≥21
≥22
≥23
≥24
≥25
10

SAFER SLEEP GUIDELINES
In 2016, the American Academy of Pediatrics (AAP) released updated
recommendations for creating a safer infant sleeping environment and to reduce
the risk of SIDS and other sleep-related infant deaths. Their recommendations
include but are not limited to:
1. Infants should always be placed
for sleep entirely on their backs
until at least one year of age.
Side sleeping is not safe.
2. Infants should sleep on a firm
sleep surface covered with a
tightly fitted sheet and no other
bedding or soft objects.
3. Infants should sleep in the
parents’ room (although on a
separate surface designed for
infants, not in the same bed),
ideally until at least one year
of age.
4. Never place the infant to sleep
on a couch or armchair.
5. Keep soft objects and loose
bedding away from the infant’s
sleep space.
6. Consider using a pacifier during
nap time and at bedtime.
7. Avoid overheating as well
as using head and face
covers. Avoid over-bundling.
Generally, infants should
dress appropriately for their
environment, with no greater
than one layer more than
an adult would wear to be
comfortable.
8. Do not allow anyone to smoke
near your infant.
9. Keep your infant up to date
with vaccinations and check ups
according to your health care
provider.
10. Breastfeeding is recommended
and is associated with a
decreased risks of SIDS.
11

HUMIDITY GUIDELINES
The United States Environmental Protection Agency (EPA) recommends keeping
indoor relative humidity between 30% and 50%, to decrease mold growth.
If the relative humidity is too low, your infant can experience discomfort such as
cracked skin or dried-out nasal passages. To increase humidity levels, you may
use a humidifier to introduce moisture into the air.
If the relative humidity is too high, the environment becomes conducive to mold
growth and allergens. To decrease humidity levels, you may use a dehumidifier.
Always try to maintain consistent humidity levels in your baby’s room
throughout the year.
Consult your doctor before settling on humidity conditions in your baby’s room
and if you have any questions or concerns.
Refer to the policy statement released by the AAP entitled “SIDS and Other
Sleep-Related Infant Deaths: Updated 2016 Recommendations for a Safe Infant
Sleeping Environment” for the latest guidelines.
Always consult your doctor before settling on conditions in your baby’s room
and if you have any questions or concerns.
12

Little Hippo’s warranty covers defects in material and product workmanship
under normal use for a period of one (1) year. The warranty does not cover
damages resulting from misuse, abuse, immersion, normal wear and tear or
unauthorized modification.
For warranty claims, please contact us:
Phone: 650-395-7884
Email: support@littlehippo.com
There are no expressed warranties except as listed above. This warranty gives
you specific legal rights which may vary from state to state. NOT LEGAL FOR
TRADE.
ONE YEAR WARRANTY
TECHNICAL INFORMATION
AC ADAPTER
Input Voltage:
AC 100V-240V, 50Hz or 60Hz
Output Voltage: DC 5V
OPERATING TEMPERATURE RANGE
(32F-104F, +/- 2F)
(0-40C, +/- 1.5C)
OPERATING HUMIDITY RANGE
(20%-90%, +/-5%)
Allow sucient time for KELVIN to
accurately calibrate and measure
the temperature and humidity of
the surrounding environment. Avoid
repeatedly plugging and unplugging
KELVIN. For accurate readings, keep
KELVIN on a solid surface away from
heat sources (such as a radiator or
sunlight) and avoid holding KELVIN in
your hand.
13

IMPORTANT SAFETY INFORMATION
To reduce the risk of electric shock, burns, fire or injury:
• Do not attempt to open KELVIN. Please refer any servicing to qualified service
personnel.
• Unplug KELVIN from the outlet when not in use and before cleaning.
• Keep KELVIN away from water and locations where it can fall or be pulled into
a water source such as a tub or sink.
• Keep KELVIN away from heat sources such as stoves, radiators and other
devices emitting heat.
• Keep KELVIN out of reach of your child’s crib or bed, and ensure that the cable
cannot be pulled out by a child.
• Use KELVIN only for its intended use as described in this manual. Do not use
attachments not provided with KELVIN.
• Do not spill liquid on or into KELVIN, and never insert objects into the
openings. Take care to avoid cleaning with liquid or spilling any liquid into or
around the sensor opening.
• Do not use KELVIN if it has a damaged cord, plug, cable or housing. Please
reach out to Little Hippo at support@littlehippo.com or 650-395-7884.
READ ALL INSTRUCTIONS BEFORE USING. SAVE THESE INSTRUCTIONS.
Do not disassemble or modify KELVIN. Modifications not authorized by the
manufacturer may void user’s authority to operate KELVIN, void the warranty
and may be dangerous.
14

This device complies with Part 15 of the FCC Rules. Operation of this device is
subject to the following two conditions:
(1) this device may not cause harmful interference, and (2) this device must
accept any interference received, including interference that may cause
undesired operation.
Caution: Changes or modifications that are not expressly approved by the
manufacturer could void the user’s authority to operate the equipment.
This equipment has been tested and found to comply with the limits of a Class
B digital device, pursuant of Part 15 of the FCC Rules. These limits are designed
to provide reasonable protection against harmful interference in a residential
installation.
This equipment generates, uses and radiates radio frequency energy and,
if not installed and used in accordance with the instructions, may cause
harmful interference in the radio communications. There is no guarantee that
interference will not occur in a particular installation. If this equipment does
cause harmful interference to radio or television reception, which can be
determined by turning the equipment o and on, you are encouraged to try to
correct the interference by one or more of the following measures:
1. Reorient / relocate the receiving antenna.
2. Increase the separation between the equipment and the receiver.
3. Connect the equipment into an outlet from a dierent circuit where the
receiver is connected.
4. Consult the dealer or an experienced radio/TV technician for help.
FCC DISCLAIMER
15

We stand behind our 100% Satisfaction Guarantee.
Visit littlehippo.com for more information.
Note
Due to production changes and improvements, actual
product may vary slightly from images shown in manual
and/or on packaging.
This guide is updated as of [xx/xx/2017]. Always
consult your doctor for the latest recommendations
and guidelines.
littlehippo
littlehippo
We stand behind our 100% Satisfaction Guarantee and one year warranty.
Visit littlehippo.com for more information.
Note: Due to production changes and improvements, actual product may
vary slightly from images shown in manual and/or on packaging.
Note: This guide is updated as of 30/10/2017. Always consult your doctor
for the latest recommendations and guidelines.
Patent Pending
PARENTHOOD JUST
GOT EASIER
Table of contents