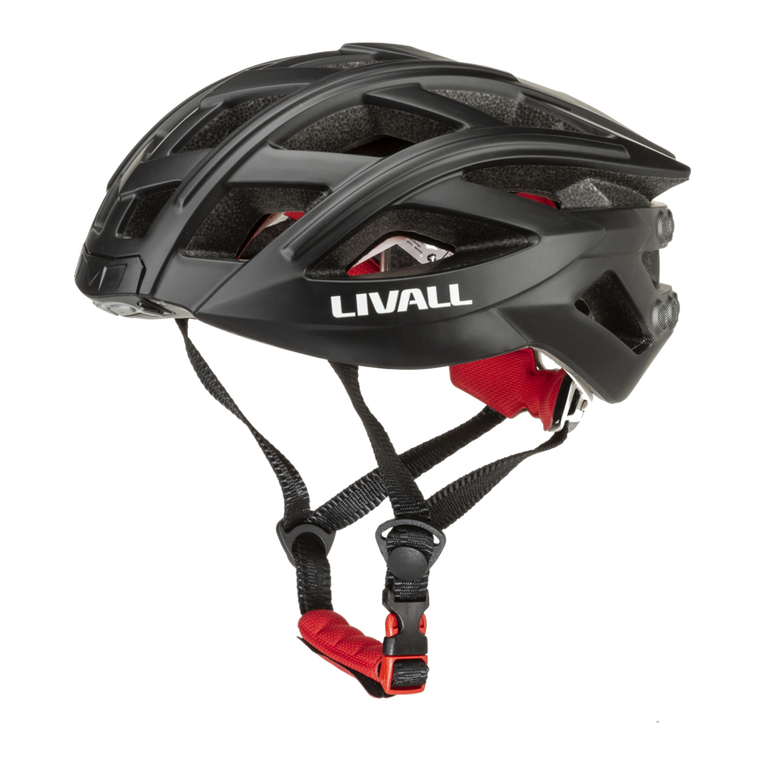
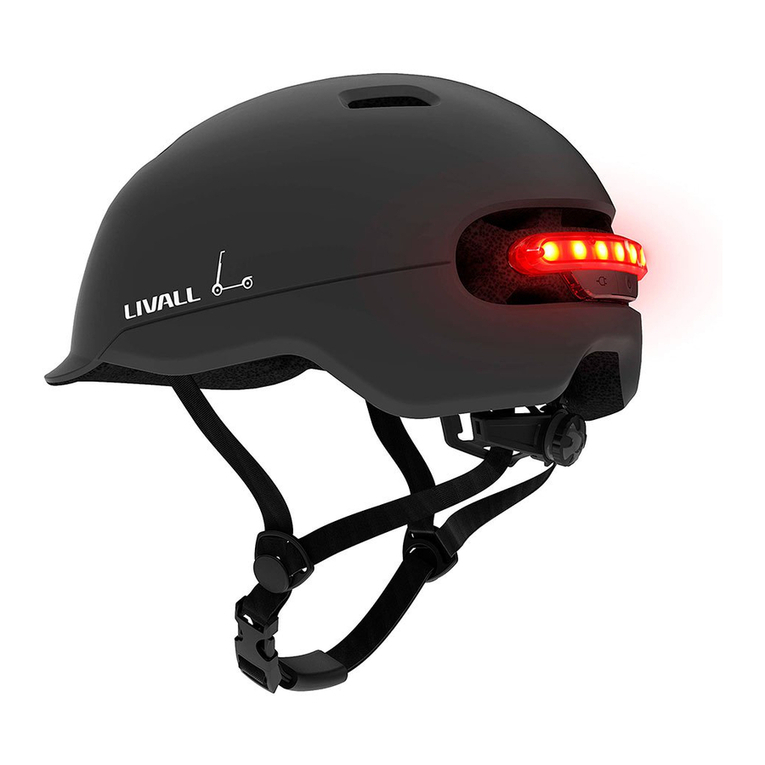
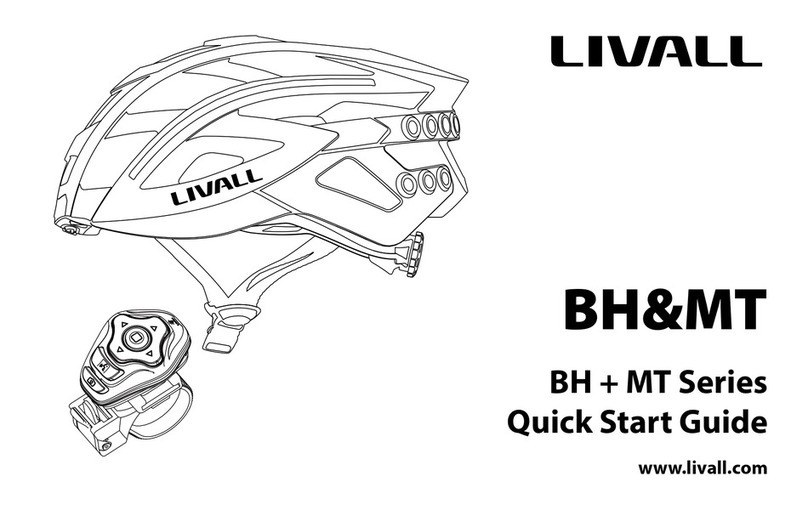
Livall BH51 Series User manual

www.livall.com
Bling helmets Quick Start Guide

1
I. Introduction
II.Packing List
Welcome to the User Guide for LIVALL smart cycling helmets. This Guide will help you better use this
product. With continuous improvements of our products, this Guide will be updated from time to time. You
can access the latest version and learn more about the helmet on www.livall.com.
Helmet x 1 Bling Remote Controller BR80 x 1
Quick Start Guide x 1 Magnetic USB charging cable x 1
Important Information and Warranty Card x 1
prevail.
Microphone Speaker
Speaker
Front
chinstrap
Rear chinstrap
Tension adjuster
Tail light
Power on/off
Buckle
Front Back
Front Lights (For
BH51 Neo Range)

2
III.Wearing Instructions
Incorrect Incorrect Proper Wearing
Adjust the length
of the chinstrap
Leave a gap as Correctly position
the helmet
Checkwhether the buckle is
properly fastened

3
“”button
IV.Operating Instructions (charge the product before use)
Power on: Hold press the button at the back of the product until the indicator light turns on.
Adaptive warning lighting:
The LED taillight will blink for 10 seconds after the helmet is powered on, then enter adaptive warning light
environment, and turns on automatically at night or in a dark environment.
Warning lighting

4
Charging:
2.To charge:
Insert a USB cable into the USB Charging cable
interface of the helmet. Charging starts when the
button indicator blinks.
1.When the soft rubber lid with “LIVALL”image
is opened, the Magnetic charging port will be
seen.
3.Charging time:
It is recommended that the electric current of
the charger is no lessthan 1A. 3~4 hours to fully
charge the Helmet.
4.Charging completed:
During charging, when the button indicator stops
about 3~4 hours

5
Turn on the Bling remote
controller, which will connect to
the helmet automatically when
it is within 5 m of the helmet.
After BH51M range product is connected, the Bluetooth headset functions such as “play”,“pause”, “making/
receiving calls”and “adjusting volume” can be manipulated through the Bling remote controller.
Within 5 m
After successful connection, the
indicator will blink three times
in quick succession.
Blink three timesAfter successful connection,
press the "" or " " button
of the remote to control
the turn signal light of the
helmet.
Connecting to the BR series remote control

6
“Connected”
Keep the active Bling remote
controller near the control
module of the helmet.
The LED taillight will blink once
per second, indicating that
Bling remote controller needs
be connected.
Press the " " button
on the helmet within
connection to the the
Bling remote controller
After successful connection, the
indicator will blink three times
in quick succession.
Blink three times
Bluetooth headset (BH51T range N/A)
2. Connecting to a new remote control(in case the original remote control gets lost or damaged):
Helmetphone
“Connect the
Helmetphone”
“Pairing”
pressthe button at the back of
the product until you hear “Pairing”.
Switch on Bluetooth of your phone
and scan for the "Helmetphone"
device.
Click to connect. A voice prompt
"Connected" will be heard from
the speakers when the connection
is completed.
button

7
New Features
1. Brake Warning Light
may trigger the brake warning lights.
After the helmet powers on and stays stationary for a while, it will automatically begin saving power by
Note: If the helmet does not wake up, make sure the battery levelsare adequate.
3. Anti-Loss Alarm
Prompted when a user’s helmet is connected to the LIVALL riding app and the distance between the helmet
and smartphone exceeds 15m, both the helmet and smartphone will triggeranalarm to alert the user.
4. One-Click Voice Command
After both connections are successful(the remote control is connected to the smart helmet andthe helmet
is connected to a smartphone via Bluetooth), click the intercom button onthe remote control to activate
the smartphone’s voice assistant service.

8
FunctionsBH51MBH51TBH51M
Neo
BH51T
Neo
BH51M
NSO
Smart Warning Lightings● ● ● ● ●
LED Turn Signals ● ● ● ● ●
Make a Call Via Bluetooth ● ● ●
Listen to Music Via Bluetooth ● ● ●
PTT Walkie-Talkie ● ● ●
SOS Alert ● ● ● ● ●
Brake warning lights ● ● ●
● ● ●
Auto-on ●
Anti-loss alarm ● ●
One-Click Voice Command ● ●
Kind Reminder: Please refer to the Quick Start Guide for more details about the functions.

9
Connecting to "LIVALL" App
For Android: Start LIVALL Riding. The App will
automatically connect to the helmet;
For IOS: Follow LIVALL Riding guide to connect to the
helmet.
Only if the helmet is successfully connected to LIVALL App, SOS alert feature and LED light indicators can work.
LIVALL Riding App LIVALL ON FACEBOOK
Tip: 1. To ensure signal stability for connection, please try not to place your mobile phone right against your body.
2. After both connections are successful (the remote control is connected to the smart helmet and the helmet
is connected to a smartphone via Bluetooth), click the intercom button on the remote control to activate the
smartphone’s voice assistant service.
Instructions for Bling remote controller
Photo-shooting
Direction-Left
Confirm
Intercom
Direction-up
Direction-Right
Direction-bottom
Press photo-shooting button one time to pull up camera mode on your
smartphone. You will see the camera mode pop up. Press photo-shooting
button again to snap a photo. (Make sure to be connected to LIVALL App)
Press direction-up key one time to increase volume. Hold down direction-up
key to play previous song.
Press the direction-right key to signal turn right.
Press the conÞrmation key (middle key) to play/pause music and answer/
end incoming calls. Hold down the conÞrmation key to reject incoming calls.
Double click the conÞrmation key to make a phone call from the last dialing out
number on your smartphone.
Press direction-down key one time to decrease volume. Hold down direction-
down key to play next song.
Hold down the intercom key to communicate your message with team riders.
(Make sure to be connected to LIVALL App to enter the Grouping mode)
Press the direction-left key to signal turn left.

10
V. Considerations
1. The helmet contains electronic parts inside. Please do not take a long ride in the rain although the helmet can prevent the
rain from splashing.
2. After the helmet gets wet in the rain, the water droplets might occur in the chimney of tail LED lights. The water droplets
will disappear when you putthe helmet underthe ventilationenvironment for 1-2 days.
3. The helmet contains the battery. The battery capacity varies with temperature change. The battery life can decay when the
helmet is used at low temperatures or below Zero degrees Celsius.
4. If the electronic functions donot work, please charge the helmet for 3 hoursand then check if it works normally.
5. The helmet contains impact detection devices. Only if you connect your helmet with LIVALL App, start ride mode on the
LIVALL App can accordingly receive your SOS messages.
Charging port : Magnetic USB Electricity parameter : DC 5V/1A
Charging time : 3~4 hours Waterproof class: IPX5
Battery life : Max. 10hrs for lighting time, Listening time for musicis3-to-6 hours.
Temperature : -20°C ~45°C. Temperature for use: 0°C~40°C. Temperature while charging: 0°C~40°C.
Note: 1.Problems such as network anomalies, may result in the failure to successfully send or receive SOS messages.
months to one year).
Notes: The above data is measured by LIVALL in a controlled environment, with room temperature at 25°C and smartphone
volume at 60%. The data may vary according to the environment.
Performance standards:
• USA: 16 CFR 1203
• Europe: EN 1078:2012+A1:2012
• Australia: AS/NZS 2063:2008

11
LIVALL's website : www.livall.com
During the usage, if the following troubles occur, please charge the product according to quick guide of the model(the
helmet can be reset during the charging). If the problems still can not be solved, please contact the after-sales service
Faults:
2. The helmet is turn on, but the lights, micphone, speakers etc can not work normally;
VII. Electronic functions troubleshooting
secure and comfortable on the head;
c) how the helmet shouldbe positioned on the head to ensure the intended protection is provided (e.g. that it should be
placed soas to protect the forehead and not be pushed too far over the back of the head);
d) that a helmet cannot always protect against injury;
e) that a helmet subjected to a severe impact should be discarded and destroyed;
f) a statement of the danger of modifying or removing any of the original component parts of the helmet other than as
not recommended by the manufacturer.

59
Designed and Assembled in Shenzhen China
LIVALL HELP CENTER
This manual suits for next models
6
Table of contents
Other Livall Bicycle Accessories manuals