76
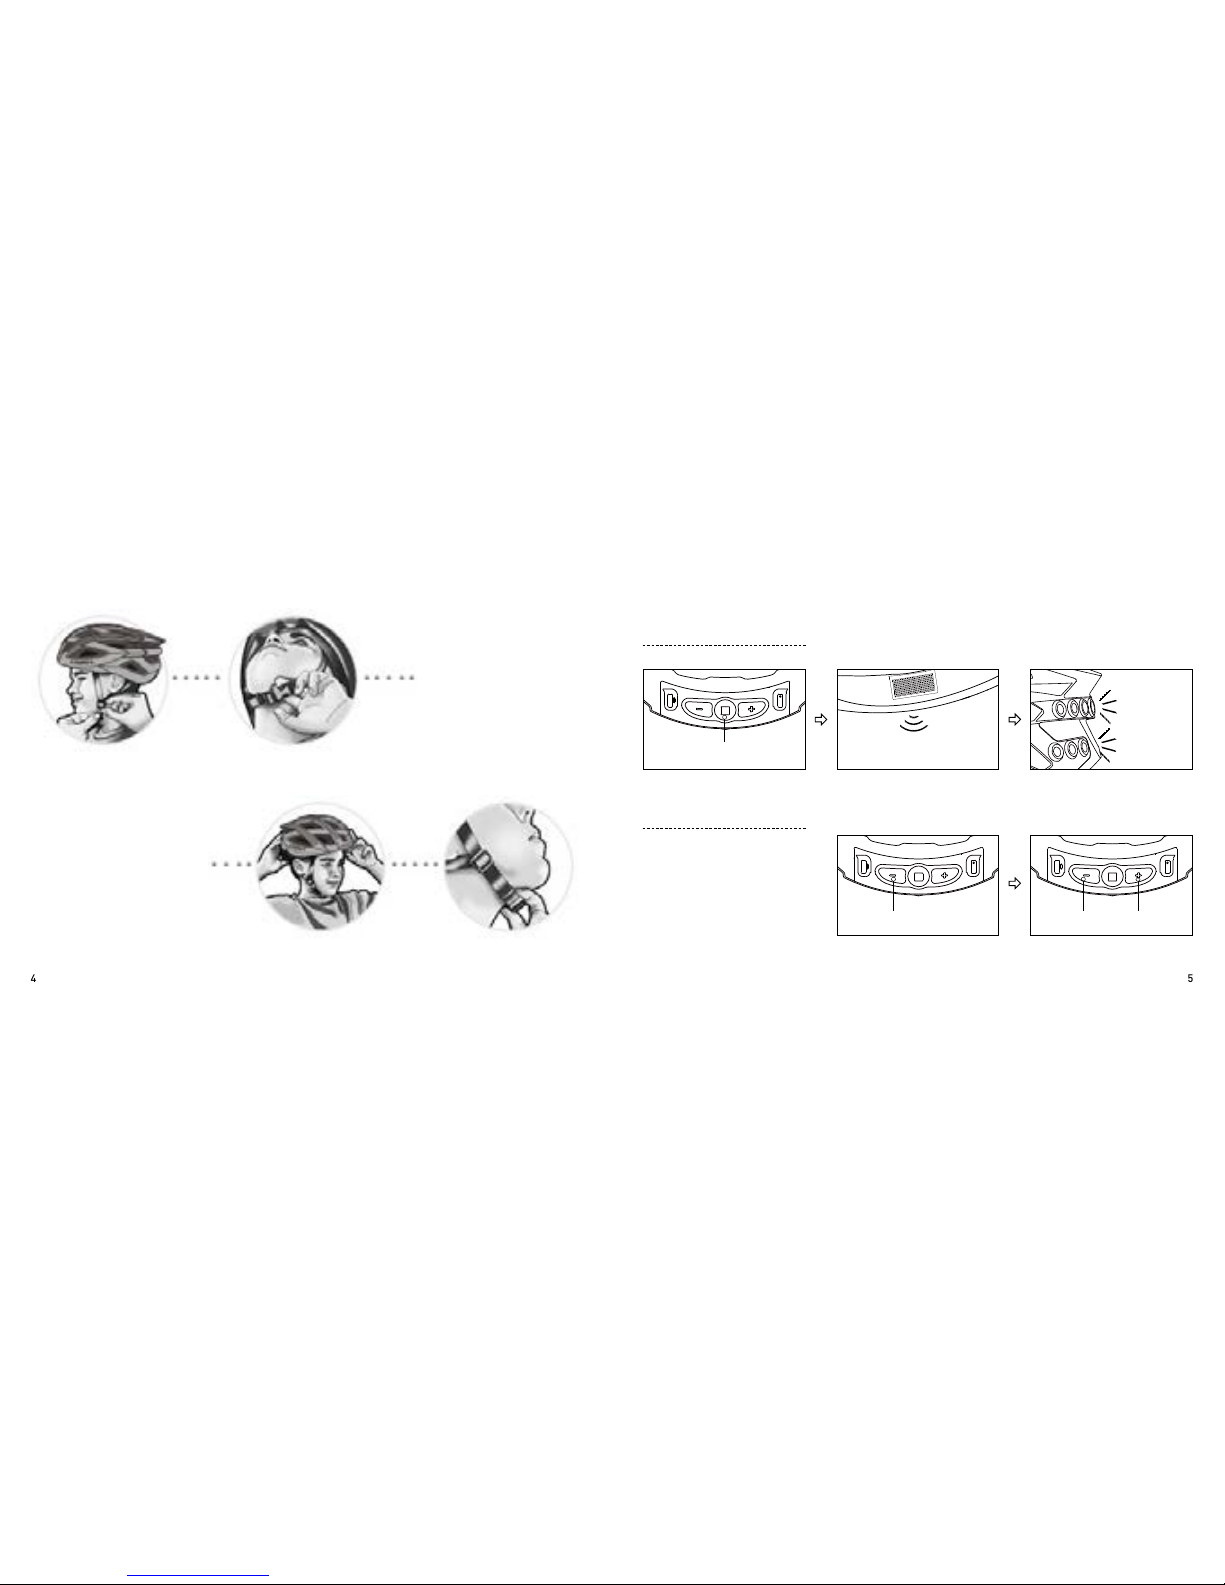
Two "beeps"
"□" function button
Turn on the device, which should
be within 5 meters of the helmet.
It will automatically connect the
helmet.
Place a device that is already ON
near the helmet's main control.
After the connection is established, it
will be conrmed with two "beeps".
When the warming light flashes
and the helmet speakers emit two
"beeps", it indicates that there is a
device nearby requiring connection
to the helmet.
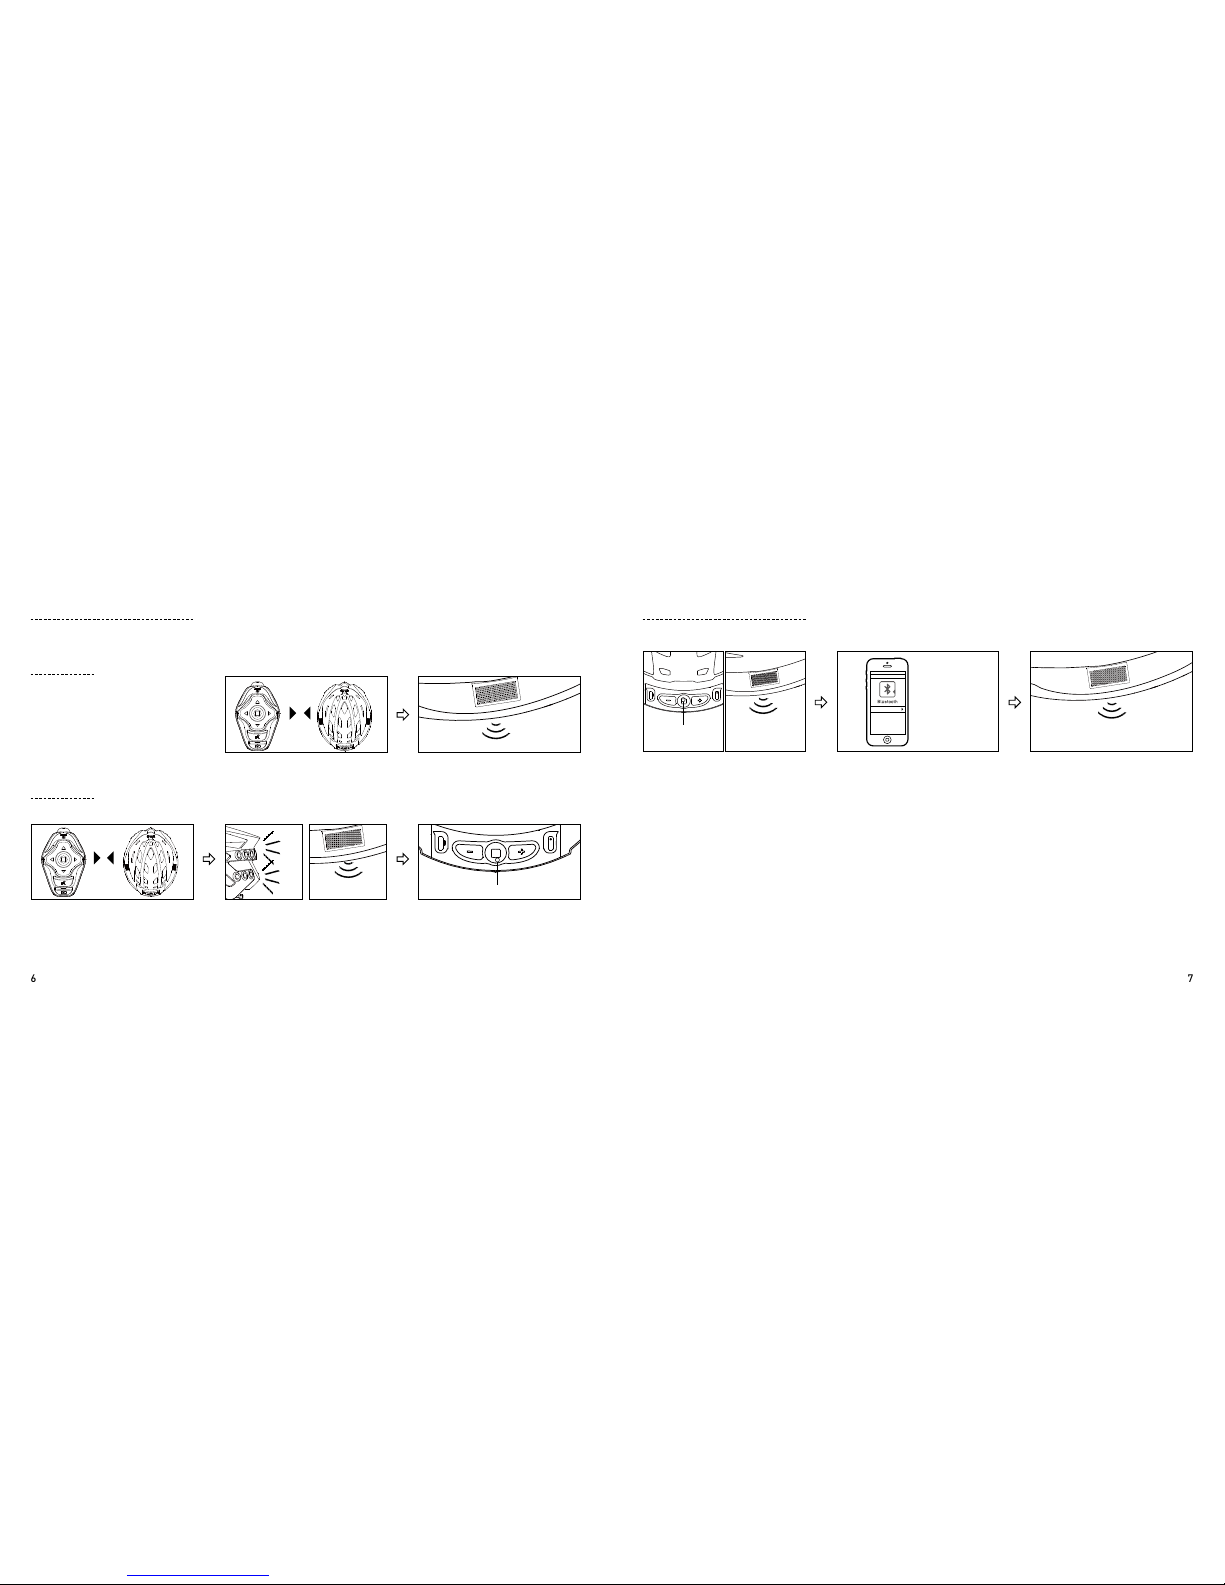
Connecting for the rst time or switching devices
≤5m
1. Connecting for the rst time
One helmet can be connected to up to three LIVALL-authorized devices at the same time. After the handlebar
remote control is connected, press the "left" or "right" button to control the helmet’s corresponding indicator light.
2. Replacing device
Press the " □" button on the helmet
within 10 seconds after you hear
the beeps and conrm connection
to the device.
Two "beeps"
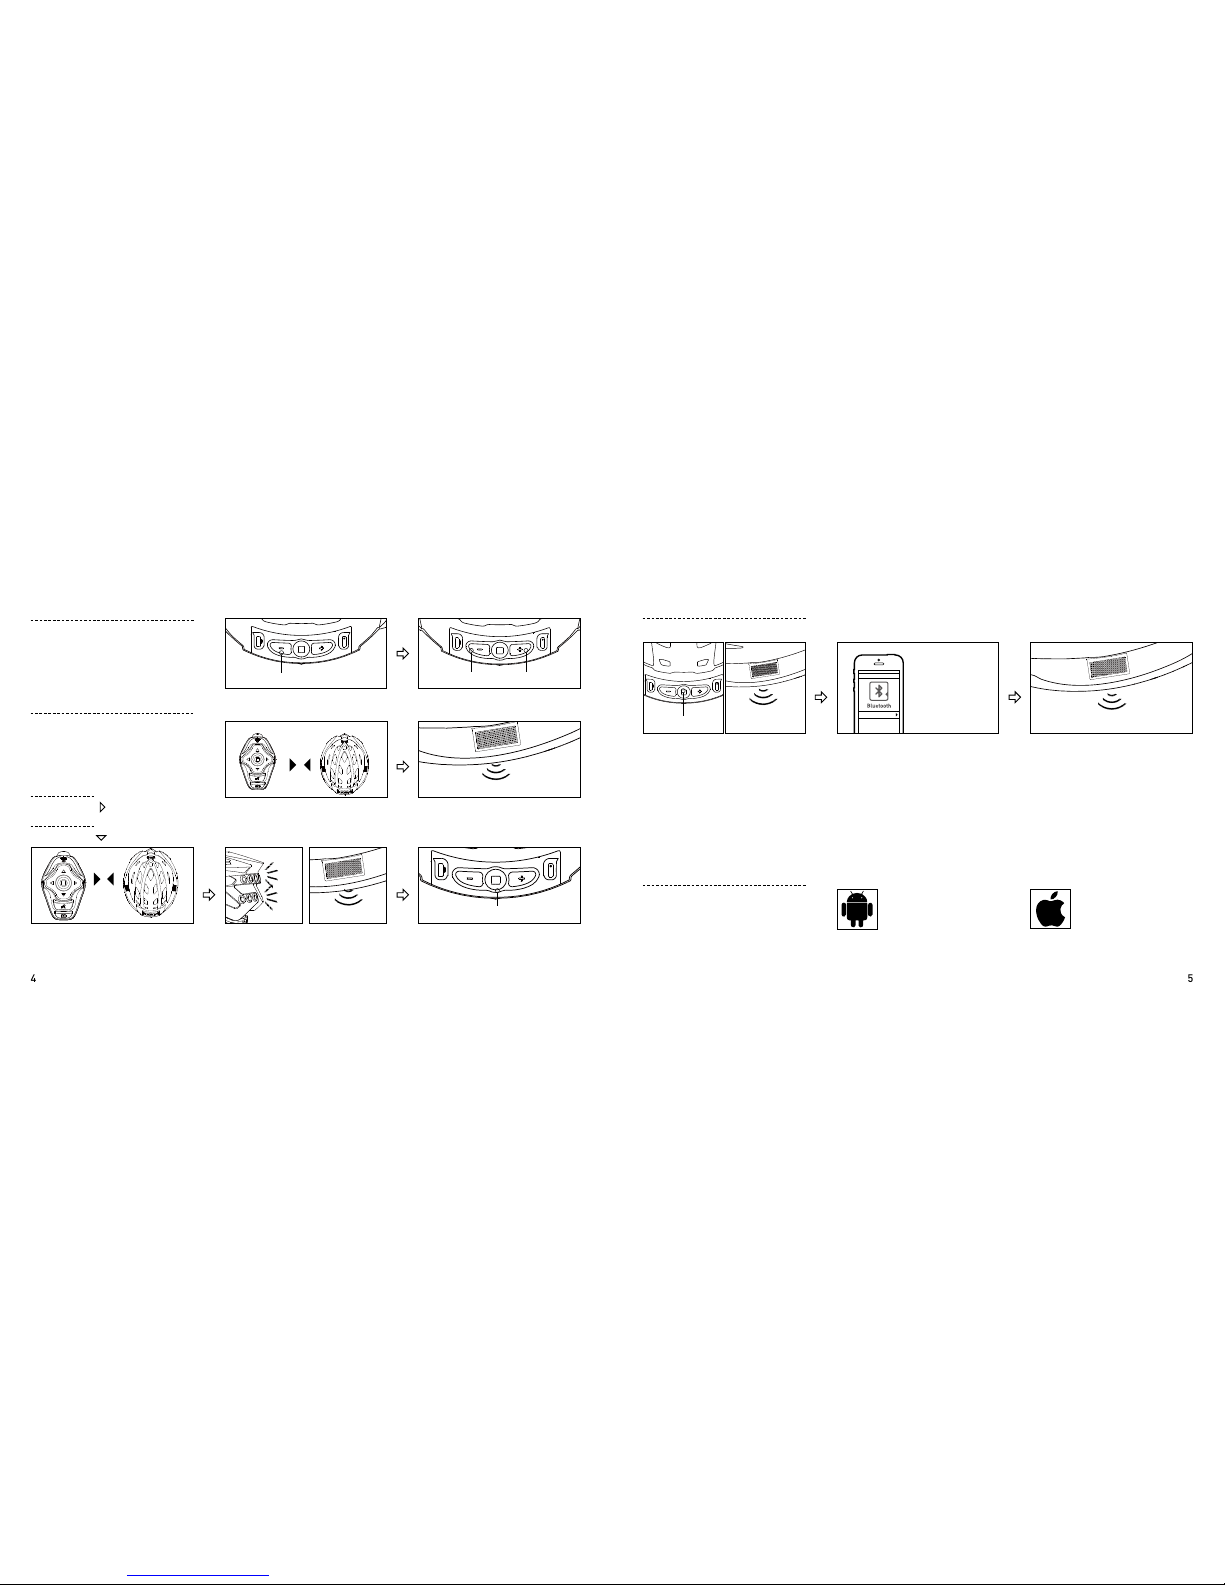
Connect to the phone (Tip: Once connected, it can control the music player as well as make and receive calls. To ensure
the stability of the connection, please try to position your mobile phone in front of you.)
Helmet Headset
"Click to
connect"
"Pairing..."
"□" function
button
When the device is o, press and
hold the " □" button until you hear
the "Pairing..." sound.
After the connection is completed, you can play music as well as make and answer calls as follows
To Play/Pause Music: Press the " □" button on the helmet or the handlebar remote control to play/pause music.
Adjust Volume: When calls are made or music is played, press the "+/-" buttons on the helmet to adjust the
speaker volume.
Previous Song/Next Song: Press the "up/down" buttons on the handlebar remote control or press and hold "+/-" buttons on
the helmet to cycle through the music.
Answer/Reject Calls: When there's an incoming call, press the " □" button to answer the call or press and hold to
hang up.
Dial Back: Two quick presses of the " □" button on the handlebar remote control or helmet to redial
the last outgoing call.
Swith on the Bluetooth on your
phone and scan for the "Helmet
Headset" device.
Click to connect. The speakers
on both sides will make the
"Connected" sound when the
connection is completed.
"Connected"