Logan Graph c Products Inc., 1100 Brown Street, Wauconda, IL 60084 USA
Phone 1 847 526 5515 Toll Free 1 800 331 6232 www.logangraph c.com
2
TroubleshootingChanging And Installing Mat Cutter
Blades
A note about Mat Cutter Blades: They are sharp. Super
sharp. Imagine a sharp thing and then multiply it by a
power of three. That sharp. So, be careful.
The Platinum Edge Mat Cutter uses Logan Blade Model 267, which is a 0.012”
thick double bevel blade. However, any blade that is 3/4” in height may be
used, as long as the blade depth and production stops are adjusted accordingly
for accurate results (See “Making Adjustments” starting on Page 16). Whether
you use single bevel blades or double bevel blades is really up to you, but
either version can be purchased from an authorized art materials dealer.
Always use a sharp blade when cutting mats. Signs your blade may
be too dull include ragged cuts or a tendency for the blade to tear the mat
rather than slice it. When a blade becomes dull you will need to remove it
and either exchange it for a new one or, in the case of double bevel
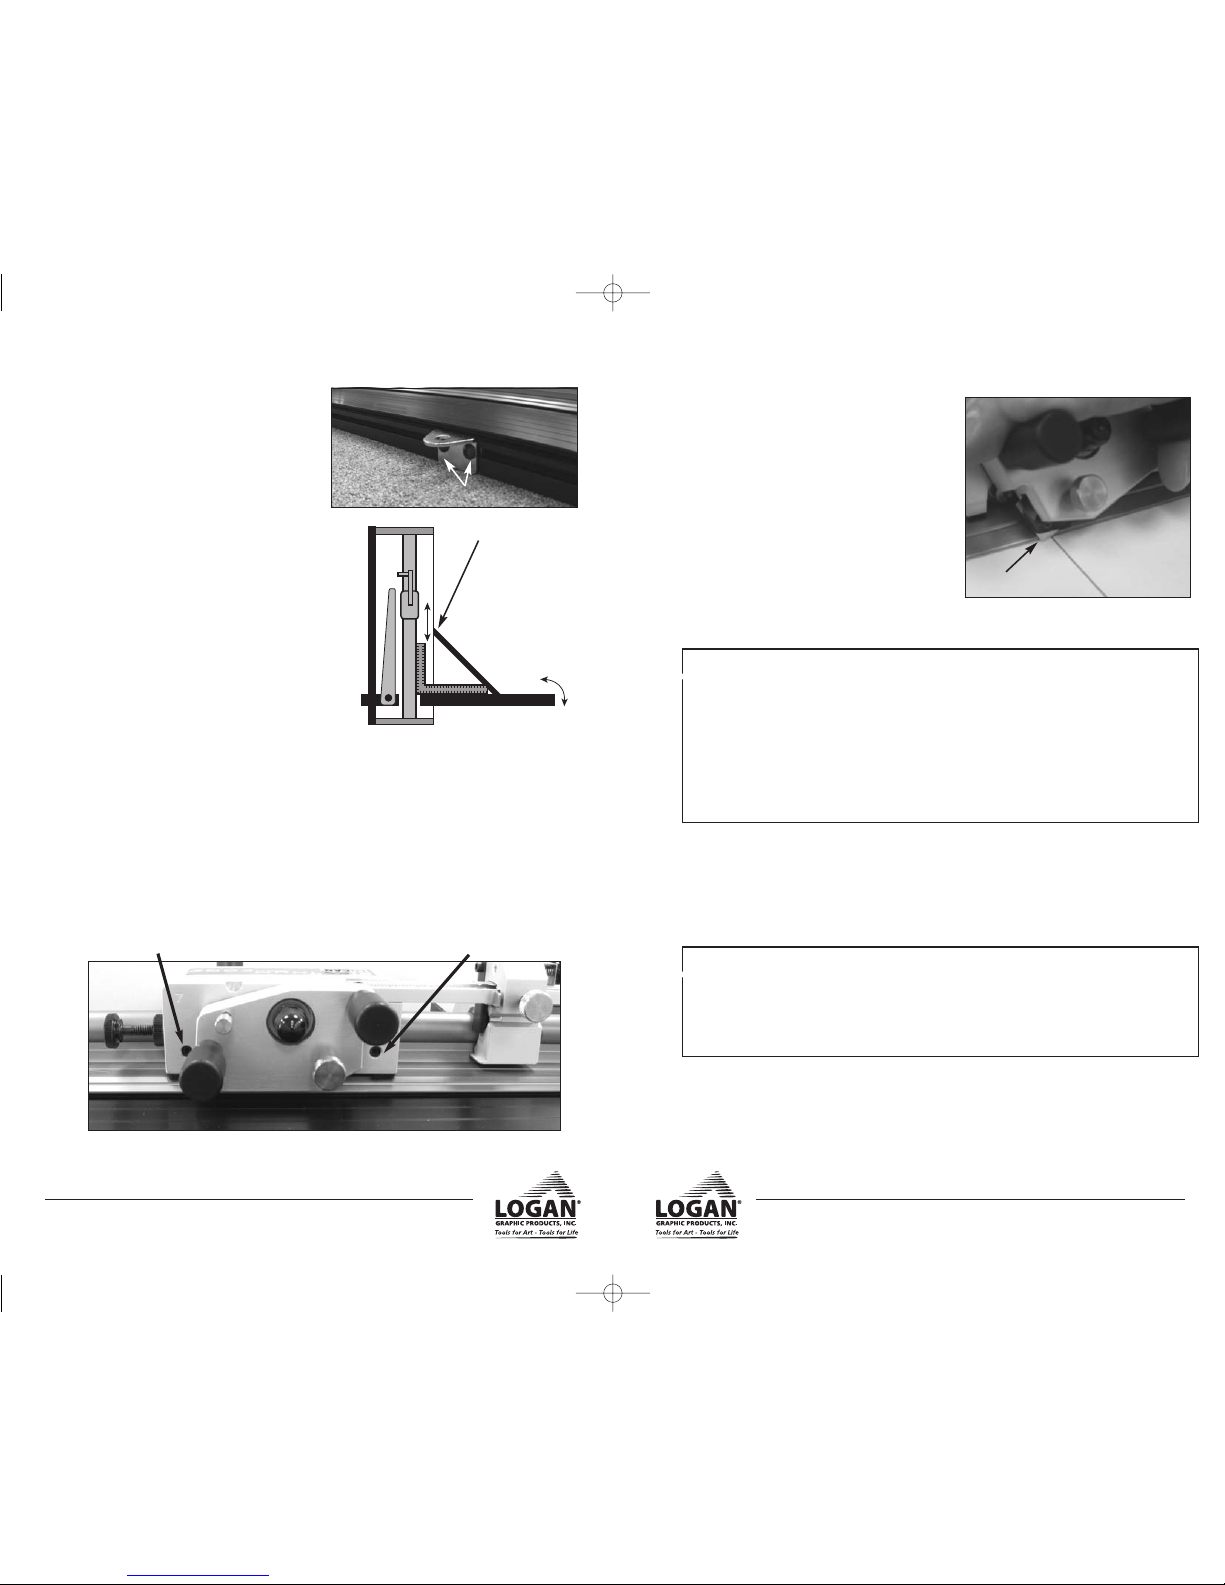
blades, reverse the blade to use the as-yet-unused side. To remove a blade
magazine from the blade carrier, first loosen the bevel blade holding knob
located beneath the front handle of the blade carrier (Figure 3).
Figure 3
Take hold of the black adjustment screw at the rear of the magazine and pull the
magazine out. f the magazine does not come out smoothly, loosen the thumb
screw a bit more.
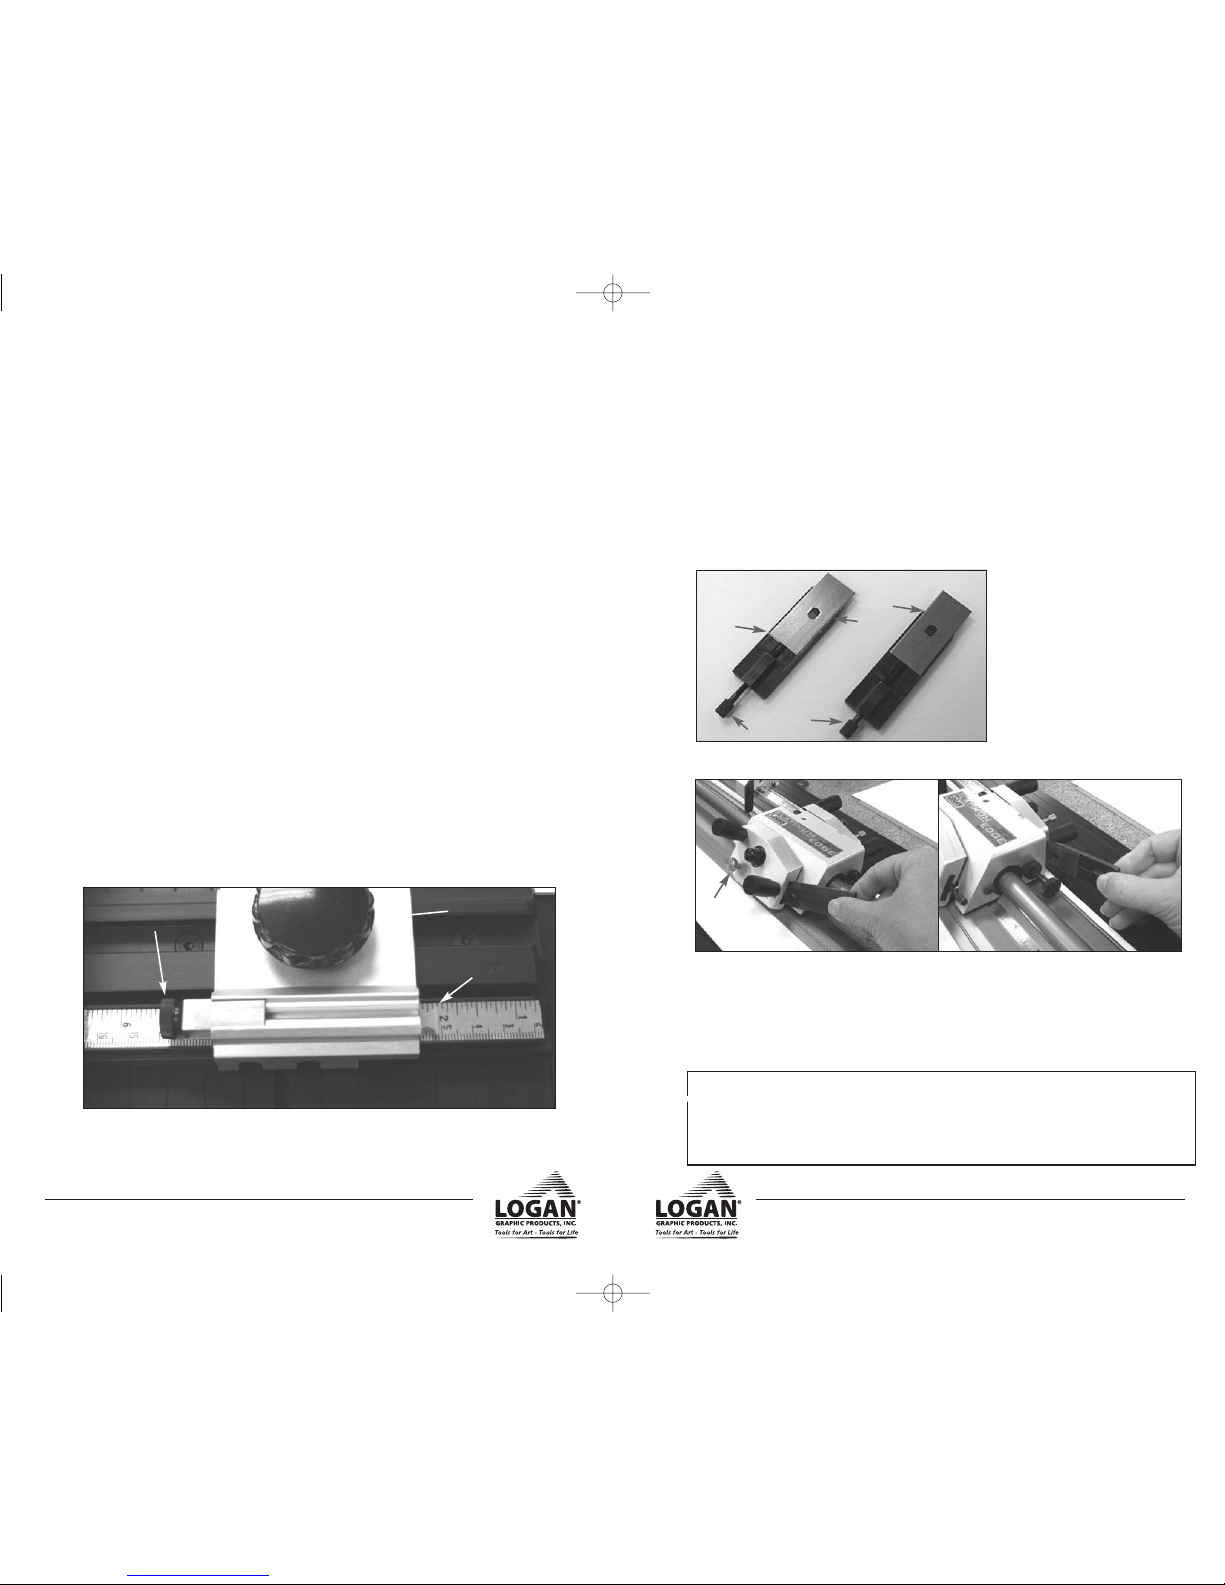
Single
Bevel
Double
Bevel
3/4”
Problem Possible Reasons
Ragged cuts Cutting without a slip sheet (Page 4)
Slip sheet is worn out (Page 4)
Dull or chipped blade (Page 2)
nconsistent pressure being applied on the cutting head while cutting (Page 6)
Putting unneeded pressure down onto the handle bar (Page 6)
Overcut at the start of the cut Allowing the cutting head to “creep” forward upon blade insertion (Page 6)
Starting the cut too far past the pencil line (Page 6)
Too much blade depth (Page 3)
Production stop not set properly or needs micro adjustment (Page 18)
Overcut at the end of the cut Cutting too far past the bottom pencil line (Page 6)
Too much blade depth (Page 3)
Production stop not set properly or needs micro adjustment (Page 18)
Blade not cutting through
material
Pushing down on the handle bar while cutting (Page 6)
nconsistent pressure being applied on the cutting head while cutting (Page 6)
Debris caught under the cutting bar (Page 6)
Blade depth set too shallow (Page 3)
Cutting through the mat in
some areas but not in others
Pushing down on the handle bar while cutting (Page 6)
Slip sheet not the full length of the mat being cut (Page 4)
nconsistent pressure being applied on the cutting head while cutting (Page 6)
Debris caught under the cutting bar (Page 6)
Hook in corner or long curve
in the cut
Too much blade depth allowing the blade tip to flex (Page 3)
Dull blade (Page 3 - 4)
Pushing down on the handle bar while cutting (Page 6)
Slip sheet not the full length of the mat being cut (Page 4)
nconsistent pressure being applied on the cutting head while cutting (Page 6)
Possible adjustment needed to the blade tip adjustment screw (Page 17)
Cutting heads hard to pull
when cutting
Dull blade (Page 3 - 4)
For bevel cutting, too much blade depth (Page 3)
For straight cutting, did not remove slip sheet before cutting (Page 12)
Possible adjustment needed on cutting head tension screws (Page 16)
Borders of mats inconsistent
size from one end to the other
Not placing the mat and slip sheet tightly against the parallel mat guide (Page 8)
Mat guide not parallel and needs adjustment (Pages 15 - 16)
Mat board not squared properly before cutting (Page 12)
Machine not producing square
cuts when downsizing mat
board
Not placing the mat squarely against the squaring bar while cutting (Page 13)
Squaring arm no longer square and needs adjustment (Pages 15-16)
Trim all four sides of an unsquare mat board before using (Page 12)
Cutting head loose on the rail Possible adjustment needed on cutting head tension screws (Page 16)
Production stops producing
over or under cuts
Blade depth set too deep or too shallow (Page 17)
Possible micro adjustment needed on the production stops (Page 18)
19
bevel blade
holding knob