manuals.online logo
Brands
  1. Home
  2. •
  3. Brands
  4. •
  5. Lorex
  6. •
  7. Security Camera
  8. •
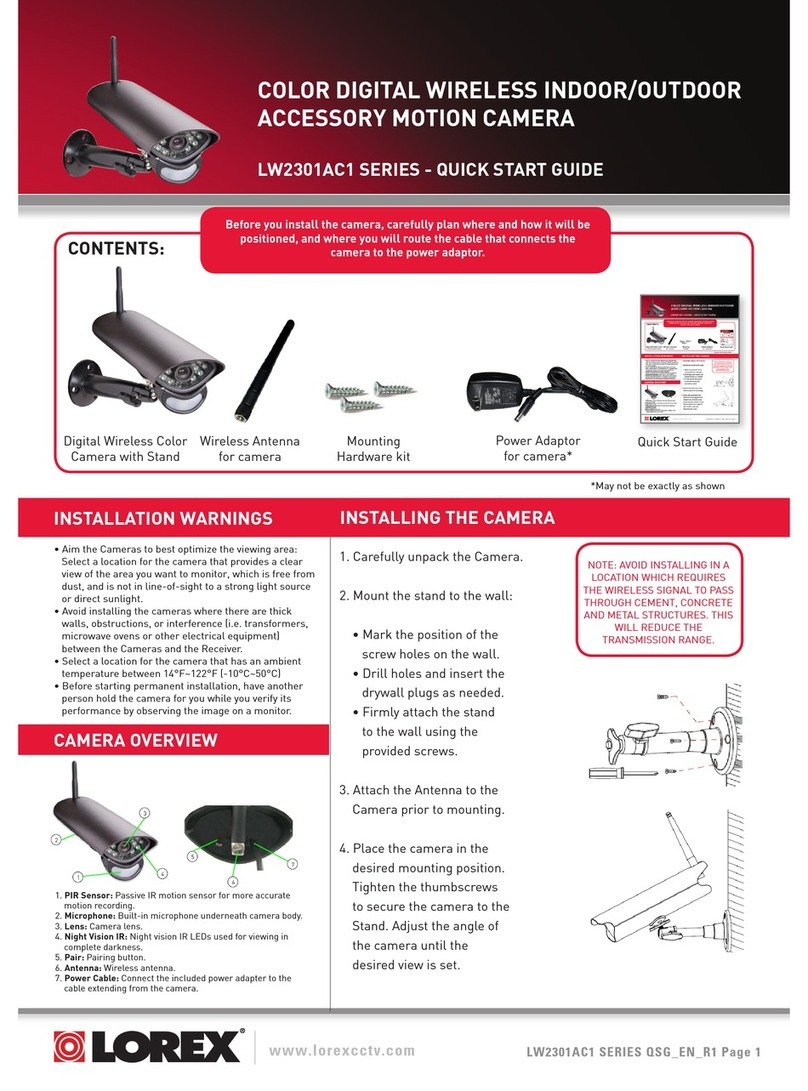
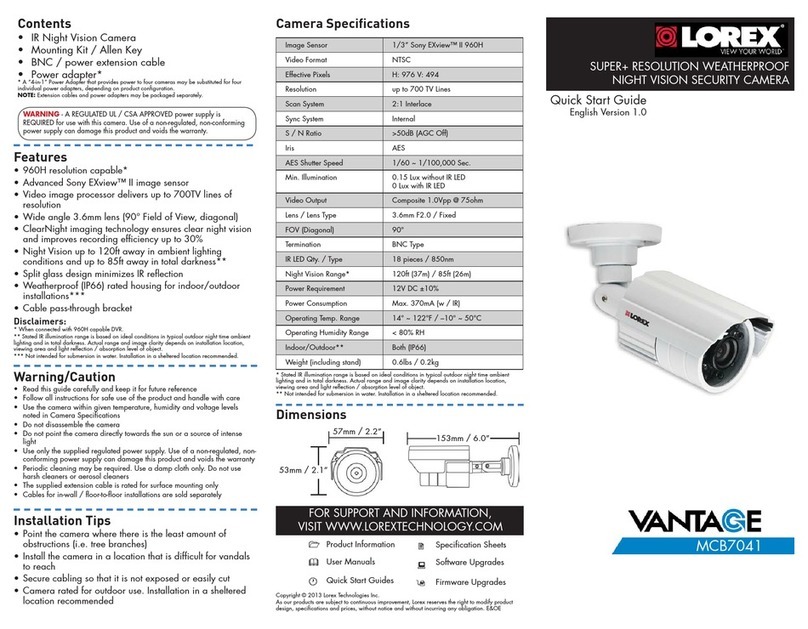
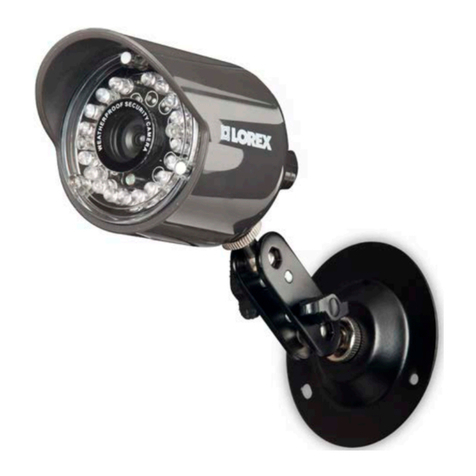
  9. Lorex LW2960HAC1 User manual

Lorex LW2960HAC1 User manual

www.lorextechnology.com
LW2960HAC1_QSG_R1 Page 1
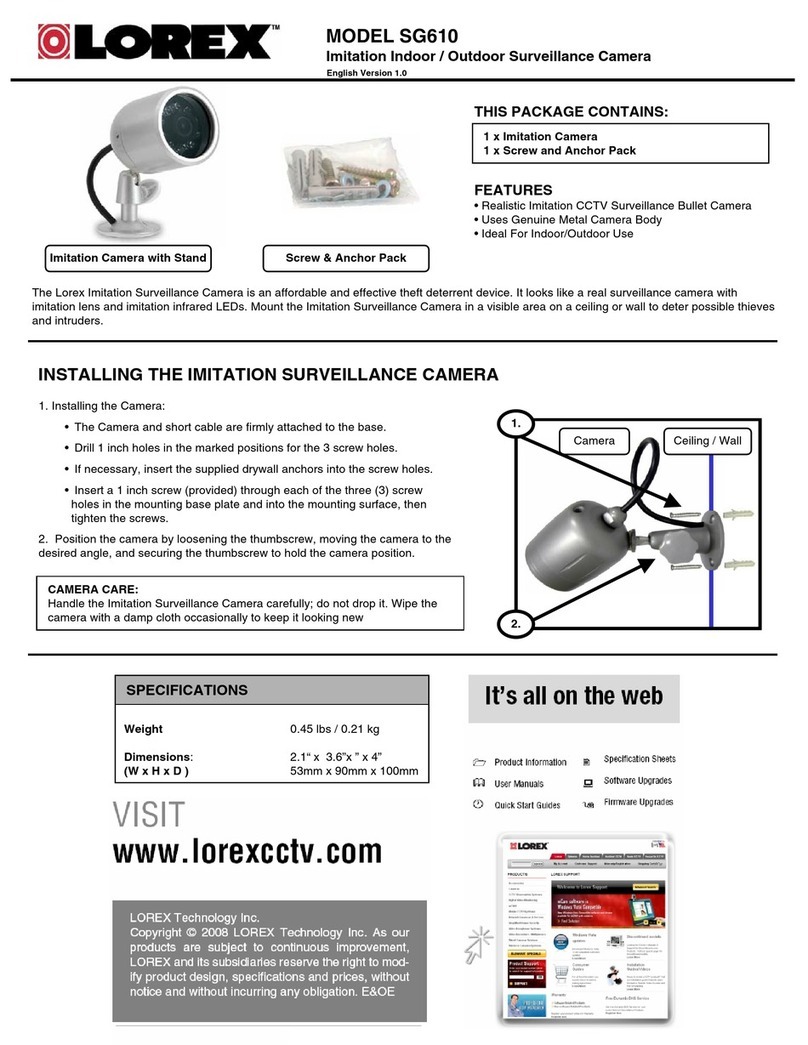
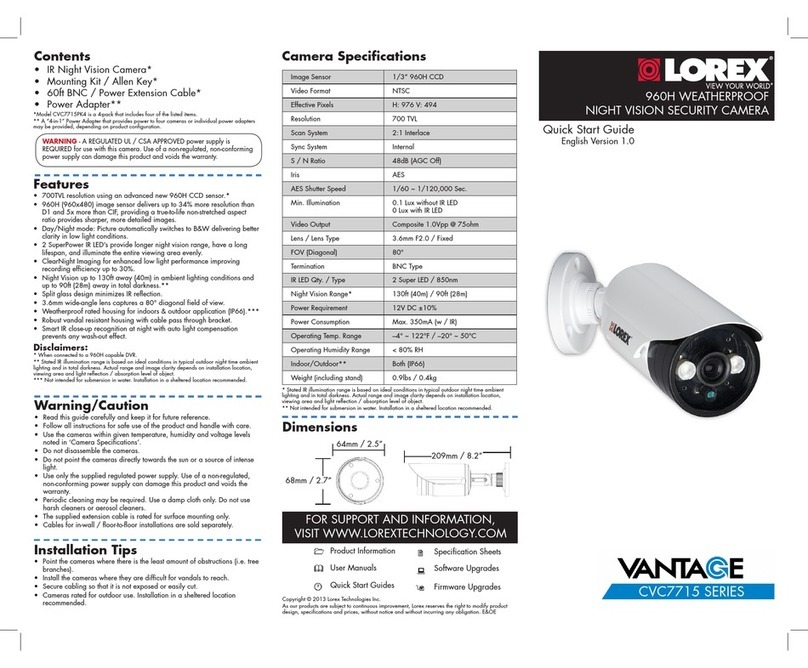
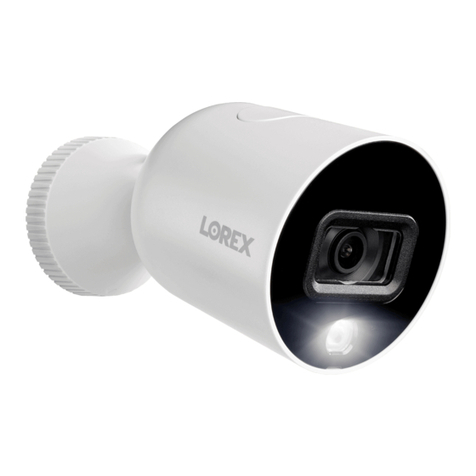
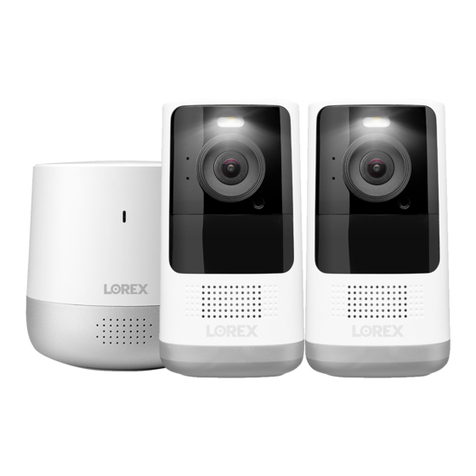
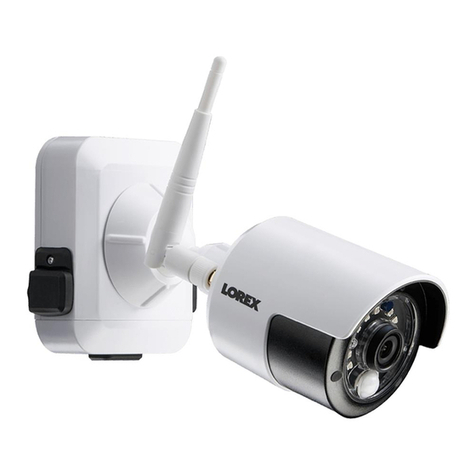
ADD-ON CAMERA
LW2960HAC1
QUICK START GUIDE
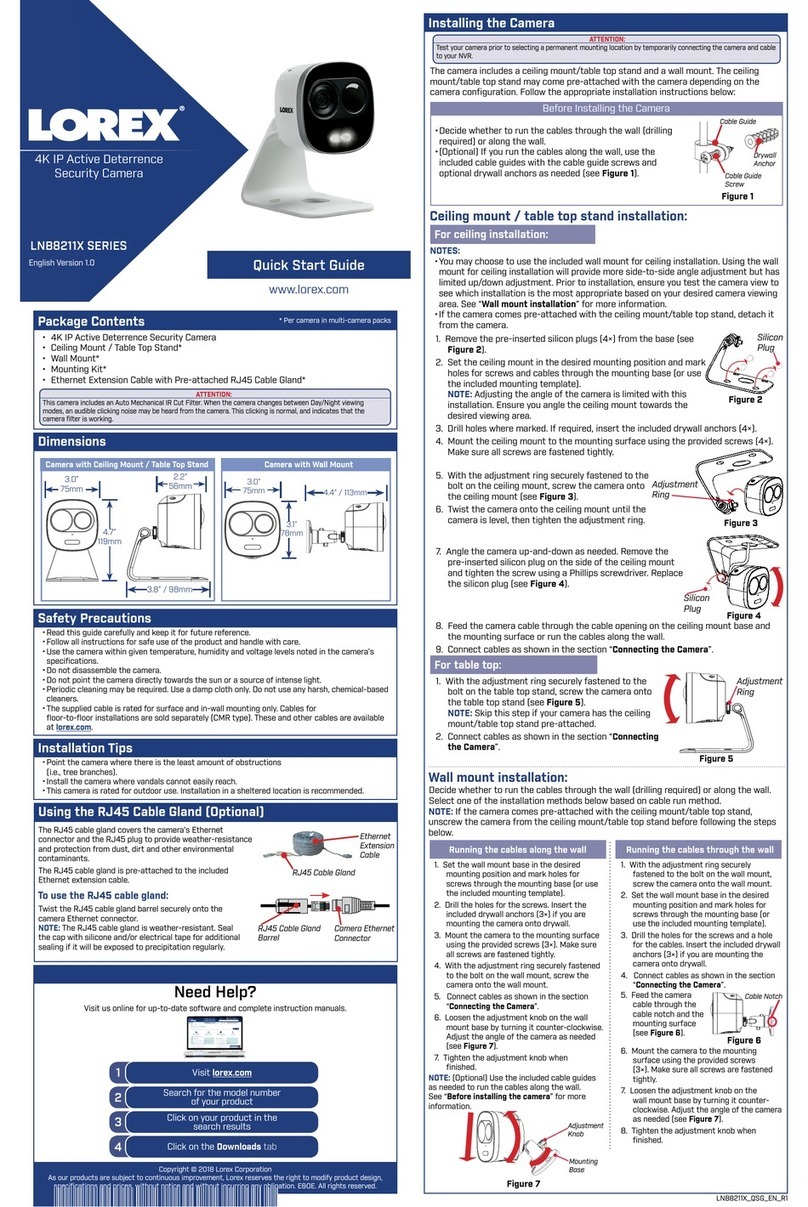
x1 x3 x1
Loosen the thumbscrews (1, 2) and the adjustment
ring (3) by turning them counter clockwise.
2
1Use the included mounting screws to attach the
camera(s) to the mounting surface:
a. Mark the positions of the screw holes on the mounting surface.
b. Drill holes and insert the drywall anchors (included) as needed.
c. Firmly attach camera(s) to the surface using the included screws.
2
1
3
Adjust the angle
of the camera(s) as
needed, then tighten
the thumbscrews and
the adjustment ring.
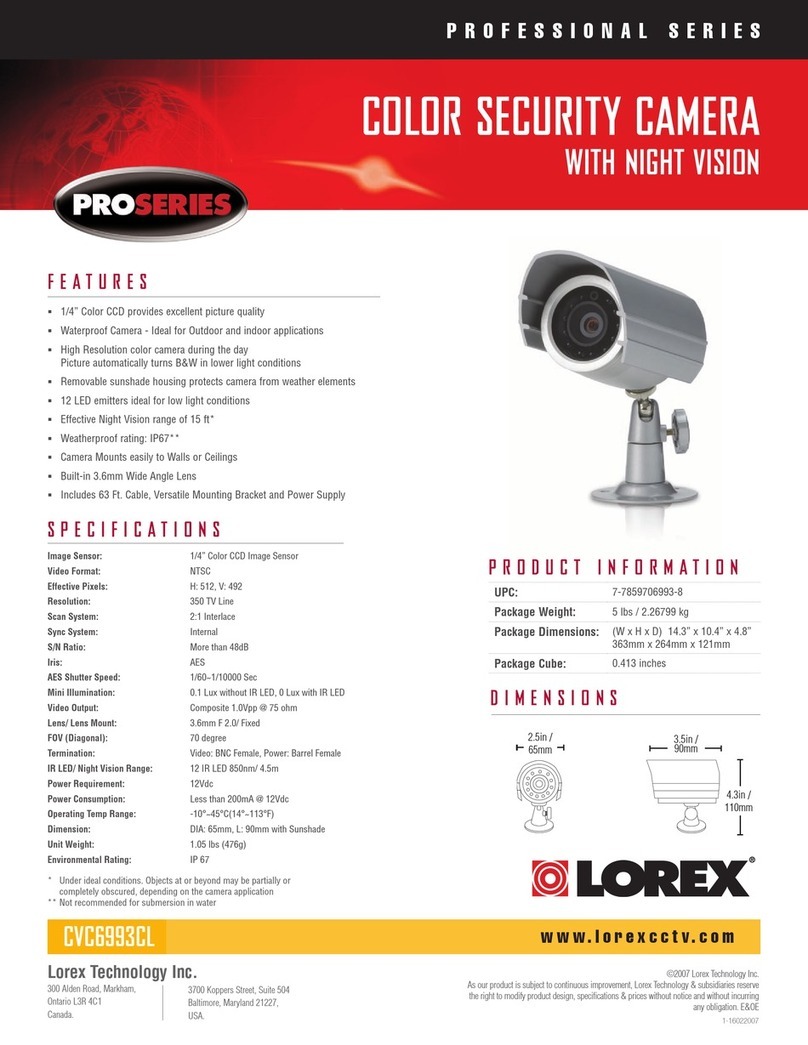
Camera Setup
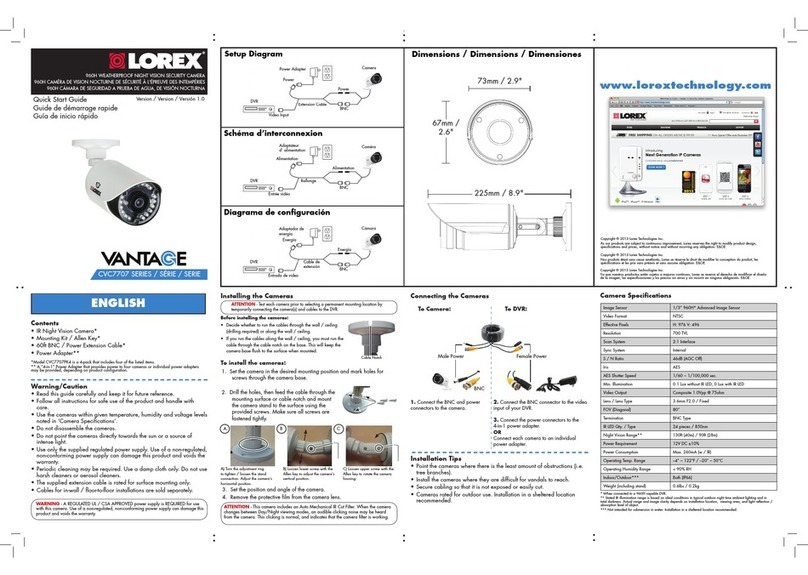
Before installing camera(s), carefully plan where and
how it will be positioned, and where you will route the
cable that connects the camera to the power adapter.
3Connect one end of the camera’s power adapter to
the camera and the other end to an electrical outlet.
Make sure the power connector is fully inserted to
avoid water getting in the plug.
4Remove the protective film from the front of the
camera(s). If the film is not removed, it will block
the microphone and will affect picture quality.
• Cameras are rated for indoor/outdoor installation, but are
not intended for direct exposure to rain or snow. For outdoor
applications, install under shelter protected from the elements.
• Wireless cameras require a power source to operate.
• Ensure power outlets are sheltered from the elements.
Installation Tips
NOTE: If you run the power cable through the mounting
surface, connect power before attaching the camera to
the wall.
Press on the front panel of the wireless receiver, then select
Camera. Push the joystick to confirm.
2
1Connect the new camera to a power outlet. Place the camera
within 1ft of the wireless receiver.
Pairing the Camera with the Receiver
3
Select Pairing.
4
Select the channel you wish to pair
the camera to.
What’s Included
5
NOTE: If you pair a new camera to a channel that is already being
used by an existing camera, the new camera will be connected to
that channel. The old camera will automatically be disconnected.
Following the on-screen prompt,
you have 30 seconds to press
the Pair button on the camera.
NOTE: If you do not press the Pair button on the camera during
the 30 second pairing window, repeat steps 2~5 to try the pairing
process again.
NOTE: If the speaker begins squealing, move the camera and
receiver away from each other.
1ft
Once paired, the camera will be immediately displayed on-screen.
lorextechnology.com/support
www.lorextechnology.com
LW2960HAC1_QSG_R1 Page 2
www.lorextechnology.com
LW2960HAC1_QSG_R1 Page 2
CAMÉRA SUPPLÉMENTAIRE
LW2960HAC1
GUIDE DE DÉMARRAGE RAPIDE
x1 x3 x1
Desserrez les vis à oreilles (1, 2) et la bague
de réglage (3) en les tournant dans le sens
antihoraire.
2
1Utilisez les vis de montage incluses pour fixer la
caméra à la surface de montage :
a. Marquez les positions des trous de vis sur la surface de montage.
b. Percez des trous et insérez des ancrages pour cloison sèche (incluses),
le cas échéant.
c. Fixez solidement la caméra à la surface en utilisant les vis incluses.
2
1
3
Ajustez l'angle
de la caméra selon
votre besoin et serrez
ensuite les vis à oreilles et
la bague de réglage.
Configuration de la caméra
Avant d'installer la caméra, planifiez soigneusement où et
comment elle sera installée et par où vous acheminerez le
câble qui connecte la caméra au bloc d'alimentation.
3Connectez une extrémité du bloc d'alimentation de
la caméra à la caméra et l'autre extrémité à une
prise électrique. Assurez-vous que le connecteur
d'alimentation est complètement inséré afin d'éviter
que l'eau n'entre dans la fiche.
4Retirez le film protecteur à l'avant de la caméra. Si
le film n'est pas retiré, il bloquera le microphone et
affectera la qualité de l'image.
•Les caméras sont qualifiées pour une installation intérieure et extérieure
mais ne sont pas destinées à une exposition directe à la pluie ou la
neige. Pour des applications à l'extérieur, installez sous un abri protégé
contre les intempéries.
•Les caméras sans fil nécessitent une source d'énergie pour fonctionner.
•Assurez-vous que les prises de courant soient à l'abri des intempéries.
Conseils d'installation
REMARQUE : Si vous passez le câble d'alimentation à
travers la surface de montage, bien connecter l'alimentation
avant de fixer la caméra au mur.
Appuyez sur sur le panneau avant du récepteur sans-fil, puis
sélectionnez Caméra. Poussez la manette pour confirmer.
2
1Connectez la nouvelle caméra à une prise de courant. Placez la
caméra dans un rayon d'un pied du récepteur sans-fil.
Coupler la caméra au récepteur
3
Sélectionnez Couplage.
4
Choisir le canal auquel vous
désirez associer la caméra.
Ce qui est inclus
5
REMARQUE : Si vous couplez une nouvelle caméra à un canal
qui est déjà utilisé par un appareil existant, c'est la nouvelle
caméra qui primera. L'ancienne caméra sera automatiquement
déconnectée.
Suite à l'invitation sur l'écran,
vous avez 30 secondes pour
appuyer sur le bouton de
Couplage de la caméra.
REMARQUE : Si vous n'appuyez sur le bouton Couplage sur
la caméra dans les 30 secondes de la fenêtre de couplage, répétez
les étapes 2 à 5 pour réessayer le processus de couplage.
REMARQUE : Si le haut-parleur commence à siffler, déplacez la
caméra et le récepteur plus loin l'un de l'autre.
1ft
Une fois couplée, la caméra apparaît immédiatement à l'écran.
CÁMARA ADICIONAL
LW2960HAC1
GUÍA DE INICIO RÁPIDO
x1 x3 x1
Afloje los tornillos manuales (1, 2) y el anillo
de ajuste (3); gírelos en sentido contrario a las
manecillas del reloj.
2
1Use los tornillos de montaje incluidos para
acoplar las cámaras a la superficie de montaje:
a. Marque las posiciones de los orificios de los tornillos en la superficie de
montaje.
b. Perfore los orificios e inserte los taquetes para yeso (incluidos) según sea
necesario.
c. Sujete firmemente las cámaras a la superficie con los tornillos incluidos.
2
1
3
Ajuste el ángulo
de la(s) cámara(s) tanto
como sea necesario y
luego ajuste los tornillos
manuales y el anillo de
ajuste.
Configuración de la cámara
Antes de instalar la(s) cámara(s), planifique cuidadosamente
dónde y cómo se posicionará y por dónde se realizará el
tendido del cable que conecta la cámara con el adaptador de
corriente.
3Conecte un extremo del adaptador de corriente de
la cámara a la cámara y el otro extremo a una toma
de corriente. Asegúrese de que el conector eléctrico
esté completamente insertado para evitar que se
filtre agua en el enchufe.
4Quite la película protectora de la parte frontal de
la(s) cámara(s). Si no la quita, esta bloqueará
el micrófono y afectará la calidad de la imagen
obtenida.
•Las cámaras están diseñadas para instalarse en interiores o en
exteriores, pero no están diseñadas para estar expuestas directamente
a la lluvia o a la nieve. Si se instala en exteriores, debe colocarse bajo
alguna protección contra el clima.
•Las cámaras inalámbricas requieren una fuente de alimentación para
funcionar.
•Asegúrese de que las tomas eléctricas estén protegidas del clima.
Consejos de instalación
NOTA: Si pasa el cable de corriente a través de la superficie de
montaje, conecte la corriente antes de sujetar la cámara a la pared.
Presione en el panel frontal del receptor inalámbrico y luego
seleccione Cámara. Presione el control de mando para confirmar.
2
1Conecte la nueva cámara a una toma de corriente. Coloque la
cámara a una distancia máxima de 30 cm del receptor inalámbrico.
Cómo emparejar la cámara con el receptor
3
Seleccione Emparejar.
4
Seleccione el canal con el que
desea emparejar la cámara.
Lo que se incluye
5
NOTA: Si empareja una nueva cámara con un canal que ya estaba
en uso por otra cámara, la nueva cámara quedará conectada a ese
canal. La cámara anterior quedará automáticamente desconectada.
Siga las indicaciones en pantalla;
tendrá 30 segundos para
presionar el botón
Emparejar de la cámara.
NOTA: Si no presionó el botón Emparejar de la cámara
durante el periodo de 30 segundos para emparejamiento, repita
los pasos 2 a 5 para volver a intentar el emparejamiento.
NOTA: Si el parlante emite un chillido, aleje la cámara del
receptor.
30 cm
Una vez emparejados, la pantalla mostrará automáticamente la
cámara.
Other Lorex Security Camera manuals

Lorex CVC7995 User manual

Lorex

Lorex CVC7995 User manual

Lorex LNZ32P4 SERIES User manual

Lorex

Lorex LNZ32P4 SERIES User manual

Lorex SG8840 User manual

Lorex

Lorex SG8840 User manual

Lorex F462AQ Series User manual

Lorex

Lorex F462AQ Series User manual

Lorex SG6113 User manual

Lorex

Lorex SG6113 User manual

Lorex LKE353A SERIES User manual

Lorex

Lorex LKE353A SERIES User manual

Lorex W282CA Series User manual

Lorex

Lorex W282CA Series User manual

Lorex F461AQ Series User manual

Lorex

Lorex F461AQ Series User manual

Lorex SG7555P Series User manual

Lorex

Lorex SG7555P Series User manual

Lorex CVC8010 Manual

Lorex

Lorex CVC8010 Manual

Lorex C581CB Series User manual

Lorex

Lorex C581CB Series User manual

Lorex P10 LNZ44P12 User manual

Lorex

Lorex P10 LNZ44P12 User manual

Lorex LW4211-W User manual

Lorex

Lorex LW4211-W User manual

Lorex W461ASC Series User manual

Lorex

Lorex W461ASC Series User manual

Lorex LW2175R SERIES User manual

Lorex

Lorex LW2175R SERIES User manual

Lorex LNWCM23X User manual

Lorex

Lorex LNWCM23X User manual

Lorex Vantage LW2231 User manual

Lorex

Lorex Vantage LW2231 User manual

Lorex SG7213P User manual

Lorex

Lorex SG7213P User manual

Lorex Vantage LBC5450 User manual

Lorex

Lorex Vantage LBC5450 User manual

Lorex E910 Series User manual

Lorex

Lorex E910 Series User manual

Lorex L14S244C User manual

Lorex

Lorex L14S244C User manual

Lorex E892AB Series User manual

Lorex

Lorex E892AB Series User manual

Lorex SG6190 User manual

Lorex

Lorex SG6190 User manual

Lorex Vantage LNC116 User manual

Lorex

Lorex Vantage LNC116 User manual

Popular Security Camera manuals by other brands

Bewator FH07B Series installation instructions

Bewator

Bewator FH07B Series installation instructions

Genie HDI221 user guide

Genie

Genie HDI221 user guide

TP-Link VIGI C340I V1 quick start guide

TP-Link

TP-Link VIGI C340I V1 quick start guide

Idis DC-E4212WR Operation manual

Idis

Idis DC-E4212WR Operation manual

Sony Ipela SNC-CH135 Release notes

Sony

Sony Ipela SNC-CH135 Release notes

Axis AXIS M1054 Specifications

Axis

Axis AXIS M1054 Specifications

RIVATECH RC3502SV-7311 quick start guide

RIVATECH

RIVATECH RC3502SV-7311 quick start guide

HaiweiTech V1-W user manual

HaiweiTech

HaiweiTech V1-W user manual

Vivotek IP8331 specification

Vivotek

Vivotek IP8331 specification

Celexon VK1080 operating instructions

Celexon

Celexon VK1080 operating instructions

Swann PRO-550 manual

Swann

Swann PRO-550 manual

Speco INTENSIFIER CVC6246IHR Technical specifications

Speco

Speco INTENSIFIER CVC6246IHR Technical specifications

Vidy V-IRN3HD-B instructions

Vidy

Vidy V-IRN3HD-B instructions

Vivotek SF8174 user manual

Vivotek

Vivotek SF8174 user manual

Speco CVC-645DC Specification sheet

Speco

Speco CVC-645DC Specification sheet

Okina WDSDX-M56AI Operational manual

Okina

Okina WDSDX-M56AI Operational manual

Bosch Compact Day-Night WZ14N4-0 (NTSC) quick start guide

Bosch

Bosch Compact Day-Night WZ14N4-0 (NTSC) quick start guide

Honeywell HDZ SERIES Specifications

Honeywell

Honeywell HDZ SERIES Specifications

manuals.online logo
manuals.online logoBrands
  • About & Mission
  • Contact us
  • Privacy Policy
  • Terms and Conditions

Copyright 2025 Manuals.Online. All Rights Reserved.