LS Industrial Systems SV-iC5
Easy Start Guide
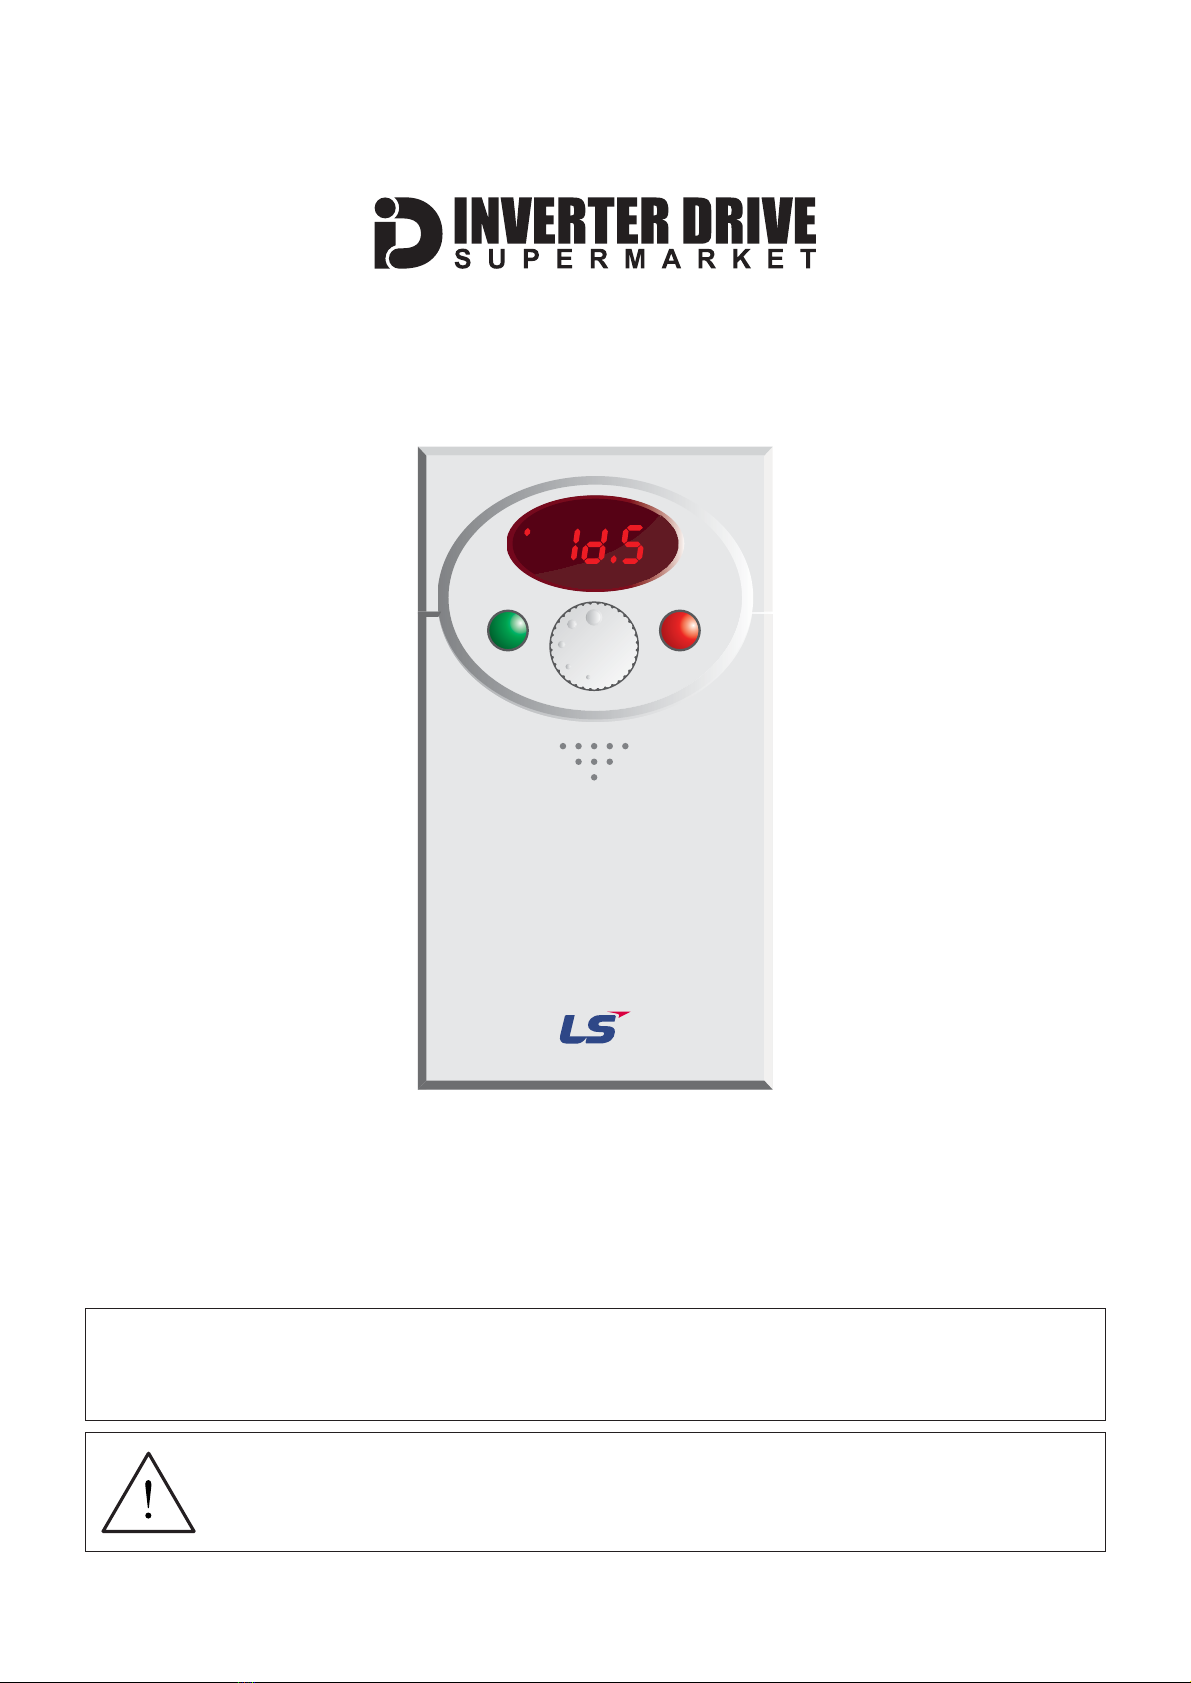
Page 4
This guide has been produced by The Inverter Drive Supermarket Ltd.
All content, including but not limited to graphics, text and procedures copyright The Inverter
Drive Supermarket and must not be reproduced or altered without prior written permission.
©
3. Parameters - overview
Set to match motor nameplate - eg. 0.75 for 0.75kW, 1.5 for 1.5kW etc.
Set to match motor nameplate - eg. 2700-3000RPM = 2, 1350-1500RPM = 4 etc.
Calculate: (Motor Frequency - ((Motor RPM x Poles) / 120))
Motor Full Load Current in Amps
Set to match motor nameplate - eg. 4.7
Motor No-Load Current in Amps
See section 5 for details of how to correctly set this value.
Set to for Run/Stop buttons on the iC5.0
Set to to use the dial on the iC5.2
Max Output Frequency in Hz
Default is 60. Change to 50 for 50Hz motor.
Default is 60. Change to 50 for 50Hz motor.
Default is 0 (off). Set to 1 to enable parameters F25 and F26 for future use.
Default is 0 (off). Set to 1 to improve starting Torque.
Default is 0 (off). Set to 1 to enable Thermal Overload Protection.
The iC5 contains a number of settings which
can be changed to tailor it for use in a wide
range of applications. These settings are
known as parameters.
Parameters are typically referred to by code or
number (eg. H21 = Max Output Frequency)
with a description available in the manual.
The parameters contain critical information
essential to the correct operation of the iC5.
Therefore, they should at least be checked by
the user before it is operated for the first time.
The parameters listed in section 4 are intended
to provide a starting point to allow for basic
operation of the iC5 Inverter.
4.3 Parameters in Function Group 2 - “H”
Press left/right to find H0 then up/down to find parameter number
4. Parameters to set before use
See section 6 for an explanation of Parameter Groups
and to learn how to set a parameter value.
Set the following parameters to allow the iC5 to
run in standard mode with Run, Stop and
Speed Control from the integral keypad.
If any of the parameters have been changed
previously, follow the procedure in section 12
to reset the iC5 to Factory Defaults.
4.2 Parameters in Function Group 1 - “F”
Press left/right to find F0 then up/down to find parameter number
4.1 Parameters in the Drive Group
Press left/right to find 0.0 then up/down to find parameter number