LUBE AMS-1-1 User manual

L−0112−1E
Motorized gear pump
AMS
INSTRUCTION
MANUAL
LUBE CORPORATION
・
For your safety, read and understand this manual
thoroughly before handling the pump.
・Keep this manual at a designated place for
easy
access at all times.

1
Introduction
■System application
This motorized gear pumpAMSis designed to lubricate each point
on a machine by delivering relatively small amount of oil through a
metering valve.
Do not use this system for any other purposes.
■Marks used in manual
In this manual, safety precautions are provided using the marks
below in order to prevent accidents which might cause injuries to
human bodies. Be sure to carefully read these safety precautions to
understand the contents thoroughly before handling the pump.
In addition to the above, the marks below will also appear in this
manual. Please read the following explanation in order to handle
the pump correctly.
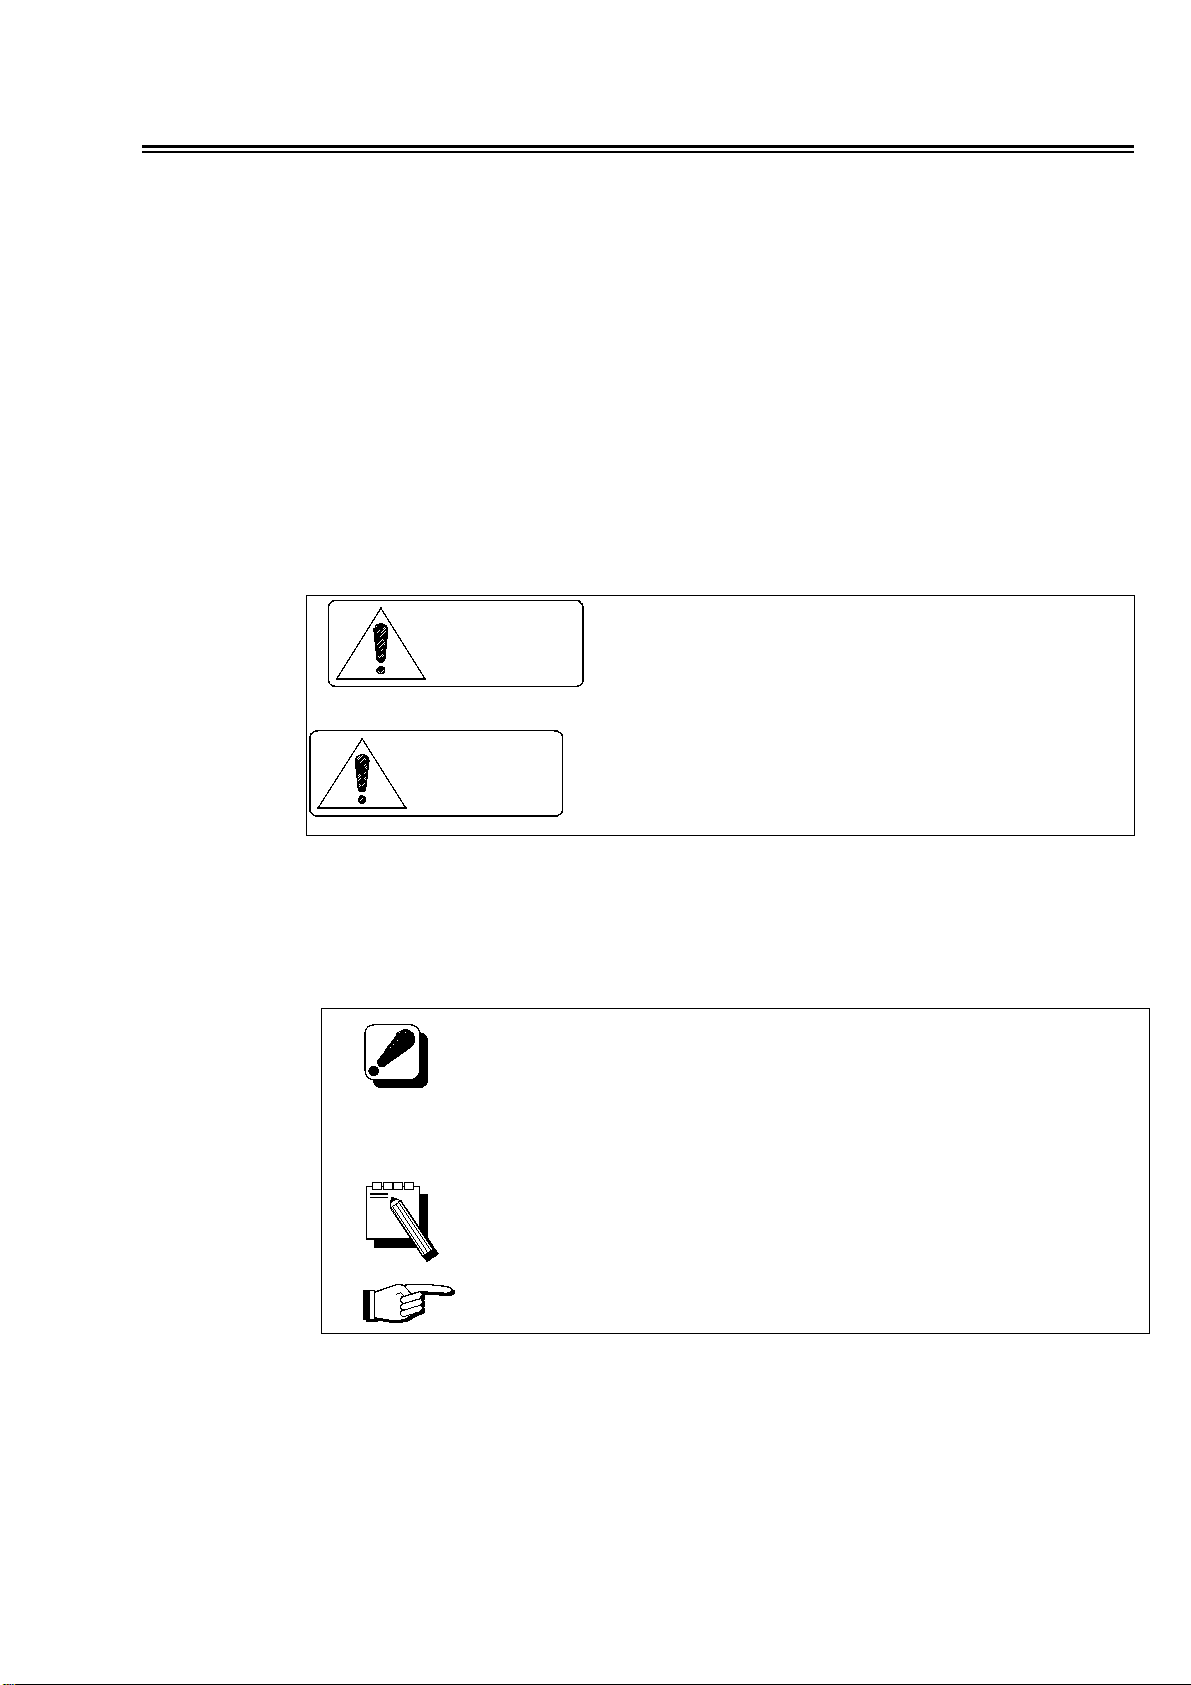
Indicates referential information or points to
which special attention should be paid while
handling the pump. If ignored, the pump and/or
the machine could be damaged.
Indicates referential information or points
which are helpful for handling the pump.
Indicates a reference clause.
Indicates a potentially hazardous
situation which, if ignored, could
result in death or serious injury.
Indicates a potentially hazardous
situation which, if ignored, may result
in minor or moderate injury.
WARNING
CAUTION

2
■Questions/Contacts
If any question or doubt arises concerning the contents of
this manual, contact following:
■Details of contents
Details of all illustrations and specifications in this manual
are subject to change without prior notice for improvement
and development of the pump.
■Resale or leasing
At the time of resale, leasing out or lending out the pump to
the third party, make sure to include with the pump all the
manuals and any other documents found supplied at the
time of initial installation.
■Disposal of pump/Oil
Make sure to dispose pump or oil as designated by national
laws and/or local regulations.
■Japan
LUBE Corporation Head Office
3-30-16(Horizon 1), Nishi Waseda, Shinjuku-ku, Tokyo,
169-0051 Japan
TEL:81-3-3204-8431 FAX:81-3-3204-8520
■China
LUBE LUBRICATING SYSTEM(SHANG HAI)CO.,LTD
C, 3F, 88 Taigu Road, Waigaoqiao Free Trade Zone,
Shanghai
TEL: 021-5868-3818 FAX: 021-5868-3880
■U.S.A
LUBE USA , Inc.
781 Congaree Road,Greenville,S.C.29607
TEL:800-326-3765 FAX:864-242-1652

3
Table of contents
Introduction ・・・・・・・・・・・・・・・・・・・・・・・・・・・・・1
Table of contents ・・・・・・・・・・・・・・・・・・・・・・・・・・3
1. Safety precautions ・・・・・・・・・・・・・・・・・・・・・・・・・4
1-1Basic safety precautions ・・・・・・・・・・・・・・・・・・・・・・・・・・・・・・・・・・・・・・4
1-2Labels ・・・・・・・・・・・・・・・・・・・・・・・・・・・・・・・・・・・・・・・・・・・・・・・・・・・・・・・4
1-2-1Types of labels ・・・・・・・・・・・・・・・・・・・・・・・・・・・・・・・・・・・・・・・・・・・・5
1-2-2Location of labels ・・・・・・・・・・・・・・・・・・・・・・・・・・・・・・・・・・・・・・・・・6
2. Specification and outline ・・・・・・・・・・・・・・・・・・・・・ 7
2-1Specification ・・・・・・・・・・・・・・・・・・・・・・・・・・・・・・・・・・・・・・・・・・・・・・・・・・7
2-2Name of each component ・・・・・・・・・・・・・・・・・・・・・・・・・・・・・・・・・・・・・・8
3. Installation・・・・・・・・・・・・・・・・・・・・・・・・・・・・ 9
3-1Environmental requirement ・・・・・・・・・・・・・・・・・・・・・・・・・・・・・・・・・・ 9
3-2Mounting unit ・・・・・・・・・・・・・・・・・・・・・・・・・・・・・・・・・・・・・・・・・・・・・・・ 9
3-3Wiring ・・・・・・・・・・・・・・・・・・・・・・・・・・・・・・・・・・・・・・・・・・・・・・・・・・・・・・11
3-4Tubing connection ・・・・・・・・・・・・・・・・・・・・・・・・・・・・・・・・・・・・・・・・・・・12
4. How to control the pump ・・・・・・・・・・・・・・・・・・・・・13
5. Lubricating oil and refilling ・・・・・・・・・・・・・・・・・・・14
5-1Lubricating oil to be used ・・・・・・・・・・・・・・・・・・・・・・・・・・・・・・・・・・・・・14
5-2Refilling lubrication oil ・・・・・・・・・・・・・・・・・・・・・・・・・・・・・・・・・・・・・・・14
6. Maintenance ・・・・・・・・・・・・・・・・・・・・・・・・・・15
6-1Suction filter ・・・・・・・・・・・・・・・・・・・・・・・・・・・・・・・・・・・・・・・・・・・・・・・・15
6-2Troubleshooting ・・・・・・・・・・・・・・・・・・・・・・・・・・・・・・・・・・・・・・・・・・・・・16
Appendix.Oil contamination : Causes and measures ・・・・・・・・・18

4
1. Safety precautions
1-1Basic safety precautions
1-2Labels
The following labels are affixed on the pump.
If any label gets damaged or becomes illegible,
contact LUBE immediately. A new one will be
supplied at your own cost.
・Carefully read thi
s manual to understand the
contents before handling the pump.
・
Keep this manual at a designated place for easy
access at all times.
・
This pump is handled by only personnel who have
the knowledge and skill of its installation and
adjustment.
・Never modify o
r change this pump without prior
permission of LUBE.
・Str
ictly observe the instructions on the labels
affixed to the pump.
WARNING
CAUTION

5
1-2-1Types of labels
①⑤
※With oil level switch only
②
③
④
必ずアースをとって下さい。
新しい指定潤滑油を御使用下さい。
サクションフィルターは年一回、交換
または、洗浄してください。
Use the specified lubricant only.
Make sure to be grounded.
Suction filter should be cleaned
or replaced once a year.
注 意
CAUTION
CORP.
TOKYO JAPAN 03−3204−8431
http://www.lube.co.jp
1
0
/
1
2
M
P
R
8
1
/
5
2
S
U
O
N
O
R
H
C
N
S
M
O
T
O
R
Y
U
P
T
U
O
T
3
W
.
C
O
R
P
z
H
0
6
0
5
0
0
2
(V)
T
L
O
V
M
P
(m
A)
A
モータ オイルレベル
電源IN
オイルレベルOUT
U
U
V
V
OL
OL OL
OL
CORPORATION
TYPE AMS−1.5
吐 出 量 1.5cc/min
吐 出 圧 0.8 MPa
SER.NO.

6
1-2-2Location of labels
※With oil level switch only
②
④
③
①
⑤※

7
2. Specifications and outline
2-1Specification
※With oil level switch only
Item Specification
Power supply 100V AC±10%, φ1 200V AC±10%, φ1
Rated voltage 100V AC±10%, φ1 200V AC±10%, φ1
Frequency 50 / 60Hz 50 / 60Hz
Rated amperage 0.050A(50Hz)
0.042A(60Hz) 0.025A(50Hz)
0.018A(60Hz)
Rated output 3W
Rotational speed AMS-1
AMS-3 10/12 RPM
(50/60Hz) AMS-6 20/24 RPM
(50/60Hz)
Motor
Direction of
rotation
Judging from the output spindle side, it is a
clockwise
AMS-1
1.25m /min (50Hz) , 1.5m /min (60Hz)
AMS-3
2.5m /min (50Hz) , 3m /min (60Hz)
Delivery AMS-6
5m /min (50Hz) , 6m /min (60Hz)
Pump
Discharge
pressure
0.8MPa(Relief valve set pressure)
Tank Effective capacity
1.8
Rated load 200V AC,DC
Contact capacity 0.5A, 30W whichever is smaller
O
il level
switch
※Contact type A contact

8
16 0
72. 5 72. 5
173
203
1 20
2-2Name of each component
Motor
Discharge
port(M8
×
1)
φ4 pipe
Installation board
Tank
Mounting hole
3-φ6.5
Refilling port
Oil Amount
adjustment screw

9
3. Installation
3-1Environmental requirement
Be sure to this pump in the following environment.
・Ambient temperature:0 ~ +40℃
・Humidity :35 ~ 85%RH
3-2Mounting unit
Make sure to fix the pump firmly.
Insufficient mounting of the pump could
fall itself and cause injury.
Be sure to fix the pump against the vertical and
flat surface, which can sustain its weight
sufficiently.
Mount and fix the pump firmly using three (3)
M6 bolts.
LUBE recommends anti-vibration rubber
to be applied when the pump is exposed to
vibration.
Be sure to allow necessary space around the
pump as shown on the next page for operation
and maintenance.
CAUTION

10
■ Weight of the pump and required space
Pump model
Code
numberWeight (kg)
(see note below)
Required space
(mm)
AMS-1-1
AMS-1-2
AMS-1-1L
AMS-1-2L
102401
102402
102403
102404
1.8 A:150 B:200
AMS-3-1
AMS-3-2
AMS-3-1L
AMS-3-2L
102405
102406
102407
102408
1.8 A:150 B:200
AMS-6-1L
AMS-6-2L 112094
112095 1.8 A:150 B:200
*:Note: The weight of oil is not included.
B
A
A

11
M
U V E OL OL
100V AC
φ 1
input
Oil level
switch
contact
input
U V E OL OL
3-3Wiring
The direction of motor rotation is clockwise from output
axis side.
Terminal connection is attached to oil level switch type.
See the diagram below for the proper wiring.
If the outgoing cord touches the outside surface of the
equipment or other objects or if it comes in contact with
the hand of the operator, use an insulated cord.
Motor Terminal
Wire inlet to terminal
Only qualified personnel electrical work can
connect wiring.
WARNING
●AMS terminal connection
(With oil level switch only)
●
AMS terminal

12
3-4Tubing connection
Connect tubing to the machine to the discharge port
(M8×1).
Use tubing good for the pressure 2 MPa or
higher.
Fix the joint with hands and then tighten it 2/3 turns with
a spanner.
Clamping torque please refer to “Tightening
level for connecting section”
After connection, make sure there is no grease leakage
from the joint. Make sure to bleed air from the tubing and
the pump after connection.
Discharge pressure of a pump is adjusted to
reasonable pressure (0.8MPa) at a relief valve.
Please do not change discharge pressure.

13
4. How to control the pump
Install timer(s) on the machine and set the discharge
timer and interval cycle as defined below.
The operating time and nonoperating time are not limited.
Within the operating time of the pump, oil is discharged
continuously.
The oil amount adjustment screw is set to the full discharge
position (maximum discharge amount) when delivered
from the factory.
Adjust the oil amount as follows
1)Loosen the lock nut by turning it counterclockwise.
2)Loosen the needle valve by turning it counterclockwise
using a flathead screwdriver to determine the oil
amount.
3)Tighten the lock nut by turning it by hand clockwise.
Adjusting the discharge amount using the oil
amount adjustment screw may decrease the oil
amount discharged from the discharge outlets
extremely. During piping, adjust the discharge
amount while checking it.
Oil amount adjustment screw
Needle valve
Lock nut

14
H level
L level
5. Lubricating oil and refilling
5-1 Lubricating oil to be used
Use industrial lubricating oil in the range from 32 to
1300 mm2/s of ISO viscosity.
Do not use any lubricating oil other than that
which has been recommended.
Use lubricating oil of the same grade made by the
same manufacturer.
5-2 Refilling lubricating oil
Refill lubricating oil when the level gauge on the tank
shows “L”.
In case of using oil level switch, refill oil when signal for
low oil level turns on.
Use new lubricating oil. If lubricating oil contains
any foreign substances, clogging may occur,
causing the pump to stop discharging oil.
Refill it through the refill port that you find above the
pump flange.
Please insert replenishment to “H” level.
If lubricating oil overflows or leaks, wipe off the
overflowing or leaking oil.

15
6. Maintenance
6-1 Suction filter
Replace or clean filter once a year.
Before conducting maintenance on the pump, turn
off the power and make sure that the pump
is not
operating. Conducting maintenance with the power
turned on will increase the risk of the operator
getting an electric shock or the fingers being pinched
in moving parts of the pump drive unit.
Proper lubrication cannot be expected if the
suction filter is clog or become dirty because oil
may not suck well clog or dirty suction filter may
cause over load, too.
Replacement of suction filter
1) Take off from tank.
2) Remove the suction filter located filter bracket in the
filter bracket.
3) Replace or clean filter.
4) Set pump on the tank.
WARNING
Suction filter
Filter bracket

16
6-2 Troubleshooting
When troubles occur, take the measures as defined in the chart below.
Trouble Cause Measures to take
Low oil level Refill the same oil in use
Refer to
“5.
Lubricating oil
and refilling”
Clogged suction filter
Clean or replace filter, or
change oil to new oil
Refer to
“6-1 Suction filter”
Damage in the tubing inside
the
pump (Twisted, crashed,
or disconnected)
Tighten or replace the
connecting parts
No oil discharged from
pump
Viscosity is too high, so that
oil can not be sucked
Recheck oil in use and
replace it to proper oil
Refer to
“5.
Lubricating oil
and refilling”
No oil discharged from pump
due to any of above causes Refer to above measures
Air in the tubing
Take off closure plug(s) at
the end and operate
pump and bleed air in
tubing
Foreign particle(s) at the
ball seating section of relief
valve
Contact LUBE
Pressure in main
tubing is not built up
Pump discharge low
pressure due to relief valve
wrong pressure
setting
Contact LUBE
The relief valve
pressure has been set
before shipment

17
Trouble Cause Measures to take
Oil leaking from pump
discharge port or pipe
connection parts on machine
(Due to looseness or
excessive tightness)
Tighten them with proper
torque or re-pipe them
For proper torque
refer to “
Tightening
level for connecting
sections” of the
next page
Pressure in main
tubing is not built up
Damaged tubing
Replace damaged tubing
Ai
r in the system due to
above reasons
Refer to above measures
for “Air in the pump”
and
“Air in the tubing”
Air in the system
Due to low level of oil in
tank, air is introduced
into
pump
Refill tank with same
or
equivalent oil and then
bleed air
Pressure does not increase
Refer to above measures
for “
Pressure in main
tubing is not built up”
No oil discharged from
valve(S)
Viscosity is too high, so the
reaming
pressure are not
relieved completely
Check oil and change oil
to proper oil
Refer to
“5. Lubricating oil
and refilling”
■Tightening level for connecting section
Tightening level Reference torque
(N・m)
OD 4mm nylon pipe
(Valve discharge port)
Turn compression bushing with
hands until it stops and then
tighten it 2/3 turn with a
spanner ,etc
3.5
OD 4mm copper tubing &
steel tubing
(Valve discharge port)
Turn compression bushing with
hands until i
t stops and then
tighten it 2/3 turn with a
spanner ,etc
4.1
Taper screw for tubing
Rc1/8
(Pump discharge port &
junction)
Turn the undercut joint with
hands until it stops and then
tighten it two and a half to three
turns with a spanner ,
etc
7.1

18
Appendix. Oil contamination
Causes and measures
■Causes
Causes for contamination can be divided into two categories.
○Before the completion of installation
Foreign particles in the tubing or pump tank.
(Manufacturing defects of the assembly parts or connecting
parts and unconformity during construction.)
○During operation
Foreign particles from outside or generated inside of
the system.
(Condensation of the moisture in the air due to change in
temperature or sludge by oxidation of lubrication oil
itself.)
■Measures
1. Clean the tank and remove the foreign particles.
2.Keep the oil for refilling in the proper place.
If the system is installed and/or oil is stored outdoors,
proper care must be taken since introduction of dust or
rain into the oil would lead to system malfunction.
This manual suits for next models
9
Table of contents
Other LUBE Water Pump manuals
Popular Water Pump manuals by other brands

IWAKI AMERICA
IWAKI AMERICA MDF-L Series instruction manual

Wilo
Wilo HiSewlift 3 Series Installation and operating instructions

Pentair
Pentair NOCCHI VSD manual

jurop
jurop LC Original instructions

Grundfos
Grundfos MTA 110H-180 Installation and operating instructions

Pompes Guinard
Pompes Guinard DRAINEX 400 instruction manual