manuals.online logo
Brands
  1. Home
  2. •
  3. Brands
  4. •
  5. Luxier
  6. •
  7. Bathroom Fixture
  8. •
  9. Luxier CFS30 User manual

Luxier CFS30 User manual

1Rev. A 102022Luxier
Stainless Steel Farmhouse Kitchen Sinks Installation Guide
CFS30, CFS33, CFS36, DFS33, DFS36
IMPORTANT
• Read and understand this installation guide completely before installation. It will increase the
chance of a successful installation.
• It is recommended that the installation be performed by trained and experienced installers.
• Observe all local plumbing and building codes.
• Make sure the installation site is clean and free of dust and debris.
• Unpack and inspect the sink from the package for shipping damage and make sure all parts are
included with the sink.
• The base cabinet should be at least 3 inches larger than the actual size of the sink.
• Keep the sink in its package until you are ready to install.
CAUTION
• Risk of personal injury! Stainless steel edges are sharp and can cause severe cuts.
Wear gloves and eye protection when handling and installing the sink.
NOTICE
• This installation guide is subject to change without notice, please contact us to request the most
updated version of this installation guide.
• Product drawings in this installation guide are for illustration purpose only. Actual product may
vary depends on model.
• This product is for residential use ONLY.
• Keep this installation guide and a copy of the receipt for your records.
Before You Begin
2Rev. A 102022Luxier
Thank you for purchasing Luxier products. Please read the information below and keep this
installation guide for future reference. If you require assistance, please contact our customer service
department at 1-877-711-8828, Monday - Friday 9 AM - 5 PM Pacic Time or by email at
[email protected].
Tools (Recommended)
Tape Measure Power Drills (Power Tools)
Pencil / Marker Silicon Adhesive
Safety Glasses and Gloves Screwdrivers
Drop Cloth Level
NOTICE: Other tools may be needed depending on the installation
Installation
Parts
1. It is recommended to install the kitchen sink with
a positive reveal. The sink rim is about 1/2” revealed
around from the edge of the countertop.
2. Place the cutout template on the countertop to
determine the proper placement of the sink. Cut the
countertop after nalize the sink position.
IMPORTANT
• The base cabinet should be at least 3” wider than the actual size of the farmhouse sink.
• Always check the cutout template against the actual sink dimensions to ensure the correct
cutout size.
• Allow enough clearance for the installation of faucet, backsplash and plumbing pipes, etc.
• Stainless Steel Sink
• Mounting Hardware
• Cutout Template
• Bottom Grid
• Basket Strainer
• Cutting Board
• Drying Rack
• Stainless Steel Colander
• Microber Cloth
Sink
Countertop
Positive Reveal
Cutout Template
3Rev. A 102022Luxier
Installation (cont.)
3. Measure the height of the front apron. Add 1/16” to
the measurement and mark it on the front of the cabinet.
Cut the front face of the cabinet.
4. Flip the countertop over and place the sink on
the countertop in the appropriate position. Mark the
mounting holes on the under side of the countertop.
NOTE: The mounting holes should be 1/2” from the
edge of the sink and evenly spaced out along the sides
and backside of the sink as shown in the diagram
5. Drill 1/2” deep holes as marked on the countertop. Use
a small hammer or mallet lightly tap in the anchors.
6. Apply a bead of silicone adhesive around the rim
of the sink and position it to the cutout opening on
the countertop. Press rmly to secure the sink to the
countertop. NOTE: Always check the alignment and
carefully lower it to countertop.
Front
1/2”
sink countertop
4Rev. A 102022Luxier
7. Attach mounting brackets to the secure the sink in
place. Wipe o excess adhesive from inside and outside
of the sink bowl. Let the adhesive to cure for at least
45 minutes before install the countertop to the base
cabinets. Connect the drain and install kitchen faucet to
complete the installation.
Countertop
Adhesive
Sink
Mounting Bracket Screw
Installation (cont.)
Maintenance Guide
1. Any acidic food residue must be cleaned up immediately. For example, juices, salt, muster, salad dressing,
etc.
1. Regular cleaning can keep the original appearance of the sink. Use a mild detergent such as liquid
dishwashing soap and warm water for cleaning. Rinse thoroughly with clean water to remove any cleaner
residue and towel dry the sink immediately
2. Some discoloration spots are caused by hard water or household substances. These spots can be removed
with special cleaning / polish products specically for stainless steel.
3. Carefully read the cleaner product label to ensure the cleaner is safe for use on the material.
4. Do not use abrasive / harsh chemical when cleaning the product as they will damage and dull the nish.
Avoid chlorine based solution from coming in contact with the stainless steel.
5. When using spray cleaners, spray rst onto a soft cloth or sponge. Never spray directly onto the surface.
6. Never use steel wool or scrubbing powder to clean the surface. The stainless steel surface can get
scratched and rust may developed at the damaged area.
Limited Lifetime Warranty (For USA Only)
The manufacturer warrants this product to be free of manufacture defects during daily normal household use
for as long as it is owned by the original purchaser of this product. Please keep a copy of the original invoice
as proof of purchase. This warranty is non-transferable.
Should a malfunction occur within the warranty period, Luxier USA will, as its option, (1) repair or replace the
defective part(s) or product(s) at no charge; (2) issue a refund of the original purchase price of the product(s)
(Valid within 30 days from the date of purchase); or (3) issue a credit to be applied toward the purchase of a
new Décor Star product. Shipping/delivery charges may apply and are in Luxier USA’s sole discretion.
This limited warranty shall not apply to goods which have been subject to accident, negligence, improper
installation, product abuse, product misuse, or use of cleaners containing abrasives, alcohol or other organic
solvents, whether performed by a contractor, service company, or yourself, are excluded from this warranty.
Our responsibility under this warranty is limited to only to replacement parts and no other costs. Luxier USA
will not be responsible for labor charges and/or damage incurred by installation, repair or replacement, nor
for any indirect incidental or consequential damages, losses, injury or costs of any nature relating to this
faucet. Except as provided by law, this warranty is in lieu of and excludes all other warranties, conditions,
and guarantees, whether expressed or implied, statutory or otherwise, including without restriction those
merchantability of tness for use.
This limited warranty is non-transferable. This limited warranty only applies to products purchased and
installed in the United States. This limited warranty covers the original consumer purchase only and does not
include business, commercial or industrial use of this product. To obtain service under the Limited Warranty,
please contact Luxier USA at 1-877-711-8828, Monday - Friday 9 AM - 5 PM Pacic Time or by email at
[email protected]. The Luxier USA Customer Care Department will determine whether to repair or
replace your product, issue a refund, or issue a credit.

This manual suits for next models

4

Other Luxier Bathroom Fixture manuals

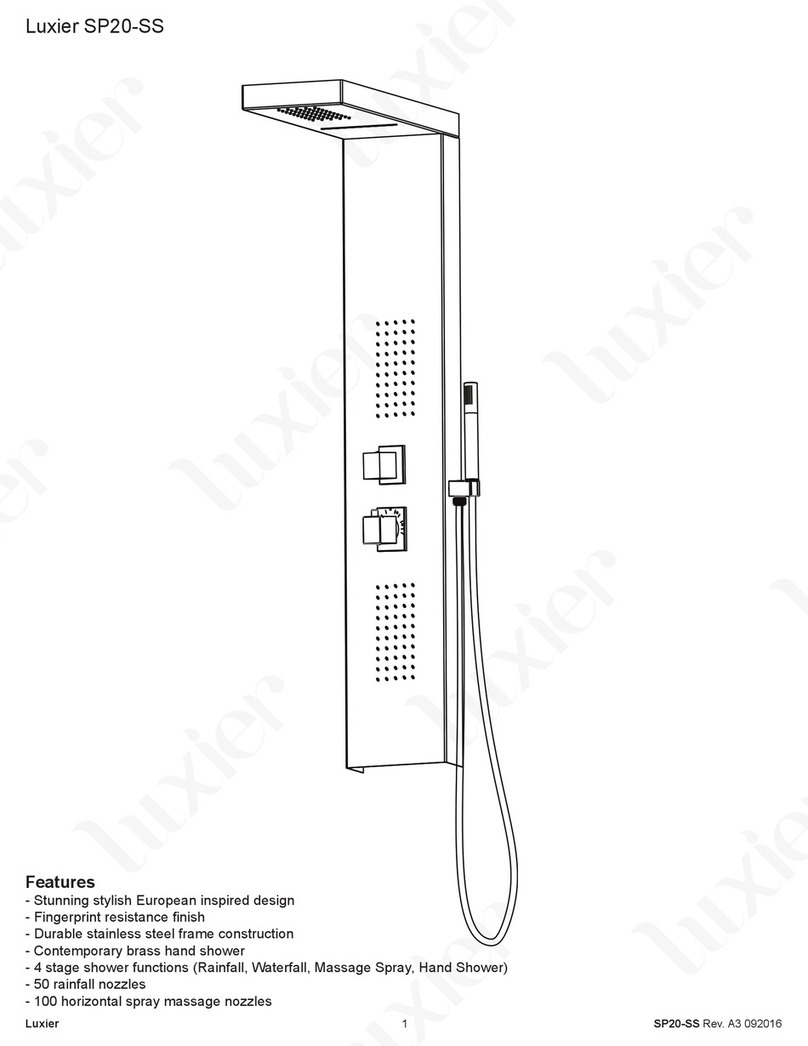
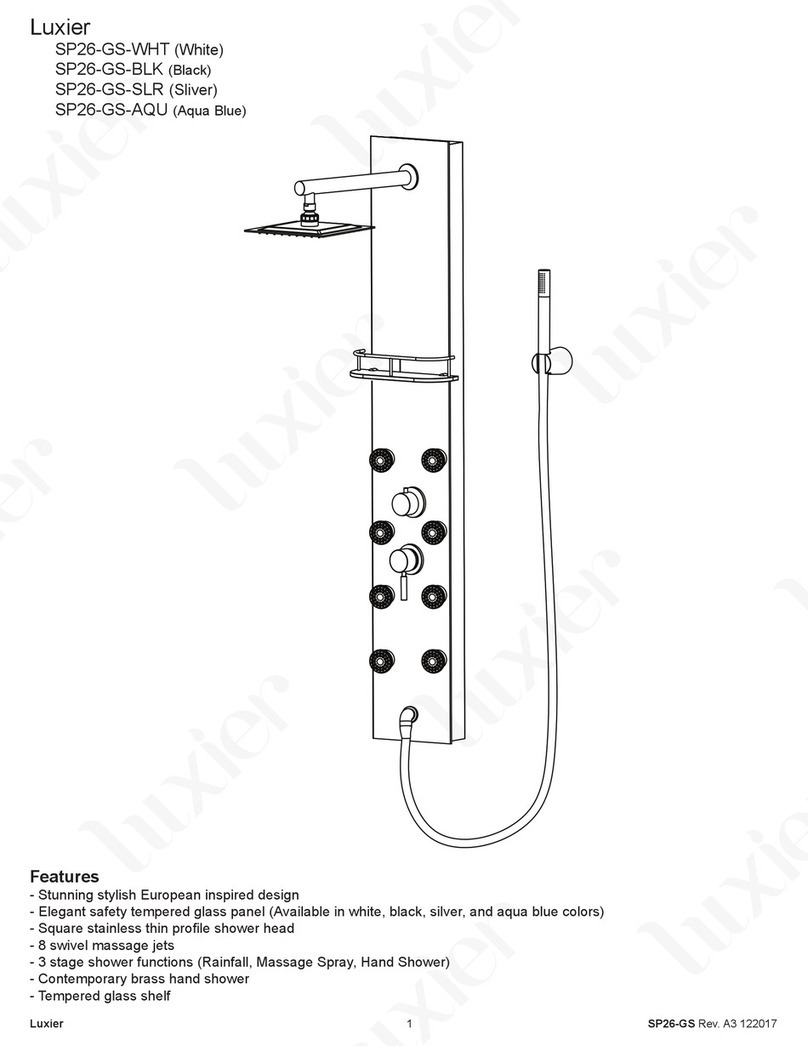
Luxier SP26-GS-WHT User manual

Luxier

Luxier SP26-GS-WHT User manual

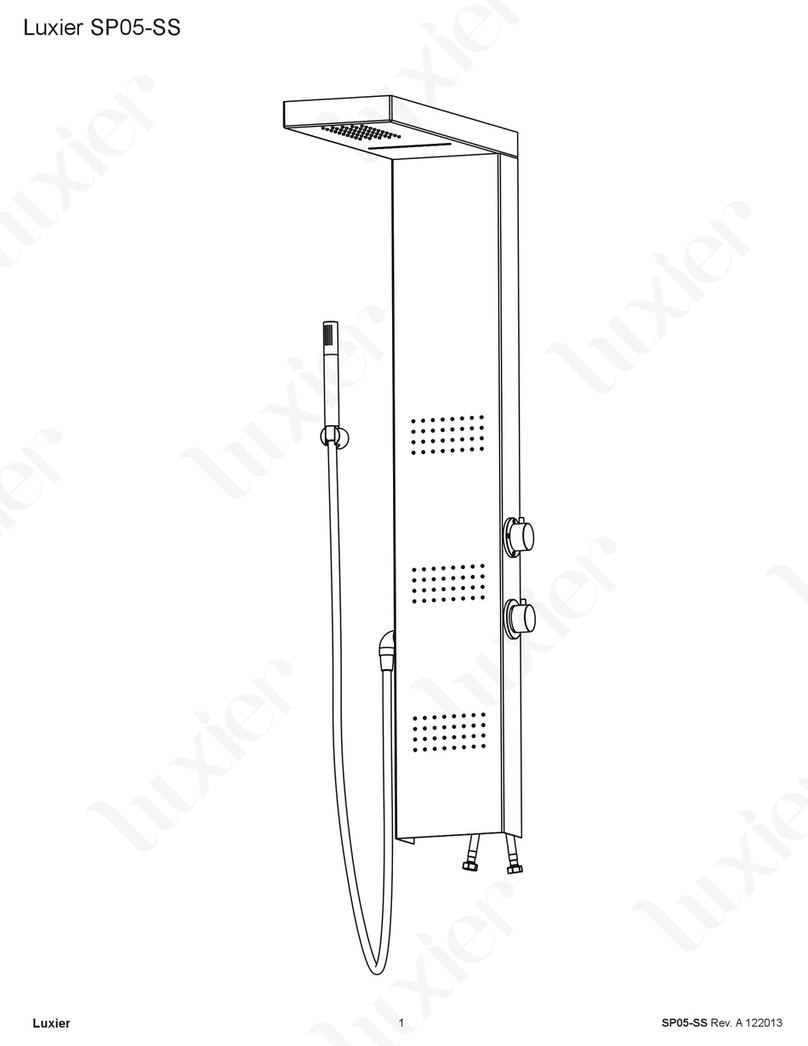
Luxier SP05-SS User manual

Luxier

Luxier SP05-SS User manual

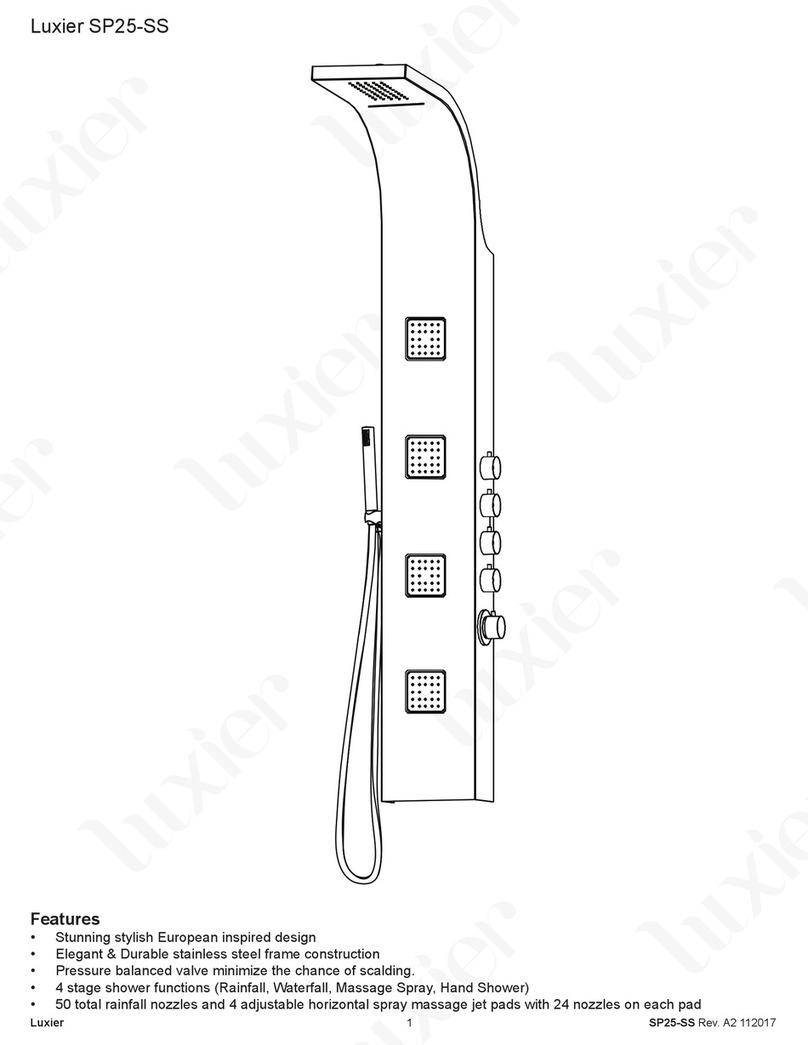
Luxier SP25-SS User manual

Luxier

Luxier SP25-SS User manual

Luxier SP03-AL User manual

Luxier

Luxier SP03-AL User manual

Luxier SP04-SS User manual

Luxier

Luxier SP04-SS User manual

Luxier SP21-CEC User manual

Luxier

Luxier SP21-CEC User manual

Luxier SS-C01-TB User manual

Luxier

Luxier SS-C01-TB User manual

Luxier SP32-SS User manual

Luxier

Luxier SP32-SS User manual

Luxier SP25-CEC User manual

Luxier

Luxier SP25-CEC User manual

Luxier SP22-SS User manual

Luxier

Luxier SP22-SS User manual

Luxier SP01-GS User manual

Luxier

Luxier SP01-GS User manual

Luxier DKPL-6 User manual

Luxier

Luxier DKPL-6 User manual

Luxier SP07-SS User manual

Luxier

Luxier SP07-SS User manual

Luxier SP28-SS User manual

Luxier

Luxier SP28-SS User manual

Luxier SP24-SS User manual

Luxier

Luxier SP24-SS User manual

Luxier SP05-SS User manual

Luxier

Luxier SP05-SS User manual

Luxier SP20-CEC User manual

Luxier

Luxier SP20-CEC User manual

Luxier SP27-GS-WHT User manual

Luxier

Luxier SP27-GS-WHT User manual

Luxier SS-B01-TB User manual

Luxier

Luxier SS-B01-TB User manual

Luxier SP06-CEC User manual

Luxier

Luxier SP06-CEC User manual

Luxier SP20-SS User manual

Luxier

Luxier SP20-SS User manual

Luxier SP02-GS User manual

Luxier

Luxier SP02-GS User manual

Luxier SP37-CEC User manual

Luxier

Luxier SP37-CEC User manual

Luxier SP038-SS User manual

Luxier

Luxier SP038-SS User manual

Popular Bathroom Fixture manuals by other brands

Cello F600 instruction manual

Cello

Cello F600 instruction manual

Atlantic DORIS Installation and operating manual

Atlantic

Atlantic DORIS Installation and operating manual

Santec LIZA 5161LZ75 installation instructions

Santec

Santec LIZA 5161LZ75 installation instructions

Ridder A0102001 quick start guide

Ridder

Ridder A0102001 quick start guide

Roltechnik INTEGRO installation instructions

Roltechnik

Roltechnik INTEGRO installation instructions

AQUALUX Aqua 3 quick start guide

AQUALUX

AQUALUX Aqua 3 quick start guide

Orbital Systems R3 OS8733-E manual

Orbital Systems

Orbital Systems R3 OS8733-E manual

Ronbow AMORA VANITY 054030 Installation and care guide

Ronbow

Ronbow AMORA VANITY 054030 Installation and care guide

Rasland H9 installation guide

Rasland

Rasland H9 installation guide

Cooke & Lewis PBIWCB15EU Installation

Cooke & Lewis

Cooke & Lewis PBIWCB15EU Installation

Brizo Litze T65735LF-PC manual

Brizo

Brizo Litze T65735LF-PC manual

Clou Flush 3 CL/03.80031 installation instructions

Clou

Clou Flush 3 CL/03.80031 installation instructions

Helvex H-3300 installation guide

Helvex

Helvex H-3300 installation guide

MGS SO623 Mounting instructions

MGS

MGS SO623 Mounting instructions

Signature Hardware BANEWELL 453836 quick start guide

Signature Hardware

Signature Hardware BANEWELL 453836 quick start guide

EQUATION BH-1401E Assembly, Use, Maintenance Manual

EQUATION

EQUATION BH-1401E Assembly, Use, Maintenance Manual

Arrow DOOR 523n-70 installation manual

Arrow

Arrow DOOR 523n-70 installation manual

Kinedo 1-col Technical sheet

Kinedo

Kinedo 1-col Technical sheet

manuals.online logo
manuals.online logoBrands
  • About & Mission
  • Contact us
  • Privacy Policy
  • Terms and Conditions

Copyright 2025 Manuals.Online. All Rights Reserved.