manuals.online logo
Brands
  1. Home
  2. •
  3. Brands
  4. •
  5. M-system
  6. •
  7. Surge Protector
  8. •
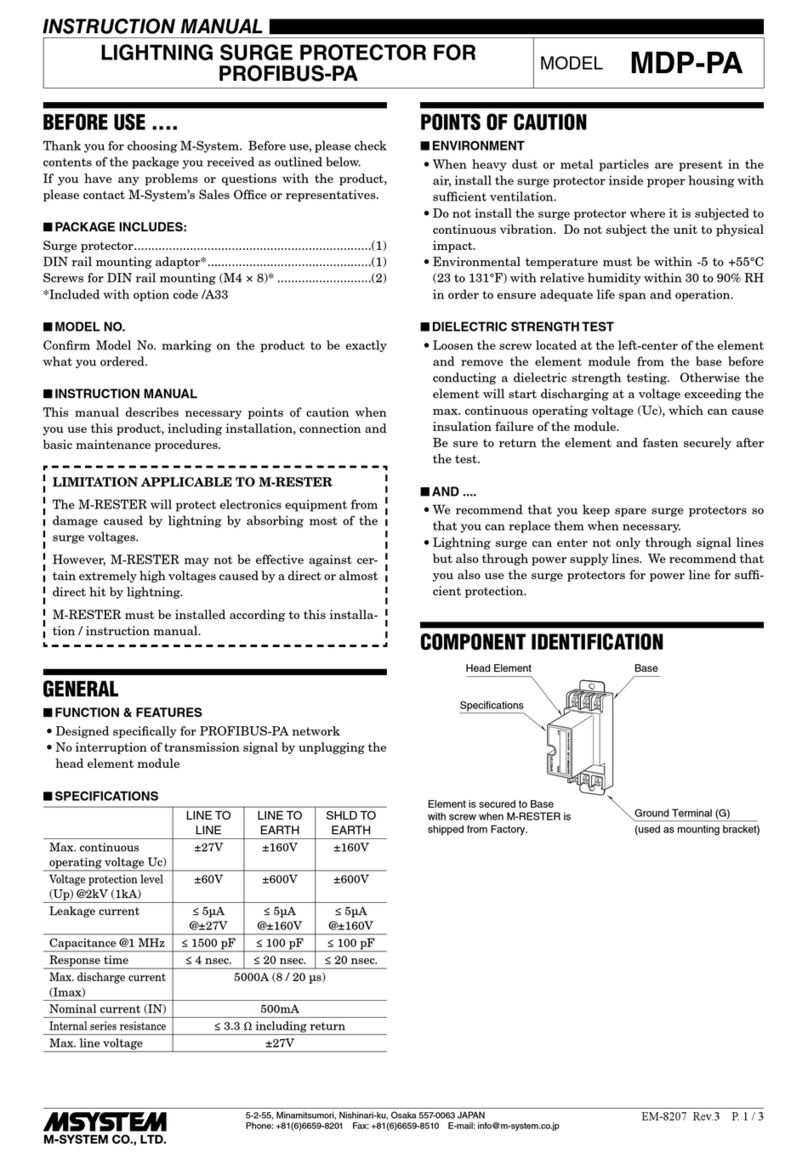
  9. M-system MDP-SP User manual

M-system MDP-SP User manual

5-2-55, Minamitsumori, Nishinari-ku, Osaka 557-0063 JAPAN
Phone: +81(6)6659-8201 Fax: +81(6)6659-8510 E-mail: info@m-system.co.jp
EM-8123 Rev.11 P. 1 / 3
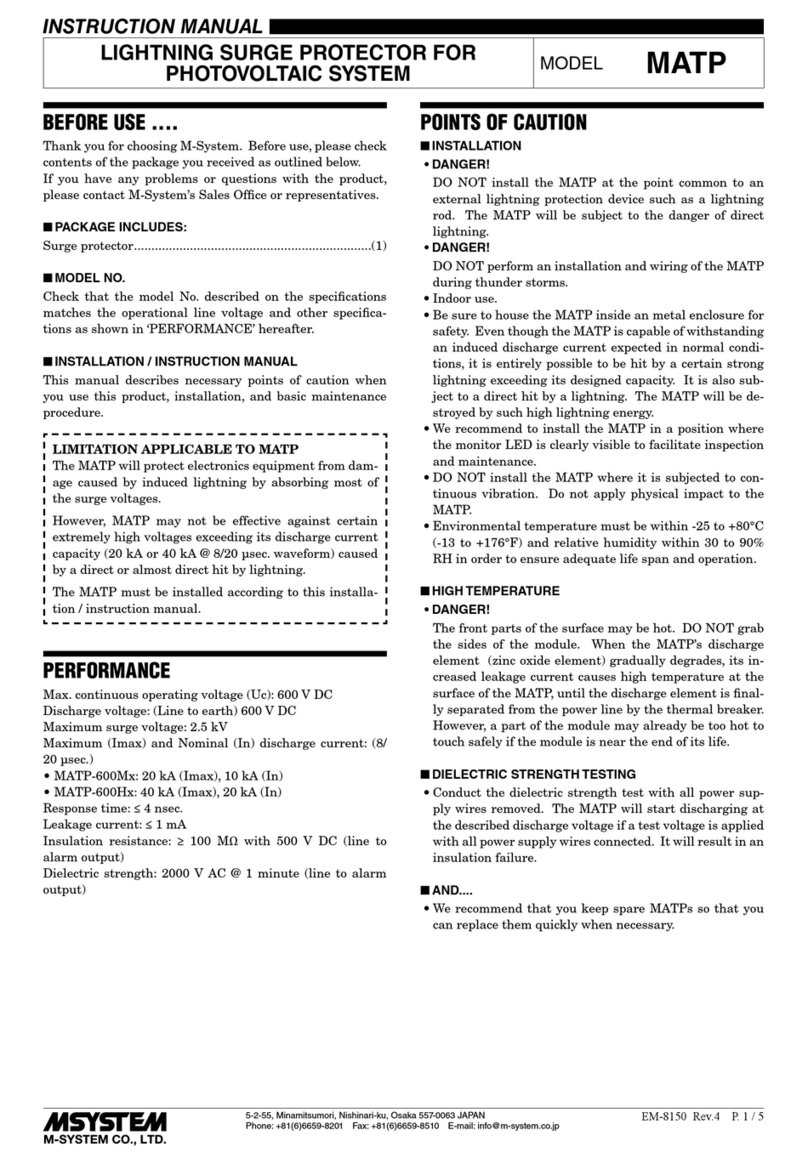
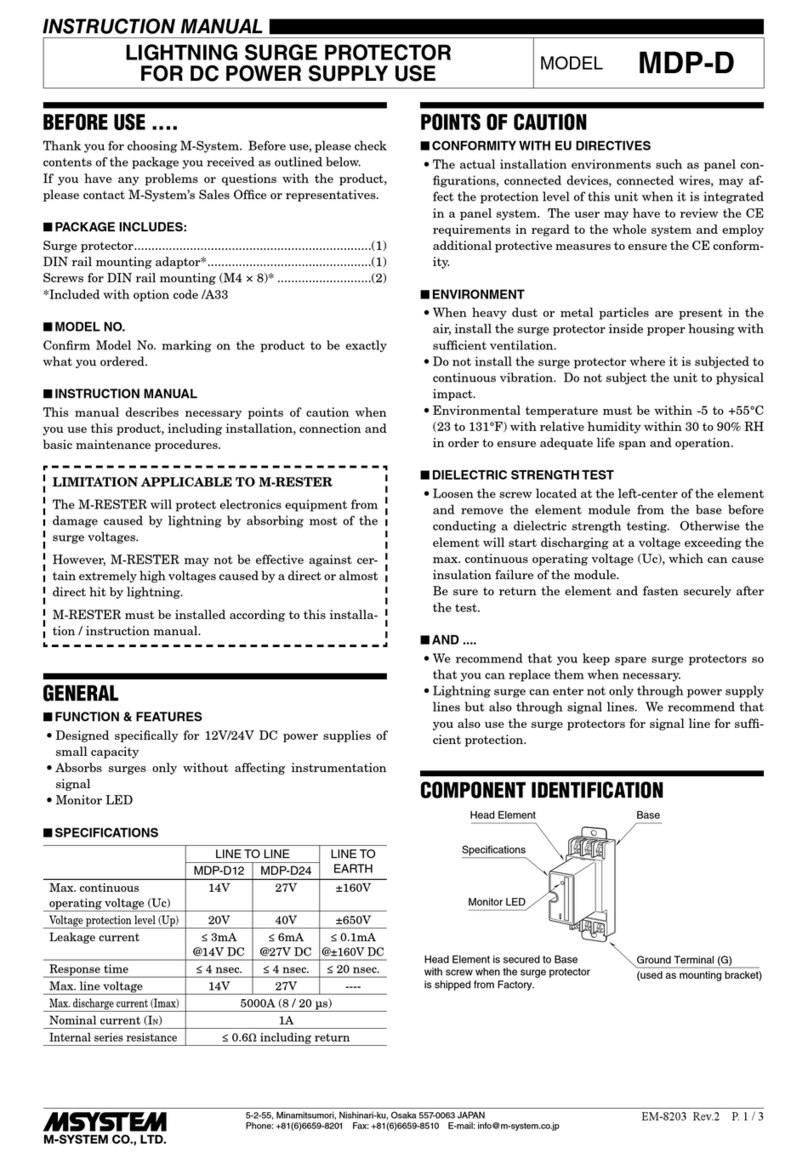
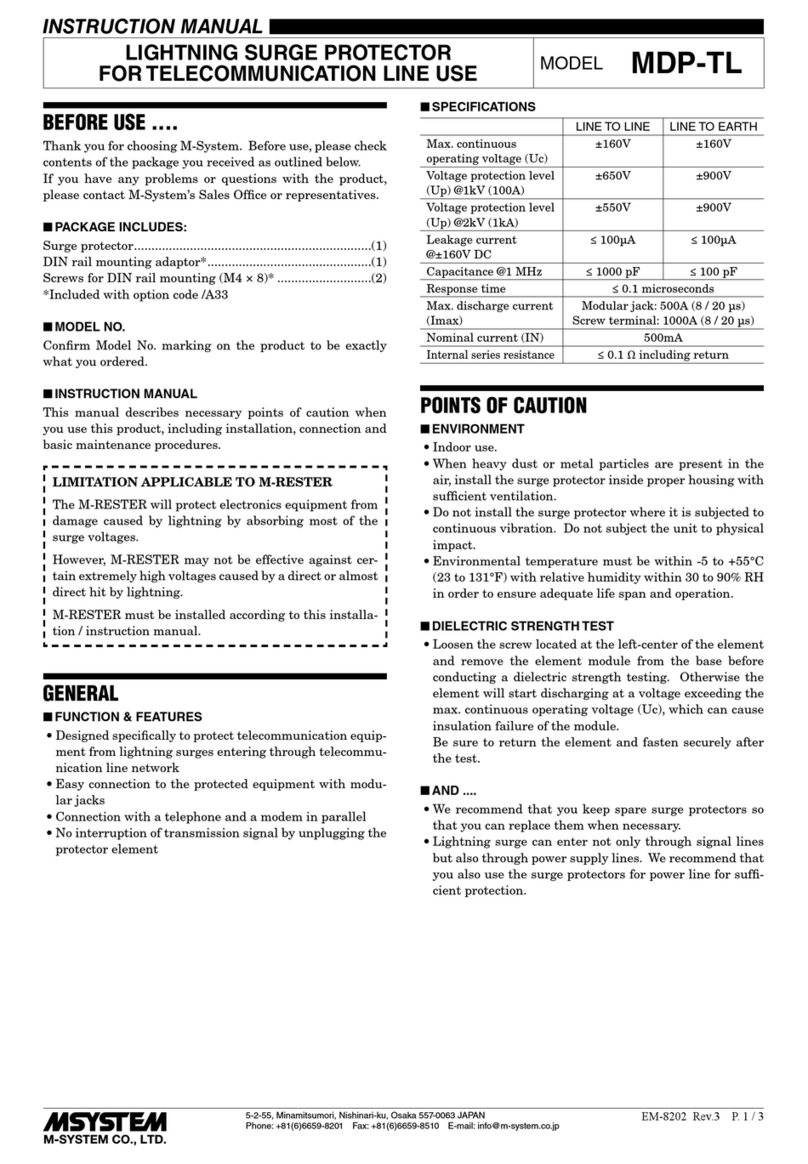
INSTRUCTION MANUAL
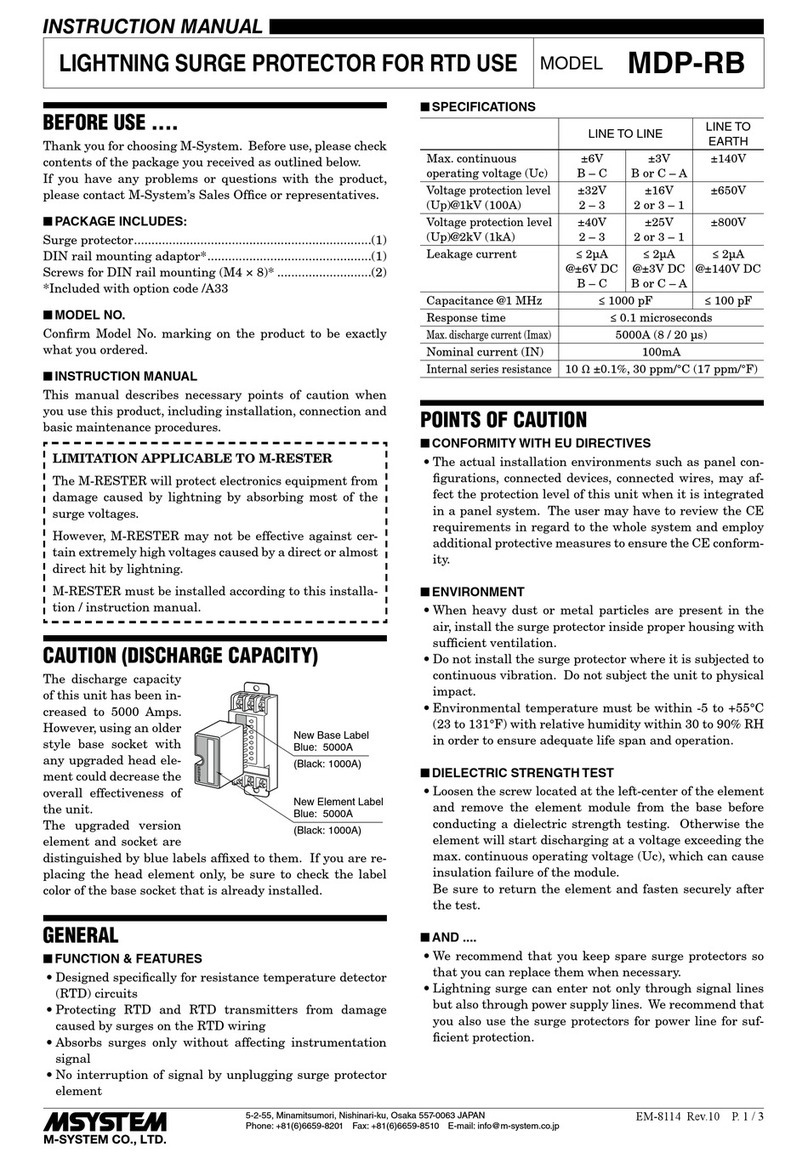
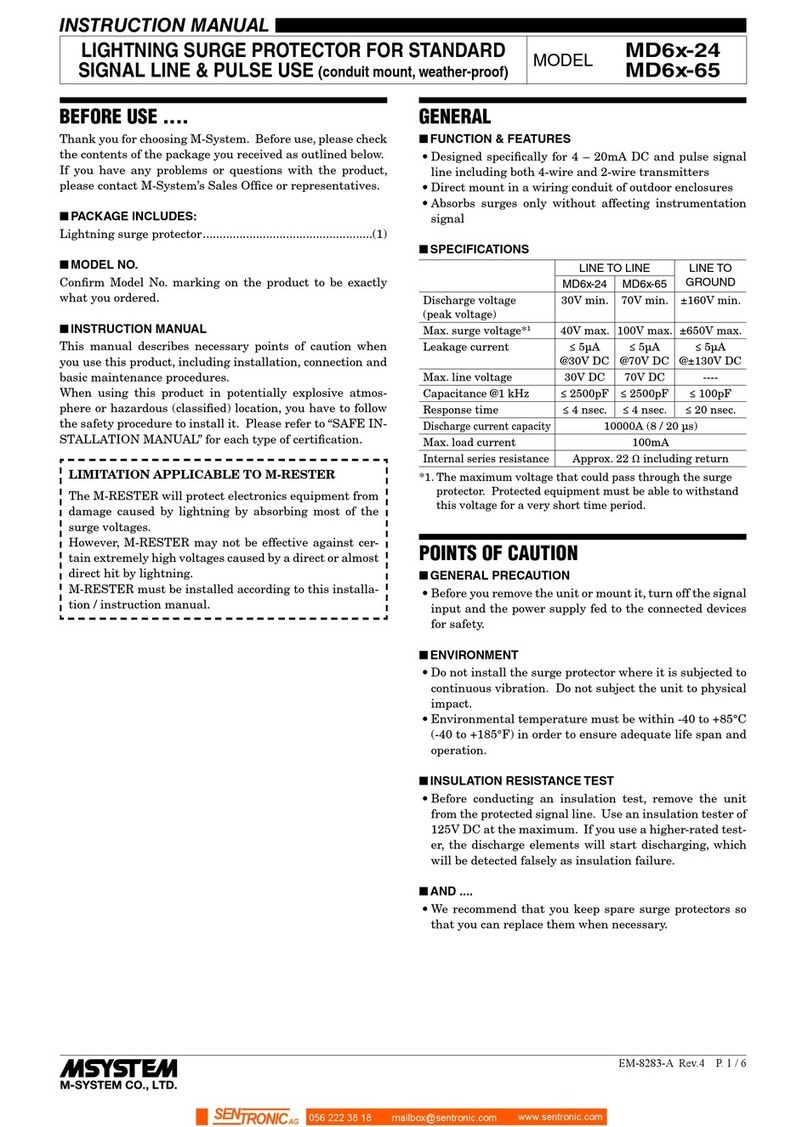
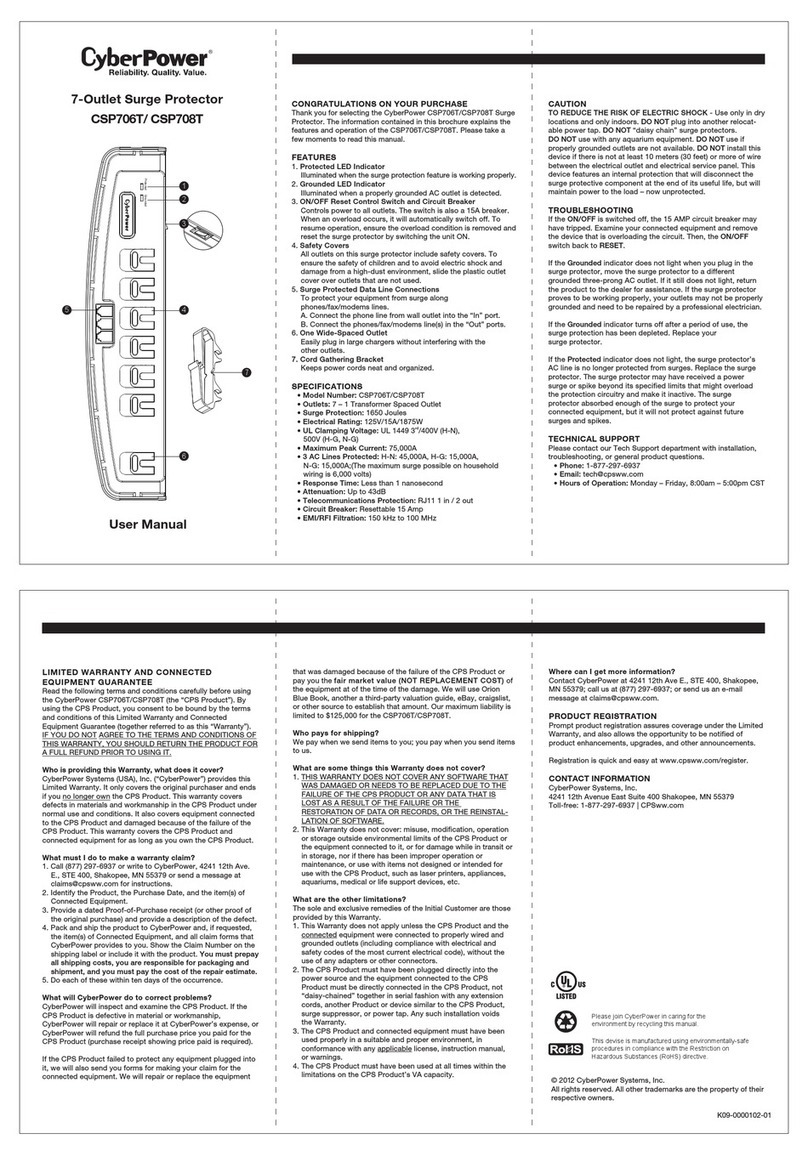
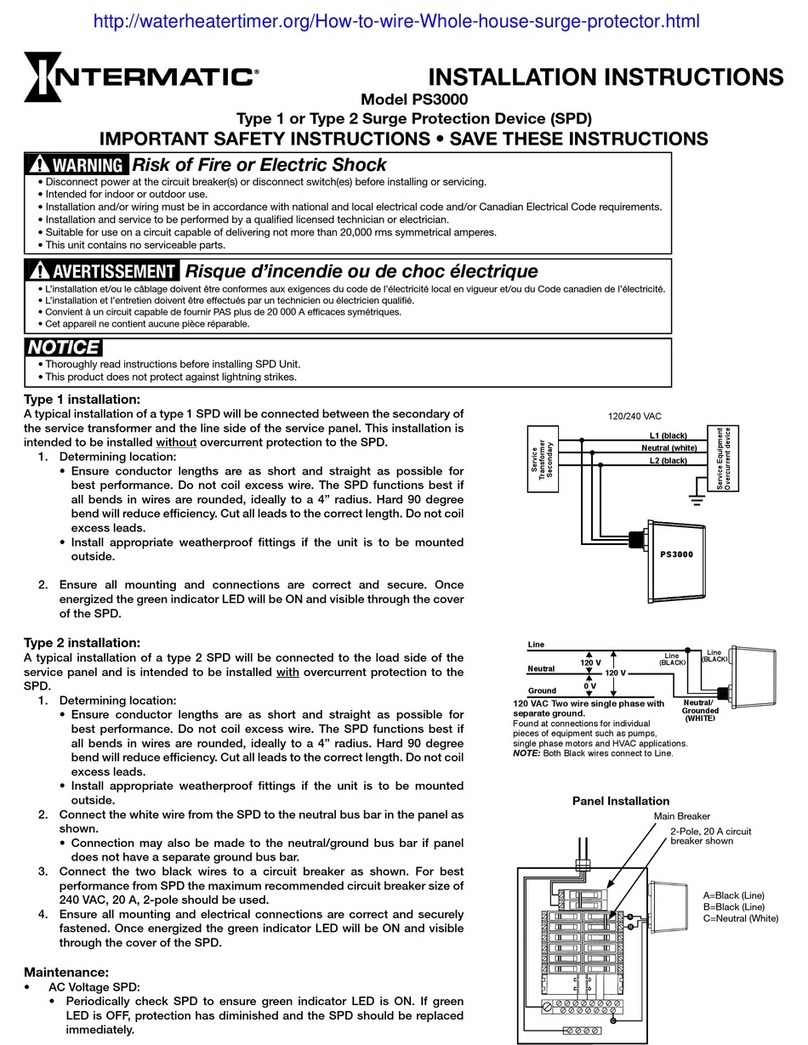
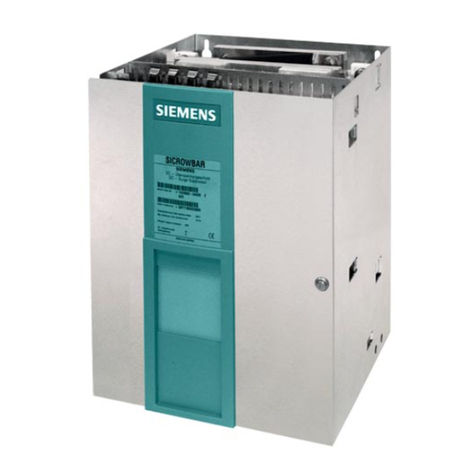
LIGHTNING SURGE PROTECTOR FOR
LOW FREQUENCY USE MODEL MDP-SP
BEFORE USE ....
Thank you for choosing M-System. Before use, please check
contents of the package you received as outlined below.
If you have any problems or questions with the product,
please contact M-System’s Sales Office or representatives.
■PACKAGE INCLUDES:
Surge protector....................................................................(1)
DIN rail mounting adaptor*...............................................(1)
Screws for DIN rail mounting (M4 × 8)* ...........................(2)
*Included with option code /A33
■MODEL NO.
Confirm Model No. marking on the product to be exactly
what you ordered.
■INSTRUCTION MANUAL
This manual describes necessary points of caution when
you use this product, including installation, connection and
basic maintenance procedures.
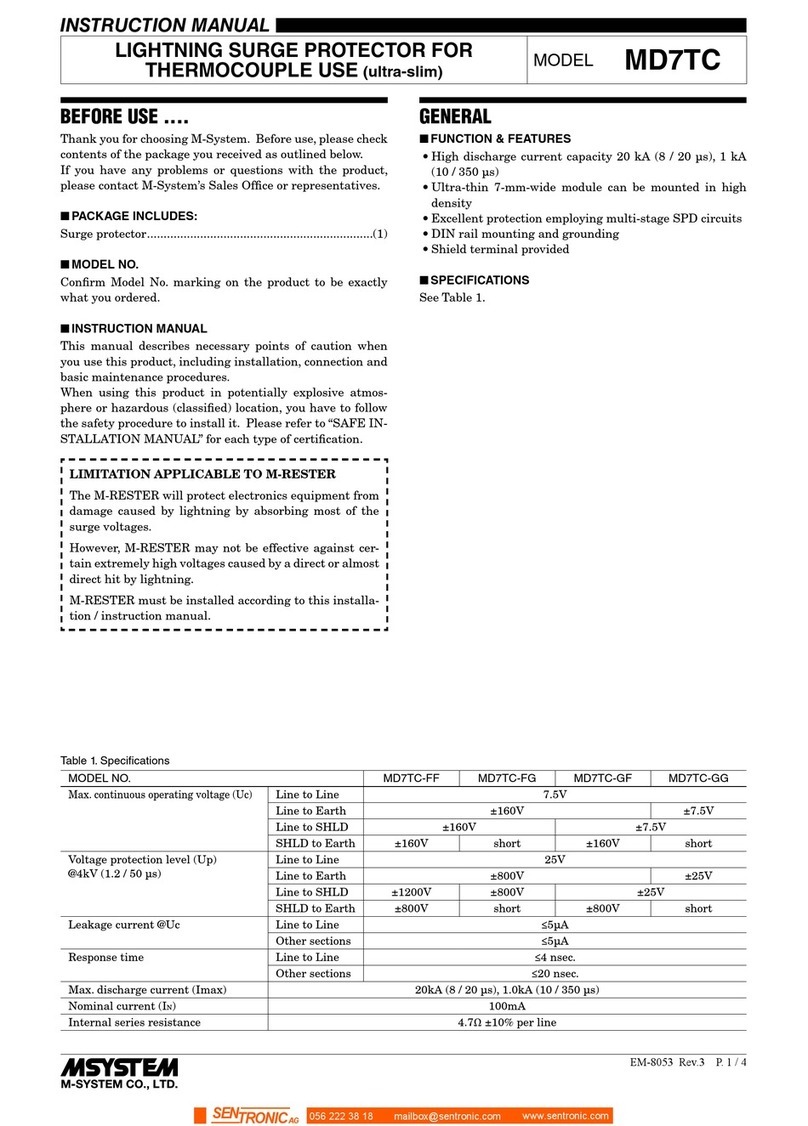
LIMITATION APPLICABLE TO M-RESTER
The M-RESTER will protect electronics equipment from
damage caused by lightning by absorbing most of the
surge voltages.
However, M-RESTER may not be effective against cer-
tain extremely high voltages caused by a direct or almost
direct hit by lightning.
M-RESTER must be installed according to this installa-
tion / instruction manual.
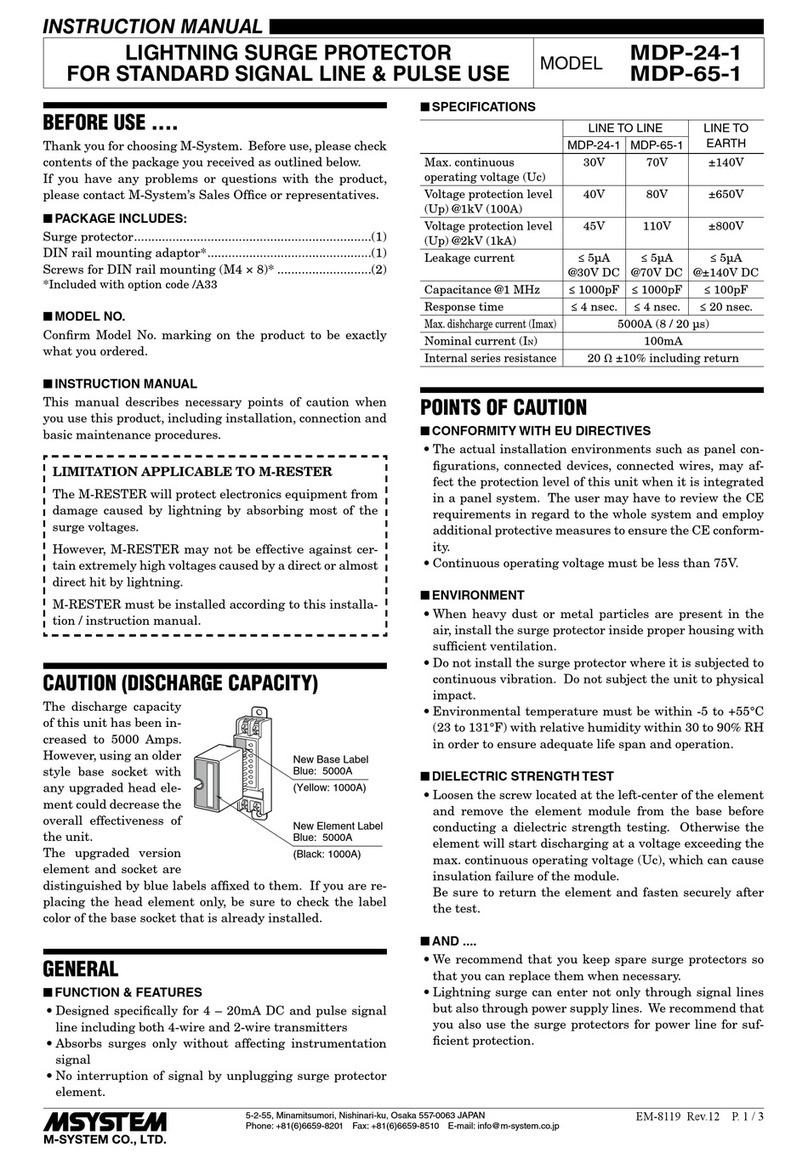
CAUTION (DISCHARGE CAPACITY)
M•RESTER
New Element Label
Blue: 5000A
(Black: 1000A)
New Base Label
Blue: 5000A
(Black: 1000A)
The discharge capacity
of this unit has been in-
creased to 5000 Amps.
However, using an older
style base socket with
any upgraded head ele-
ment could decrease the
overall effectiveness of
the unit.
The upgraded version
element and socket are
distinguished by blue labels affixed to them. If you are re-
placing the head element only, be sure to check the label
color of the base socket that is already installed.
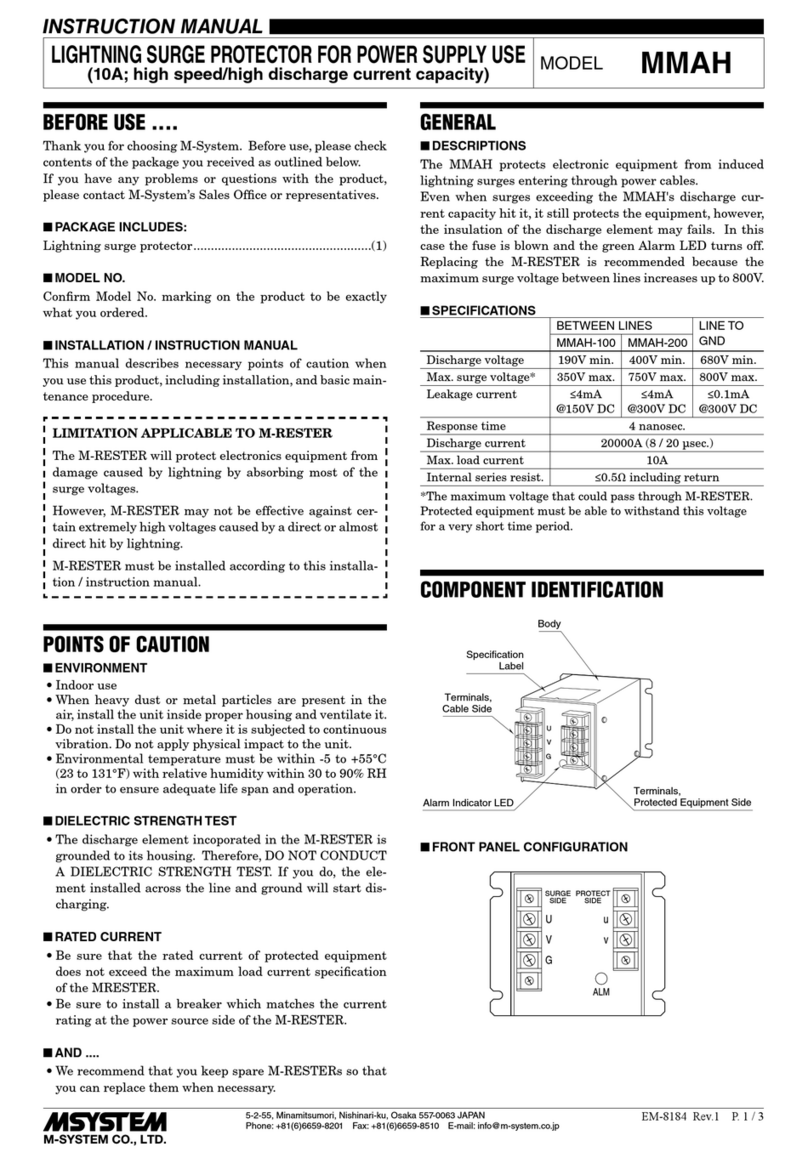
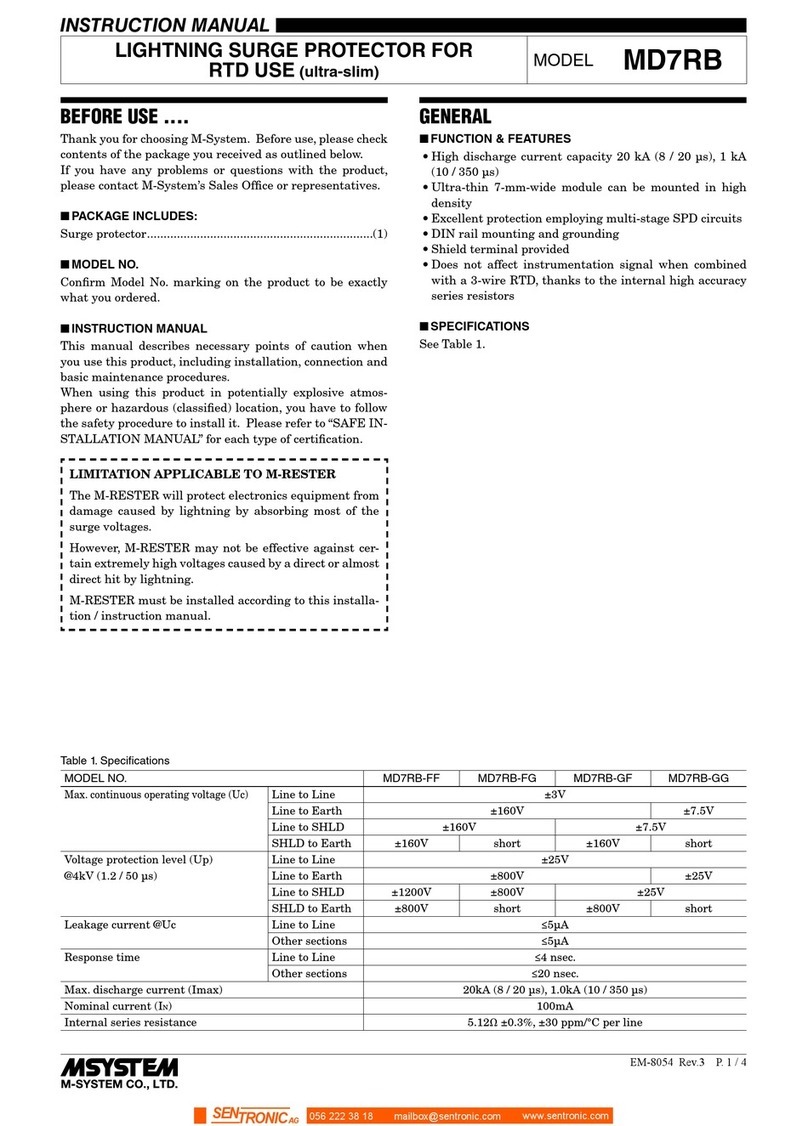
GENERAL
■FUNCTION & FEATURES
• Designed specifically to protect frequency generating de-
vices such like flowmeters and frequency transmitters
from lightning surge damage that enters on the wiring
between these instruments
• Absorbs surges only without affecting instrumentation
signal
• No interruption of signal by unplugging the protector ele-
ment
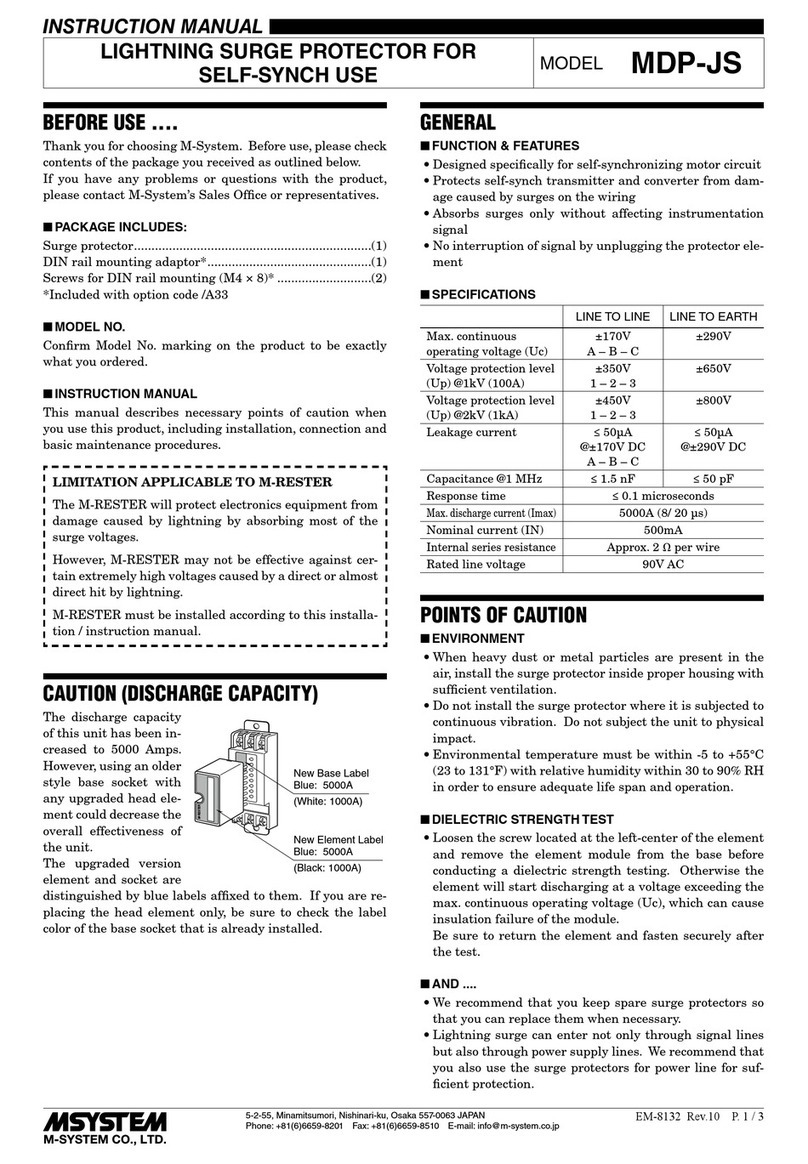
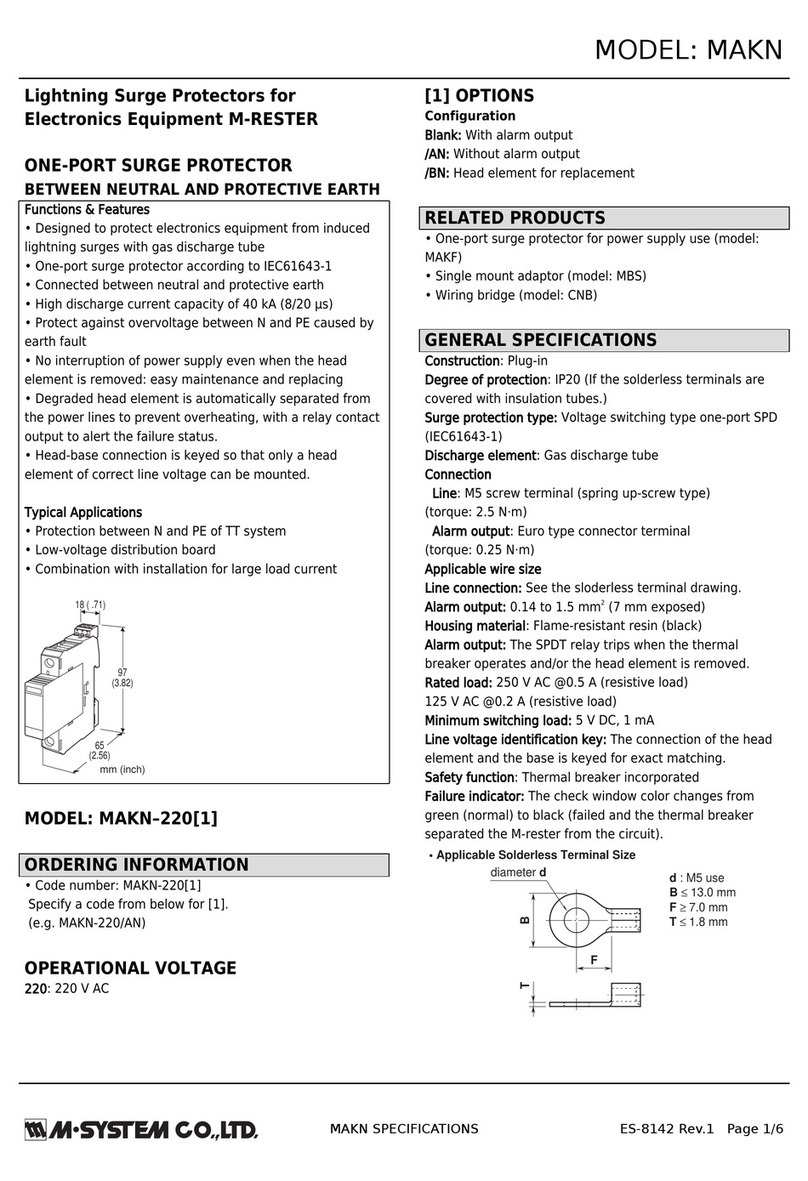
■SPECIFICATIONS
LINE TO LINE LINE TO
EARTH
Max.continuous
operating voltage (Uc)
±14V
B – C
14V
B or C – A
±140V
Voltage protection level
(Up)@1kV (100A)
±30V
2 – 3
30V
2 or 3 – 1
±650V
Voltage protection level
(Up)@2kV (1kA)
±30V
2 – 3
30V
2 or 3 – 1
±800V
Leakage current ≤ 10μA
@±14V DC
B – C
≤ 10μA
@14V DC
B or C – A
≤ 10μA
@±140V DC
Capacitance @1 MHz ≤ 1000 pF ≤ 100 pF
Response time ≤ 0.1 microseconds
Max. discharge current (Imax)
5000A (8 / 20 μs)
Nominal current (IN) 50mA
Internal series resistance
10 Ω ±10%
POINTS OF CAUTION
■CONFORMITY WITH EU DIRECTIVES
• The actual installation environments such as panel con-
figurations, connected devices, connected wires, may af-
fect the protection level of this unit when it is integrated
in a panel system. The user may have to review the CE
requirements in regard to the whole system and employ
additional protective measures to ensure the CE conform-
ity.
■ENVIRONMENT
• When heavy dust or metal particles are present in the
air, install the surge protector inside proper housing with
sufficient ventilation.
• Do not install the surge protector where it is subjected to
continuous vibration. Do not subject the unit to physical
impact.
• Environmental temperature must be within -5 to +55°C
(23 to 131°F) with relative humidity within 30 to 90% RH
in order to ensure adequate life span and operation.
■DIELECTRIC STRENGTH TEST
• Loosen the screw located at the left-center of the element
and remove the element module from the base before
conducting a dielectric strength testing. Otherwise the
element will start discharging at a voltage exceeding the
max. continuous operating voltage (Uc), which can cause
insulation failure of the module.
Be sure to return the element and fasten securely after
the test.
■AND ....
• We recommend that you keep spare surge protectors so
that you can replace them when necessary.
• Lightning surge can enter not only through signal lines
but also through power supply lines. We recommend that
you also use the surge protectors for power line for suf-
ficient protection.
MDP-SP
5-2-55, Minamitsumori, Nishinari-ku, Osaka 557-0063 JAPAN
Phone: +81(6)6659-8201 Fax: +81(6)6659-8510 E-mail: info@m-system.co.jp
EM-8123 Rev.11 P. 2 / 3
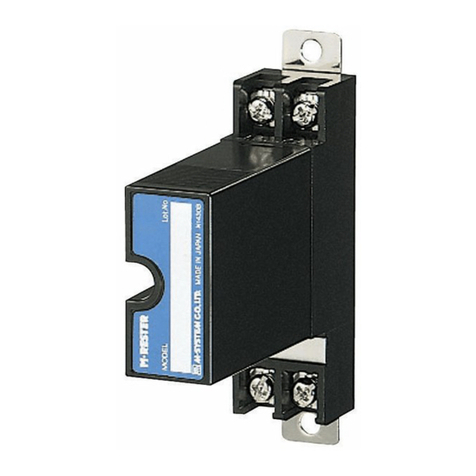
COMPONENT IDENTIFICATION
Ground Terminal (G)
(used as mounting bracket)
Base
Element is secured to Base
with screw when M-RESTER is
shipped from Factory.
M•RESTER
MADE IN JAPAN N1430B
Lot.NO
MODEL
Head Element
Specifications
INSTALLATION
In order to separate the head element from the base, loosen
the screw located at the left-center of the element.
■WALL MOUNTING
Refer to the drawings below.
• EXTERNAL DIMENSIONS unit: mm (inch)
B
C
23
A
1
31.5 (1.24)
2–5 (.20) dia.
MTG HOLE
6–M4 SCREW
GROUND TERMINAL (G)
(used as mounting bracket)
27 (1.06)53 (2.08)
80 (3.15)
45 (1.77)
HEAD ELEMENT
BASE
80 (3.15)
90 (3.54)
100 (3.94)
• MOUNTING REQUIREMENTS unit: mm (inch)
33 (1.30) min. 2–M4 SCREW
90 (3.54)
■DIN RAIL MOUNTING (Only for /A33)
1. MOUNTING ONTO THE ADAPTOR
Before DIN rail mounting, secure the mounting bracket of
MDP to the mounting adaptor with a screw provided with
this product. In this step, secure at one point.
M•RESTER
2. DIN RAIL MOUNTING
Set the base socket so that its mounting slider is at the bot-
tom. Position the upper hook at the rear side of base socket
on the DIN rail and push in the lower. When removing the
socket, push down the mounting slider utilizing a minus
screwdriver and pull.
DIN Rail Mounting Slider
35 mm wide
DIN Rail
3. GROUNDING
Secure the mounting bracket at the other point with the
other screw. In this step, secure the grounding wire togeth-
er with the screw.
M•RESTER
Solderless Terminal
• MOUNTING REQUIREMENTS unit: mm (inch)
8.5
(.33)
[3.3 (.13)]
DIN RAIL
35mm wide
80 (3.15)
45 (1.77)
4
(.18)
2–M4 MOUNTING SCREW
(used as ground terminal (G))
MDP-SP
5-2-55, Minamitsumori, Nishinari-ku, Osaka 557-0063 JAPAN
Phone: +81(6)6659-8201 Fax: +81(6)6659-8510 E-mail: info@m-system.co.jp
EM-8123 Rev.11 P. 3 / 3
TERMINAL CONNECTION
Connect the unit as in the diagram below.
Be sure to cross-wire between the Ground terminal (G) and that of the protected equipment. When the surge protector is con-
nected with a device which has no ground terminal such like M-System’s (See figure below), ground the M-RESTER Ground
terminal (G) only.
PULSE CONVERTERMDP-SP
G
C
B
3
2
MDP-SP
G
PULSE TRANSMITTER
3
2
C
B
A
11
A
(PROTECTED EQUIPMENT)(PROTECTED
EQUIPMENT)
+12V
INPUT
DC SIGNAL
COM
+12V
INPUT
COM
G
* When there is no need of power supply, the cable is also unnecessary.
***
■GROUNDING
M-RESTER PROTECTED
EQUIPMENT
G
G
CROSSOVER WIRE
GROUNDING
(100 ohms or less)
A crossover wire between M-RESTER ground and the ground or
metallic housing of the equipment is required for protection.
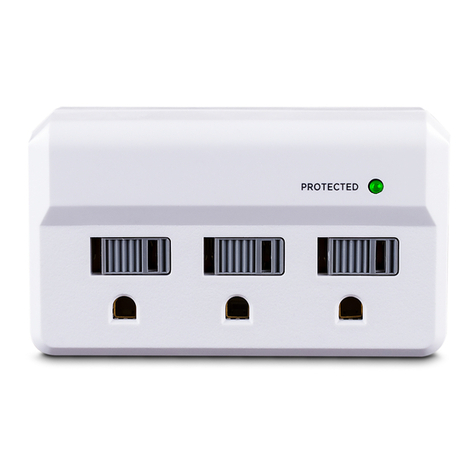
If the protected equipment has no ground terminal, ground the
M-RESTER only.
When the M-RESTER is mounted with DIN Rail Mounting Adapter,
connect the grounding wire to the mounting screw of the M-RESTER.
WIRING INSTRUCTIONS
■SCREW TERMINAL
Torque: 0.8 N·m
MAINTENANCE
Check surge protectors periodically. Many cases of light-
ning are ignored, and even lightning at a far distance often
causes inductive surges.
We recommend that you check your surge protector about
twice a year, before and after the rainy season. Check
whenever you experience a strong lightning occurrence.
Checking procedure is explained in the following:
■CHECKING
WIRING
1) Make sure that wiring is done as instructed in the con-
nection diagram.
2) Make sure that the Ground terminal (G) is connected to
the metallic housing of protected equipment.
3) Make sure that the Ground terminal (G) is grounded to
earth.
DISCHARGE FUNCTION
The M-RESTER Tester is available for checking the ele-
ment module of this surge protector.
If checking of M-RESTER tester shows negative, replace
the protector.

Other M-system Surge Protector manuals

M-system MD7LC User manual

M-system

M-system MD7LC User manual

M-system MAKN User manual

M-system

M-system MAKN User manual

M-system MDCAT-SPE-A User manual

M-system

M-system MDCAT-SPE-A User manual

M-system MDPA-24 User manual

M-system

M-system MDPA-24 User manual

M-system MDP-DM3 User manual

M-system

M-system MDP-DM3 User manual

M-system MAT2 Series User manual

M-system

M-system MAT2 Series User manual

M-system MD7FB User manual

M-system

M-system MD7FB User manual

M-system MMH-1 User manual

M-system

M-system MMH-1 User manual

M-system MDP-PA User manual

M-system

M-system MDP-PA User manual

M-system MDP-200T User manual

M-system

M-system MDP-200T User manual

M-system MDP-LWA User manual

M-system

M-system MDP-LWA User manual

M-system MDP-24-1 User manual

M-system

M-system MDP-24-1 User manual

M-system MD7TC User manual

M-system

M-system MD7TC User manual

M-system MDK-24 User manual

M-system

M-system MDK-24 User manual

M-system MD7PA User manual

M-system

M-system MD7PA User manual

M-system MDP-100 User manual

M-system

M-system MDP-100 User manual

M-system MD73W User manual

M-system

M-system MD73W User manual

M-system MDP-4R User manual

M-system

M-system MDP-4R User manual

M-system MD7JS User manual

M-system

M-system MD7JS User manual

M-system MD7PM User manual

M-system

M-system MD7PM User manual

M-system 6SN User manual

M-system

M-system 6SN User manual

M-system MA-100 User manual

M-system

M-system MA-100 User manual

M-system MD7ST User manual

M-system

M-system MD7ST User manual

M-system MDA-TL User manual

M-system

M-system MDA-TL User manual

Popular Surge Protector manuals by other brands

Eaton BUSSMAN Series installation manual

Eaton

Eaton BUSSMAN Series installation manual

Koblenz SS-2000 USBAC operating instructions

Koblenz

Koblenz SS-2000 USBAC operating instructions

Amtrol SURGE-TROL SPT-11 Installation & operation instructions

Amtrol

Amtrol SURGE-TROL SPT-11 Installation & operation instructions

Intermatic 177547 installation instructions

Intermatic

Intermatic 177547 installation instructions

Siemens FireSeeker FS-100 quick start guide

Siemens

Siemens FireSeeker FS-100 quick start guide

OPTI-UPS MG2T / MG3T Specifications

OPTI-UPS

OPTI-UPS MG2T / MG3T Specifications

Emerson Liebert Surge and Signal Protection Specifications

Emerson

Emerson Liebert Surge and Signal Protection Specifications

Supra MD02EU/SP quick start guide

Supra

Supra MD02EU/SP quick start guide

Ilsco SSI SpecPRO CSM Series manual

Ilsco

Ilsco SSI SpecPRO CSM Series manual

Panamax MIP20 instructions

Panamax

Panamax MIP20 instructions

MTL Surge Technologies MA05/D Installation instructions & user manual

MTL Surge Technologies

MTL Surge Technologies MA05/D Installation instructions & user manual

SC&T SP006PH-10G user manual

SC&T

SC&T SP006PH-10G user manual

Cooper Bussmann BRICK 6125TD Specification sheet

Cooper Bussmann

Cooper Bussmann BRICK 6125TD Specification sheet

Ultra Products ULT31571 Specifications

Ultra Products

Ultra Products ULT31571 Specifications

Mersen Surge-Trap instructions

Mersen

Mersen Surge-Trap instructions

Adcom ACE-515 owner's manual

Adcom

Adcom ACE-515 owner's manual

Qoltec Monolith 53894 user manual

Qoltec

Qoltec Monolith 53894 user manual

Sollatek DSP-D instruction manual

Sollatek

Sollatek DSP-D instruction manual

manuals.online logo
manuals.online logoBrands
  • About & Mission
  • Contact us
  • Privacy Policy
  • Terms and Conditions

Copyright 2025 Manuals.Online. All Rights Reserved.