Mac Faucets PYOS-V1 Series User manual

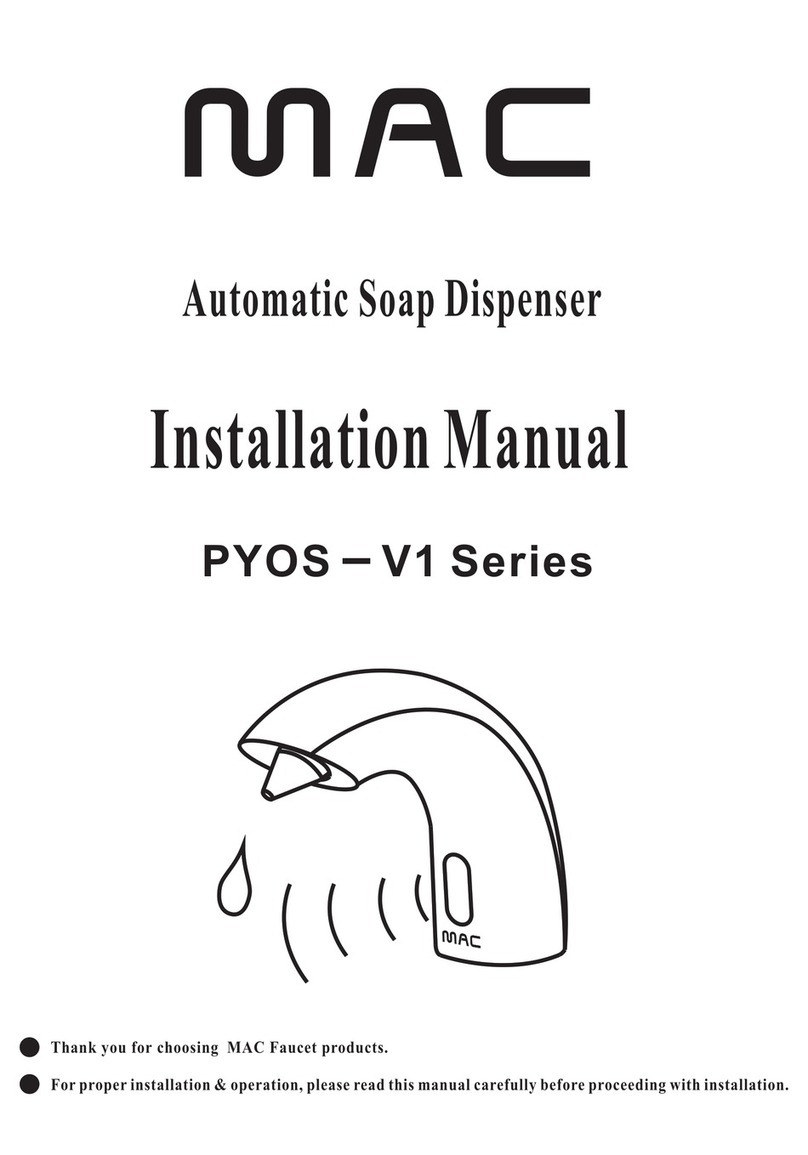
MAC
Automatic Soap Dispenser
Installation Manual
MAC
Thank you for choosing MAC Faucet products.
For proper installation & operation, please read this manual carefully before proceeding with installation.
PYOS V1 Series

Wall Mount Method
Nozzle
Soap spout
Sensor
Shank Screw
Battery Box
Brass Nut
S.S bracket
Priming Button
Sensor Plug
MAC
MA C
Pump
Soap Bottle
Retainer Washer
Power Plug
Soap Outlet
S.S Locking Plate
There are two methods of mounting the
hardware under the sink
O-ring
Optional
AC Power
Battery Box
S.S bracket
Priming Button
Sensor Plug
MAC
Pump
Soap Bottle
Power Plug
Soap Outlet
S.S Locking Plate
MA C
Optional
AC Power
Nozzle
Sensor
Soap spout

Spout Mount Method
S.S Hanging Bracket
MAC
MAC
Soap Spout
Sensor
Battery Box
Brass Nut
Sensor Plug
Pump
Soap Bottle
Power Plug
Soap Outlet
S.S Locking Plate
OR
Optional
AC Power
O-ring
Nozzle
Retainer Washer
Priming Button
Shank Screw
Pump Installation
MAC
MAC
MAC
MAC
MAC
MAC
1.Mount the S.S
bracket on the wall.
2.Insert the pump onto
S.S bracket.
3.Insert the locking plate
into S.S bracket.
1.Insert the pump onto
S.S bracket.
2.Insert the locking plate
into S.S bracket..
Wall-Mounted Method
Spout Mounted Method

SOAP
MA C
1L
2L
3L
3.5L
1qt.
2qt.
3qt.
4qt.
MAC
1L
2L
3L
3.5L
1qt.
2qt.
3qt.
4qt.
MA C
1L
2L
3L
3.5L
1qt.
2qt.
3qt.
4qt.
MA C
1L
2L
3L
3.5L
1qt.
2qt.
3qt.
4qt.
MA C
1L
2L
3L
3.5L
1qt.
2qt.
3qt.
4qt.
Installation of 3.8L soap bottle
3.Please insert the soap
inlet tube of host into
the soap bottle.
1.Adjust the direction of host then connect
the soap inlet on the host with the soap
outlet on the bottle and fix the host on the
soap bottle
2.The diagram of installation
completion for the host
Note:
1.1. The enough space and height shall be kept for host and soap bottle during the installation.
2.Please keep enough space for the host installation or replacement.
3.Please DO NOT hang the soap bottle by the host because it can not bear bottle's.
4.Please ensure the bracket or the floor which will place the soap bottle can bear the weight of soap bottle.
1.Open the lid on
the soap bottle.
The soap refilling
method for
wall-mounted host
is same as the one
of host fixed on
bottle.
Tips
Wall-mounted host
1.Please fix the S.S bracket
on the designed location
of wall
2.Please connect the host on
the fixed S.S bracket slowly
and smoothly
Host fixed on the soap bottle
Refill soap
2.Refill the soap into soap
bottle.
2.Fix the lid on the soap bottle
after refilling soap.
MAC
1L
2L
3L
3.5L
1qt.
2qt.
3qt.
4qt.
MAC

MA C
Fasten the brass nut
Pass hose and cable
through the hole
Fasten brass nut
Spout Installation
MAC
Please note the direction
of the opening
Please choose the method most appropriate
for your application
O-ring is placed
ABOVE counter
O-ring is placed
ABOVE counter
Please exercise special care not to cut the soap hose or damage sensor cable while fastening
the brass nut.
Before installing the stainless steel bracket
please make sure that there will be plenty of
space for the pump housing.
Please exercise special care not to cut the
Soap hose or damage sensor cable while
fastening the brass nut.
Spout Mount
MAC
Sealing washer is placed
ABOVE hex nut
Fasten the brass nut
5
PYOS-L124
MAC
1. Hold the wall mount bracket
against the wall.
In the desire location with the
grooves A and B horizontal to
floor, mark 3 holes with pencil.
2. Drill according to marks and affix the
wall mounting bracket to the wall.
3. Affix the spout to wall bracket
using the small screws.
4.Use the disc escutcheon to cover the wall mounting
bracket and turn clockwise to fasten
1
2
3
4
MA C
PYOS-9000 PYOS-L100
A B

MAC
MAC
Soap Replacement
MAC
MAC
SOAP
MA C
MAC
SOAP
Wall Mounted
Spout Mounted
1.Unscrew the empty bottle. 2.Add soap into the empty bottle. 3.Affix the bottle with full soap onto
the pump, and do not over tighten..
MAC
MAC
Pass the soap tube through the nut
and then connect the tube onto the
host and fasten the nut.
1.Connect the
tube onto the
host
2.Fasten the
nut
Please pay attention to pins when
connecting the power cable together.
Connect the male end with female
end of power cable properly.
Component Connection
Connect the male end with female
end of power cable and push firmly.
1.Unscrew the empty bottle. 2.Add soap into the empty bottle. 3.Affix the bottle with full soap onto
the pump, and do not over tighten..
MA C
MAC

MAC
MAC
USE
Place hands immediately
under soap spout.
Predetermined amount
of soap will dispense
If more soap is needed,
please remove
hands & repeat.
MAC
Soap
dispenser
Faucet
Soap
dispenser Faucet
Soap
dispenser Faucet
Soap
dispenser
Faucet
Incorrect Installation
Correct Installation
Keep sensor ranges factory preset. Keep soap spout and faucet centerline parallel.
Keep sensor range adjustment within
4 inches away from center of spout.
This can only be done with optional remote control.
Installing electronic soap dispenser and faucet
with intersecting centerline might lead to
accidental activation of either or both.

MA C
MA C
MAC
PUSH!
Incorrect Installation or Replacement
Usage of Green Button
MAC
PUSH!
MAC
MAC
Do not activate soap dispenser by
hand while the green button is
depressed below the counter, as this
might lead sensor damage.
Caution!
Battery Replacement
Place batteries in battery box according to drawings above.
When the soap bottle is filled with soap, press green button till
soap dispenses out of nozzle.
1.Unscrew the screws
of back cover.
2.Open the back cover. 3.Properly place the batteries
into the box.
4. Close the back cover and
fasten the screws.
Anode Cathode

MAC
Optional Remote Control
Hold remote control 6”-10” away
from sensor and aim directly at the
sensor eye.
Use (2) AAA alkaline batteries.
When a button is depressed,
indicator light will flash once
indicating successful adjustment,
twice (rapidly) indicating failed
adjustment, or that the adjustment
has reach maximum limit.
To adjust sensor range, press
distance (-) button for shorter sensor
range, distance (+) for longer sensor
range.
To adjust soap dispensing volume,
press time (-) for less soap, time (+)
for more soap.
Instructions
Optional remote control is designed for sensor range
adjustment and to change the volume of soap which
dispenser will dispense when used
One remote control is needed for many soap dispensers
MAC FAUCETS
7308 Alondra Blvd
Paramount, CA 90723
Tel 562-808-2240 – Fax 310-919-3073
www.macfaucets.com
LIMITED WARRANTY
Mac Faucets warrant this PRODUCT to be free of defects for a period of one
year from date of purchase. Mac Faucets will repl ace, free of charge, during
this warranty period, parts that prove defective when properly installed and
under normal use and service. Damage that occurs as a result of abuse,
improper install ation, environmental conditions, or improper application will
void this warr anty. Defective products must be shipped with postage and
handling prepaid, along with dated proof of purchase. This warr anty does
not cover install ation or any other l abor charges. it does not cover shipping
and handling of both repl acement parts and returned defective parts.
Products or components that have been altered or in any way modified will
not be covered under this warr anty. Repl acement parts are under warranty
only for the remaining period under the initial warranty. Some states do not
allow for exclusion of incidental or consequential damage.
This manual suits for next models
4
Table of contents
Other Mac Faucets Dispenser manuals
Popular Dispenser manuals by other brands

Alu
Alu KEC01900007 Assembly instructions

Royal Catering
Royal Catering RCCS-10 user manual

Cornelius
Cornelius IDC 255 installation manual

Cornelius
Cornelius IDC 255 PROGATE DRIVE THRU UNIT Operator's manual

Tork
Tork W6 Cleaning instructions

tatsuno
tatsuno ULTRA FN-1025 Series Instruction and maintenance manual

Larson Electronics
Larson Electronics XLE-MD-DF-AD-LS-120V instruction manual

SC Johnson Professional
SC Johnson Professional Stoko Vario mat Instructions and Mounting Manual

Bosch
Bosch THD2023 operating instructions

Tork
Tork 430690 instructions

Veneer
Veneer Tape Dispenser instructions

Nordson
Nordson freedom product manual