Madas M90W User manual

MADE IN ITALY
SENSORE SISMICO PER ELETTROVALVOLE
SEISMIC SENSOR FOR SOLENOID VALVE
CAPTEUR SEISMIQUE POUR ELECTROVALVES
SENSOR SÍSMICO PARA ELECTROVÁLVULAS
M90W
CHAPTER
9.3
SECTION
9
EN FR ES
Madas Technical Manual - 9|9.3 - REV. 0 of 1th May 2018 - M90W
IT EN FR ES
Potenza assorbita
Absorbed power
Puissance absorbée
Potencia absorbida
3 VA
Testato secondo
Tested in accordance with
Testé selon
Probado de acuerdo a
ASCE 25-97 (USA) - TS12884 (Turchia)

8
ES FR EN IT
M90W Madas Technical Manual - 9|9.3 - REV. 0 of 1th May 2018
1.0 GENERAL INFORMATION
This manual shows you how to safely install, operate and use the device.
The instructions for use ALWAYS need to be available in the facility where the device is installed.
ATTENTION: installation/maintenance needs to be carried out by qualified staff (as explained in
section 1.3) by using suitable personal protective equipment (PPE).
For any information pertaining to installation or in the event of problems that cannot be solved with the instructions, contact
the manufacturer by using the address and phone numbers provided on the last page.
1.1 DESCRIPTION
Device that, combined with a gas safety solenoid valve, controls its closure in the event of:
•seismic event (with analysis over time and based on the frequency of the accelerations on the 3 axes)
•remote control (e.g. gas detector, emergency closure)
The device has a relay alarm output that can be used for remote signals and to disconnect the power supply, thus eliminating
any sources of ignition or explosion. The sensor can be connected electrically to normally closed/open solenoid valves with
manual reset (also already installed).
TheseismicsensorhasbeentestedsuccessfullybyCESIofSeriate(Bergamo-Italy)onatriaxialvibratingplatforminaccordancewith:
ASCE 25-97 (USA) - TS12884 (Turkey).
1.2 KEY TO SYMBOLS
ATTENTION: Attention
is drawn to the technical
details intended for
qualified staff.
DANGER: Failure to observe this
may cause damage to tangible goods,
injury to people and/or pets.
DANGER: Failure to
observe this may cause
damage to tangible
goods.
1.3 QUALIFIED STAFF
These are people who:
•Are familiar with product installation, assembly, start-up and maintenance;
•Know the regulations in force in the region or country pertaining to installation and safety;
•Have first-aid training.
1.4 USING NONORIGINAL SPARE PARTS
•To perform maintenance or change spare parts ONLY manufacturer-recommended parts can be used. Using different parts
not only voids the product warranty, but could compromise correct operation of the device.
•The manufacturer is not liable for malfunctions caused by unauthorised tampering or use of non-original spare parts.
1.5 IMPROPER USE
•The product must only be used for the purpose it was built for.
•The manufacturer is not responsible for any damage caused by improper use of the device.

9
IT EN FR ES
M90WMadas Technical Manual - 9|9.3 - REV. 0 of 1th May 2018
2.0 TECHNICAL DATA
• Ambient temperature : -20 ÷ +60°C
• Supply voltage : 12 Vdc - 12 V/50 Hz - 24 Vdc - 24 V/50 Hz - 110 V/50 Hz - 230 V/50-60 Hz*
• Supply voltage tolerance : -15% ... +10%
• Electric wiring : cable gland PG 11
• Absorbed power : 3 VA
• Protection rating : IP65
• In compliance with :
EMC Directive 2014/30/EU - LVD Directive 2014/35/EU - RoHS II Directive 2011/65/EU
* Only single-phase, the device does not work if it is powered with three-phase voltage.
3.0 FIRST STARTUP
3.1 OPERATIONS PRIOR TO INSTALLATION
•Before start-up, make sure that all the instructions on the rating plate are observed;
•Cut off power prior to proceeding with wiring;
•Provide a protection against impacts or accidental contacts if the device is accessible to unqualified personnel.
3.2 WALL INSTALLATION
It must be installed securely, fastened to an element integral with the ground (wall, masonry fences).
•Fasten (screws not supplied) the device to the building structure using the fixing holes on the bracket (5) provided;
•It must only be installed in a vertical position (see installation example in 3.3 and fig. 1);
•Perform the connection with the solenoid valve on the system.
3.3 GENERIC EXAMPLE OF INSTALLATION
1. Manual reset solenoid valve
2. SM jerk ON/OFF valve
3. RG/2MC pressure regulator
4. Pressure gauge
5. Electrical power supply
6. Gas detector
7. SM remote jerk ON/OFF valve lever control
8. Seismic device - wall installation
mains application
3.4
INSTALLATION IN PLACES WHERE THERE IS THE RISK OF EXPLOSION (DIRECTIVE 2014/34/EU)
The device is not suitable for use in potentially explosive areas.

10
ES FR EN IT
M90W Madas Technical Manual - 9|9.3 - REV. 0 of 1th May 2018
4.0 ELECTRICAL CONNECTIONS (see diagrams fig. 3 and 4)
They must be carried out with the system stopped and NOT electrically powered.
•Prior to carrying out any electrical wiring operations, make sure that the mains voltage matches the supply voltage indicated
on the product label.
•
NOTE: The wiring operations must be carried out ensuring the product's IP65 protection rating
;
•Undo the fixing screws (8) and remove the cover (9).
•Connect the power supply to the power terminals and the earth cable to the terminal using the appropriate cable
terminals. The 12 V and 24 V versions can be powered both with direct current and with alternating current. The connection
terminals are not polarised.
• For the electrical connection, use the cable indicated in the valve instruction sheet:
• Relay for alarm/failure output max 0.5A resistive:
N.O. : Normally open contact
C: Common contact
N.C.: Normally closed contact
• Normally closed contact - EXT IN
Contact to be used for connection with gas leak detector or for emergency closure button. The contact is dry and must not
be powered.
• After making the connection put the cover (9) back in its original position and fasten it using the relevant screws (8) making
sure that the gasket (10) is inside the groove.
5.0 DIP SWITCH (6)
MADAS®seismic sensors are suitable for use with normally open (N.O.) or normally closed (N.C.) valves.
The type of solenoid valve is selected via the internal DIP switch
DIP switch no. 1: (solenoid valve type selection):
ON = N.C. solenoid valves
OFF = N.O. solenoid valves
DIP switch no. 2 (sensitivity selection):
A2 = normal
A1 = increased sensitivity
EXAMPLES
• Configuration for N.C. solenoid valve (DIP Switch 1 -> ON)
and normal sensitivity (DIP Switch 2 -> A2)
• Configuration for N.O. solenoid valve (DIP Switch 1 -> OFF)
and normal sensitivity (DIP Switch 2 -> A2)
ONN.C. A2
N.O. A1
12
ONN.C. A2
N.O. A1
12

11
IT EN FR ES
M90WMadas Technical Manual - 9|9.3 - REV. 0 of 1th May 2018
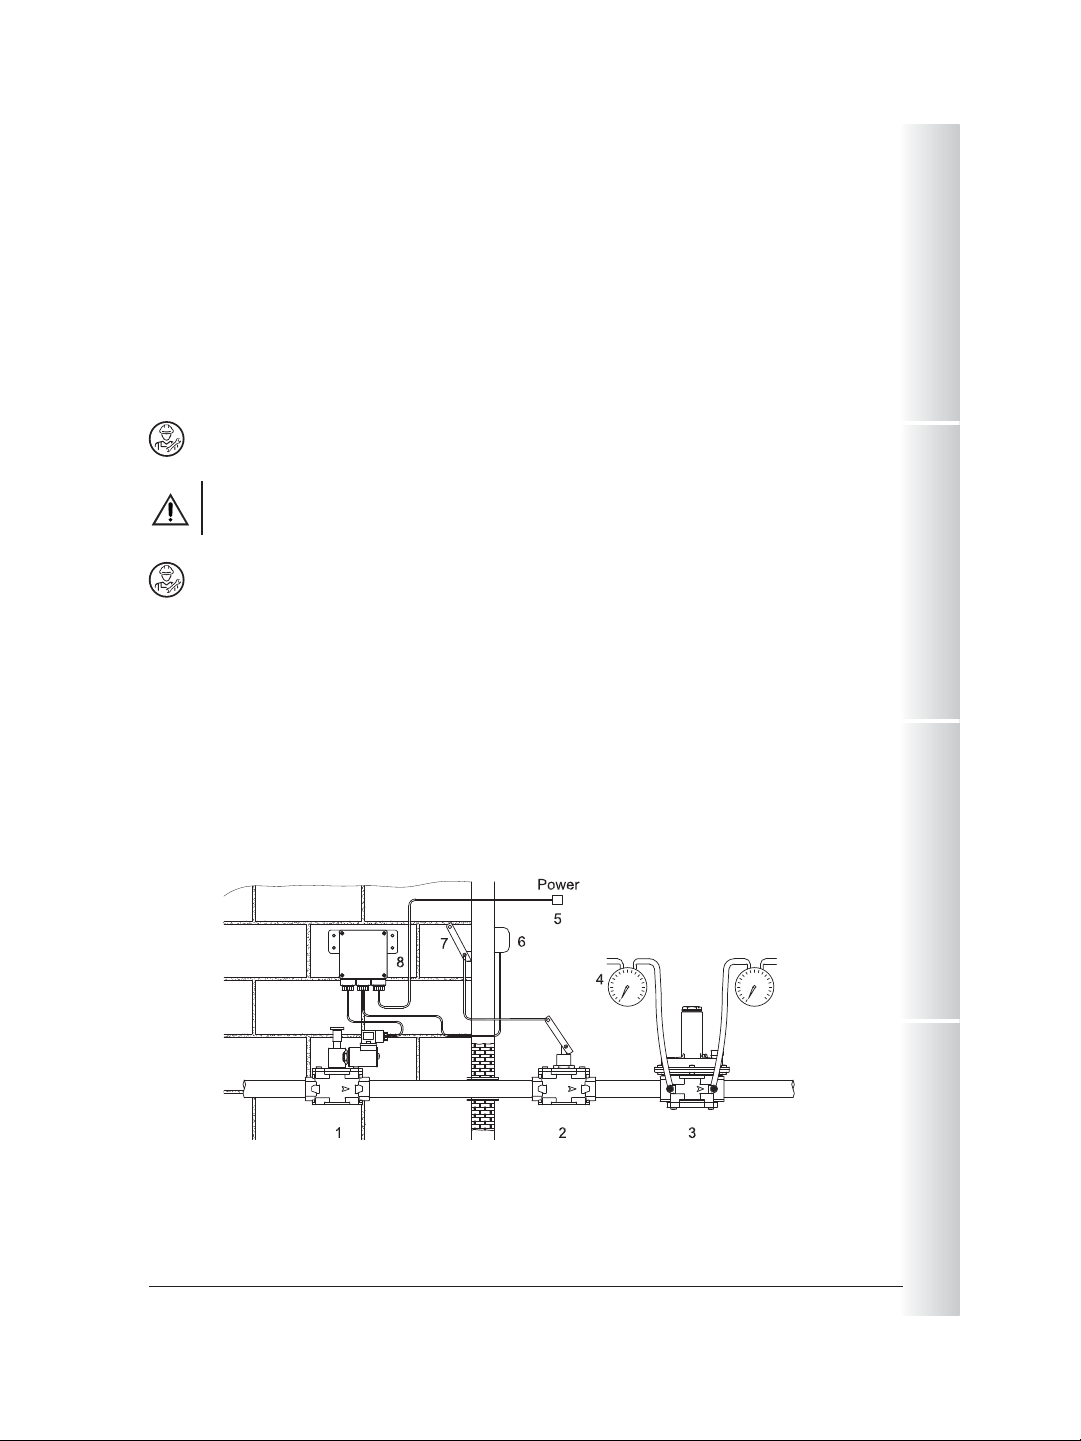
6.0 STARTUP AND RESET
• Press the reset/test button, for about 1s, until the POWER LED turns on, then proceed with the reset (opening) of the
solenoid valve referring to the valve instruction sheet;
• After activating the system, check the operation of the device by running a system test;
• To run a system test press the reset/test button, for 5s: the solenoid valve will close the gas flow and the red alarm LED
will light up;
• After the reset or start-up, the device runs an internal self-test identified by all the LEDs lighting up in sequence. During
this phase the device must NOT be subjected to vibrations. After the activation of the POWER LED with a steady light, it
is possible to proceed with the reset (opening) of the solenoid valve.
7.0 MAINTENANCE
• Device M90: no maintenance is required
• Solenoid valve: refer to the solenoid valve instruction sheet
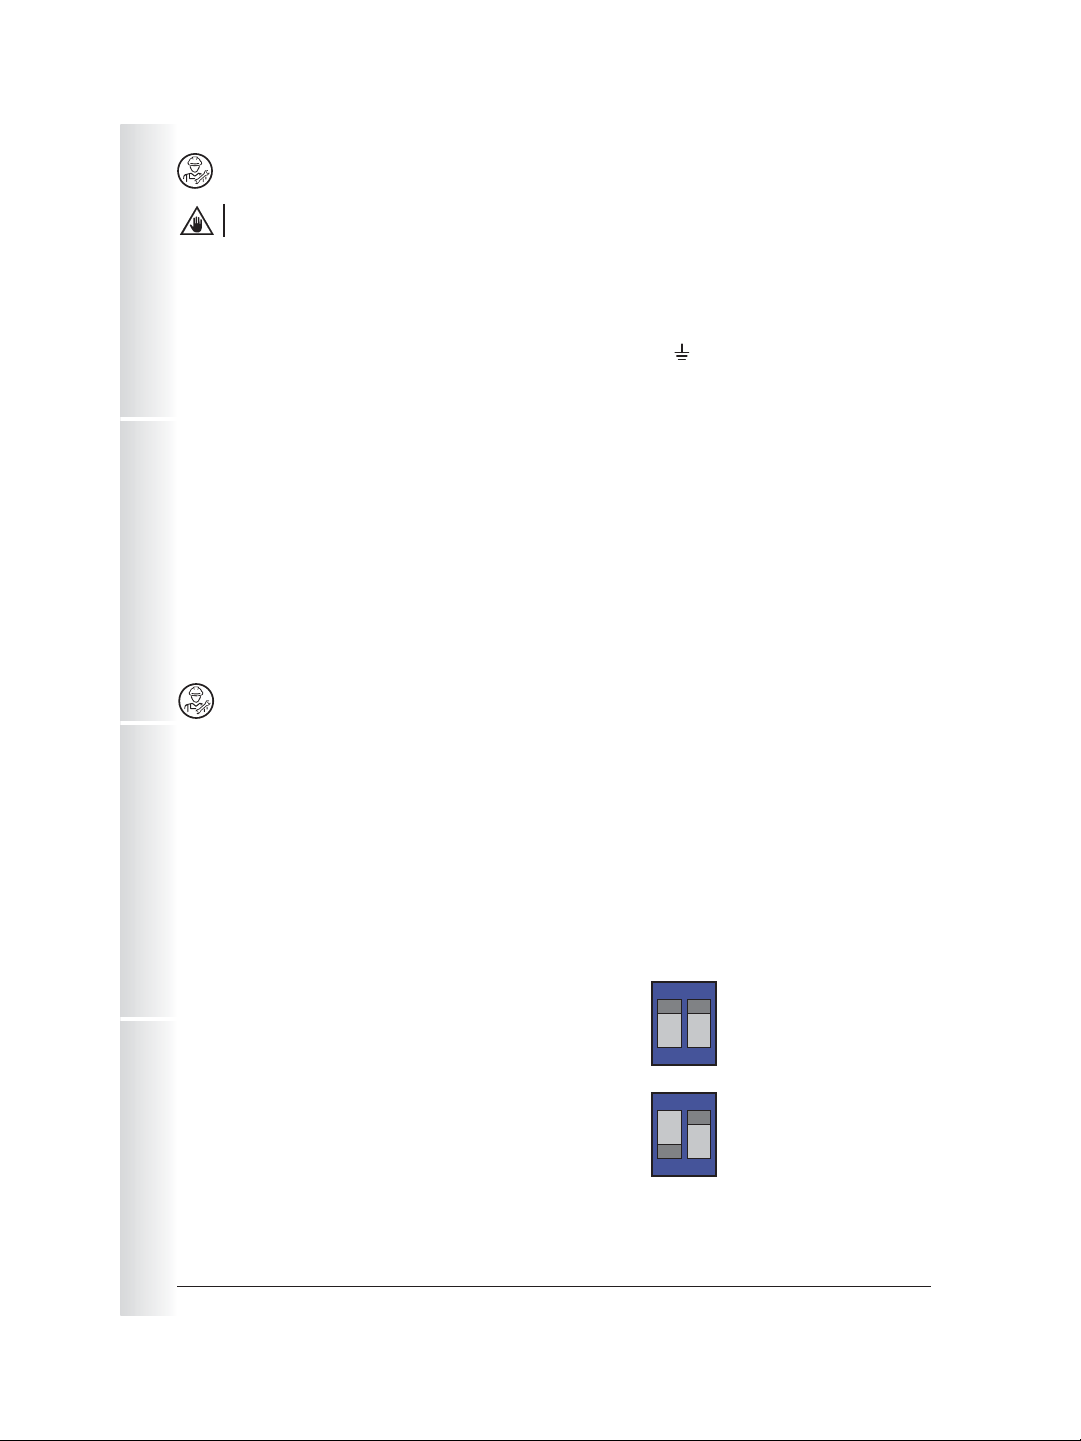
7.1 DEVICE LOCKOUT
In the event of intervention due to a seismic event, the device goes into lockout mode.
The lockout is stored and remains engaged even in the event of a power failure.
To unlock the device, press and hold the “RESET” button for at least 1s.
8.0 TRANSPORT, STORAGE AND DISPOSAL
• During transport the material needs to be handled with care, avoiding any impact or vibrations to the device;
• If the product has any surface treatments it must not be damaged during transport;
• The transport and storage temperatures must observe the values provided on the rating plate;
• If the device is not installed immediately after delivery it must be correctly placed in storage in a dry and clean place;
• In damp facilities, it is necessary to use driers or heating to avoid condensation.
• At the end of its service life, the product must be disposed of separately from other waste (WEEE directive
2012/19/EU) and in compliance with the legislation in force in the country where this operation is performed.
9.0 WARRANTY
The warranty conditions agreed with the manufacturer at the time of the supply apply.
Damage caused by:
•Improper use of the device;
•Failure to observe the requirements described in this document;
•Failure to observe the regulations pertaining to installation;
•Tampering, modification and use of non-original spare parts;
is not covered by the rights of the warranty or compensation for damage.
The warranty also excludes maintenance work, the assembly of devices of other manufacturers, making changes to the device
and natural wear.

12
ES FR EN IT
M90W Madas Technical Manual - 9|9.3 - REV. 0 of 1th May 2018
10.0 RATING PLATE DATA
The rating plate data (see example provided here) includes the following:
• Manufacturer’s name/logo and address (possible distributor name/logo)
• Mod.: = device name/model
• Wall installation = Installation position
• IP.... = Protection rating
• 230V.... = Power supply voltage, frequency (if Vac), followed by the electrical absorption
• (-20...+60) °C = Temperature range within which product operation is guaranteed
• year = Year of manufacture
• Lot = Product serial number (see explanation below)
• U1812 = Lot issued in year 2018 in the 12th week
• 7634 = progressive job order number for the indicated year
• 00001 = progressive number referring to the quantity of the lot
• = Disposal in accordance with WEEE directive 2012/19/EU
Mod.:M90W
Wallinstallation
IP65-230V/50-60Hz-3VA (-20...+60)°C
year: 2018 Lot:U1812 7634/00001
Other manuals for M90W
1
Table of contents
Other Madas Accessories manuals
Popular Accessories manuals by other brands

netvox
netvox Contact Sensor Series user manual

GefenTV
GefenTV GTV-VOLCONT- D user manual

Redline Communications
Redline Communications RedMAX AN100U Administration and maintenance guide

G.Q.F.
G.Q.F. HOVA-BATOR quick start guide

Manitowoc
Manitowoc 7622073 Mounting instructions

Magnasonic
Magnasonic MF111 instruction manual