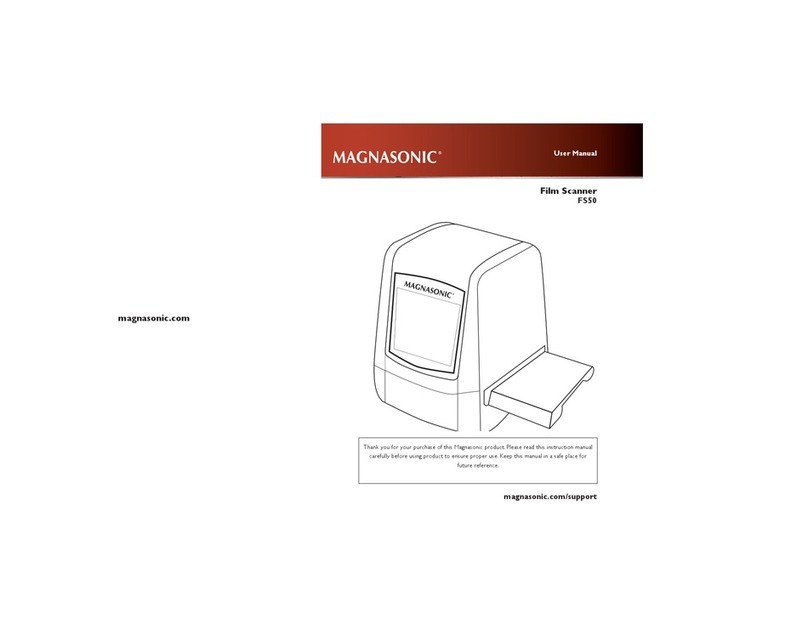
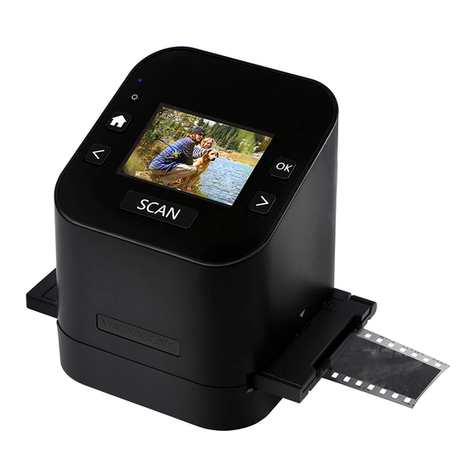
Magnasonic FS50 User manual

User Manual
Film Scanner
FS50
magnasonic.com/support
Thank you for your purchase of this Magnasonic product. Please read this instruction manual
carefully before using product to ensure proper use. Keep this manual in a safe place for
future reference.

IMPORTANT SAFETY INFORMATION
RETAINTHIS MANUAL FOR FUTURE REFERENCE
1. Read these instructions.
2. Keep these instructions.
3. Read all warnings.
4. Follow all instructions.
5. Do not use this product near water.
6. Clean only with a dry cloth.
7. Clean the screen only with a dry cloth, moistened slightly if needed. Do not clean the inside
of this product.
8. Check that the power voltage stated on the rating label corresponds to your local electricity supply.
9. Do not block any ventilation openings. Install in accordance with the manufacturer’s instructions.
10. Do not place this product near any heat sources such as radiators, heat registers, stoves or
other apparatus (including ampliers) that produce heat.
11. Do not immerse this product, the power cord or any accessories in water or any other liquid.
12. Unplug the power adapter from the wall when the product is unused for a long period of time
and during thunderstorms.
13. Only use attachments / accessories specied by the manufacturer.
14. Unwind and straighten the power cord before use.
15. Damage Requiring Service
Unplug the power cord and refer servicing to qualied service professional under the
following conditions:
A. If liquid has been spilled on or into the product.
B. If the product has been exposed to rain, water, or other liquids.
C. If the product does not operate normally by following the operating instructions.Adjust
only those controls that are covered by the operating instructions. Improper adjustment
of other controls may result in damage and will often require extensive work by a qualied
technician to restore the product to its normal operation.
D. If the product has been dropped or damaged in any way.
E. When the product exhibits a distinct change in performance.This may indicate a need
for service.
16. Servicing
Do not attempt to service this product yourself as opening or removing covers may expose
you to dangerous voltages or other hazards. Refer all servicing to a qualied service professional.
17. Replacement Parts
When replacement parts are required, be sure the service technician has used replacement
parts specied by the manufacturer, or have the same characteristics as the original parts.
Unauthorized substitutions may result in re, electric shock, or other hazards.
18. Safety Check
Upon completion of any service or repairs to this product, ask the service technician to
perform safety checks to determine that the product is in proper operating condition.
19. Caution marking is located at the back of apparatus.
20. The marking information is located on the bottom of apparatus.
21. Do not disassemble this product.
22. Stop using if there are any unusual problems with the scanner, such as smoke or an unusual
smell, while using.
23. Do not clean the scanner with alcohol, gasoline, diluent and other organic solvent.
24. Please use lms of standard size.
25. Cleaning: Please make sure the scanner is clean before using.
26. To save energy, the scanner will automatically shut down after 30 minutes of inactivity. Press
the power button to turn back on.
Table of Contents
Important Safety Information ..................................................... 2
Retain This Manual For Future Reference .................................. 2
Foreword ........................................................................................ 4
Maintenance Matters.................................................................... 4
What’s Included............................................................................. 4
Slide And Negative Holder Loading Method.............................. 5
Loading Negatives ..........................................................................................5
Install The Negative Method........................................................................6
Menu .................................................................................................................7
Capture Picture ..............................................................................................7
Operation Guide............................................................................................9
How To Playback Captured Picture......................................................... 10
Setting Language .......................................................................................... 11
Formatting..................................................................................................... 12
Connect To Computer............................................................................... 12
Product Specication.................................................................. 13
Declaration .................................................................................. 13
4 5
Foreword
Thank you for purchasing this product. Read this manual carefully before
use, and save the instructions for future reference. Please use this
product properly.
We reserve the right to change models, conguration, or specications
without notice or liability. Product may not be exactly as shown.
Maintenance matters Note:
Do not disassemble this product by yourself.
• High temperature: the product should be kept away from heat
sources such as radiators/heaters.
• Clean: please keep the product clean before using it, so that the
image clearly shows.
• Non-use period: when the product is not in use for a long period
of time, remove the USB cable from your computer.
• Scanning medium: please use the standard lm size, when
scanning lm.
What’s Included
• USB cable * 1
• Negative holder * 1
• Positive holder * 1
• AC / DC adapter * 1
• User Manual * 1
• Cleaning brush * 1
• TV cable * 1
• 110 Film holder * 1
• Super 8 holder * 1
Slide and Negative Holder Loading Method
Loading Negatives
1. Hold up the negative
toward the light.
2. Face the right side of the
negative to yourself.
3. Take out negative holder out.
4. Let the side with “OPEN”
face yourself, and let the
side with “ ” logo face down.
5. Open the negative holder,
then place negative into
the holder.
6. Insert the negative holder
into the slot on the right
side of the lm.

6 7
Guide
Menu
Capture Picture
1. Before scanning please make sure the inner backlight panel is clean.
Note:
You can use the provided brush to clean the screen.
Install The negative method
1. Hold up the slide toward
the light.
2. Face the right side of the
slide to yourself.
3. Take the slide holder out.
4. Let the side with “OPEN”
logo face yourself, and let the
side with “ ”logo face down.
5. Open the slide holder, then
place slides into the holder
(lm can also be loaded as a
strip into the slide holder).
6. Close the slide holder and
press the edges so that it
locks in place.
7. Insert the slide holder into
the slot on the right side of
the lm scanner as shown.
Handle lms with care to avoid scratches or nger prints(for the best results
use cotton gloves when handling lms) It is recommended to use compressed cotton
to remove any dust on the lms.

8 9
2. In the Main Menu mode press OK/ENTER to enter capture mode.
Then press MODE then press OK/ENTER to capture the picture.
Before pressing OK/ENTER to capture picture, press the left button
to mirror and press right button to ip the current picture. Press OK/
ENTER button to set Exposure. Press the CONVERT/MODE button
again back to main menu.
3. Press the left or right key, to Flip the image horizontally.
EV
4. Press the right key, to ip the image vertically.
5. Press OK/ENTER to set exposure compensation
Operation Guide
In the Main Menu, press , until you see .Then press OK/
ENTER. You can choose Negative 110,135, or126KPK.
You can choose Slide, 110, 135, 126KPK, Super8.
You can also choose B&W, 110, 135, 126KPK.

10 11
How to playback captured picture
In the Main Menu, press , until you see . Press OK/ENTER
the picture auto-playback mode press again to stop auto playback or you
can view captured pictures manually by pressing , then pressing
OK/ENTER again to enter picture editing mode.You can rotate, delete,
and save images. Press “HOME” to get back to the Main Menu.
Setting Language
Under the Main Menu mode press until you see .Then press
OK/ENTER to chose a language. Then press and OK/ENTER
to choose one of following 8 languages: English, French, Spanish,
Simplied Chinese, Traditional Chinese, Japanese, German or Italian.
Changing Resolution
Under the Main Menu mode, press until you see .Then press
OK/ENTER to enter into Resolution Mode.You can choose 14M or
22M (interpolation).
dagreesdagrees
The current picture rotates 90 degrees clockwise
The current picture rotates 90 degrees counterclockwise
Deleting the current image from memory card
Exit the sub-menu edit mode, back
Saving the current edit image
Exit sub-menu edit mode, back to scan

12 13
Formatting
In the Main Menu, press until you see ,press OK/ENTER
button to enter.
Note:
After using this function, all information in the Micro SD card will be deleted.
Connect to computer
Under the Main Menu mode press until your see .Then
press OK/ENTER. After successful connecting to computer, you can
view and edit captured pictures.
Product Specication
Function Film scanner/USB MSDC
Interface USB2.0
Image Sensor 14.0 Mega pixel, 4416*3312,
1/2.33” CMOS sensor
Display Color 2.4 TFT LCD
Exposure Control Automatic / Manual (-2.0 EV~ +2.0EV)
White Balance Automatic
Resolution 14.0 Mega pixels/ 22Mega pixels
(Interpolation)
Film type 135 Film(36*24mm),
126KPK Film(27*27mm),
Monochrome,Slide
110 Film(17*13mm),
Super8 Film(4.01*5.79mm),
Picture Effects B&W,Slides,Negatives
File format Picture JPEG
TV-OUT type NTSC/PAL
Built-in memory 128M
External memory card SD card up to 32GB
Power Supply DC 5V Adapter/ USB Port
Language English/French/Spanish/Simplied Chinese/
Traditional Chinese/Japanese/German/Italian
Product Size L87XW86.5XH102.5mm
Weight 250g
Declaration
* We reserve the right to change models, conguration, or specications
without notice or liability. Product may not be exactly as shown.

NOTES NOTES

magnasonic.com
Other manuals for FS50
3
Table of contents
Other Magnasonic Scanner manuals

Magnasonic
Magnasonic FS50 User manual

Magnasonic
Magnasonic FS50 User manual

Magnasonic
Magnasonic FS50 User manual

Magnasonic
Magnasonic FS60 User manual

Magnasonic
Magnasonic FS70 User manual

Magnasonic
Magnasonic FS71 User manual

Magnasonic
Magnasonic FS51 User manual

Magnasonic
Magnasonic FS52 User manual

Magnasonic
Magnasonic FS81 User manual