5
Important Advice for Users
Congratulations on the purchase of this product.
Your choice confirms your strong technical knowledge and your excellent
taste. Ultimately, you have chosen a high-tech product, which has been
manufactured using only materials of the highest quality.
Please take the time to read the User Manual carefully before starting
your new appliance and keep the Manual to hand so that you can refer
to it in the future.
This Manual contains the information you need for proper use, correct
operation, appropriate cleaning, care and maintenance of the appliance.
It is essential that you are familiar with and follow the instructions in the
Manual to ensure risk-free use, as well as your own safety during ope-
ration, cleaning, care and maintenance. This User Manual cannot foresee
every conceivable use of the appliance.
If you would like more information or if specific problems arise that are
not covered in sufficient detail in this User Manual, then please contact
the manufacturer directly to request the necessary information.
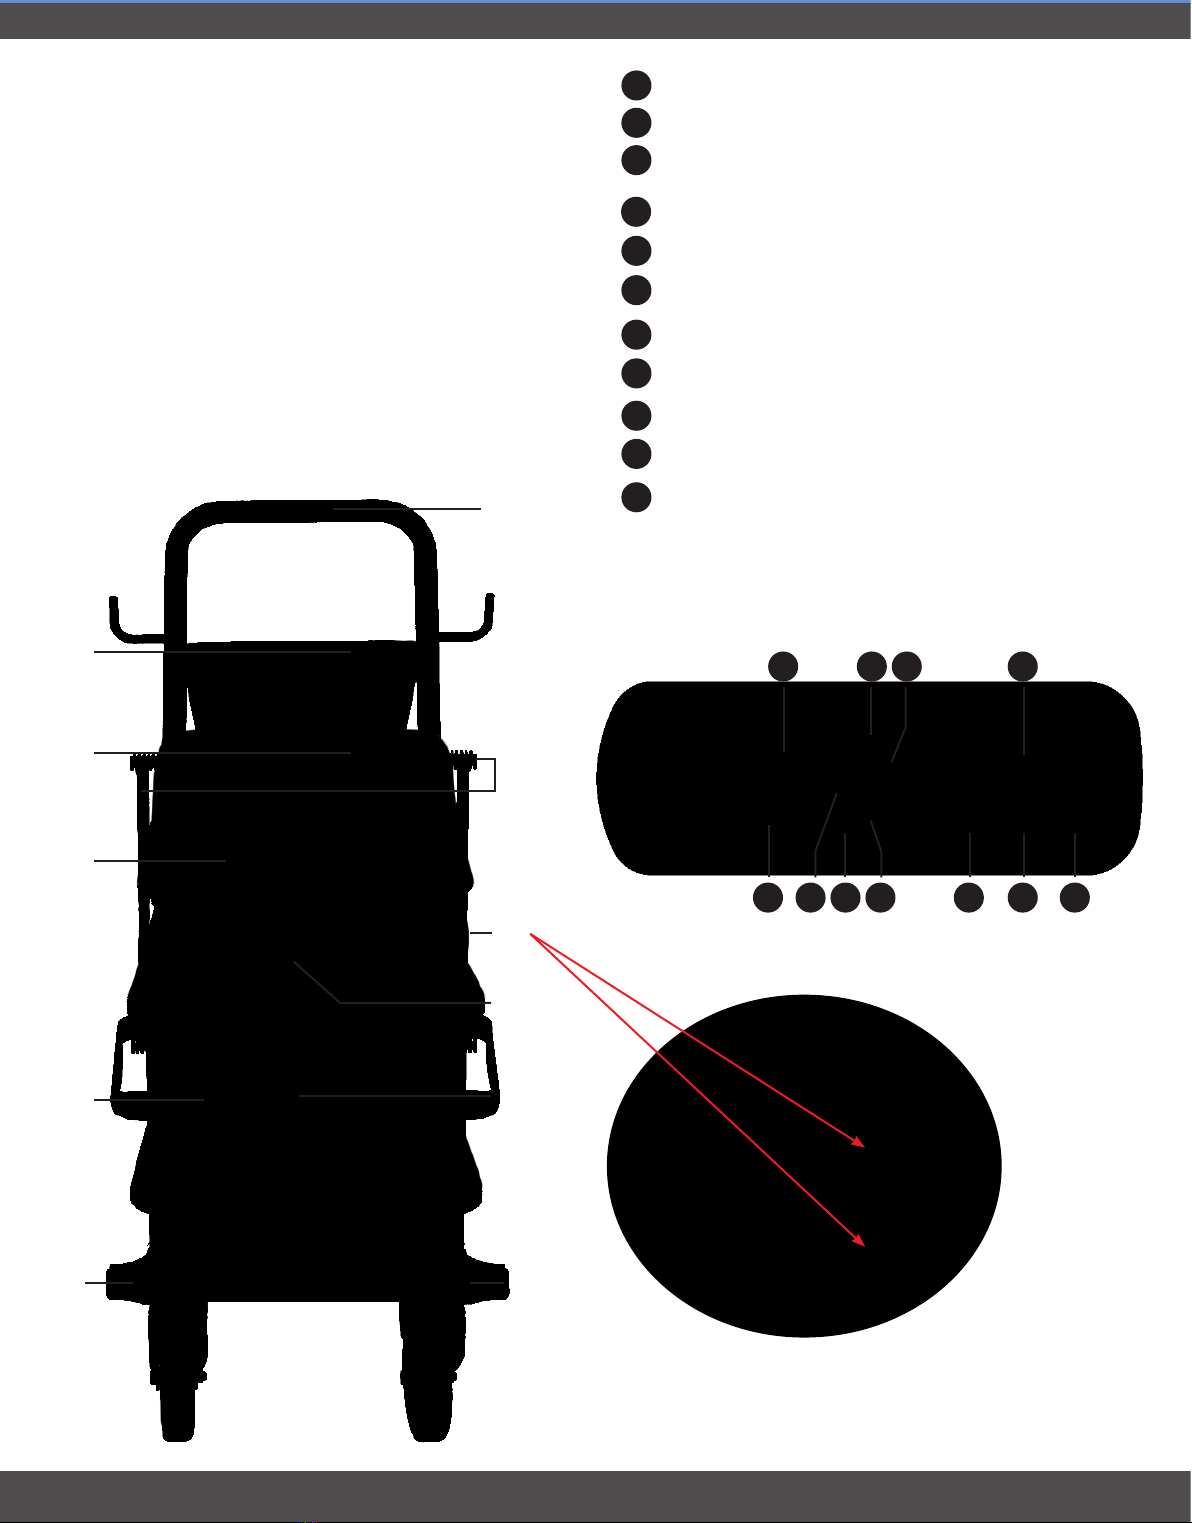
1. Description of equipment
The Magnum XP-Vac impresses thanks to its ease of use, sophisticated
tech-nology and diverse range of applications. It sets new standards in
terms of hygiene and cleaning, makes the job much easier and saves
time, drastically reduces the use of harmful cleaning agents that are
bad for the environment, and ensures perfect cleanliness and a
healthy feel-
good ambience.
2. Purpose of use
The Magnum XP-Vac can be used for thorough cleaning of surfaces and
ob-jects and to clear unpleasant odours from the air indoors.
This appliance is intented for professional use as a steam generator and
as a liquids/organic materials aspirator in accordance with the descrip-
tions and directions of this user manual.
3.
IMPORTANT SAFETY INSTRUCTIONS
READ AND FOLLOW ALL INSTRUCTIONS
When using the Cleaning System, always use basic precaution, including
the following:
WARNING!
– To reduce the risk of fire, electrical shock or injury:
1. Do not leave appliance when plugged in. Unplug the Cleaning System
from outlet when not in use, or before servicing. Do not allow to be used
as a toy. Close attention is necessary when the system is being used
around children. Never allow children to use or play with the system.
3. Use only as described in the manual. Only use original manufacturer
attachments.
4. Do not use the Cleaning System with a damaged cord or plug. If
the Cleaning System has been dropped, damaged, left outdoors, or sub-
mersed in water, return the System to the SERVICE .
5. Do not pull or carry the Cleaning System by the cord.
6. Do not use the cord as a handle. Never close a door on the cord. Never
pull it around edges or corners. Never run appliances over the cord. Keep
cord away from heated surfaces.
7. Do not unplug by pulling the cord. To unplug, grasp the plug, not the cord.
8. Do not handle the plug with wet hands.
9. Do not allow objects to get into the output nozzles. Do not try to
operate the Cleaning System with any of the openings blocked. Keep
opening free of dust, lint, hair, or anything that reduce the Steam flow.
10. Keep all parts of the body away from output nozzles and moving parts
of the System.
11. Use extra care when using the Cleaning System on stairs.
12. Use extra care when cleaning around water source (swimming pools,
spas, toilets, etc.)
13. Do not use the Cleaning System to clean animals
14. Never point the steam toward humans or animals.
15. Turn off all controls before unplugging the Vapor System.
16. Do not fill the Cleaning System with anything but clean tap water.
17. To reduce the risk of electric shock – use indoors only
18. Do not use to pick up flammable or combustible liquids, such as
gasoline, or use in areas where they may be present.
19. Connect to a properly grounded outlet only. See Grounding Instruc-
tions
20. Do not pick up anything that is burning or smoking such as cigaret-
tes, matches, or hot ashes.
WARNING
– This hose contains electric wires. To reduce risk of elec-
tric shock do not use or repair a damaged hose.
SAVE THESE INSTRUCTIONS
WARNING!
Your Vapor Cleaning System MUST BE PLUGGED INTO A
GROUNDED OUTLET, or electrical shock can occur. Check with a qualified
electrician if you do not know if the outlet is grounded.
Do not modify the plug provided with the Vapor System, if it will not fit
outlet, than have a proper outlet installed by a qualified electrician.
NOTE:
In Canada, the use of a temporary adaptor is not permitted by the Cana-
dian Electrical Code.
THIS UNIT MUST BE GROUNDED
If the unit should malfunction or break down, grounding provides a path
of least resistance of electrical. Current to reduce the risk of electrical
shock. The uniti s equipped with a cord having an equipment grounding
conductor and grounding plug. The plug must be inserted into an appro-
priate outlet that is properly grounded in accordance with all local codes
and ordinaces.
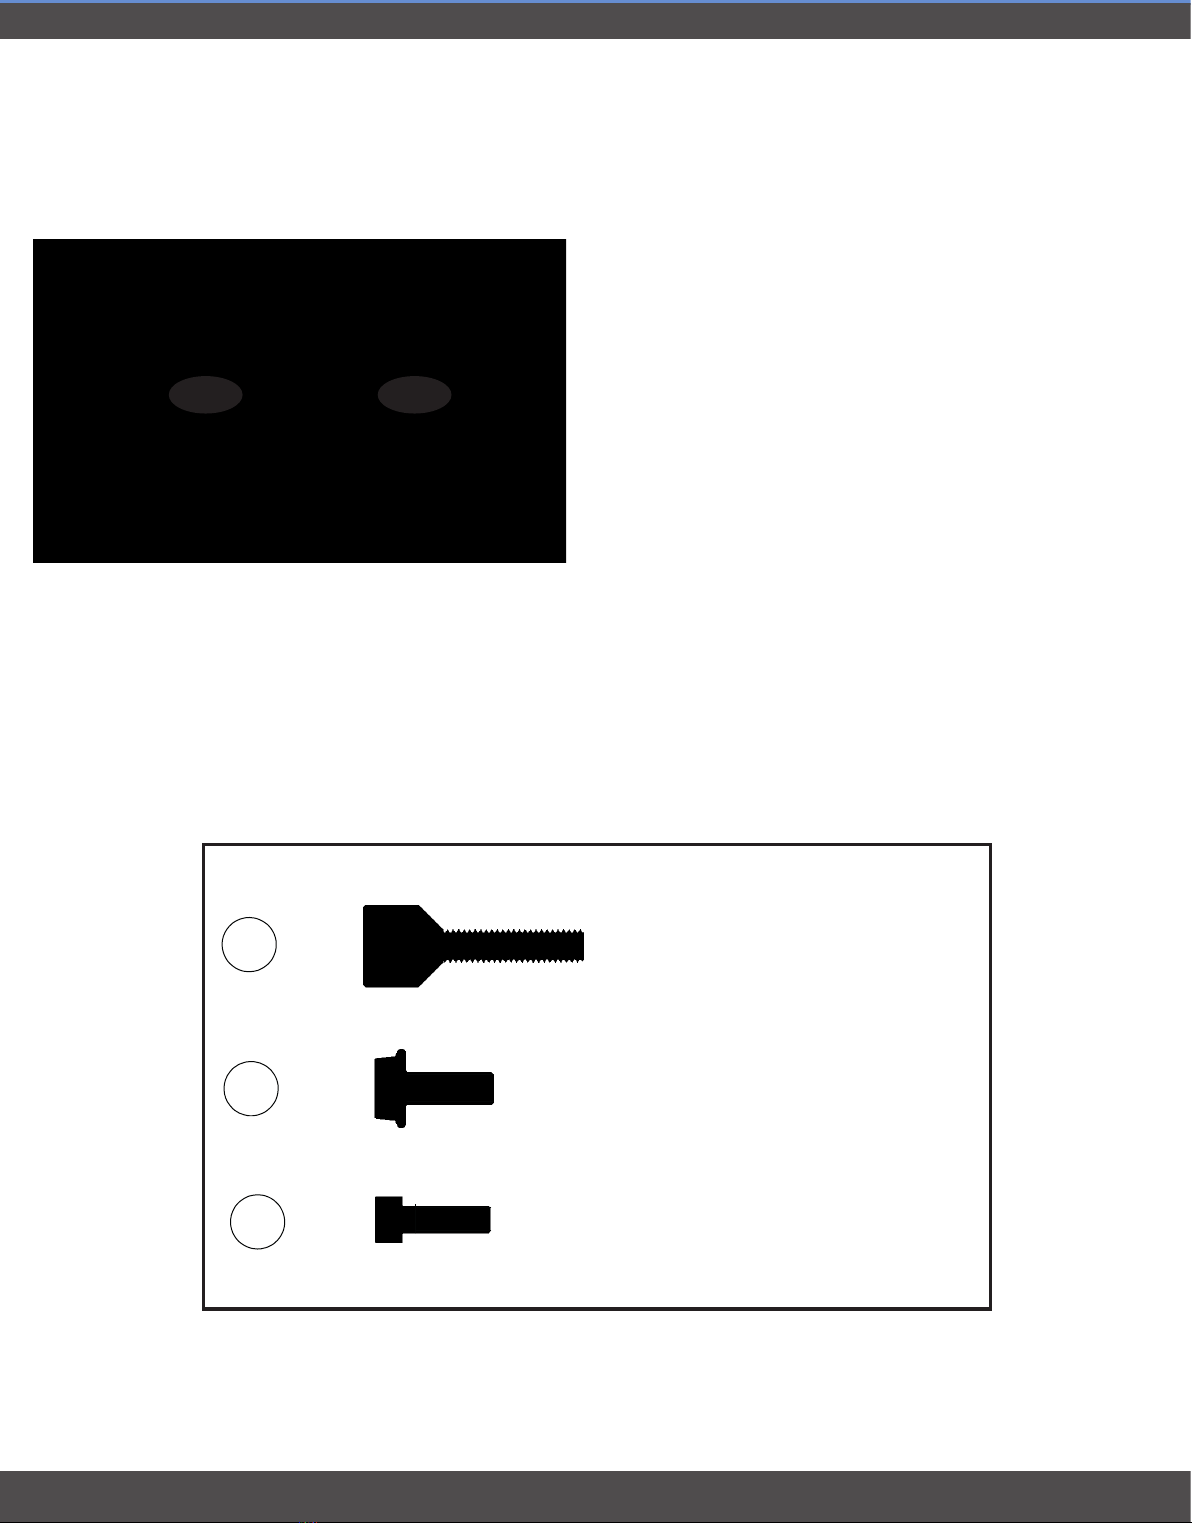
WARNING!
This appliance is for use on a nominal
120-V circuit and has a grounding attach-
ment plug thet looks like the plug illust-
rated in sketch A in figure 20. Make sure
that the appliance is connected to an out-
let having the same configuration as the
plug. No adaptor should be used with this appliance.
INFO: To minimise the occurrence of condensation (caused when
the steam hose and attachments are not at operating tem-
perature) it is recommended that you allow the steam to flow
for a few seconds on the maximum setting before starting the
cleaning work. This ensures the steam hose and attachments
heat up more quickly.