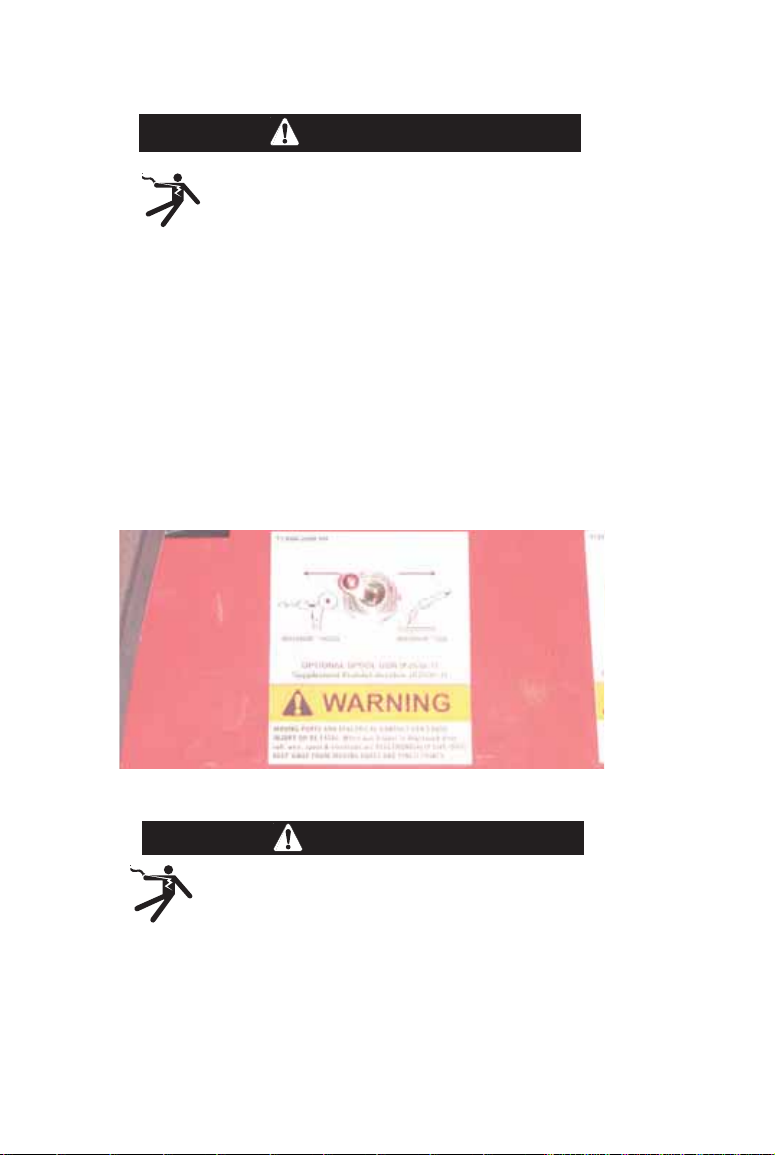
Magnum 100SG SPOOL GUN User manual

INSTALLATION
TECHNICAL SPECIFICATIONS - MAGNUM®100SG SPOOL GUN K2532-1
MODEL
WELDING PROCESS
WIRE ALLOYS
WIRE SIZES (DIAMETERS)
SPOOL SIZE
RATED WELDING CURRENT
AND DUTY CYCLE
OVERALL WEIGHT
CABLE LENGTH
OVERALL SIZE (BOUNDING BOX)
METHOD OF GUIDANCE
METHOD OF COOLING
K2532-1 Magnum®100SGSpool Gun
Aluminum GMAW (MIG), DC electrode positive
polaritywith 100% argon welding shielding gas.
Aluminum only: alloys 4043or 5356
Solid wire 0.030 or 0.035 inches (0.8 or 0.9 mm)
1 lb. weight, nominal 4 inch diameter spool
130 amps at 30% for 10-minute basis
3.5 lbs. with cable but without case or spool
10.0±0.2 feet
In inches: 15.75 long x 10.50 high x 4.25 thick max.,
without case or gun cable.
Semiautomatic (manually-guided)
Air-cooled
UNPACKING THE SPOOL GUN
The spool gun is factory-assembled and tested, and then packed in its own cush-
ioned carrying case. It is shipped fully-equipped to weld with 0.035 inch diameter alu-
minum wire. After opening the case, check that it contains the following items:
1. One fullyassembled K2532-1 spool gun.
2. One T11862-65 Conical Compression Spring for use with alloy5356 wire (spool
not included).
3. One spool of0.035 aluminum alloy4043wire
4. Three S19726-3contact tips
5. One instruction manual (IM913)
6. One M21182 electrical harness with toggle switch.
1
3
4
5
6
2
A-1
Plastic Bag

LOCATING SPOOL GUN COMPONENTS AND FEATURES
(See Figure 1.A for Items 1 thru 6)
1. Gas Cone Assemblyand Contact Tip.
2. Straightened Gun Tube Assembly.
3. 1/4-Turn Locking Collar.
4. Trigger Assembly.
5. Spool Cover: Provides easy, wide-
open access to spool and wire
drive.
6. Locking Knob: Captive in spool
cover.
(See Figure A.2 for these following items)
7. Integrated Single-Piece Cable:
The Magnum®design provides
neat and clean appearance; sim-
plifies cable management and
reduces entanglements.
8. Standard Durable Strain Relief
Clamp.
9. Three Captive Hex Nuts.
FIGURE A.1
Left Side View
14
35
5
2
FIGURE A.2
Right Side View
78
9
A-2
INSTALLATION
SAFETY PRECAUTIONS
ELECTRIC SHOCK CAN KILL.
• Turn the input power OFF at the welding power source before
installation or changing drive rolls and/or guides.
• Do not touch electrically live parts.
• When inching with the gun trigger, electrode and drive mechanism
are "hot" to work and ground and could remain energized several
seconds after the gun trigger is released.
-----------------------------------------------------------------------------------------------------
WARNING

INSTALLATION
ASSEMBLY OF ITEMS INSIDE THE MAGNUM®SPOOL GUN
FIGURE A,3
A-3
TOP VIEW
Spool Cover and left
handle removed
Machine Connections
1
2
4
3
P6 CONNECTOR PINOUT
MASTER KEY
6
9
7
8
1
1. Liner Assemblyfeeds all specified
wire.
2. Drive Roll: This Drive Roll feeds all
specified wires.
3. Idle Roll Assembly: Non-adjustable
tension setting for all specified wires
4. Incoming Wire Guide: Highlywear-
resistant.
5. P6 Connector Control Leads: Motor
Power and Trigger. (See
Maintenance Section for more
details)
6. Welding Power and Shielding Gas
Machine connection (Sealed with 2
o-rings).
7. Locking Knob: Independentlyretains
the wire spool on the spindle.
8. Liner Assembly: Includes a gas seal
with the cable connector and is the
outgoing wire guide.
9. Only4 sub-assemblies: gun tube;
cable; wire drive; trigger.
10. Conical spring (not shown)serves
as the spool brake (use onlywith
aluminum alloy5356).
4
3
2

INSTALLATION
SAFETY PRECAUTIONS
WELDING MACHINES
• Read and understand the welding machineʼs instruction manu-
al and all hazard warnings on equipment and in the manual.
• Wear the proper personal protective equipment for welding,
including but not limited to, safety glasses, hearing protection,
welding helmet, welding gloves, and welding leathers.
-----------------------------------------------------------------------------------------------------
SPOOL GUN
ELECTRIC SHOCK CAN KILL.
• The spool of wire may fall out of the gun if the locking knob is
not installed.
• Metal parts may be at welding voltage (electrically "hot").
• Metal parts remain at welding voltage for several seconds after trigger is
released. Read warning label on gun.
• This product shall not be used in precipitation, or in wet or damp locations.
------------------------------------------------------------------------------------------------------
A-4
CAUTION
WARNING

INSTALLATION
A-5
RECOMMENDED WELDING MACHINES
MACHINE NAME
NOTE: THE MACHINE CODE NUMBER IS LISTED ON THE BACK OF THE MACHINE.
POWER MIG 216
POWER MIG 215XT
POWER MIG 180C
POWER MIG 140C
POWER MIG 180 DUAL
POWER MIG 180C AU
POWER MIG 180C CE
POWER MIG 140T
POWER MIG 180T
PRO CORE 125
PRO MIG 140
WELD PAK 125 HD
WELD PAK 140 HD
MIG PAK 140
EASY CORE 125
EASY MIG 140
WORK PAK 125
CORE PACK 125
PRO MIG 180
WELD PAK 180HD
MIG PAK 180
SP-140T
SP-180T
EASY MIG 180
K-NUMBER
K2816-1
K2700-1
K2473-1
K2471-1
K3018-1
K2668-1
K2661-1
K2470-1
K2472-1
K2479-1
K2480-1
K2513-1
K2514-1
K2658-1
K2696-1
K2697-1
K2699-1
K2785-1
K2481-1
K2515-1
K2659-1
K2688-1
K2689-1
K2698-1
CODE NUMBER
11588
11521
11257
11255
11659
11444
11442
11254
11256
11631
11300
11634
11173
11632
11302
11635
11303
11636
11440
11633
11503
11637
11504
11638
11506
11639
11550
11646
11175
11647
11304
11648
11441
11658
11501
11649
11502
11650
11505
INSTALLATION OF M21182 HARNESS
AND SELECTOR SWITCH
NOT REQUIRED
NOT REQUIRED
REQUIRED
REQUIRED
NOT REQUIRED
REQUIRED
REQUIRED
REQUIRED
REQUIRED
SPOOL GUN USE NOT AVAILABLE
REQUIRED
NOT REQUIRED
REQUIRED
REQUIRED
NOT REQUIRED
REQUIRED
NOT REQUIRED
REQUIRED
REQUIRED
NOT REQUIRED
REQUIRED
REQUIRED
REQUIRED
REQUIRED
REQUIRED
REQUIRED
REQUIRED
REQUIRED
REQUIRED
REQUIRED
REQUIRED
REQUIRED
REQUIRED
REQUIRED
REQUIRED

NOTE: Installation of the M21182 harness and spool gun selector switch is
not required for all machines. If a spool gun switch is pre-installed in the
machineʼs wire drive compartment, then the SPOOL GUN / WIRE DRIVE
SLECTOR SWITCH INSTALLATION SECTION can be disregarded.
INSTALLATION
SPOOL GUN / WIRE DRIVE
SELECTOR SWITCH
INSTALLATION
1. Install the M21182 electrical adapter
harness that came with the spool gun
per the following instructions.
ELECTRIC SHOCK CAN KILL.
2. Disconnect input
power from the
machine.
------------------------------------------------
OPEN THE MACHINE
3. Remove two 5/16“hex hinge screws
from door.
4. Remove ten 5/16“hex screws from
cover.
5. Remove screws from cover.
(A) is the location oftwo 3/4”long
screws.
6. Remove cover.
7. Ifmachine has a plastic handle (A),
then remove screw (B).
WARNING
A
A
B
A-6

INSTALLATION
A-7
ELECTRICAL CONNECTIONS
8. Adapter harness. All 6 connections
shown are used, and each one is
unique.
(Proceed as follows)
9. A. Remove P3 (10-pin) from board
J3(10-pin).
9.B. Connect P3 (10-pin) to har-
ness J7 (10-pin).
10. Connect harness P7 (10-pin) to
board J3(10-pin).
IF MACHINE DOES NOT HAVE OPTIONAL
SPOT TIMER.
(11.A. thru 11.D.)
11.A. Remove P5 (6-pin) from
board J5 (6-pin).
11.B. Connect P5 (6-pin) to har-
ness J8 (6-pin).
11.C. Connect harness P8 (6-pin)
to board J5 (6-pin).
Toggle Switch
P8 (6-pin)
P7 (10-pin)
J8 (6-pin)
J
7 (10-pin)
543A
(Female)
544A
(Male)
J3
P3
P3
J7
J3
P7
P5
J5
P5
J8
P8
J5

INSTALLATION
11.D. Find assembled pair ofmachine
terminals (leads 543A & 544A)
and disconnect. Go to step13.
IF MACHINE DOES HAVE OPTIONAL SPOT
TIMER.
(12.A. thru 12.D.)
12.A. Remove P5 (6-pin) from spot
timer harness J9 (6-pin).
12.B. Connect P5 (6-pin) to adapter
harness J8 (6-pin).
12.C. Connect adapter harness P8 (6-
pin) to spot timer harness J9 (6-
pin).
12.D. Find assembled pair ofmachine
terminals (leads 543A & 544A)
and disconnect.
13. Connect terminals:
(A) connect machine male (lead
543A)to adapter harness female
(lead 543A).
(B) connect machine female (lead
544A)to adapter harness male
(lead 544A).
14. Ensure that the locking tabs on all
connectors are latched closed.
543A
544A
J9
P5
P5
J8
J9
P8
543A
544A
A
B
A-8

INSTALLATION
A-9
MOUNTING THE SWITCH
15. Remove the plug button from the
panel hole.
16. Plug button is no longer needed.
Discard.
17. Remove mounting nut from switch.
Keepmounting nut for installation.
18. Install switch into panel hole.
Ensure washer tab is fullyseated
into smaller hole.
19. Reinstall mounting nut onto switch.
Wrench tighten.
RE-ASSEMBLE MACHINE AS
FOLLOWS:
20. Reinstall screw into plastic handle (if
so equipped).
21. Reinstall cover.
22. Reinstall door.
23. Reconnect input power to the
machine.

INSTALLATION
ROUTINE WELDING MACHINE PREPARATION
ELECTRIC SHOCK CAN KILL.
1. Disconnect input power to the machine.
------------------------------------------------------------------------
2. Machine polaritysetting: Set to DC electrode positive
polarityper the machineʼs Instruction Manual.
3. Gas selection and flow rate: Connect 100% welding
grade argon gas supplyto the machineʼs gas solenoid
valve. Set the supplyregulator to deliver a gas flow rate
of20 to 50 SCFH thru the spool gun.]
4. Flipthe machineʼs wire drive selector switch (behind the
access door)to "Magnum® 100SG". (See Figure A.4)
FIGURE A.4
WARNING
PREPARING THE SPOOL GUN
ELECTRIC SHOCK CAN KILL.
1. Disconnect input power to the machine.
------------------------------------------------------------------------
2. The Conical Spring is used as the spool brake onlywhen
feeding the stronger and harder aluminum alloy5356.
The Conical Spring must be removed from the spool gun
whenever using the softer aluminum alloy4043.
WARNING
A-10

INSTALLATION
A-11
LOADING ALUMINUM WIRE
1. Remove gas cone and contact tip.
Remove spool cover byunscrewing
captive locking knob.
FIGURE A.5
2. Remove locking knob from spindle
bolt byunscrewing it.
FIGURE A.6
3. Select wire alloyand diameter need-
ed. Alloy4043and 0.035 wire size
shown. Remove packaging and data
sheet from wire spool.
FIGURE A.7
4. Extend approximately12 inches
ofwire from spool. Straighten it
out byback-bending it. Use care
to prevent the wire from dereeling.
FIGURE A.8
5. Cut off bent end ofwire, leaving
straight section.
FIGURE A.9
6. Gentlypull open the idle roll
assemblyto expose the drive roll
groove.
FIGURE A.10
Alloy
Size

INSTALLATION
7. Guide straightened wire through inlet
wire guide and toward drive roll
groove.
FIGURE A.11
8. While holding open the idle roll, slide
end ofwire through drive rollʼs
groove and toward gun tube liner.
FIGURE A.12
9. Slide the wire into the liner until it
extends approximately1 inch beyond
the end ofthe gas diffuser. Release
idle roll tab without snapping it.
FIGURE A.13
10a. Alloy4043: Roll upremaining wire
back onto spool and place spool
onto gun spindle. Install locking
knob and finger-tighten. Go to step
11.
FIGURE A.14
10b. Alloy5356: Install Conical Spring,
small end first, onto gun spindle
(A). Roll upremaining wire back
onto spool and place spool onto
gun spindle. Install locking knob
and finger-tighten.
FIGURE A.15
11. Graspthe free end ofthe wire at the
gas diffuser and slowlypull approxi-
mately12 to 24 inches ofwire
through the spool gun. There should
onlybe 1 to 2 lbs. ofresistance. If
force is greater than 2 lbs. wire is
binding in the gun (also see
Troubleshooting guide).
FIGURE A.16
A
A-12

A-13
INSTALLATION
12. Cut off excess wire 1 to 2 inches
from gas diffuser. Install properly-
sized contact tipslightlypast hand-
tight. Install gas cone and hand-
tighten.
FIGURE A.17
13. Reinstall spool cover. 1: tuck
coverʼs tab in place at arrow and
hold with thumb. 2: swing cover
closed. 3: finger-tighten locking
knob. 4: check for uniform fit all
around cover.
FIGURE A.18
CONNECTING THE GUN TO THE
WELDING MACHINE
1. Disconnect input power to the
machine.
2. Make sure that the gun locking knob
is loosened. (See Figure 20).
3. Fullyinsert gun cable connection
(welding power and gas supply) into
machine. Note that the master Key
wayfor P6 connector is located at
the arrow.
FIGURE A.19
4. Check that the cable connectorʼs
end is flush with insulator at A.
Tighten gun locking knob (B)onto
cable connector.
FIGURE A.20
1
2
3
4
P6
Connector
Keyway
BA
This manual suits for next models
1
Table of contents
Other Magnum Welding System manuals

Magnum
Magnum MIG 190 II DIGITAL User manual

Magnum
Magnum WAVE 200KD User manual

Magnum
Magnum MIG 160 Mini User manual

Magnum
Magnum MIG 208 Alu Synergy User manual

Magnum
Magnum CARIMIG 202LCD User manual

Magnum
Magnum MIG 208 Alu Synergy User manual

Magnum
Magnum MIG200L PRO DUAL PULSE User manual

Magnum
Magnum MIG 208 ALU SYNERGIC User manual

Magnum
Magnum MIG 220 Alu synergy User manual