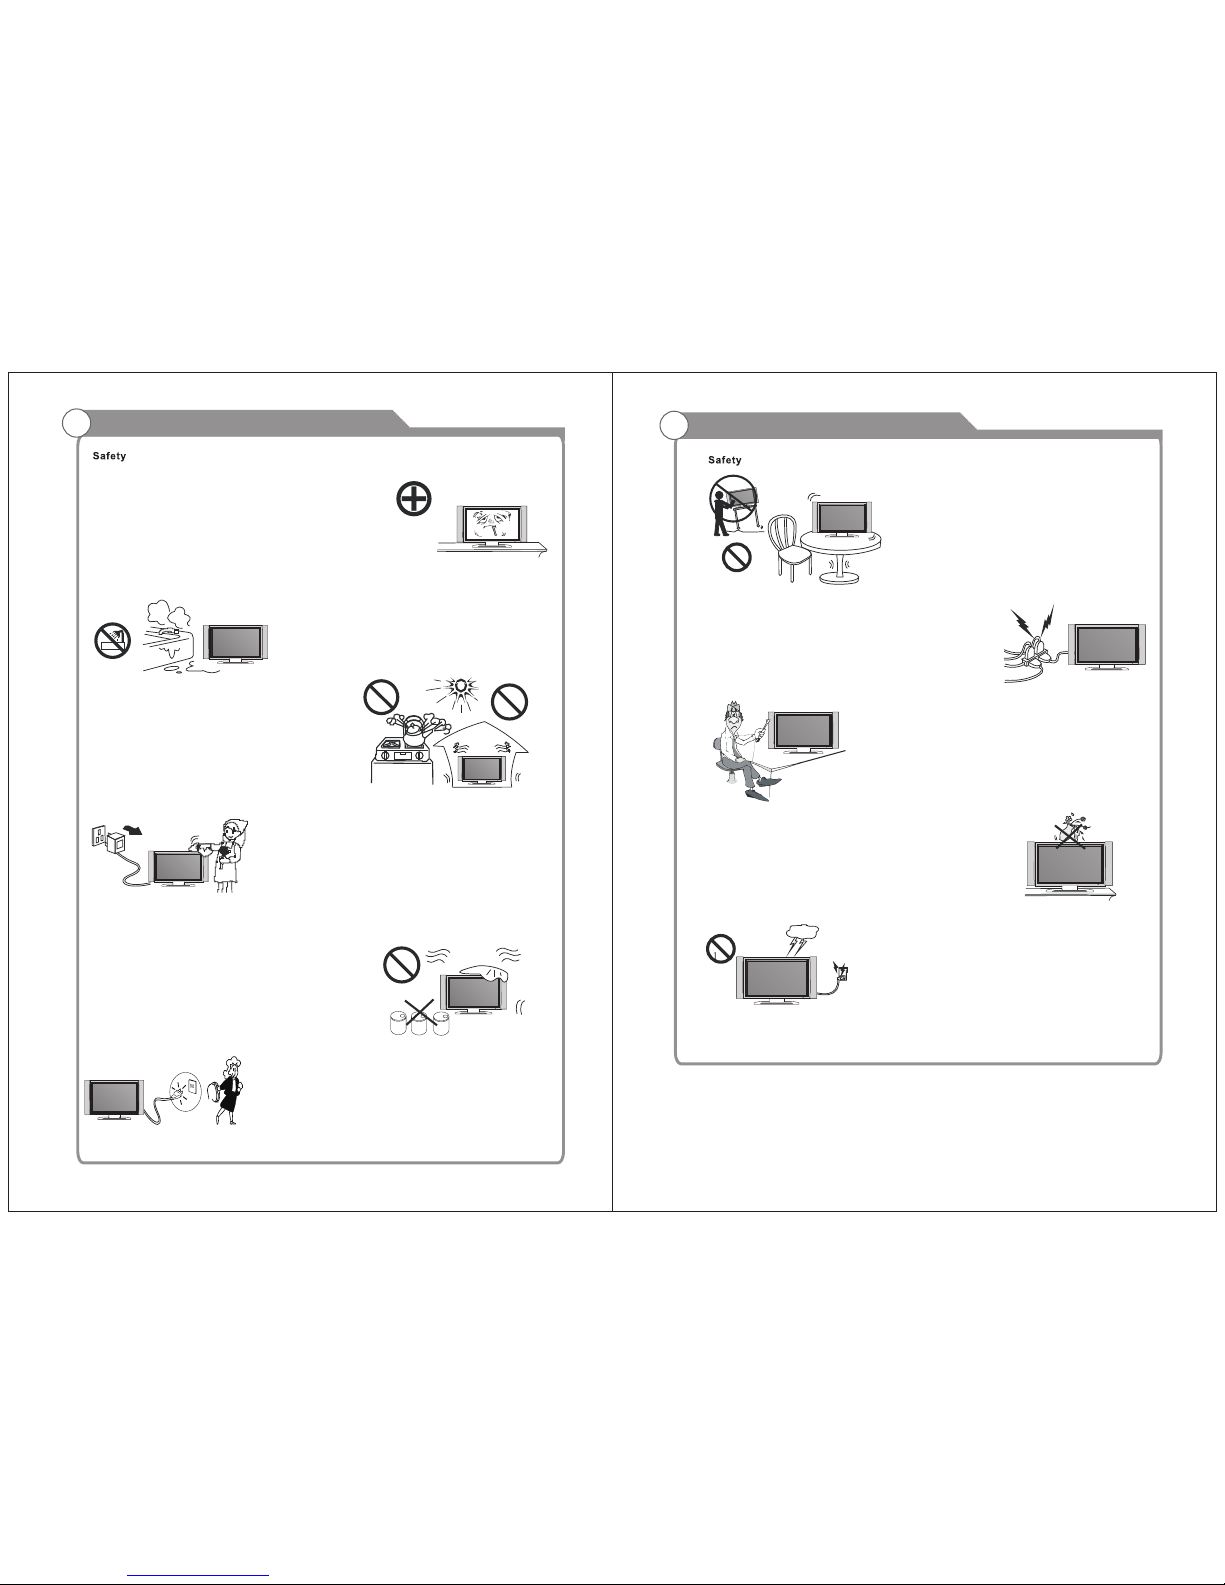
Important Safety Precautions
Do not place the power cord or other cables
across a walkway in case it is trampled on. Do
not overload the power cord or power socket.
When the power plug is used to disconnect and
connect the device, it should easily go into the
power source.
Do not place the LED TV on an unstable
surface.
Do not disassemble the back cover, as it
contains high voltages inside and will cause
electric shock. Only qualified professionals
sho u l d c on d u ct in t e rna l a d jus t m ent s ,
maintenance, and checks.
The TV set should not be subjected to
water droplets, vapor, or splash. This
equipment should not be placed on objects
filled with liquids. Do not place flame
sources, such as lit candles, on or near the
LED TV. Please, pull out the power plug
and contact after sales support if there are
abnormal objects or water in the TV.
Pull out the power cord and antenna cable
during electrical storms so the LED TV is not
damaged by electrical surges. Keep all
people away from the antenna cable during
electrical storms.
Important Safety Precautions
Please, immediately pull out the AC power
plug
from adapter if there is an abnormal sound or
smell or the LED TV has sound but no picture,
and contact after sales support.
The LED TV should be kept free from rain,
moisture and dust to prevent electrical
shock and
short circuits. Do not cover the ventilation
openings with table clothes, curtains,
newspapers, etc.
The LED TV should be kept from high
temperature heating sources or direct
sunlight. Good ventilation is required.
Allow 10 cm. between the LED TV and
other appliances or built-in cabinet walls.
When you wipe the front cabinet, please
make sure the power plug is pulled out and
use a soft, dry, lint-free cloth and handle it
with care. Do not repeatedly wipe the panel,
nor scrape, tap or strike the panel with a hard
object.
Do not wipe the LED TV with any petrol,
chemical or alcohol based solvents as it
will lead to product damage of the panel
and cabinet.
When the television receiver is not used for an
extended period of time, it is advisable to disconnect
the AC power cord from the AC outlet.