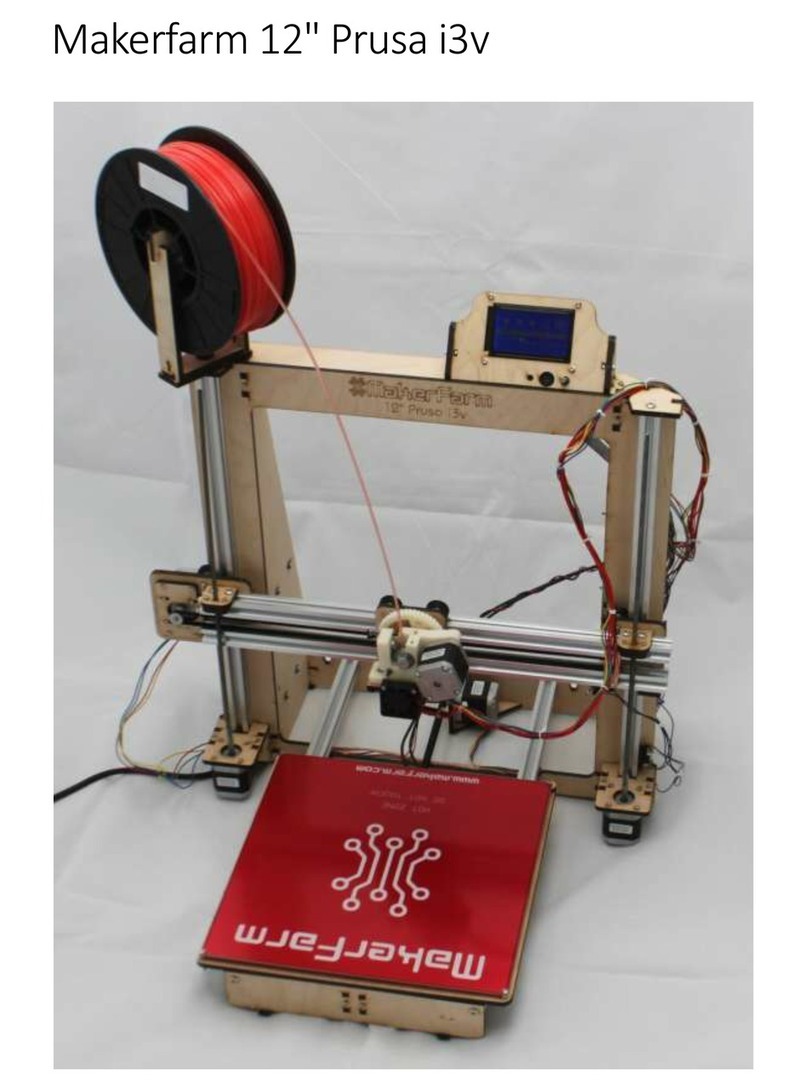
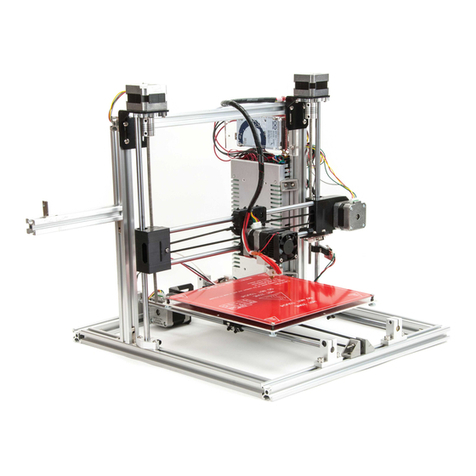
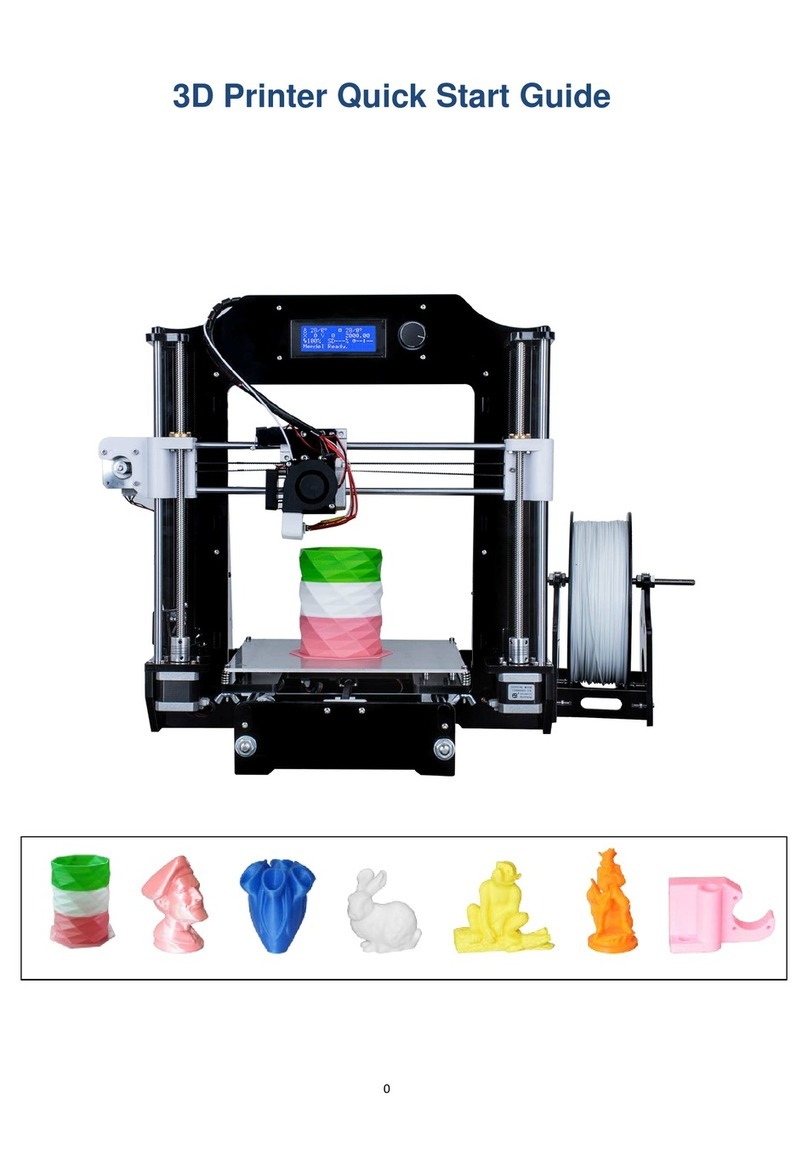
Makerfarm Prusa i3 User manual


Laser Cut 8” i3 Prusa
This Guide has Hyper links, to use them please click File then Download and open the PDF
in your PDF Viewer, if you view the Guide online the Hyper links will not function
Thank you for purchasing the Laser Cut i3 Kit. To complete your build you will need a
couple other items.
Piece of Glass 215mm X 204mm (2.5mm to 3.5mm Thick, most hardware stores will cut it
to the size you need, Inside the USA Lowes or Home Depot)
Power Supply: http://www.staples.com/Antec-VP-450W-Power-Supply/product_928656 or
similar power supply (Your power supply will need to be able to output minimum 16amps at
12v)
You may also want some filament to print with after you have built your printer.
Makerfarm.com does sell filament and if you purchase it with your kit you will receive a
discount. If you want to purchase your filament somewhere else make sure you get high
quality filament, poor quality filament (Amazon and eBay) will jam and cause problems.
At any time if you have any questions feel free to e-mail or chat via google chat:
elderfarrer@gmail.com
Thanks,
Colin Farrer
Sales@MakerFarm.com

X Axis Assembly
Gather the following parts before watching the X Axis Video
1 x Assembled X Carriage
1 x Assembled X Idler
1 x Assembled X Motor
2 x 15.5” Smooth Rods
1 x X Belt cut to 32” Long, loop the ends and secure with a zip tie, the end result should
be a belt 29 7/8” long
X Axis Assembly Video

Y Bed
Gather the following parts before watching the Y Bed Video
9 x #6 1” Bolt
9 x #6 Lock Nuts
3 x LM8UU Bearings
For newer kits your heat bed mount will look different and have narrow slots for the
bearings, the lower Y bearing holders will also look different and one will be marked “Y
Endstop”, this one will be mounted in the front right corner of the heat bed mount (in the
picture above it will be under the top left bearing hole).
When installing the 1” bolts you will want to have the Nylon lock nuts under the heat bed,
also you will first want to install one bolt getting just one thread onto the locknut, then do
the same with the other bolt before tightening them both down.

Y Rods
Gather the following parts before watching the Y Rods Video
2 x 15.75” 5/16” Threaded Rods
2 x 14.75” Smooth Rods
3 x LM8UU Bearings
12 x 5/16” Nuts
12 x 5/16” Washers
1 x GT2 Pulley
1 x Motor
1 x Y Belt cut to 26.5 “ Long, loop the ends and secure with a zip tie, the end result
should be a belt 24.75” long
Assembled Y Idler
Assembled Y Bed
Also get the Assembled Frame
Y Rods Video

Z Rods
Gather the following parts before watching the Z Rods Video
2 x Zip Tie
1 x Micro Switch
1 x Heat Bed (See RAMPS Setup Video)
4 x M3 16mm Bolt
4 x Nylon Spacer
4 x M3 Nuts
1 x Assembled X Axis
2 x Z Motors
2 x Clear Tubing
8 x M3 10mm Bolts
2 x 12” Smooth Rods (Z Rods)
1 x Assembled LCD Interface
Z Rods Video

Wiring your Power Supply to your RAMPS
YourATX Power supply should have one or two high current 2x2pin power connector
with Black and Yellow wires. Cut the 2x2 connectors off (This will void your Power
supply Warranty if you have one).

Strip some wire off of the wires you cut and install in the power connector as shown
below.
Notice that the wires are all
doubled up.
The connection closest to D10,
D9 and D8 is the 11amp
connection that requires more
current then the 5amp connecor. If
you don’t have two of these 2x2
connectiors use the one you do
have on the 11amp connetion
and use any other black and
yellow wires for the 5amp
connection.
Table of contents
Other Makerfarm 3D Printer manuals


