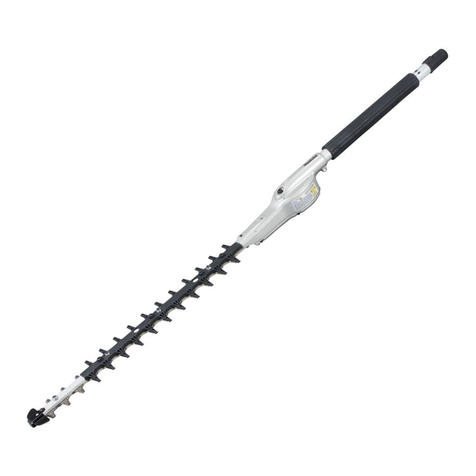
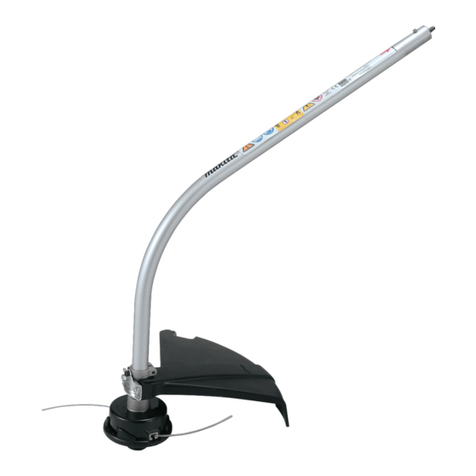
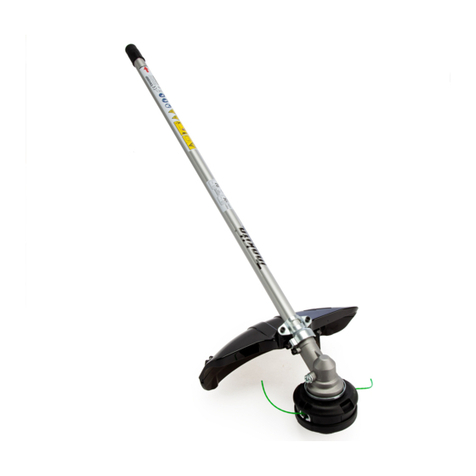
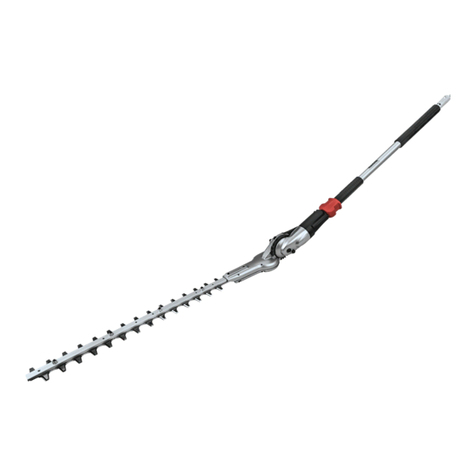
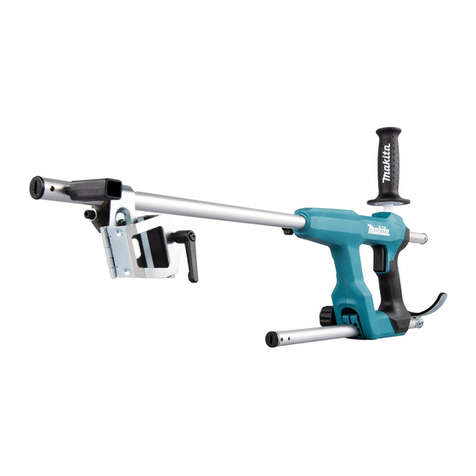
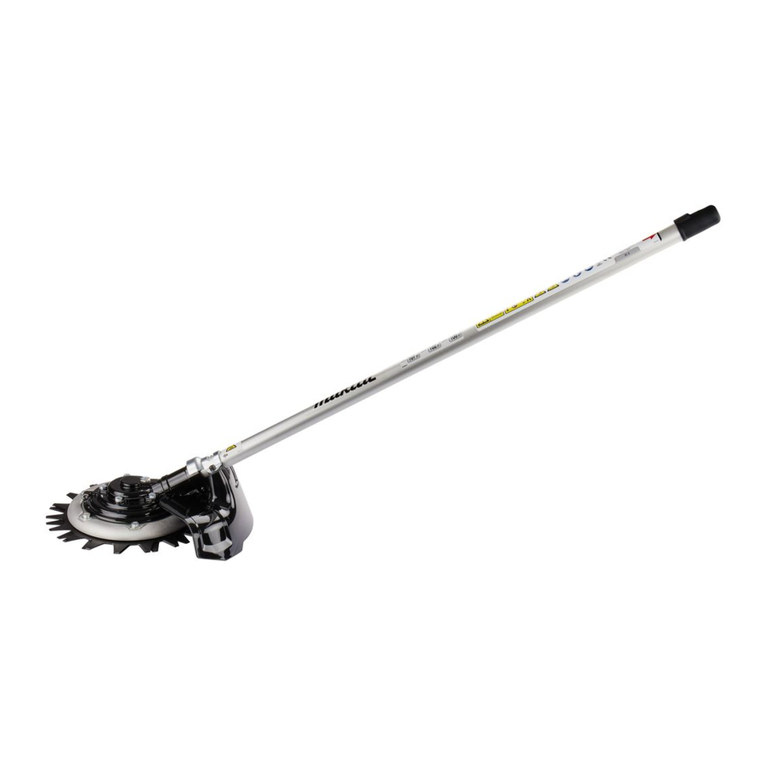
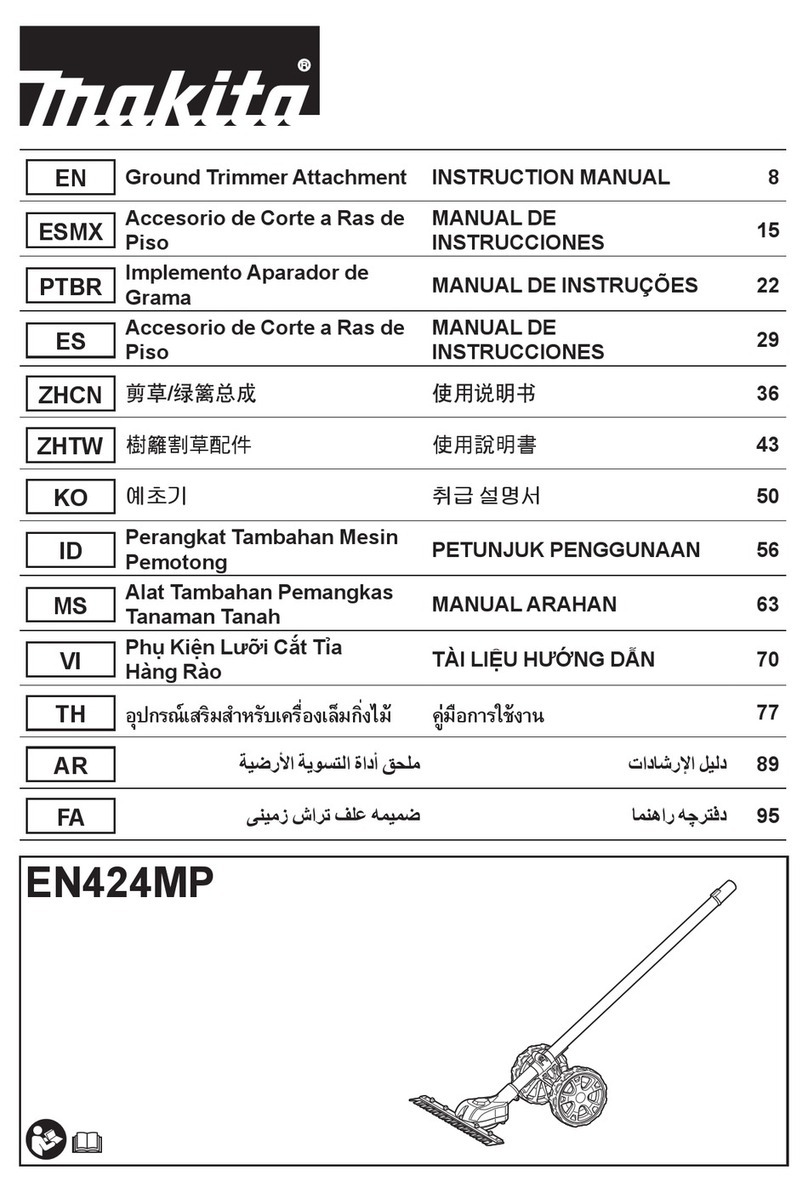
Makita EN424MP User manual

EN Ground Trimmer Attachment INSTRUCTION MANUAL 8
FR Tête Faucheuse MANUEL D’INSTRUCTIONS 15
DE Aufsatz Gestrüppschneider BETRIEBSANLEITUNG 22
IT Accessorio tagliasiepi da terra ISTRUZIONI PER L’USO 30
NL Grondheggenschaarhulpstuk GEBRUIKSAANWIJZING 37
ES Accesorio de Corte a Ras de Piso
MANUAL DE INSTRUCCIONES
44
PT Implemento Aparador de Grama MANUAL DE INSTRUÇÕES 51
DA Tilbehør til buskrydder BRUGSANVISNING 58
EL 65
TR KULLANMA KILAVUZU 73
SV Tillsats till slysax BRUKSANVISNING 80
NO Busktrimmerutstyr BRUKSANVISNING 87
FI Viimeistelypensasleikkuri-lisälaite KÄYTTÖOHJE 94
LV
LIETOŠANAS INSTRUKCIJA 100
LT NAUDOJIMO INSTRUKCIJA 107
ET KASUTUSJUHEND 114
PL 120
HU HASZNÁLATI KÉZIKÖNYV 127
SK NÁVOD NA OBSLUHU 134
CS NÁVOD K OBSLUZE 141
SL NAVODILA ZA UPORABO 148
SQ Aksesori i prerësit të tokës MANUALI I PËRDORIMIT 155
BG
162
HR 170
177
SR 184
RO
191
UK
198
RU
205
KK
213
ZHTW
樹籬割草配件 使用說明書 221
EN424MP

2
2
3
4
1
Fig.1
2
1
Fig.2
1
Fig.3
3
2
1
4
Fig.4
1
Fig.5
1
2
3
Fig.6

3
2
1
Fig.7
1
Fig.8
1
2
3
4
5
Fig.9
1
Fig.10
Fig.12
3
1
2
Fig.11
1
Fig.12
1
Fig.13

4
1
Fig.14
1
2
Fig.15
Fig.16
1
Fig.17
1
Fig.18

5
1
Fig.19
Fig.20
1
2
Fig.21
1
Fig.22
Fig.23
1
2
Fig.24

6
Fig.25
Fig.26
Fig.27
Fig.28
Fig.29
1
Fig.30
Fig.31
2
1
Fig.32

7
1
Fig.33

8ENGLISH
ENGLISH (Original instructions)
SPECIFICATIONS
EN424MP
Cutting width 330 mm
Dimensions
(L x W x H)
820 mm x 350 mm x 191 mm
Net weight 2.3 kg
without notice.
-
ing power unit(s):
• DUX60 Cordless multi function power head
• DUX18 Cordless multi function power head
• UX01G Cordless multi function power head
WARNING:
-
Symbols
-
Read and follow the instruction manual.
protection.
Wear protective gloves.
Guaranteed sound power level according
to EU Outdoor Noise Directive.
Sound power level according to Australia
NSW Noise Control Regulation.
Intended use
-
tion with an approved power unit. Never use the attach-
EC Declaration of Conformity
For European countries only
We as the manufacturers: Makita Europe N.V.,
Business address: Jan-Baptist Vinkstraat 2 3070
Kortenberg BELGIUM. Authorize
Designation: Ground Trimmer Attachment.
EN424MP.
2006/42/EC and
EC/EU Directives: 2000/14/EC and are manufactured in
accordance with the following Harmonised Standards:
.
Place and date of declaration:
31. 1 .2023
Makita Europe N.V.

9ENGLISH
Declaration of Conformity (For UK)
For UK only
We as the manufacturers: Makita Europe N.V.,
Business address: Jan-Baptist Vinkstraat 2 3070
Kortenberg BELGIUM. Authorize
Designation: Ground Trimmer Attachment.
EN424MP.
S.I. 2008/1597 (as
amended)
of the following UK Regulations: S.I. 2001/1701 (as
amended) and are manufactured in accordance with
the following Designated Standards:
.
Place and date of declaration:
31. 1 .2023
Makita Europe N.V.
Importer: Makita (UK) Limited, Michigan Drive,
8JD, UK
SAFETY WARNINGS
Cordless Grass Shear Safety
Warnings
1. Do not use the grass shear in bad weather
lightning.
2. Keep all power cords and cables away from
cutting area.
3. Wear ear protection.-
ment will reduce the risk of hearing loss.
4. Hold the grass shear by insulated gripping
hidden wiring. Blades contacting a "live" wire
"live" and could give the operator an electric
shock.
5. Keep all parts of the body away from the blade.
Blades
moment of inattention while operating the grass
6.
-
nected. Unexpected actuation of the grass shear
7. Carry the grass shear by the handle with the
blade stopped and taking care not to operate
the power switch.
shear will decrease the risk of inadvertent starting
8.
Proper handling of
the grass shear will decrease the risk of personal
Additional Safety Instructions
General instructions
1.
this instruction manual to make himself famil-
iar with the handling of the equipment. Users
-
selves as well as others due to improper handling.
2.
lack of experience and knowledge or people
unfamiliar with these instructions to use the
of the operator.
3. Use the equipment with the utmost care and
attention.
4. Operate the equipment only if you are in good
physical condition. Perform all work calmly
and carefully. Use common sense and keep in
mind that the operator or user is responsible
for accidents or hazards occurring to other
people or their property.
5. -
6.
case that the equipment shows any problem or
abnormal sign.
7.
equipment.
8.
conditions especially when there is a risk of
lightning.
1. Wear eye protection and stout shoes at all
times while operating the machine.
2. Always wear substantial footwear and long
trousers while operating the machine.
Starting up the equipment
1. Make sure that there are no children or other
-
Otherwise stop
2.
at least 15 m away from the tool. Stop the tool
as soon as someone approaches.
3. Before use always check that the equipment
is safe for operation. Check the security of the
cutting tool and the guard and the switch trig-
clean and dry handles and test the function of
the start/stop.
10 ENGLISH
4.
Check damaged parts before further use of the
equipment. A guard or other part that is dam-
aged should be carefully checked to determine
that it will operate properly and perform its
-
that is damaged should be properly repaired
unless indicated elsewhere in this manual.
5. Switch on the motor only when the hands and
feet are away from the cutting tool.
6. Before starting make sure that the cutting tool
7.
8.
when the battery cartridge is installed and with
9.
They can damage the blades.
10. Check the hedges and bushes for foreign
before operating the tool.
Method of operation
1. Only use the equipment in good light and
of slipping). Always ensure a safe footing on
2.
the cutting tool.
3.
4.
operation with the equipment.
5.
6.
the working range.-
age the cutting tool and can cause dangerous
7. Should the cutting tool hit stones or other hard
inspect the cutting tool.
8. Inspect the cutting tool at short regular inter-
by means of tapping-noise test).
9.
10.
The cutting tool has to be equipped with the
damaged guards or without guards in place!
11. -
plied with the equipment must be used during
operation.
12.
—
unattended;
— before clearing a blockage;
—
the equipment;
—
—
abnormally.
13.
are kept clear of debris.
14. Cutting means continues to run after the motor
15.
Removing
-
16.
Cutting Tools
in hand.
Maintenance instructions
1.
be checked before commencing work.
2.
replacing cutting tools or cleaning the equip-
ment or cutting tool.
3.
SAVE THESE INSTRUCTIONS.
WARNING: DO NOT let comfort or familiarity
with product (gained from repeated use) replace
product. MISUSE or failure to follow the safety
rules stated in this instruction manual may cause
PARTS DESCRIPTION
1. Blade cover 2. Cap 3.
4. Wheel
ASSEMBLY
WARNING:
the battery cartridge.
WARNING:
WARNING: Follow the warnings and precau-
tions in the chapter “SAFETY WARNINGS” and
the instruction manual of the power unit.

11 ENGLISH
Assembling the attachment
1. Remove the cap from one end of the pipe on the
side with the plate.
1. Cap 2. Plate
2.
1. Hex wrench
3.
Align the plate on the pipe with the groove in the
wheels, and then attach the wheels to the pipe as shown
1. Pipe 2. Wheel 3. Plate 4. Bolt
NOTICE: Be sure to attach the wheels so that the
plate is engaged with the wheels.
4. Remove the cap from the attachment.
1. Cap
5. Attach the attachment to the pipe so that the hole
on the pipe is aligned with the hole on the attachment.
1. Pipe 2. Bolt (short) 3. Bolt (long)
Mounting the attachment pipe
CAUTION: Always check that the attachment
pipe is secured after installation. Improper instal-
Mount the attachment pipe to the power unit.
1. Remove the cap from the end of the pipe.
1. Pipe 2. Cap
NOTICE: Do not dispose of the cap since the cap
is necessary for storing the attachment.
2. Turn the lever toward the attachment.
1. Lever
3. Align the pin with the arrow mark on the power
Make sure that the position line is on the tip of the arrow
mark on the power unit, and the arrow mark on the power
unit and the arrow mark on the pipe are facing each other.
1.2. Arrow mark on the
power unit 3. Pin 4. Position line 5. Arrow
mark on the pipe
4. Turn the lever toward the power unit.
1. Lever
Make sure that the surface of the lever is parallel to the pipe.
NOTICE:
attachment pipe inserted.
tighten the entrance of the drive shaft too much and
damage it.
To remove the pipe, turn the lever toward the attach-
ment and pull the pipe out while pressing down the
1.2. Lever 3. Pipe
1. Latch
blades
CAUTION:
directly contact the blades.
CAUTION:
NOTICE:
1.
1. Blade cover
2.
1. Shaft
3. -
ment upside down.
4.
the cover.
1. Bolt 2. Cover
5.
Fig.16
6. Turn the crank with the slotted screwdriver so that
the crank is positioned in the direction as shown in the
1. Crank
7.
cover.
8.
1. Hole
9.
1. Bolt
10.
the crank.
11.
Fig.20
12.
1. Bolt 2. Cover

12 ENGLISH
NOTICE: If the shear blades do not operate prop-
-
NOTICE: If the parts other than the shear blades
or repairs.
FUNCTIONAL
DESCRIPTION
CAUTION: Always be sure that the tool is
-
wheels, then move the wheels to the desired position,
1. Wheel
NOTICE: Make sure that the plate on the pipe is
engaged with the wheels.
OPERATION
WARNING: Follow the warnings and precau-
tions in the chapter “SAFETY WARNINGS” and
the instruction manual of the power unit.
Operating the tool
WARNING: Keep hands away from shear
blades.
WARNING: Be extremely careful to maintain
control of the tool at all times. Do not allow the
Failure to keep control of the tool
operator.
WARNING:
and stones from the shearing area.
Fig.23
CAUTION:
hot weather as much as practicable. When operat-
CAUTION: Be careful not to accidentally
trimming.
CAUTION: -
Do
NOTICE: Do not cut down dead trees or similar
NOTICE: Do not use the tool in a way that causes
the motor to stop or to rotate extremely slowly.
NOTICE: Do not attempt to cut thick branches.
NOTICE: Do not allow the shear blades to con-
tact the ground during operation. The blades will
NOTICE: Do not trim the wet grass or foliage of
small trees.
-
dle and the rear grip of the power unit.
1. Front handle 2. Rear grip
With the wheels in contact with the ground, pull the
move the tool forward.
Fig.25
into contact with them.
MAINTENANCE
WARNING: Before inspecting or maintaining
the battery cartridge.
WARNING: When inspecting or maintaining
WARNING: Follow the warnings and precau-
tions in the chapter “SAFETY WARNINGS” and
the instruction manual of the power unit.
CAUTION:
inspection or maintenance.
NOTICE:
cracks may result.
To maintain product SAFETY and RELIABILITY,

13 ENGLISH
Cleaning the tool
NOTICE:
cracks may result.
Shear blade maintenance
Before the operation or once per hour during operation,
-
Fig.26
Fig.27
NOTICE: Do not wash the shear blades in water.
NOTICE:
blade friction and shorten the operating time per
battery charge.
Storage
of children. Store the tool in a place not exposed to
moisture or rain.
When storing the attachment separated from the power
unit, put the cap onto the end of the pipe.
Fig.28
NOTICE: Follow the instruction of the frequency
and amount of grease supplied.-
Fig.29
Grease lubrication
1.
2.
1. Hole
3.
Grinding the shear blades
NOTICE:
with new ones.
1.
2.
Fig.31
3.
from the tool.
4.
(1) File (2)
CAUTION:
5. Place the tool upside down, and then remove the
1. Dressing stone
6.
7. Return the tool to normal position, and then
-
ing stone.

14 ENGLISH
TROUBLESHOOTING
-
ment parts for repairs.
State of abnormality Probable cause (malfunction) Remedy
Motor does not start. -Refer to the instruction manual of the power unit.
Motor stops soon. -Refer to the instruction manual of the power unit.
Motor speed does not increase. -Refer to the instruction manual of the power unit.
such as pliers.
Electric malfunction.
service center for repair.
OPTIONAL
ACCESSORIES
CAUTION: These accessories or attachments
are recommended for use with your Makita
other accessories or attachments might present a risk
-
ment for its stated purpose.
-
Center.

15 FRANÇAIS
FRANÇAIS (Instructions originales)
SPÉCIFICATIONS
EN424MP
Largeur de coupe 330 mm
Dimensions
(L x l x H)
820 mm x 350 mm x 191 mm
Poids net 2,3 kg
Cet accessoire est approuvé pour être utilisé avec le ou
les unités motorisées suivantes :
AVERTISSEMENT : -
-
-
Symboles
Lire et respecter ce mode d’emploi.
la lame.
Porter des gants de protection.
antidérapantes.
doigts ou des mains.
Niveau de puissance sonore garanti selon
l’environnement.
Niveau de puissance sonore selon la
réglementation australienne NSW sur le
Utilisations
-
Pour les pays européens uniquement
Makita Europe N.V., adresse com-
merciale : Jan-Baptist Vinkstraat 2 3070 Kortenberg
BELGIQUE. Autorisons pour la
désignation : Tête Faucheuse ; désignation du (des)
EN424MP
respectent toutes les dispositions pertinentes de la
Directive 2006/42/CE et respectent également toutes
les dispositions pertinentes des Directives CE/UE sui-
vantes : 2000/14/EC
aux normes harmonisées suivantes :
.
Lieu et date de déclaration :
31. 1 .2023
- Makita Europe N.V.

16 FRANÇAIS
CONSIGNES DE SÉCURITÉ
1.
Vous
foudre.
2. Éloignez les cordons d’alimentation et les
câbles de la zone de coupe. Les cordons d’ali-
peuvent être accidentellement coupés par la lame.
3. Portez un serre-tête antibruit.
auditive.
4.
Tenez le taille-herbes uniquement par ses sur-
Le contact des
5. Prenez soin de n’approcher aucune partie du
Les lames conti-
est en position d’arrêt. Un moment d’inattention
6.
-
terrupteur d’alimentation est en position d’arrêt
Le
7.
pas actionner l’interrupteur d’alimentation. En
8. Lors du transport ou du rangement du taille-
Une
1.
Les utilisateurs mal informés
2. -
ni expertise ou les personnes qui ne sont pas
limiter l’âge de l’utilisateur.
3.
4.
des accidents ou risques encourus par les
5. -
sonnes — et tout particulièrement des enfants
6.
anomalie.
7.
-
ger pour personne et ne risquera pas d’être
8.
particulièrement en cas d’orage.
1.
la machine.
2.
un pantalon long pendant l’utilisation de la
machine.
1.
-
lement attention aux animaux aux alentours.
2.
ou les animaux d’au moins 15 m de l’outil. Arrêtez
l’outil aussitôt que quelqu’un s’approche.
3. -
-
fonctionnement de marche/arrêt.
4.
assurer qu’ils fonctionnent bien et remplissent
-
tionnement. Si le carter de protection ou toute
indication contraire dans ce manuel.
5.
coupe.

17 FRANÇAIS
6.
7.
8. -
que l’interrupteur est en position d’arrêt
9. -
10.
Utilisation
1.
attention aux sols glissants ou aux zones
2.
3.
4.
5.
6.
de l’outil. Les corps étrangers peuvent endom-
chocs en retour.
7. Si l’outil de coupe heurte des pierres ou
moteur et inspectez l’outil de coupe.
8.
9. Attendez que l’outil de coupe atteigne sa
10.
11.
dispositifs de protection et les carters de pro-
12.
— -
—
— -
—
—
13. -
14. Les dispositifs de coupe continuent de tourner
15.
utilisant un outil comme une pince. Ôter les
réaction au retrait des corps étrangers.
16.
Outils de coupe
Utilisez uniquement l’outil de coupe correct
Instructions d’entretien
1.
l’outil de coupe et des dispositifs de protection
2.
-
3.
CONSERVEZ CES
INSTRUCTIONS.
AVERTISSEMENT :
-
duit en question. La MAUVAISE UTILISATION de
DESCRIPTION DES
PIÈCES
1. Couvre-lame 2. Capuchon 3. Lames de
cisaille 4. Roue
ASSEMBLAGE
AVERTISSEMENT :
la batterie. Autrement, la machine pourrait démarrer
AVERTISSEMENT :
Le
AVERTISSEMENT : -
CONSIGNES DE SÉCURITÉ » et le manuel d’ins-

18 FRANÇAIS
Assemblage de l’accessoire
1.
1. Capuchon 2.
2.
1. Clé hexagonale
3.
1.2. Roue 3.4. Boulon
REMARQUE :
4. Retirez le capuchon de l’accessoire.
1. Capuchon
5.
-
1.2. Boulon (court) 3. Boulon (long)
le couple de serrage suivant : 4,0 - 6,0 N•m.
Fixation du tuyau pour accessoire
ATTENTION :
-
tion.-
1.
1.2. Capuchon
REMARQUE :
2. Actionnez le levier vers l’accessoire.
1. Levier
3.
1. Bouton de dégagement 2.
sur l’outil motorisé 3. Goupille 4. Ligne de
position 5.
4. Actionnez le levier vers l’outil motorisé.
1. Levier
REMARQUE :
le tuyau pour accessoire. Le levier pourrait autrement trop
-
1. Bouton de dégagement 2. Levier
3.
puis ouvrez le couvre-lame.
1.
cisaille
ATTENTION :
les lames.
ATTENTION :
REMARQUE :
1. Placez les lames de cisaille sur le couvre-lame.
1. Couvre-lame
2.
la lame inférieure soient placées de façon alternée.
1.
3. Refermez le couvre-lame, puis placez l’accessoire
4.
le couvercle.
1. Boulon 2. Couvercle
5. Retirez les lames de cisaille.
Fig.16
6. Tournez la manivelle avec le tournevis plat de
1. Manivelle
7. Retirez le couvre-lame des lames de cisaille, puis
placez les lames de cisaille neuves sur le couvre-lame.
8. -
rieure et de la lame de cisaille inférieure comme illustré
1.
9.
provisoirement les lames de cisaille.
1. Boulon
10.
périphérie de la manivelle.
11. Fixez les lames de cisaille sur l’accessoire.
Fig.20
12.
1. Boulon 2. Couvercle

19 FRANÇAIS
REMARQUE : Si les lames de cisaille ne fonc-
REMARQUE : Si d’autres pièces que les lames
DESCRIPTION DU
FONCTIONNEMENT
ATTENTION :
l’outil est hors tension et que sa batterie est
fonctionnement.
ATTENTION :
coupe.
1. Roue
REMARQUE :
UTILISATION
AVERTISSEMENT : -
CONSIGNES DE SÉCURITÉ » et le manuel d’ins-
Fonctionnement de l’outil
AVERTISSEMENT : Éloignez les mains des
lames de cisaille.
AVERTISSEMENT : Redoublez de prudence
Si
AVERTISSEMENT :
Fig.23
ATTENTION :
faire fonctionner l’outil par temps très chaud.
ATTENTION : Prenez soin de ne pas toucher
Les lames de cisaille
ATTENTION : Il est très dangereux de se pen-
REMARQUE : Ne coupez pas d’arbres morts ou
-
dommager l’outil.
REMARQUE :
susceptible d’arrêter le moteur ou le faire tourner
très lentement.
REMARQUE : N’essayez pas de couper des
REMARQUE : Ne laissez pas les lames de
REMARQUE :
ou le feuillage des arbustes.
Tenez l’outil des deux mains en tenant la poignée avant
et le manche arrière de l’outil motorisé.
1. Poignée avant 2. Manche arrière
Avec les roues touchant le sol, enclenchez la gâchette
l’outil vers l’avant.
Fig.25
avec eux.
ENTRETIEN
AVERTISSEMENT :
retirez la batterie. Autrement, la machine pourrait
AVERTISSEMENT :
Le
AVERTISSEMENT : -
CONSIGNES DE SÉCURITÉ » et le manuel d’ins-
ATTENTION :

20 FRANÇAIS
REMARQUE : -
Pour assurer la SÉCURITÉ et la FIABILITÉ du produit,
toute réparation, tout travail d’entretien ou de réglage
agréé, avec des pièces de rechange Makita.
Nettoyage de l’outil
-
essoré.
REMARQUE : -
Entretien des lames de cisaille
Avant utilisation ou une fois toutes les heures pendant l’utili-
Fig.26
Après utilisation, retirez la poussière des deux côtés des lames
Fig.27
REMARQUE :
dans l’eau. Cela peut les corroder ou endommager l’outil.
REMARQUE :
Rangement
les lames ne soient pas exposées. Rangez l’outil hors
de portée des enfants. Rangez l’outil dans un endroit
Fig.28
REMARQUE :
-
lent) toutes les 30 heures de fonctionnement.
Fig.29
Vous pouvez acheter de la graisse de
Makita.
Toutes les 50 heures de
fonctionnement
1. Retirez les lames de cisaille de l’accessoire.
2.
indicatif).
1.
3. Installez les lames de cisaille sur l’accessoire.
Aiguisage des lames de cisaille
REMARQUE : Si les lames de cisaille sont
1.
2. Mettez l’outil sous tension et démarrez-le de sorte
placées de façon alternée.
Fig.31
3.
l’outil.
4.
lame supérieure dans 3 directions avec la lime.
(1) Lime (2)
ATTENTION :
5.
1.
6.
inférieure dans 3 directions avec la lime.
7. Placez l’outil sur la position normale, puis reti-
Other manuals for EN424MP
2
Table of contents
Languages:
Other Makita Garden Machinery Accessories manuals

Makita
Makita 191M27-0 User manual

Makita
Makita EN401MP User guide

Makita
Makita ER400MP User guide

Makita
Makita EM407MP User manual

Makita
Makita EN410MP User manual

Makita
Makita EN424MP User manual

Makita
Makita 197726-4 User manual

Makita
Makita EN410MP User manual

Makita
Makita EM408MP User guide

Makita
Makita EM409MP User guide