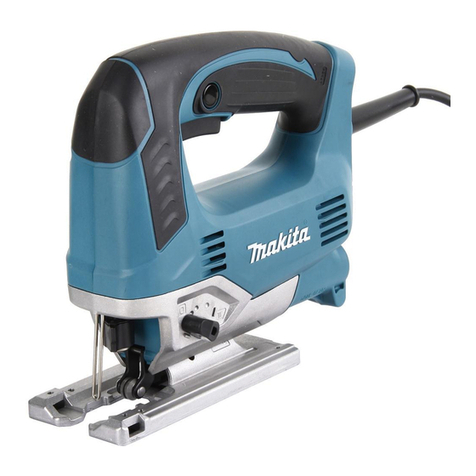
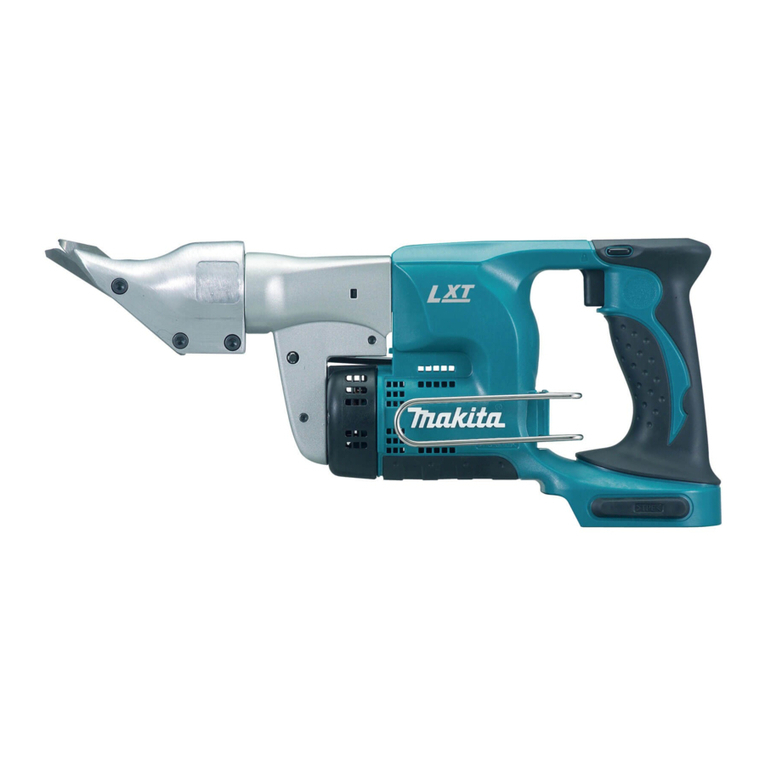
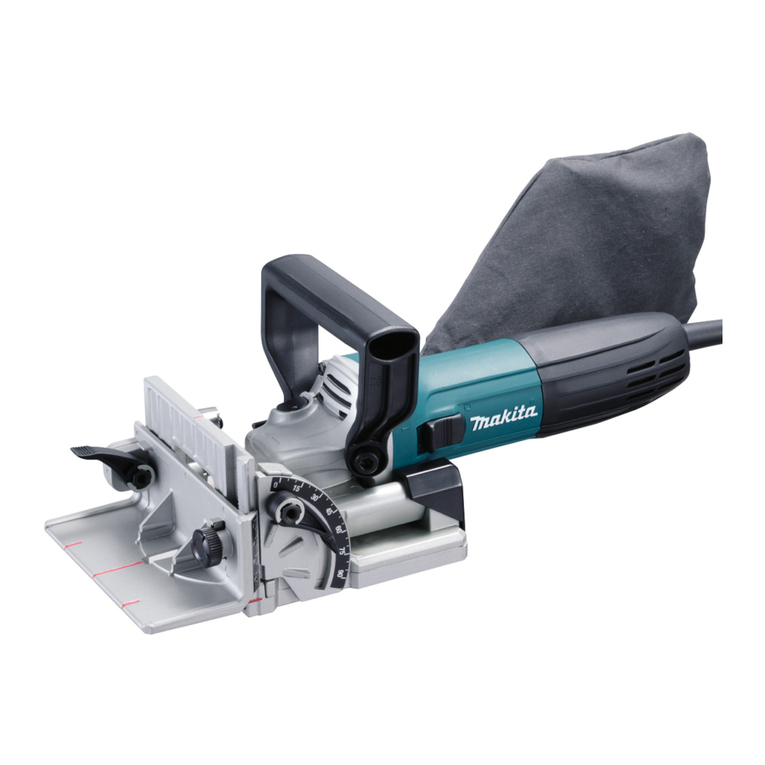
Makita JS3200 User manual

Shear
Overall
cutting per length
Max. cutting capacities Min
AMPS
Strokes
Mildsteel Stainless radius
('
'5
")
minute
3.2" 2.5mm 50mm 6A
1,600
204mm
(1
/8")
(3/32") (2")
(8")
MODEL
JS3200
Power
weight
'YE:,
3.5 kg 2.5m
(7.7
Ibs)
(8.2
ft.)
Net
INSTRUCTION MANUAL
DOUBLE
INSULATION

IMPORTANT SAFETY INSTRUCTIONS
WARNING: When usingelectric tools, basic safety precautions should always be followed
to reduce
the
risk of fire, electric shock, and personal injury, includingthe following:
READ ALL INSTRUCTIONS.
1.
2.
3.
4.
5.
6.
7.
8.
9.
10.
11.
12.
13.
14.
15.
16.
17.
18.
2
KEEP WORK AREA CLEAN. Clutteredareas and benches invite injuries.
CONSIDER WORK AREA ENVIRONMENT. Don't use power tools indamp or wet
locations. Keep work area well
lit.
Don't expose power tools to rain. Don't use tool
in
presence of flammable liquidsor gases.
KEEP CHILDREN AWAY. All visitors should
be
kept away from work area. Don't
let
visitors contact tool or extensioncord.
STORE IDLE TOOLS. When not
in
use, tools should be stored indry, and high or
locked-upplace
-
out of reach of children.
DON'T FORCE TOOL.
It
will do the job better and safer
at
the
rate
for which
it
was
intended.
USE RIGHT TOOL. Don't force small tool
or
attachmenttodo
the
job of
a
heavy-
duty tool. Don't use tool for purposenot intended.
DRESS PROPERLY. Don't wear
loose
clothingor jewelry. They can
be
caught in
moving parts. Rubbergloves and non-skidfootwear are recommendedwhen working
outdoors. Wear protectivehair coveringtocontain long hair.
USE SAFETY GLASSES. Also use face or dust mask
if
cutting operation
is
dusty.
DON'T ABUSE CORD. Never carry tool by cord or yank
it
todisconnectfrom re-
ceptacle. Keep cordfrom heat, oil, and sharp edges.
SECURE WORK. Use clampsor
a
vise
to holdwork.
It's
safer than usingyour hand
and
it
frees both hands tooperatetool.
DON'T OVERREACH. Keepproperfooting and balance
at
all
times.
MAINTAIN TOOLS WITH CARE. Keep tools sharp and clean for better and safer
performance. Follow instructionsfor lubricating and changing accessories. Inspect
tool cords periodically and
if
damaged, have repaired by authorized service facility.
Keep handles dry, clean, and freefrom oil and grease.
DISCONNECT TOOLS. When not inuse, beforeservicing, and when changingacces-
sories, such
as
blades, bits, cutters.
REMOVE ADJUSTING KEYS AND WRENCHES. Form habit of checking to
see
that
keysand adjustingwrenches are removedfrom tool beforeturning
it
on.
AVOID UNINTENTIONAL STARTING. Don't carry plugged-intool with finger on
switch. Be sure switch
is
OFF when plugging in.
OUTDOOR USE EXTENSIONCORDS. When tool
is
used outdoors, use only exten-
sioncords intendedfor use outdoorsand
so
marked.
STAY ALERT. Watch what you are doing, use common sense. Don't operatetool
when you
are
tired.
CHECK DAMAGED PARTS. Before further use of the tool,
a
guard or other part
that
is
damaged should
be
carefully checkedtodeterminethat
it
will operateproper-
ly
and perform
its
intended function. Check for alignmentof moving parts, binding
of moving parts, breakage of parts, mounting, and other conditions that may affect
its
operation. A guard or other part thd
is
damaged should be properly repairedor

replaced
by
an authorized service center unless otherwise indicatedelsewhere
in
this
instruction manual. Have defective switches replaced
by
authorized service center.
Don't
use
tool
if
switch does
not
turn
it
on
and
off.
19.
GUARD AGAINST ELECTRIC SHOCK. Prevent
body
contact with grounded
sur-
faces. Forexample; pipes, radiators, ranges, refrigeratorenclosures.
20.
REPLACEMENT PARTS. Whenservicing, use
only
identicalreplacement parts.
SAVE THESE INSTRUCTIONS.
VOLTAGE WARNING: Before connecting the
tool
to
a
power source (receptacle, outlet, etc.)
be
sure
the voltage
supplied
is
the seme
as
that specified
on
the nameplate
of
the
tool.
A power source with
voltage greater thanthat specified
for
the
tool
can result
in
SERIOUS INJURY
to
theuser
-
as
well
as
damage
to
the
tool.
If
in
doubt,
DO
NOT PLUG IN THE TOOL.
Using
a
power source withvoltage
less
thanthenameplate rating isharmful
to
the motor.
Shear
&
Standard Equipment
Trigger
-
Plate
thickness gauge
F
Shear blade
Hex
wrench
I
nrk
hiittnn
Thickness
gauge
3

How
to
use
Shear blade inspection
.Be sure tocheck for bladewear beforeoperation. Use
of
a
worn blade results in
a
ragged
shearingsurface and poor shearingperformance,
so
replace blades beforehand.
Blade replacement
.Use the hex wrench provided to remove
the hex socket head bolts securing the
upper and lower blades.
0
Rotate both shear blades
90"
(above and
below) to position to unworn portion of
blades. When
all
four portions are worn,
of course, the blades should be replaced
with new ones.
.Tighten the hex socket head bolt holding
the upper blade using the hex wrench
provided. Press up on
the
shear blade
while doing
so.
-After securing the shear blades, be sure
that there
is
no gap left between the
inclined surfaces of the shear blade and
the blade holder.
Hex
wrench
,
Blade holder
Hex socket hdbolt
@
allowed
o
clearance
Shear blade
4

.Then secure the lower shear blade likethe
upper blade, while adjusting the space in
bet
ween them.
(Service life
of
shear blades)
The service
life
of
a
shear bladesvaries in
terms of the materials cut, the tensile
strength and the fixed blade clearance.
Roughly speaking,
a
bladecan cut about
500
m
((1,500
ft.) of
3.2
mm
(1/8")
mild
steel;
One blade
set
(upper and lower)
is
good for cutting
2,000
m (6,560 ft.).
Adjusting bladeclearance
When performing this adjustment, the
upper blade should be in the lowered
position. First, loosen slightly the hex
socket head bolt securing the lower shear
blade, then insert the thickness gauge
set
for the desired clearance. The cutting
thickness
is
indicated on the thickness
gauge
so
the combinations shown in the
accompanyingtable should be used. Work
the clearance adjust hex socket head bolt
on the yoke until the clearance
is
such
that the thickness gauge moves only with
some difficulty. Then carefully secure the
hex socket head bolt and hex nut hold-
ingthe lower blade.
Thickness gauge combinations (Unit
:
mm)
Thickness
combinations
5

Switch operation
.To start the tool, simply pull the trigger.
Release
the trigger to stop. For contin-
uous operation without having to keep
your finger on the trigger, just pull the
trigger and then push in
the
lock button
with your thumb. To stop the tool from
the lock position, simply pull the trigger
again and release
it.
Tensile
Materials strength
(kglmm'
1
Mild steel (A)
40
Hard steel
(6)
60
Stainlesssteel
60
Permissibleshearing thickness
.The groove on the yoke serves
as
a
thick-
ness gauge for shearing mild or stainless
steel
plate. If the material fits within the
groove,
it
is
shearable.
Max. cutting
thickness
(mm)
3.2
(1
/8")
2.5 (3/32")
2.5 (3/32")
.The thickness
of
materials to be sheared
depends upon the type (strength) of the
material. The maximum shearing thick-
ness
is
indicated in the table on the right
in terms of various materials.Attempting
to shear materials thicker than indicated
will result in tool breakdown and/or pos-
sible injury. Keep within the thicknesses
shown
at
right.
.
IS0
ASTM AIS1
BS
DIN
Lock button
-
NF
JIS
(A)
(6)
Aluminum plate
I
25
I
4.0
(5/32")
3574-76 A109-72 1012 1449Part 1-72 1624-77 A36-401-80 SPC
R683 A576 1055 070M55 CK55
xc55
s55c
6

Holdingmaterial
.To
secure the material when cutting thick
stock
so
that
it
will not move, hold it
carefully in place on
a
bench or work
stand.
M~~,
cutting
width
1,800
(A)
I
Shearingmethod
0
For smooth cuts, tip the tool slightly
backward while advancingit.
Thickness, 3.2
(1
18")
:
90
(3-1
12")
Thickness, 2.3
(3/32")
:
Unlimited
Thickness, 2.5 (3/32")
:
70
(2-3/4")
Thickness, 2.0 (5/64")
:
Unlimited
Mildsteel
Stainless
Steel
Min.cutting radius:
50
mm (when shearing mild steel,
2.3
mm
(3/32")
7

Maintenance
Replacing
carbon brushes
0
Inspect the carbon brushes from time to
time. When they are worn down to about
6
mm
(1/4")
in length, they will cause
sparking that can lead to
a
failure.
6
mm
(%"I
.To
replace the carbon brushes, unscrew
the brush holder cap with
a
(-1
screw-
driver.
0
Remove the carbon brushes and insert
new ones. Always replace both brushes
at
the same time.
8

Opt
iona
I
accessories
CAUTION: The accessories specified in this manual are recommended for use with your Makita
Shear. The use of any other accessory might be hazardous.
0
Blades
(two per set
of
brister package)
Part
No.
792287-5
0
Thickness gauge
Part
No.
762007-1
0
Hex
wrench
Part No.
783202-0
0
Steel
carrying case
Part
No.
181797-1
9

SHEAR
Model
JS3200
1
10
\

MACHINE
1
2
3
4
5
6
7
8
9
10
11
12
13
14
15
16
17
18
19
20
21
22
23
24
25
4
1
1
1
1
1
1
1
1
1
1
1
2
1
1
1
1
1
1
1
1
1
1
1
1
-
P
H.Screw M5x45 (With Washer)
(With
Plane
Bearing
8
&
Needle Bearing 12121
F Warher 12
Rod
Needle
Bearlng
1816
F
Washer 18
Crank Shaft
Wth
Spur
Gear 41
5
Woodruff Key 41
F. Washer 10
~e~~
nourlng
COW
(With Needle Bearing 1010.
Needle
Bearmg
1012
&
Rubber
Pin
41
Ball
Bearing 608LB
Fan
70
ARMATURE ASSEMBLY
IAssembled Items 10
-
12. 14
&
15)
H.
Bolt M5x60 (WithWasher)
lnsulatlon Washer
Ball
Bearing 608LB
Baffle
Plate
Cord
Guard
CORD ASSEMBLY
IArrembled Cord. Plug
&
Cord Guard1
Handle Set
Gear 18
-
46
F Washer 8
P,"
8
S.
Screw
M6x14
Metal
Blade Holder
~e~~
nourlng
MAC
26
27
28
29
30
31
32
33
34
35
38
39
40
41
42
43
44
45
46
47
-
UE
1
1
1
1
1
1
1
2
1
3
1
1
2
4
1
2
2
1
1
1
S.
Washer
5
n
s
ti
Bolt
~5~14
Yoke
H Nut M5-8
H.
S.
H.
Bolt M5x20
S.
Washer
5
H
s
n.
Bolt ~5x14
n.
s.
H.
Bolt ~8~30
FIELD ASSEMBLY
(With Garter
Spring
x
2)
P
H.
Screw
M5x25 (WithWarherl
Switch
Strain
Relief
P.
H.
Screw
M4x18 (WithWasher)
P.
H.
Screw
M5x25 (Wtth Warherl
Carbon Brush
Set
Brurh
Holder
Cap
Rivet
0-5
Name Plate
Motor
Housing
lW8th Brush Holder
x
2
&
Rubber
Pm
41
Band
ACCESSOR
I
ES
400 1 Shear BladeSet
::;
I
;
I
H.Wrench 4
Thickness Gauge
11

I_
___
.
.
-..
..
..
.
..
___
-.
..
.
..
.
...
.
.
.
.
MAKIIALIMITEDONE YEAR WARRANTY
Warranty Policy
Every Makita tool is thoroughly inspected and tested before leaving the factory. It is warranted
to
be free of defects from workmanship and materials for the period of ONE YEAR from the date of
original purchase. Should any trouble develop during this one-year period, return the COMPLETE
tool, freight prepaid,
to
one
of
Makita’s Factory or Authorized ServiceCenters. If inspection shows
the trouble is caused by defective workmanship
or
material, Makita will repair
(or
at our option,
replace) without charge.
This Warranty does
not
apply where:
0
repairs have been made
or
attempted by others:
repairs are required because
of
normal
wear and tear:
Thetool has been abused, misused or improperly maintained;
alterationshave been made tothe tool.
IN
NO FVENT SHALL MAKITA BE LIABLE FOR
ANY
INDIRECT, INCIDENTAL OR CON-
SEQUFNTIAL DAMAGES FROM THE SALE OR USE OFTHE PRODUCT THIS DISCLAIMER
APPLIES
BOTH
DURINC;
AND
AFT~R
THF
T~RM
or
THIS
WARRANTY.
MAKITA DISCLAIMS LIABILITY FOR ANY IMPLIED WARRANTIES, INCLUDING IMPLIED
WARRANTIES OF “MERCHANTABILITY” AND “FITNESS FOR A SPECIFIC PURPOSE,”
AFTER THE ONE-YEARTERM OFTHISWARRANTY.
This Warranty gives you specific legal rights, and you may also have other rights which vary from
state to state. Some states do not allow the exclusion or limitation of incidental
or
consequential
damages,
so
the above limitation or exclusion may
not
apply to you. Some states do not allow
limitation
on
how long an implied warranty lasts,
so
the above limitation may not apply
to
you.
Makita Corporation
3-11
-8,
Sumiyoshi-cho,
Anjo, Aichi
446
Japan
883335A064 PRINTED IN JAPAN
1991
-
6
-
N
Other manuals for JS3200
11
Table of contents
Other Makita Power Tools manuals

Makita
Makita JS1300 User manual

Makita
Makita DJN161 User manual

Makita
Makita 5630DWA User manual

Makita
Makita DST111 User manual

Makita
Makita HM1400 User manual

Makita
Makita AN760 User manual

Makita
Makita TW007G User manual

Makita
Makita JS8000 User manual

Makita
Makita DHG181RT User manual

Makita
Makita 6934FD User manual

Makita
Makita MP001G User manual

Makita
Makita DSC251 User manual

Makita
Makita JN1601 User manual

Makita
Makita VR250D User manual

Makita
Makita DJN160 User manual

Makita
Makita BFH120F User manual

Makita
Makita DTS130ZJ User manual

Makita
Makita HM1802 User manual

Makita
Makita JS1300 User manual

Makita
Makita DHR182ZWJ User manual