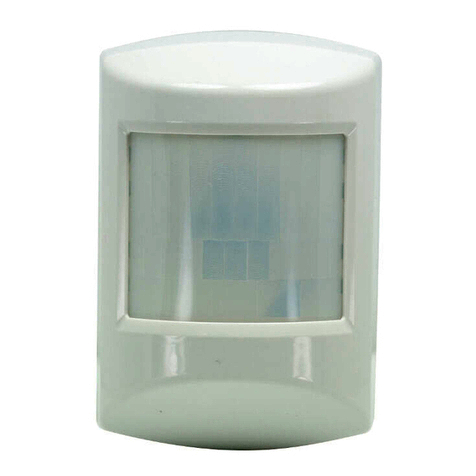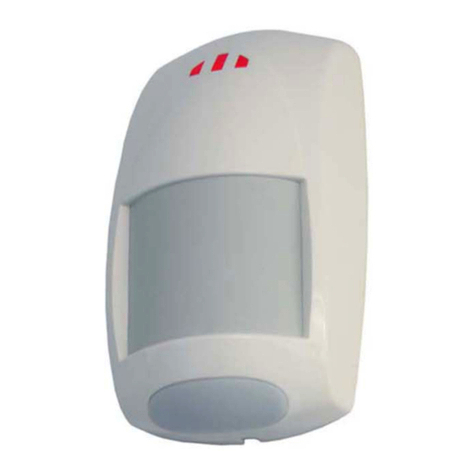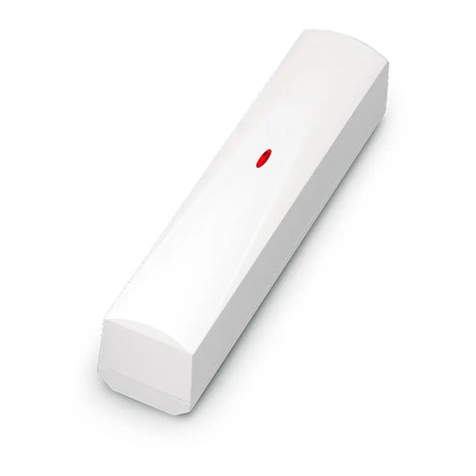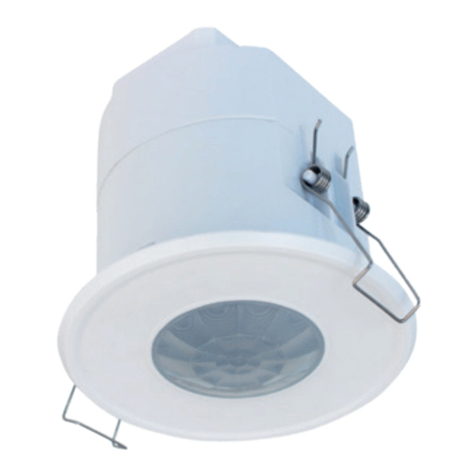
Functional parts of the device
1. Detector case
2. Light indicator of the
operation modes
3. PIR element lens
4. Bracket for detector
mounting
5. Tamper contact
6. Case back cover
7. Power button
Selecting the installation
location
Carefully select the installation location
of the MAKS PIR detector, taking into
account the direction of the lens and
the presence of obstacles that may
limit the view of the detector.
When installing the detector, make
sure that the area of intrusion detection
is within the maximum coverage of the
detector and the possible direction
of intruder’s movement is perpendicular
to the installation axis.
For the maximum coverage,
place the detector at a
height of 2.1 meters
from floor level.
Installation and connection
1. Mount the bracket 4using the supplied screws and wall plugs.
2. Place the device on bracket 4and slide it down to fix it and lock the
tamper contact 5. Flashes on indicator 2will confirm that the tamper is
locked
Registration and setup
1. Place the detector at a distance of no more than 2 m from the MAKS
PRO security center. Registration is run at a minimal possible power to
avoid the influence of neighboring systems that can be being configured
nearby.
2. Start the MAKS SETUP application
3. Follow the application instructions to connect to the MAKS PRO and
start the registration of MAKS wireless devices
4. Turn on the MAKS PIR, after 10-20 seconds it will be registered
5. Set up a new device in your mobile application
Switching on and off
Press button 7to switch on the device - the light indicator will be on. If the
device is registered in MAKS PRO, it switches to standby mode. If the device
has not been registered, it will go into sleep mode after 30 seconds.
To turn off the device, press and hold button 7 for 5 seconds.
4
2
7
Before installing the MAKS PIR, register it in the MAKS PRO and test the
detector signal strength using the MAKS SETUP application.
The detector is supplied with two brackets to place the device on a flat
surface or in a corner of the roomя.
We recommend to install the device in the following order:
1. Selecting the installation location with the best signal
2. Mounting the bracket
3. Detector Installation
Detector Installation
3
6
57
The device should not be placed:
1. Outdoors or in areas with unacceptable humidity and temperature
2. In places with a high level of radio interference
3. Near objects that can cause radio signal attenuation or shielding (metal,
mirror, etc.)
4. In a place where the lens is exposed to the direct sunlight.
5. In front of objects with quickly changing temperature or in places with
fast air circulation.
6. Facing any moving objects with human body temperature
7. At a distance of less than 1 m from the security center
Battery Replacement
1. Remove the device from the bracket by pushing it upwards.
2. Unscrew and remove the case back cover 6
3. Replace the battery and reassemble the device
1
Indication in communication test mode
Excellent connection - LED indicator flashes green
Satisfactory connection - LED indicator flashes yellow
Poor connection - LED indicator flashes red
No connection - LED indicator flashes red quickly
In test mode, the unit's radio transmitter operates at medium power.
0 m
5
m
10
m
15
m
5
m
10
m
15
m
95⁰
2.1 m
2.1 m 4.8 m 8.6 m 15 m
up to 20 kg
