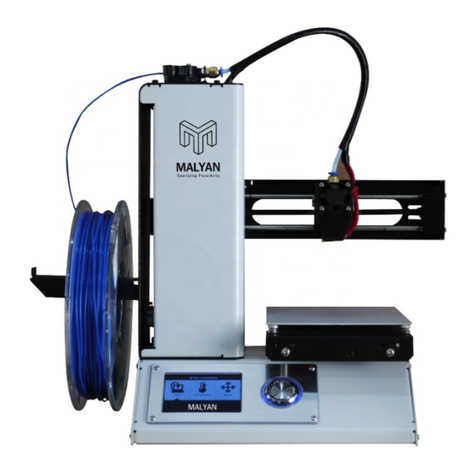
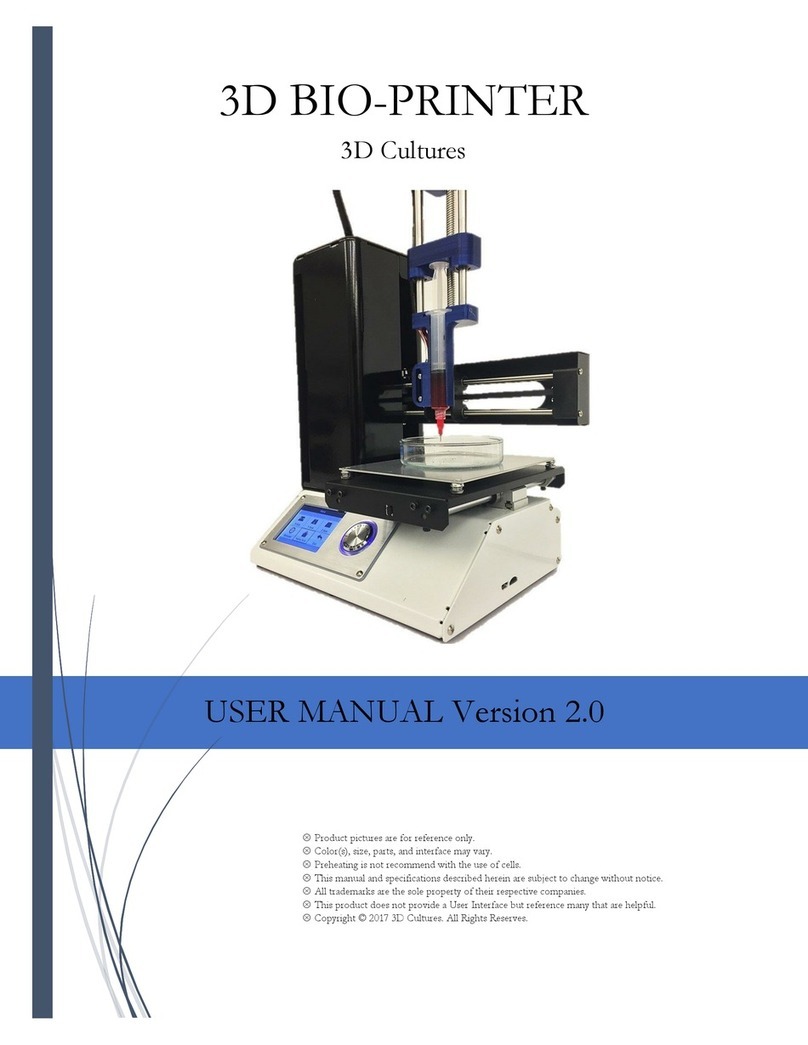
Malyan M200 V2 User manual

M200 V2 3D Printer
User's Manual

2
CONTENTS
Welcome ..................................................................................................................... 3
SAFETY WARNINGS AND GUIDELINES
....................................................................... 3
FEATURES
.................................................................................................................... 4
PACKAGE CONTENTS ............................................................................................... 5
PRODUCT OVERVIEW
.................................................................................................... 6
SETUP
.......................................................................................................................... 7
SOFTWARE INSTALLATION AND SETUP
.................................................................. 10
SPECIFICATIONS
....................................................................................................... 18
REGULATORY COMPLIANCE
.................................................................................... 19

3
Welcome
Thank you for purchasing M200 V2 3d printer from Malyan! Wish you can enjoy your
time with your imagination! For technical support, please contact us via email at
SAFETY WARNINGS AND GUIDELINES
Be careful not to damage the printing surface on the build plate.
Do not remove the insulating tape on the extruder nozzle.
Take care to avoid touching hot parts, including heat blocks, extruder nozzle,
extruded filament, and the heated build plate.
Keep the printer and all accessories out of reach of children.
Do not remove or disconnect the USB cable when printing from a computer.
Do
not
pull
or
twist
t
he
black
ca
ble
at
any
ti
me
.
Do not force or tear anything when during unpacking and setup. This may cause
damage to the printer and/or its accessories.
Do not reach inside the printer during operation.
Always allow the printer and extruded filament to cool before reaching inside.
Ensure that the printer is turned off and unplugged from its power source before
making repairs or performing service.
Do not install this device on an unstable surface where it could fall and cause either
personal injury or damage to the device and/or other equipment.
Do not subject the product to extreme force, shock, or fluctuations in temperature
or humidity.
This device is intended for indoor use only.

4
Do not expose this device to water or moisture of any kind. Do not place drinks or
other containers with moisture on or near the device. If moisture does get in or on
the device, immediately unplug it from the power outlet and allow it to fully dry
before reapplying power.
Do not touch the device, the power cord, or any other connected cables with wet
hands.
Use only in a well-ventilated area. Do not use in close, confined spaces.
Prior to operation, check the unit and power cord for physical damage. Do not use if
physical damage has occurred.
Before plugging the unit into a power outlet, ensure that the outlet provides the
same type and level of power required by the device.
Unplug this device from the power source when not in use.
Take care to prevent damage to the power cord. Do not allow it to become
crimped, pinched, walked on, or become tangled with other cords. Ensure that the
power cord does not present a tripping hazard.
Never unplug the unit by pulling on the power cord. Always grasp the connector
head or adapter body
FEATURES
Single Extruder Head
Can print PLA, ABS, Wood, Copper Fill, Steel Fill, Bronze Fill, and other materials
Open frame design for ease of use and maintenance
Includes memory card with Cura, Repetier-Host, and a sample 3D model
Can print using USB connection, Wi-Fi® connection, or memory card

5
PACKAGE CONTENTS
Please take an inventory of the package contents to ensure you have all the items
listed below. If anything is missing or damaged, please contact us for a replacement.
1x 3D printer
1x Filament Rack
1x Plastic Scraper
1x USB Cable
1x Memory
Card
1x Hex Wrench
1x Power Adapter
1x AC power cord

6
PRODUCT OVERVIEW
1. Feed Mechanism
2. Filament Rack
3. Extruder
4. LCD Screen
5. USB port and memory card slot
6. Input Power Jack and Power Switch

7
SETUP
Perform the following steps to prepare the printer for use.
1. Remove the printer from its packaging and place it on a flat, stable surface with plenty
of ventilation and a nearby AC power outlet.
2. Open the Accessories box and remove the Filament
Rack. Slide the tab at the flat end into the slot on the
left side of the printer frame.
3. Ensure that the power switch on the rear panel is in
the OFF position (O side depressed). Plug the AC
Power Adapter into the power input jack on the printer.
Next, plug one end of AC Power Cable into the the AC power adapter, then plug the
other end into a nearby AC power outlet.
4. Insert the included memory card into the slot on the right side of the printer.
5. Turn the printer on by depressing the I side of the power switch on the rear panel.
6. Once the printer has initialized and the home
page is displayed, touch the Preheat button to
enter the Preheat Menu.
7. Touch the Nozzle button, then set the
temperature of the nozzle to the value
appropriate for the type of filament being
printed.
8. Touch the Bed button, then set the
temperature of the build plate to the value
appropriate for the type of filament being
printed.
9. Touch the Start button to start preheating the
nozzle and build plate. Once the target temperatures are reached, the button will
change to Stop Preheat and the displayed nozzle and bed temperatures should be at
or near your target values.

8
10. While the printer is heating, open your filament. Using a pair of scissors or side
cutters, diagonally snip the end of the filament to make a point, as shown in the
images below.
11. Using the control wheel, navigate to the Move menu, then select the Z Axis
option and press the wheel. Turn the control wheel counterclockwise to raise the
extruder off the build platform.
12. Place the filament reel on the filament rack on the
left side of the printer.
13. While squeezing the lever on the feed mechanism,
insert the filament and push it into the opening.
Keep pushing until you feel resistance as it hits the
extruder, then release the lever.
14. Using the control wheel, highlight the Extruder
entry on the Move menu. Press the control wheel,
then turn it counterclockwise to feed filament into
the extruder. Continue until filament starts to
extrude out of the nozzle. Wait until filament is no
longer coming out of the nozzle.

9
15. Using the included plastic scraper, clean the extruded filament from the nozzle and
build platform.
16. Using the control wheel, select the Print option from the main menu. The printer will
read the contents of the memory card and display them on screen. Highlight the
cat.gcode file, then press the control wheel to start printing the model.
17. Compare the first layer with the images in the table below to determine whether the
build platform needs to be leveled or not. If it does need adjustment, turn off the
printer and re-adjust the platform height as indicated.
Keep repeating this process
until the result is correct.
Wrong
The nozzle is too far from the
platform. This can result in the
extruded material not sticking to the
build platform.
Correct
The nozzle is at the correct
height above the platform.
Wrong
The nozzle is too close to the
platform. This can result in damage
to the nozzle and build platform.

10
SOFTWARE INSTALLATION AND SETUP
As you've seen, you can print a model directly from a gcode file on the memory
card,
you can download the gcode files you like from the Internet and print them directly.
However, some users would like to create their own model using an open source
program, such as Cura or Repetier-Host, which are pre-installed on the memory card
that comes with the printer.
Installing Cura
1. Use a card reader to read the contents in the included memory card. Locate and
double-click the Cura_15.04.6.exe file to start the setup program.
2. Choose a new location for the program files or accept the default (recommended).
Click Next button to continue.

11
3. Ensure that all boxes are checked, and then click Install button to continue.

4. Once the fi
les have been extracted and the
installation wizard will launch. Click
to complete the driver installation.
5. Click the Next
button to complete the installation.
12
les have been extracted and the
Cura
installation is complete, the driver
installation wizard will launch. Click
Next button to continue.
Then
to complete the driver installation.
button to complete the installation.
installation is complete, the driver
Then
click Finish button

6.
Ensure that the box next to
Finish button to
launch the program.
7. S
elect your language and click the
13
Ensure that the box next to
the Start Cura 15.04.6 is checked,
and then
launch the program.
elect your language and click the
Next button to continue.
and then
click the

8. Choose the Other
option,
Custom...
option, then click
9.
Change the settings to match those shown in the images below, then
button to continue.
14
option,
and then click the Next
button to continue.
option, then click
the Next button to continue.
Change the settings to match those shown in the images below, then
button to continue.
Select the
Change the settings to match those shown in the images below, then
click Finish

15
10. Then you might have to adjust the detail parameter to match your filament and the model you
are going to printing.
11. Finally, using the included USB cable, plug one end into the USB port on the printer,
then plug the other end into an available USB port on your computer. Watch the right
hand corner of the screen. A bubble will appear in the lower right corner of your
desktop, which is telling you that Windows is installing the necessary printer drivers.
Click the bubble and verify that the drivers have been properly installed.

16
Repetier-Host
The screenshots below show the proper Repetier-Host settings to use for this
printer in Repetier-Host
.

17

18
SPECIFICATIONS
Model
M200 V2
Extruder System Single
Maximum Extruder Temperature 260°C
Maximum Build Plate Temperature
60°C
Heated Plate Yes
Display Type Color LCD screen
Printing Area 4.7" x 4.7" x 4.7" (120 x 120 x 120 mm)
Supported Materials
ABS, PLA, PETG, wood, copper fill, steel fill,
bronze fill, and other materials
Filament Diameter
1.75mm
Maximum Print Speed 75mm/sec
Layer Thickness 0.1 - 0.3 mm
Connectivity
Wi-Fi°, memory card, USB
Offline Printing Yes
Supported Software Cura, Repetier Host, etc.
Input Power 12 VDC
AC Adapter Input Power 100 ~ 240 VAC, 50/60 Hz
Weight 5.3 kg

19
REGULATORY COMPLIANCE
Notice for FCC
This device complies with Part 15 of the FCC rules. Operation is subject to the following
two conditions: (1) this device may not cause harmful interference, and (2) this device must
accept any interference received, including interference that may cause undesired
operation.
Modifying the equipment without Malyan’s authorization may result in the equipment no
longer complying with FCC requirements for Class B digital devices. In that event, your
right to use the equipment may be limited by FCC regulations, and you may be required to
correct any interference to radio or television communications at your own expense.
This equipment has been tested and found to comply with the limits for a Class B digital
device, pursuant to Part 15 of the FCC Rules. These limits are designed to provide
reasonable protection against harmful interference in a residential installation. This
equipment generates, uses and can radiate radio frequency energy and, if not installed and
used in accordance with the instructions, may cause harmful interference to radio
communications. However, there is no guarantee that interference will not occur in a
particular installation. If this equipment does cause harmful interference to radio or
television reception, which can be determined by turning the equipment off and on, the
user is encouraged to try to correct the interference by one or more of the following
measures:
Reorient or relocate the receiving antenna.
Increase the separation between the equipment and receiver.
Connect the equipment into an outlet on a circuit different from that to which the
receiver is connected.
Consult the dealer or an experienced radio/TV technician for help.

Table of contents
Other Malyan 3D Printer manuals

