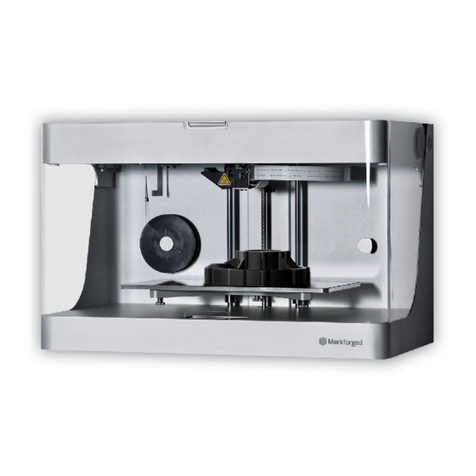
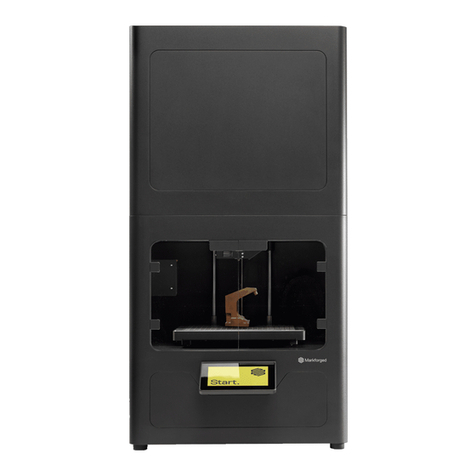
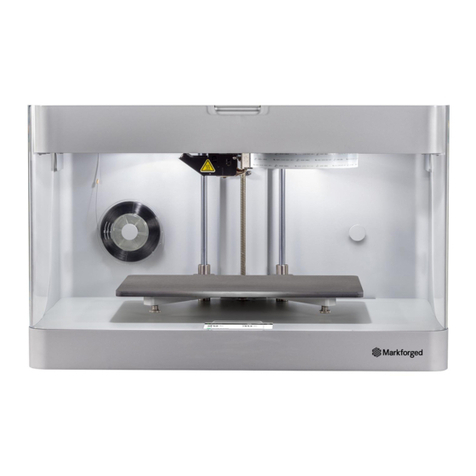
Markforged Metal X User manual

1
METAL X PRINTER USER GUIDE
METAL X PRINTER
USER GUIDE

Markforged
480 Pleasant St
Watertown MA 02472
USA
https://support.markforged.com
suppor[email protected]
For the latest PDF version of this document, visit our
support website.
Copyright © 2019 Markforged, Inc. All rights reserved.
Changes are periodically made to the information herein
which will be incorporated in revised editions of this
publication.
Markforged may make changes or improvements to
the product(s) described in this publication at any time
and without notice.

3
METAL X PRINTER USER GUIDE
TABLE OF CONTENTS
USER NOTES 4
SAFETY NOTES 5
CREATING EIGER ORGANIZATIONS 6
CONNECTING YOUR PRINTER 8
NETWORK REQUIREMENTS 13
SHUTDOWN PROCEDURE 14
UPDATING FIRMWARE 15
LEVELING THE PRINT BED 18
APPLYING A PRINT SHEET 22
TURN OFF VACUUM SEAL
LOADING METAL FILAMENT 25
METERED LOAD
QUICK LOAD
LOADING RELEASE FILAMENT 37
METERED LOAD
QUICK LOAD
UNLOADING METAL FILAMENT 47
UNLOADING RELEASE FILAMENT 50
MATERIAL STORAGE / DISPOSAL 52
PRINTING A METAL PART 54
SAFELY REMOVING METAL PARTS 59
CLEARING METAL MATERIAL JAMS 60
PRINT HEAD OBSTRUCTION 66
CLEANING YOUR METAL X PRINTER 67
REPLACING THE METAL NOZZLE 69
REPLACING THE RELEASE NOZZLE 79
REPLACING WIPING STATION
BRUSHES 88
ADJUSTING BELT TENSION 89
ADJUSTING RELEASE NOZZLE XY
OFFSET 91
CALIBRATING STEPPER ENCODERS 92
MANUAL CONTROL 94
NOZZLE TEMPERATURE
PRINT BED HEIGHT
EXTRUSION FLOW CHECK 97

METAL X PRINTER USER GUIDE
4
USER NOTES
FCC COMPL.IANCE
Note: This equipment has been tested and found to comply with the limits for a Class A digital device, pursuant
to part 15 of the FCC Rules. These limits are designed to provide reasonable protection against harmful
interference when the equipment is operated in a commercial environment. This equipment generates, uses,
and can radiate radio frequency energy and, if not installed and used in accordance with the instruction manual,
may cause harmful interference to radio communications. Operation of this equipment in a residential area is
likely to cause harmful interference in which case the user will be required to correct the interference at his or
her own expense.
authority to operate the equipment.
USER GUIDE

5
METAL X PRINTER USER GUIDE
SAFETY NOTES
TABLETOP USE ONLY
access on all sides (see the Facilities Guide
POWER DISCONNECT ACCESS
Take care to set up your Metal X printer so that the disconnecting device (power switch on the rear face of the
printer) is accessible at all times. Note that the power cord can be disconnected as a backup if the power switch
becomes inoperable or inaccessible.
The camera and print chamber interior can be wiped down using light mineral oil only. Follow instructions in
the next section (Reducing Burn Risks) when doing so. Do not use any other cleaning solvents or chemicals
on the inner or outer surfaces of the printer.
REDUCING BURN RISKS
●Do not touch the nozzles and print head when hot, unless explicitly instructed to do so in the user or
service manuals
●During a print run, leave all doors closed
●Do not touch the heating elements in the upper chamber when the Metal X is running
●Avoid touching the print bed when hot
●Note that newly printed parts can be hot. Handle with care
ALWAYS FOLLOW SAFETY INSTRUCTIONS
conditions. Follow all safety instructions posted on the unit and in the written documentation.
Note: Consult the Safety Sheet included with your device for an explanation of the safety icons used in
this manual.

METAL X PRINTER USER GUIDE
6
CREATING EIGER ORGANIZATIONS
Before you can print to your printer, you will need to create an organization in Eiger, our software for setting up
only be assigned to a single Eiger organization, and a user can only belong to a single organization.
CREATE NEW ORGANIZATION
1. Navigate to https://www.eiger.io/register in a Google Chrome browser.
2. Input all of the required information to create an Eiger organization.
3. You will receive an email from Eiger after creating your organization. Please click on the link within the
email to complete the sign-up process.
4.
screen by selecting the menu icon from the dashboard of your printer and navigating to Settings >
System Info.

7
METAL X PRINTER USER GUIDE
5. Register.
ADD PRINTER TO EXISTING ORGANIZATION
If you already have an existing organization, you can add a new printer to it at any time with the ID and access
Settings >
System Info.
1. Sign into your Eiger account in a Google Chrome browser.
2. Navigate to https://www.eiger.io/devices.
3. Select the Register Device button on the screen.
4.
Register.

METAL X PRINTER USER GUIDE
8
CONNECTING YOUR PRINTER
BEFORE YOU GET STARTED
If you powered up your printer before adding your printer to your Eiger account, you will need to power cycle the
printer before it can connect to your account.
1. Select the Wi-Fi icon from the dashboard.
2. Press the Wi-Fi tile.
3. Press the Configure button to enter your network information.

9
METAL X PRINTER USER GUIDE
4. Choose a network from the Network Name drop-down menu and enter your network password, if
necessary.
5. Press Save
1. Plug your Ethernet cable into the Ethernet port.
Note: Make sure your LAN (Local Area Network) uses DHCP.
2. Select the Ethernet icon from the dashboard.
for either Ethernet or Wi-Fi.

METAL X PRINTER USER GUIDE
10
1. Select the Wi-Fi icon from the dashboard.
2. Press either the Ethernet tile or the Wi-Fi
Note: Your printer will display the MAC address of whichever connection option is currently
enabled, even if the printer is unable to connect to the Internet. Only one MAC address can be
displayed at a time.
3. When the Network status reads Online, press the Done button.
4. Select the menu icon from the dashboard.

11
METAL X PRINTER USER GUIDE
5. Select the Settings tile from the available options.
6. Select the System Info tile from the available options.
7. Select the Wi-Fi icon at the bottom of the screen.
8. View your MAC address for the enabled connection option.

METAL X PRINTER USER GUIDE
12
1. Select the Wi-Fi icon from the dashboard.
2. Select the Offline tile.
3. Select Done.

13
METAL X PRINTER USER GUIDE
NETWORK REQUIREMENTS
Markforged devices communicate on the 2.4GHz Wi-Fi band. For assistance with setting up your network,
contact your internal IT team.
DHCP
Markforged products support DHCP only. Static IP functionality is not supported.
Markforged products must have access to the following hostnames and ports:
HOSTNAME PORT PROTOCOL REQUIRED? REASON
s3.amazonaws.com 443 TCP yes device operation
mfeiger-production.
s3.amazonaws.com
443 TCP yes device operation
cdn.eiger.io 443 TCP yes device operation
www.eiger.io 443 TCP yes device operation
*.pool.ntp.org 123 UDP yes network time protocol
ipv4.connman.net 80 TCP no online status check
data.logentries.com 443 TCP no remote logging
data.logentries.com 10000 TCP no legacy remote logging
BROWSER
Markforged products require the use of Google Chrome. WebSockets must be enabled.

METAL X PRINTER USER GUIDE
14
SHUTDOWN PROCEDURE
your printer, follow the instructions below:
1. User Guide.
Note: If you attempt to power on the printer with print material already loaded, the temperature
change will likely cause the material to break, potentially jamming the print head.
2.

15
METAL X PRINTER USER GUIDE
UPDATING FIRMWARE
appear at the bottom of the dashboard. Select the banner to begin the update utility. You can also access the
utility via the Update Manager (see below).
UPDATE FIRMWARE VIA USB
with your printer. The USB drive should be FAT32-formatted, and the update will need to be placed in the root
folder of the drive.
Note: The update must be theonly filein the root directory, otherwise the firmware update will fail.
1. eiger.ioAbout Eiger
2. Download button under Printer Firmware to download the USB update.
3. Copy the USB update to the root directory of an otherwise empty FAT32-formatted USB drive. Insert the
USB drive into your printer.
4. Begin the update process by either:
●Update Available
●Settings page and selecting Update Manager.
5. When the Update Manager appears, Press Update. The update will take a few minutes to install and your

METAL X PRINTER USER GUIDE
16
UPDATE FIRMWARE VIA CLOUD UPDATE
Your Metal X printer can be updated via Wi-Fi or Ethernet. Before beginning, make sure your printer is connected
Connecting
Your Printer.
1. Select the menu icon from the dashboard.
2. Settings.
3. Update Manager

17
METAL X PRINTER USER GUIDE
4. Cloud Update
Note: An update is available if theCloud Updatetile is blue. If the icon is gray, your system is
either up-to-date or not connected to the Internet.

METAL X PRINTER USER GUIDE
18
LEVELING THE PRINT BED
Supplies
●2.5mm hex key from accessory kit
For optimal print quality the print bed must be properly leveled. Afterward the bed should remain level under
normal printer use, and you should not need to run the leveling utility as part of routine maintenance. However,
the utility must be run during initial printer installation and any time the machine is moved.
1. Select the menu icon from the dashboard.
2. Select Utilities.
3. Select Bed Level to begin the routine.

19
METAL X PRINTER USER GUIDE
4. Remove the print sheet from the print bed and select Done.
Note: Be careful when removing the sheet, as the print bed and sheet may be hot at this step.
5. The print bed will begin to rise in preparation for the leveling process. When it reaches its maximum
height and the progress bar reads 100%, press Start.
Note: If your nozzle accumulates some residue during the heating process, you do not need to
remove it. The print head will pass through the wiping station during this utility.
6. If the Metal X is newly installed and the bed has never been leveled, press Reset. Otherwise, press Skip
and move directly to step 8 (the 16-point scan) below.

METAL X PRINTER USER GUIDE
20
7. Using the 2.5mm hex key, turn all three bed leveling screws clockwise until tight, and then
counterclockwise (loosen) two full turns to their midpoint height. To continue, press Done.
8. Do not touch the print bed or frame. When the
progress bar reaches 100%, press Next.
9.
hand bed leveling screw. If you are not within +/- 20µm (20 micrometers) of deviation (i.e. not in the green
area of the leveling bar), use your hex key to adjust the height of the bed at that corner. The touchscreen
will specify which direction to rotate the hex key. After making a slight adjustment, select Retry to have
selecting Retry until your reading is in the green area of the bed leveling bar, then select Next.
Other manuals for Metal X
2
Table of contents
Other Markforged 3D Printer manuals
Popular 3D Printer manuals by other brands

Flashforge
Flashforge DREAMER user guide

XYZ Printing
XYZ Printing da Vinci 1.0 Pro user manual

Filament Innovations
Filament Innovations BFP-ICARUS-TYPHOON manual

Ultimaker
Ultimaker PVA Removal Station Installation and user manual

Geeetech
Geeetech Prusa M201 Quick starter manual

Kywoo3D
Kywoo3D Octoprint instructions