manuals.online logo
Brands
  1. Home
  2. •
  3. Brands
  4. •
  5. Manfrotto
  6. •
  7. Lighting Equipment
  8. •
  9. Manfrotto C1575B User manual

Manfrotto C1575B User manual

Cod. 035,62 - 09/04 Copyright © 2004 Manfrotto Bassano Italy
E
F
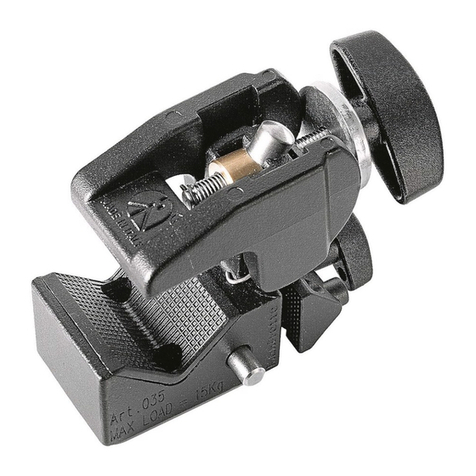
Le Super Clamp est une pince de
serrage universelle très puissante, qui
se fixe sur des tubes (ou autres
structures) de 13 mm à 55 mm
d’épaisseur. Il est muni d’une fixation
hexagonale de 16 mm (5/8”)
correspondant au système de fixation
des éclairages ainsi qu’ aux
accessoires MANFROTTO, tel que les
spigots, ‘stud’ adapteurs, les bras
d’extension et autres systèmes de
fixation.
Le Super Clamp est injecté sous
pression, son poids est de 0,41 kg et
peut supporter en toute sécurité une
charge de 15 kg.
MODE
D’EMPLOI
1. Ouvrez la mâchoire du clamp en
tournant la poignée “A” dans le
sens inverse des aiguilles d’une
montre jusqu’à ce qu’il puisse se
prendre sur le tube ou autre
support.
2. Réglez l’orientation du clamp, et
resserrez sa mâchoire en tournant
la poignée “A” dans le sens des
aiguilles d’une montre de telle
façon qu’il agrippe fermement le
support, barre, tube ou panneau.
3. Avant de fixer la torche d’éclairage
ou l’accessoire type 16mm (5/8”)
spigot/stud, assurez vous que le
bouton “C” soit suffisament
desserré pour permettre d’inserrer
dans la fixation hexagonale le
spigot/stud. Appuyez sur le
bouton/ressort, cette seconde
sécurité “B” est située sur le coté
de la mâchoire du clamp. Vous
pouvez alors enfoncer
complètement le spigot/stud
hexagonal de votre torche ou
accessoire.
4. Pour assurer et bloquer l’attache
de la torche ou accessoire, serrez
le bouton, “C” à fond.
5. Pour démonter, procédèz dans le
sens inverse.
El Super Clamp es una pinza de
sujeción muy versatil que se puede
engancher en tubos, planchas u
otros elementos soporte de 13 mm
hasta 55 mm. Su zócalo hexagonal
16 mm (5/8”) permite sujetar focos
con espiga o con gran número de
accesorios MANFROTTO, brazos y
espígas.
El Super Clamp pesa 0,41 kg
pudiendo resistir pesos hasta 15 kg
con toda seguridad.
INSTRUCCIONES
1. Gire la palanca “A” en contra del
sentido del reloj hasta que la
envergadura de la pinza sea tan
grande que abarque el tubo o
planche en cuestión.
2. Oriente el Super Clamp
optimamente y gire la palanca “A”
en sentido de las manecillas del
reloj hasta que la pinza esté
firmemente agarrada.
3. Si quiere introducir una espiga o
accessorio en la pinza, asegúrese
que el tornillo de bloqueo “C”
haya sido sacado lo suficiente
para que la espiga entre en el
zócalo. Presione despues el
pulsador de seguridad “B” en el
lado del Super Clamp e
introduzca al mismo tiempo la
espiga en el zócalo hexagonal. Al
soltar el pulsador de seguridad, el
accesorio ya no se debe caer del
zócalo.
4. Para posicionar la espiga o el
accesorio, gire el tornillo de
bloqueo “C” en sentido de las
manecillas del raloj hasta que la
pieza colocada ya no se deje
mover.
5. Para quitar una espiga o accesorio
proceda simplemente en el orden
inverso descrito anteriormente. INSTRUCTIONS
C1575B
PRODUCT SERVICE geprüfte
Sicherheit
1 2 3 4 5
1 2 3 4 5
;
;
y
y
1/4”
M5
A
A
C
C
B
B
;y
;
;
y
y
;y
GB DI
A powerful universal clamping device
capable of being attached to tubes
(boards or any other supporting
structures) between 13 mm and 55
mm, accepting via a 16 mm (5/8”)
hexagonal socket, lighting fixtures or
a range of MANFROTTO accessories
including spigots, stud adaptors,
extension arms and accessory
fittings.
To weight of the die-cast super
clamp is 0.41 kg and will support
loads of up to 15 kg safely.
OPERATIONAL
INSTRUCTIONS
1. Open up clamp jaws by turning
knob “A” anti-clockwise until it is
capable of being slipped over
suitable tube, board or bar
support.
2. Arrange Super Clamp in the best
orientation for its final supporting
job and tighten clamp jaws by
turning knob “A” clockwise so that
if firmly grips the supporting tube,
board or bar.
3. To attach a lighting fixture or
accessory with 16mm (5/8”)
spigot/stud, ensure knob “C” is
loosened sufficiently to allow the
spigot/stud to be inserted into the
hexagonal socket, depress the
spring loaded secondary safety
plunger “B” on the side of the
clamp jaw. This will allow you to
full insert the spigot or hexagonal
stud of the lighting fixture of
accessory. When the catch is
released, it will prevent the
spigot/stud falling out.
4. To secure and lock the lighting
fixture or accessory in place,
tighten knob “C” against the
spigot/stud turning it clockwise.
5. In order to dismantie, simple
reverse the above procedures.
Morsetto universale, si blocca su tubi,
tavole o altre strutture di spessore da
55 a 13 mm.
L’attacco esagonale femmina da 16
mm (5/8”) permettere di fissare corpi
illuminanti o una serie di accessori
MANFROTTO tra i quali codoli,
adattatori, bracci e dispositivi di
fissaggio vari.
Pesa 0,41 kg e può sostenere carichi
fino a 15 Kg.
ISTRUZIONI
PER L’USO
1. Ruotare in senso antiorario la leva
“A” per aprire la ganascia mobile
finché si possa fissare il morsetto
al tubo, tavolo o altro supporto.
2. Sistemare il Super Clamp nella
migliore posizione di lavoro e
serrare la ganascia mobile,
ruotando la leva “A” in senso
orario.
3. Per montare il corpo illuminante o
l’accessorio con codolo da 16 mm
(5/8”), assicurarsi che la manopola
“C” sia sufficientemente allentata
per permettere l’inserimento del
codolo nell’attacco esagonale e
premere verso il basso il piolo di
sicurezza “B”.
4. Per bloccare il corpo illuminante o
l’accessorio in posizione, serrare la
manopola “C” ruotandola in senso
orario contro il codolo.
5. Per rimuovere il corpo illuminante
ripetere le operazioni descritte in
senso inverso.
Der Super Clamp ist eine sehr
vielseitige Befestigungsklammer, die
and Rohre, Platten oder andere
Trägerelemente von 13 mm bis 55 mm
befesting werden kann.
Sein hexagonaler 16 mm (5/8”) Sockel
erlaubt die Befestigung von Leuchten
mit Spigot oder einer Vieizahl von
MANFROTTO Zubehörteilen,
Auslegearmen und Spigots (Zapfen).
Der Super Clamp wiegt 0,41 kg und
kann mit Gewichten bis zu 15 kg
sicher belastet werden.
BEDIENUNGSANLEITUNG
1. Drehen Sie den Hebel “A” im
Gegenuhrzeigersinn, bis die
Öffnung der Klemmbacken so
gross ist, daß die Klammer über
das gewünschte Rohr (oder Platte)
geschoben werden kann.
2. Richten Sie den Super Clamp
optimal aus und drehen Sie den
Hebel “A” im Uhrzeigersinn, bis
del Clamp sicher auf dem Rohr
oder der Platte befestingt ist.
3. Wenn Sie einen Spigot oder ein
Zubehörtell in den Super Clamp
einsetzen möchten, so versichern
Sie sich, daß die Blockierschraube
“C” genügend gelöst worden ist,
damit der Zapfen in den Sockel
eingesetzt werden kann. Drücken
Sie danach den Sicherungsknopf
“B” auf der Seite des Super
Clamps und führen Sie gleichzeitig
den Zapfen in den hexagonalen
Sockel ein. Wenn Sie nun den
Sicherungsknopf loslassen, so
sollte das Zubehörteil nicht mehr
aus dem Sockel fallen.
4. Um den Zapfen oder das
Zubehörteil zu positionieren,
drehen Sie die Blockierschraube
“C” im Uhrzeigersinn, bis das
eingesetzte Teil nicht mehr
bewegt werden kann.
5. Um einen Spigot oder ein
Zubehörteil zu entfernen, gehen Sie
einfach in umgekehrter Reihenfolge
wie oben beschrieben vor.
1
3
4 5
2
1 2 3 4 5
1 2 3 4 5 1 2 3 4 5
Other Manfrotto Lighting Equipment manuals

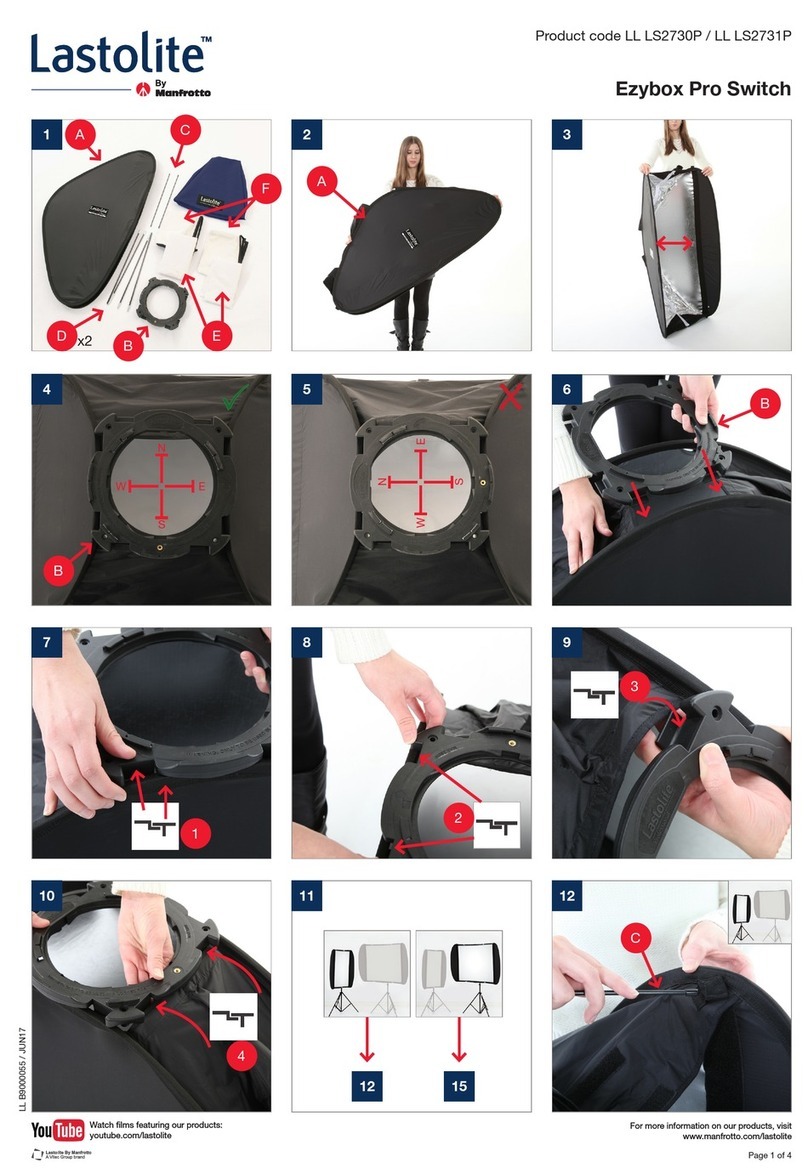
Manfrotto Lastolite Ezybox Pro Switch User manual

Manfrotto

Manfrotto Lastolite Ezybox Pro Switch User manual

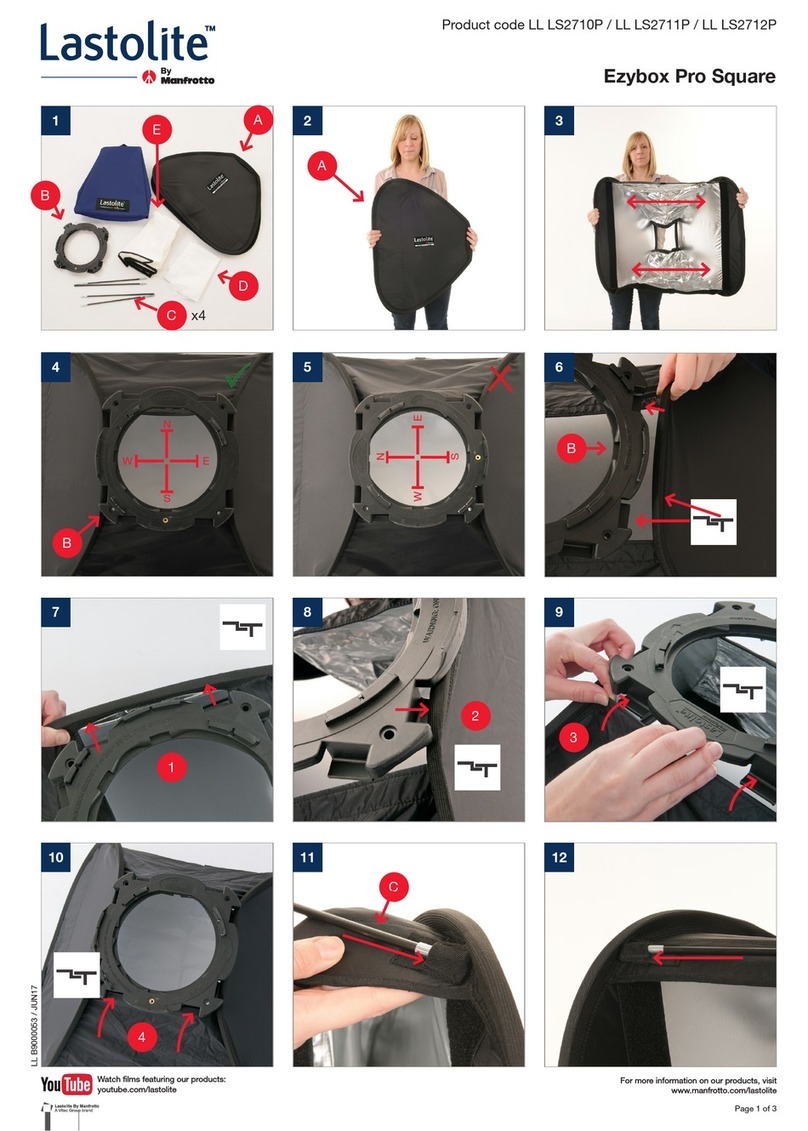
Manfrotto Lastolite Ezybox Pro Square User manual

Manfrotto

Manfrotto Lastolite Ezybox Pro Square User manual

Manfrotto Lastolite 8 in 1 Umbrella User instructions

Manfrotto

Manfrotto Lastolite 8 in 1 Umbrella User instructions

Manfrotto 635 User manual

Manfrotto

Manfrotto 635 User manual

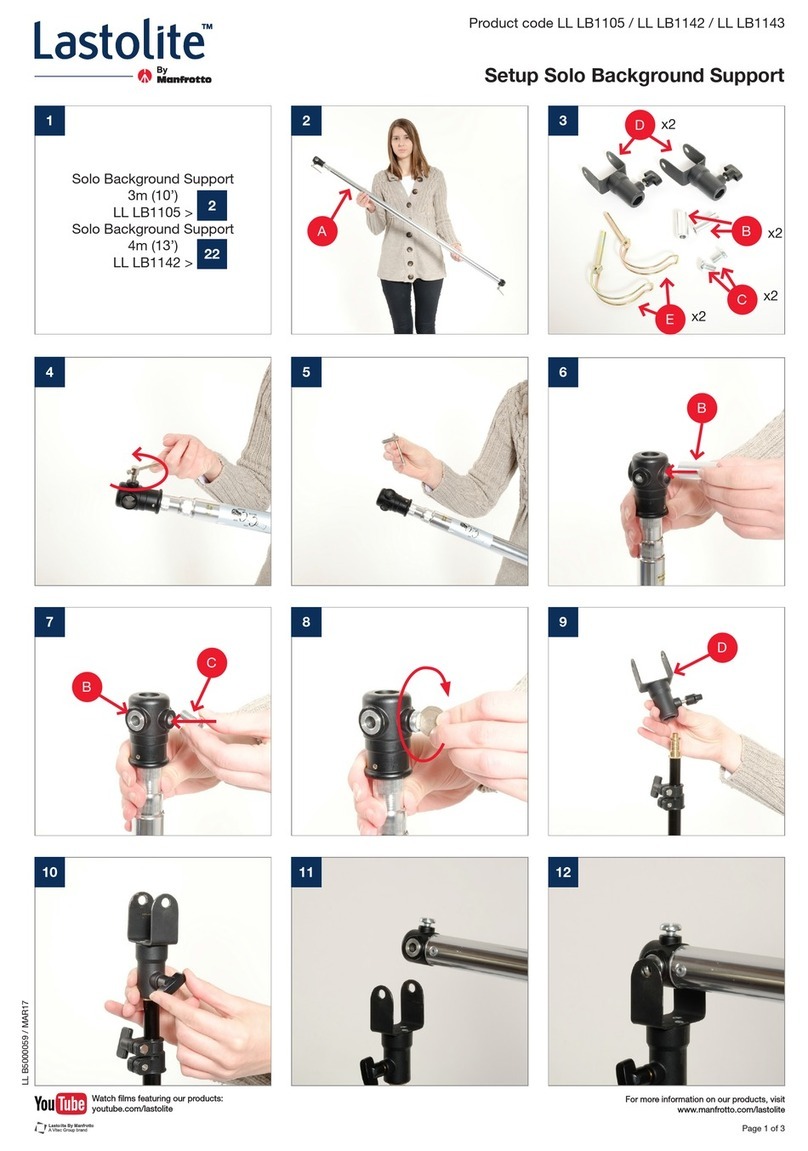
Manfrotto Lastolite LL LB1105 User manual

Manfrotto

Manfrotto Lastolite LL LB1105 User manual

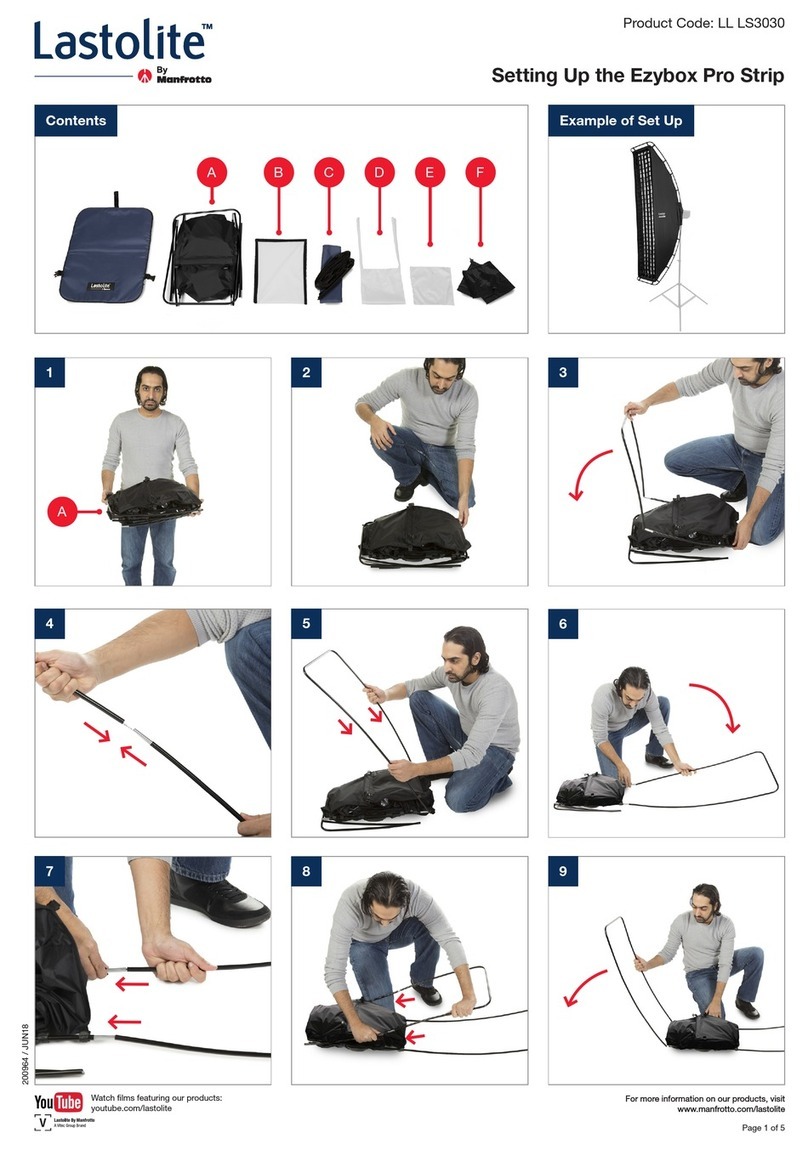
Manfrotto Lastolite Ezybox Pro Strip User instructions

Manfrotto

Manfrotto Lastolite Ezybox Pro Strip User instructions

Manfrotto Lastolite User instructions

Manfrotto

Manfrotto Lastolite User instructions

Popular Lighting Equipment manuals by other brands

Eaton FlexiTech Exit Dual AT L manual

Eaton

Eaton FlexiTech Exit Dual AT L manual

Life PL-C 4-2G11 user manual

Life

Life PL-C 4-2G11 user manual

EuroLite LED PIXEL MESH 64x64 user manual

EuroLite

EuroLite LED PIXEL MESH 64x64 user manual

LiteGear Auroris X System user guide

LiteGear

LiteGear Auroris X System user guide

BARRON EXITRONIX VLEDC Series installation instructions

BARRON

BARRON EXITRONIX VLEDC Series installation instructions

XanLite PR10WM quick start guide

XanLite

XanLite PR10WM quick start guide

Crivit 14141 user manual

Crivit

Crivit 14141 user manual

LIGMAN ODESSA 13 installation manual

LIGMAN

LIGMAN ODESSA 13 installation manual

Vision & Control LDLF60x120-IR850/24V Instructions for use

Vision & Control

Vision & Control LDLF60x120-IR850/24V Instructions for use

LED Group ROBUS VEGAS RVA12RGBW6710-30 quick start guide

LED Group

LED Group ROBUS VEGAS RVA12RGBW6710-30 quick start guide

Panlux SVORKOVNICE IP68 T quick start guide

Panlux

Panlux SVORKOVNICE IP68 T quick start guide

REMKO SLE Series Assembly and operating instructions

REMKO

REMKO SLE Series Assembly and operating instructions

Feniex FOU DOWN LUX Series instruction manual

Feniex

Feniex FOU DOWN LUX Series instruction manual

ADJ Jolt Bar FX user manual

ADJ

ADJ Jolt Bar FX user manual

Titanium TT-U-UX8 manual

Titanium

Titanium TT-U-UX8 manual

Dilux AP6528 user manual

Dilux

Dilux AP6528 user manual

Godox MG2400Bi manual

Godox

Godox MG2400Bi manual

LENCO LFM-110BK user manual

LENCO

LENCO LFM-110BK user manual

manuals.online logo
manuals.online logoBrands
  • About & Mission
  • Contact us
  • Privacy Policy
  • Terms and Conditions

Copyright 2025 Manuals.Online. All Rights Reserved.