50 m (164 ft.)
12
3
53
2
6
7
7
4
DEUTSCH
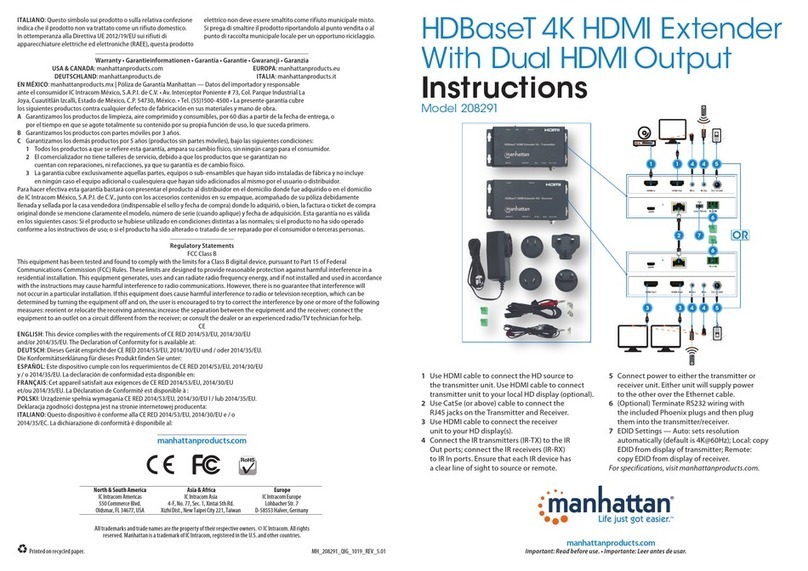
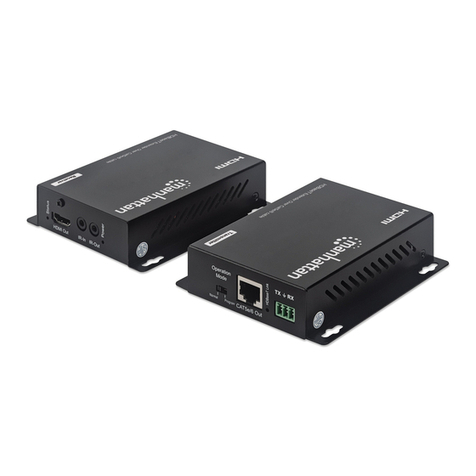
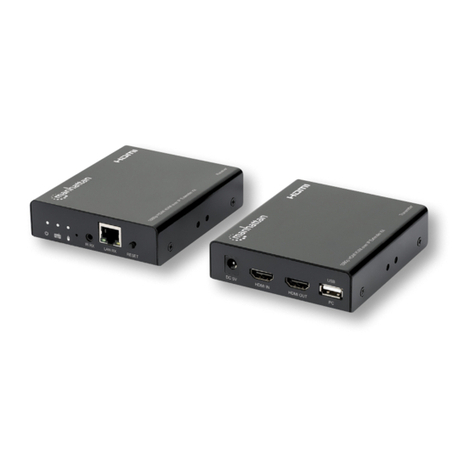
1 Schließen Sie das HDMI-Kabel Ihrer Signalquelle an
den HDMI-Eingang (HDMI IN) des Empfängers an.
2 Schließen Sie die HDMI-Kabel Ihrer
Displays an die HDMI-Ausgänge (HDMI
OUT) von Sender und Empfänger an.
3 IR-Sender an Sendereinheit anschließen (IR
OUT); IR-Empfänger an Empfängereinheit
anschließen (IR IN). Stellen Sie sicher, dass
jede IR-Vorrichtung über eine klare Sichtlinie
zur Quelle/Fernbedienung verfügt.
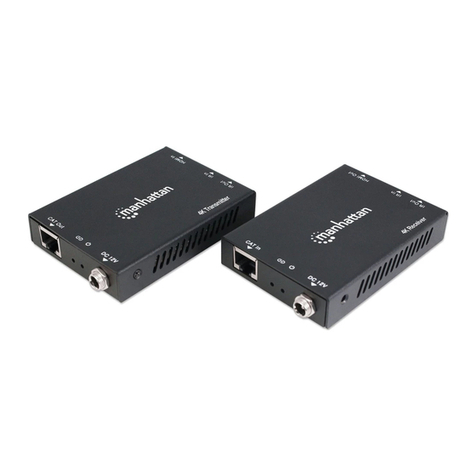
4 Verbinden Sie die RJ45-Ports (CAT) an Sende-
und Empfangseinheit per Cat5-/5e-/6-Kabel.
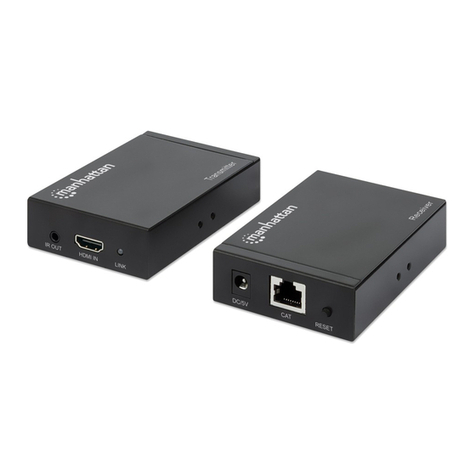
5 Schließen Sie das mitgelieferte Netzteil an
den Stromeingang (DC 5V) des Senders und
stecken Sie ihn dann in eine Steckdose. Der
Transmitter versorgt den Receiver über die
Power over Cable (PoC) Technologie.
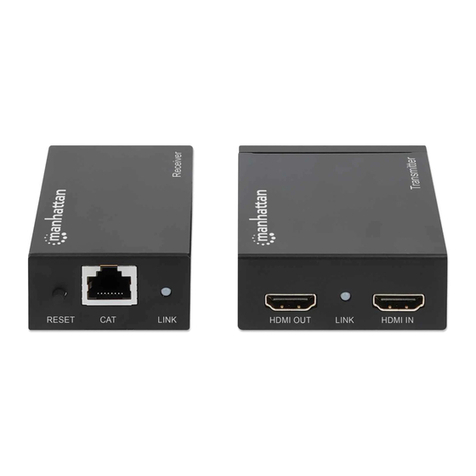
6 RESET-Taste: am Sender 3 – 5 Sekunden lang
drücken, um die EDID-Standardeinstellung
für die Display(s) von 1080p auf 720p (und
zurück zu ändern); am Empfänger drücken,
um das/die Gerät(e) neu zu starten.
7 LINK-LED: Eine leuchtende LED bedeutet, dass
eine Ethernet-Verbindung hergestellt worden ist.
Die Spezifikationen finden Sie auf
manhattanproducts.com. Registrieren Sie Ihr Produkt
auf register.manhattanproducts.com/r/207461
oder scannen Sie den QR-Code auf dem Deckblatt.
ESPAÑOL
1 En el transmisor, conecte el cable HDMI a la fuente
de señal a la toma de entrada HDMI (HDMI IN).
2 En el transmisor y receptor, conecte los
cables HDMI de las pantallas a la tomas
de salidas HDMI (HDMI OUT).
3 Conecte el cable extensor infrarrojo al puerto IR
OUT del transmisor; Conecte el cable receptor
al puerto IR IN del receptor. Asegúrese de que
no haya ningún obstáculo entre los dispositivos
IR y la unidad transmisora/receptora.
4 Utilice cable patch (Cat5/5e/6) para conectar
las tomas CAT en el Transmisor y el Receptor.
5 En el transmisor, conecte el adaptador
de corriente en el enchufe DC 5V, luego,
conéctelo a un enchufe. El transmisor activará
el receptor mediante la tecnología de
energía eléctrica a través de cable (PoC).
6 Botón de RESET: en el transmisor, presione durante
3 a 5 segundos para cambiar la configuración
de EDID predeterminada para la(s) pantalla(s)
de 1080p a 720p y viceversa. En el receptor,
presione para reiniciar la(s) unidad(es)
7 LED LINK : La luz LED encendida significa que
se estableció una conexión de Ethernet.
Para más especificaciones, visite
manhattanproducts.com. Registre el producto
en register.manhattanproducts.com/r/207461
o escanee el código QR en la cubierta.
FRANÇAIS
1 Sur l’émetteur, connectez le câble HDMI de votre
source de signal à l’entrée HDMI (HDMI IN).
2 Sur l’émetteur et le récepteur, connectez les câbles
HDMI de vos écrans aux sorties HDMI (HDMI OUT).
3 Connectez l’émetteur infrarouge à l’unité
d’émetteur (IR OUT) ; connectez le récepteur
infrarouge à l’unité du récepteur (IR
IN). Assurez-vous que chaque dispositif
infrarouge ait une ligne de visée dégagée
vers la source/vers la télécommande.
4 Utilisez des cordons réseau (Cat5/5e/6)
pour connecter les jacks CAT sur le
Transmetteur et le Récepteur.
5 Sur l’émetteur, connectez l’adaptateur secteur
inclus à le jack d’alimentation (DC 5V), puis
branchez-le sur une prise de courant. Le
transmetteur alimentera le récepteur en électricité
via la technologie PoC (alimentation par câble).
6 Bouton de RESET : sur l’émetteur, appuyez
pendant 3 à 5 secondes pour modifier le paramètre
EDID par défaut de l’écran ou des écrans de
1080p à 720p et inversement ; sur le récepteur,
appuyez pour redémarrer l’unité ou les unités.
7 LED LINK : La LED est allumée lorsqu’une
connexion Ethernet est établie.
Vous trouvez les spécifications sur
manhattanproducts.com. Enregistrez votre produit
sur register.manhattanproducts.com/r/207461
ou scannez le code QR figurant sur la couverture.
POLSKI
1 Podłącz kablem HDMI źródło sygnału do portu
wejściowego HDMI Nadajnika (HDMI IN).
2 Podłącz kablami HDMI urządzenia
wyświetlające do portów wyjściowych HDMI
(HDMI OUT) Nadajnika oraz Odbiornika.
3 Podłącz nadajnik IR do nadajnika (IR-OUT);
podłącz odbiornik IR do odbiornika (IR-
IN). Upewnij się, że każde urządzenie na
podczerwień jest dobrze widoczne dla
nadajnika / pilota zdalnego sterowania.
4 Użyj kabla sieciowego Cat5/5e/6 aby połączyć
gniazda CAT Nadajnika oraz Odbiornika.
5 Podłącz zasilacz do gniazda DC nadajnika (DC
5V), a następnie podłączyć go do gniazdka
elektrycznego. Nadajnik będzie zasilał odbiornik
za pomocą technologii Power over Cable (PoC).
6 Przycisk RESET: na Nadajniku, naciśnij i
przytrzymaj przez 3 - 5 sekund, aby zmienić
domyślne ustawienie EDID dla wyświetlacza(-
ów) z 1080p na 720p i odwrotnie; na Odbiorniku,
naciśnij, aby zrestartować jednostkę(-i).
7 LINK LED: Świecąca się dioda LED oznacza,
że połączenie Ethernet jest ustanowione.
Pełną specyfikację produktu znajdziecie Państwo na
stronie manhattanproducts.com. Zarejestruj produkt
na register.manhattanproducts.com/r/207461
lub zeskanuj znajdujący się na pokrywie kod QR.
ITALIANO
1 Sul Trasmettitore, collegare il cavo HDMI dalla
sorgente del segnale all’entrata HDMI (HDMI IN).
2 Su Trasmettitore e Ricevitore, collegare i cavi
HDMI dai monitor alle uscite HDMI (HDMI OUT).
3 Collegare il trasmettitore IR all’unità di
trasmissione (IR-OUT); collegare il ricevitore
IR all’unità di ricezione (IR-IN). Assicurarsi
che ogni dispositivo IR abbia una linea visiva
diretta alla fonte / al telecomando.
4 Usare cavi patch di rete Cat5/5e/6 per collegare
le prese CAT di Trasmettitore e Ricevitore.
5 Su Trasmettitore, collegare l’alimentatore
in dotazione nella presa DC 5V, quindi
collegalo a una presa di corrente. Il
trasmettitore alimenterà il ricevitore tramite
la tecnologia Power over Cable (PoC).
6 Pulsante di RESET: sul Trasmettitore, premere per
3 - 5 secondi per spostare l’impostazione EDID
predefinita del display da 1080p a 720p e viceversa;
sul Ricevitore, premere per riavviare l’unità.
7 LED LINK: il LED acceso indica che è stata
stabilita una connessione Ethernet.
Per ulteriori specifiche, visita il sito
manhattanproducts.com. Registra il tuo prodotto
su register.manhattanproducts.com/r/207461 o
scansiona il codice QR presente sulla copertina.
WASTE ELECTRICAL & ELECTRONIC EQUIPMENT
Disposal of Electric and Electronic Equipment (applicable in the E.U. and other countries with separate collection systems)
ENGLISH: This symbol on the product or its packaging means that this
product must not be treated as unsorted household waste. In
accordance with EU Directive 2012/19/EU on Waste Electrical and
Electronic Equipment (WEEE), this electrical product must be
disposed of in accordance with the user’s local regulations for electrical or
electronic waste. Please dispose of this product by returning it to your
local point of sale or recycling pickup point in your municipality.
DEUTSCH: Dieses auf dem Produkt oder der Verpackung angebrachte
Symbol zeigt an, dass dieses Produkt nicht mit dem Hausmüll
entsorgtwerden darf. In Übereinstimmung mit der Richtlinie
2012/19/EU des Europäischen Parlaments und des Rates über Elektro- und
Elektronik-Altgeräte (WEEE) darf dieses Elektrogerät nicht im normalen
Hausmüll oder dem Gelben Sack entsorgt werden. Wenn Sie dieses
Produkt entsorgen möchten, bringen Sie es bitte zur Verkaufsstelle
zurück oder zum Recycling-Sammelpunkt Ihrer Gemeinde.
ESPAÑOL: Este símbolo en el producto o su embalaje indica
que el producto no debe tratarse como residuo doméstico. De
conformidad con la Directiva 2012/19/EU de la UE sobre residuos de
aparatos eléctricos y electrónicos (RAEE), este producto eléctrico
no puede desecharse se con el resto de residuos no clasificados.
Deshágase de este producto devolviéndolo a su punto de venta
o a un punto de recolección municipal para su reciclaje.
FRANÇAIS: Ce symbole sur Ie produit ou son emballage signifie que ce
produit ne doit pas être traité comme un déchet ménager. Conformément
à la Directive 2012/19/EU sur les déchets d’équipements électriques et
électroniques (DEEE), ce produit électrique ne doit en aucun cas être
mis au rebut sous forme de déchet municipal non trié. Veuillez vous
débarrasser de ce produit en Ie renvoyant à son point de vente ou au point
