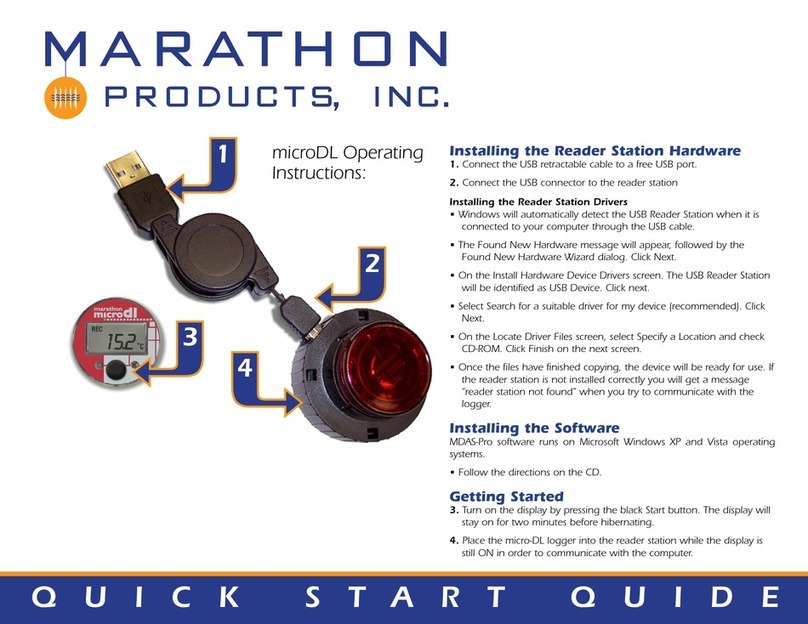
Marathon EDL-4S User manual

EDL-4S Quick
Start Guide with
MDAS-X
QUICK START GUIDE
Initializing The Logger.............................................. 2
Setting The Alarm ............................................... 3
Changing The Settings ............................................. 4
Starting The Logger ............................................... 5
Reading The Logger ............................................... 5
Stopping The Logger .............................................. 6
Viewing The Real Time Data ......................................... 6
Keymaps ........................................................ 7
TABLE OF
CONTENTS

2
EDL-4S Quick Start Guide with MDAS-X
To Initialize (Program) the Logger:
1. Plug in all of your probes
(sensors).
2. Open the MDAS-X software,
and go to the menu item 3c\
temp edl-LN2 4s, and
choose Logger Initialization.
3. Enter the Description 1and Location 2in the
window that opens.
4. Click the Next 3button. The Probe window will
display.
5. If probes (sensors) are not already plugged in, then
plugging them in now is recommended.
The software should
automatically detect which
type is plugged in, and
display pink text showing
that they have been
detected.
2
1
3
WARNING!
DO NOT PLUG IN THE
CO2 SENSOR UNLESS
THE LOGGER IS
CONNECTED TO AN
EXTERNAL BATTERY!
IT WILL RESET YOUR
DEVICE, AND YOU
MAY LOSE ALL OF
YOUR DATA!
NO? = CO2
Wi-Fi
Wi-Fi

3
EDL-4S Quick Start Guide with MDAS-X
6. Click on the text in the Probe window, and a new window
will open to configure the sensor. The software will
automatically select the correct sensor type if it is plugged
in. Enter a Description here (optional) 4, and choose
the Sensor Parameters, if available (e.g. Celsius or
Fahrenheit) 5. It is also possible to manually enter the
type of sensor that will be used in this port.
Note: the logger
will not start if the
wrong sensor is
plugged in, so it is
best to choose your
sensors at this time
and not change
them later. If you
wish to change
them later, you will
have to initialize
the logger again.
Setting the
Alarm
(optional)
3. At this point,
you can
optionally set the
alarm. Check the Enable Alarm checkbox 6, and type in
the desired values into the appropriate fields. The logger
will show an alarm has occurred on the LCD, graph, and
downloaded data when the conditions are above (high
alarm) or below (low alarm) the parameters which are set
at this step.
4. Click OK 7to close the Probe selection window. Click
each probe to set their parameters.
5. Once all of the settings are correct, click Next 8.
CLICK
If there is an
error, it will be
displayed with
red text in this
window.
57
8
4
6

4
EDL-4S Quick Start Guide with MDAS-X
6. In the Measurements tab, set the Start Delay 9(optional – how much time to
wait before taking the first measurement) and Duration of Recording 10 (the
total length of the recording).
11 The Interval Between
Measurements will
automatically adjust
based on the Duration
selected. If it does not, use
the Tab button or click
into one of the other user
input fields to see it
update.
4. Click the OK 12 button to finish
initializing the logger.
Changing the
settings
To change settings on the logger, repeat the initialization process again, and input
any desired changes into the appropriate areas.
9
10
10
11
11
12

5
EDL-4S Quick Start Guide with MDAS-X
SEt
Ch1
Good
Ch2
Good
Ch3
Good
Ch4
Good
C
h
2
Ch
3
C
h4
Ch1 °C
°C
Gz
DAY
D
A
Y
229
Ch2
226
Ch4
OO2
OOOO
Starting the Logger
1. On the logger, click the Settings 13 button until Set 14 appears on the
screen.
2. Click the Start 15 button to enter the menu.
3. Hold down the Start 15 button for 4+ seconds to start the
recording.
Good 16 will appear on all sensors that are correctly
configured.
Rec 17 will flash on the upper left-hand
corner, and the time will count up once the
logger has started.
If there are errors with the sensors, Error
will appear on the LCD, and the logger will
not start.
Alternative Method: Use the Start
Recording Now (EDL-4S only) option in
the software to start the logger.
Note: A full list of the hardware keys on the
logger face and how to navigate them will
be included at the end of this document.
Reading the
Logger
1. In the software, go to the menu item 3c\temp edl-LN2 4s 18 , and
choose Read Logger.
2. Wait for the progress bar 19 to reach 100%, and then click OK
20
.
3. Choose the location on the PC or server to store the downloaded data
file.
4. Click the Save 21
button.
5. A graph of the data will
be displayed.
18
19
21
15
16
17
13
14

6
EDL-4S Quick Start Guide with MDAS-X
Stopping the Logger
Method 1
Hold down the Start
13
button on the logger for about 10 seconds to
stop the logger.
Method 2
With the logger plugged in to the PC, go to the menu item 3c\temp edl-
LN2 4s
22
, and choose Stop Recording (EDL-4S only).
Viewing the Real Time Data
Method 1
To view the real time data, the current state of the sensors is
displayed on the LCD face of the logger.
Method 2
In the software, go to the menu item 3c\temp edl-LN2 4s, and
choose Real Time Display
23
.
A window will open that displays the current state of the
sensors.
Click the Graph
24
button to open a window which will
display a graph of the real time data.
24
22
23

7
EDL-4S Quick Start Guide with MDAS-X
Key Map for the 4S
To navigate through the menus, use the Settings button.
To Select a menu, use the Start button.
A list of all menus and submenus is below.
DISPLAY MODES
SLP NOr SEt ALA CAL
<Sleep Mode> <Normal Mode> <Read Settings> <Alarm Displays> <Calibration Mode>
display modes
Ch1
°C
%
269
Ch2
56
Ch4
E
2OO
Ch3
- 2O
SLP NOr
CAL
END WiFi
Ch1
°C
%
V
X
V
X
269
Ch2
56
Ch4
E
2OO
Ch3
- 2O
END
Sleep mode
Calibration mode
Normal mode
Ch1
°C
%
269
Ch2
56
Ch4
E
2OO
Ch3
- 2O
SLP NOr
CAL
END WiFi
Ch1
°C
%
V
X
V
X
269
Ch2
56
Ch4
E
2OO
Ch3
- 2O
END
Sleep mode
Calibration mode
Normal mode
HR
Ch1
ALARM
D
A
Y
T
O
A
O
O
HR
Ch 2
ALARM
D
A
Y
T
O
A
O
O
HR
Ch 3
ALARM
D
A
Y
T
O
A
O
O
HR
Ch 4
ALARM
D
A
Y
T
O
A
O
O
ALA
Alarm Displays
DAY
MAX
MIN
4 Seconds 4 Seconds 4 Seconds 4 Seconds
Ch1
ALARM
4
DAYCh 2
ALARM
4
DAYCh 3
ALARM
4
DAYCh 4
ALARM
4
SEt
rUN
°C
°C
5OO
OO
MAX
MIN
%
%
6OO
2OO
MAX
MIN
°C
°C
MAX
MIN
Read Settings
DAY
D
A
Y
OOO5
4
Ch1
°C
%
269
Ch2
7OO
Ch4
E
2OO
Ch3
- 2O
<If logger has settings and not end>
<If probes”OK”> <If probes”ERROR”>
REC WIFI
V
Y
MAX
4 Secs
Ch1
Good
Good
Good
Good
Ch2
Ch4
Ch3
Ch1
Good SEt
NOr
Good
Good
Err
Ch2
Ch4
Ch3
rUN
O
Ch 2
ALARM
<run>
<End
Logger>
Run mode
SEt
SLEEP MODE NORMAL MODE
ALARM DISPLAYS
READ SETTINGS
RUN MODE
CALIBRATION MODE
rev.10082020
Table of contents
Other Marathon Data Logger manuals
Popular Data Logger manuals by other brands
Power Designers
Power Designers PowerTrac SP Series Operation and installation manual

ICP DAS USA
ICP DAS USA CAN-Logger Series user manual

inelo
inelo TachoReader Combo Plus Tutorial

METER GROUP
METER GROUP Em50G quick start guide

Halytech
Halytech microSpider2 Industrial quick start guide

MadgeTech
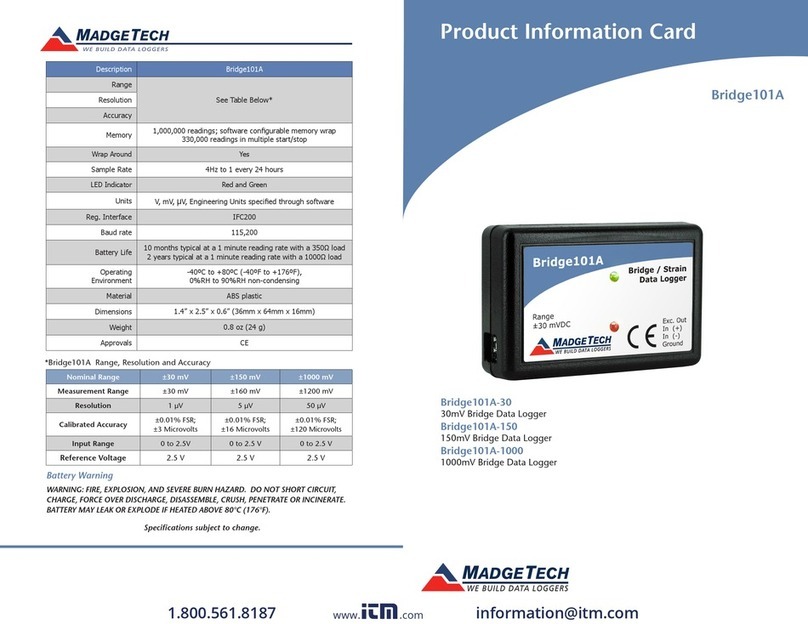
MadgeTech Temp101 Product Information Card