manuals.online logo
Brands
  1. Home
  2. •
  3. Brands
  4. •
  5. Martin Universal Design
  6. •
  7. Indoor Furnishing
  8. •
  9. Martin Universal Design BERKELEY MAXUM U-DS24 User manual

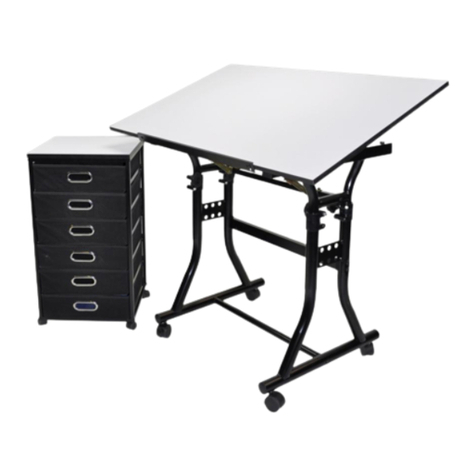
Martin Universal Design BERKELEY MAXUM U-DS24 User manual

BERKELEY MAXUM U-DS24 ASSEMBLY
C. Plastic Knob
A. StandFrame
D. Hex Bolt E. Phillips Screw
1. Swing the left and right side legs out
as shown. See Fig. 1
YournewBerkeleyMAXUMTablehasbeendesignedandmanufactured to enhance your productivityandefficiency.Thissturdy
folding table, properly assembled, will last through years of use. Follow the instructions below to assemble your Berkeley
Maxumand referto theenclosed partslistforpartidentification.Tools neededfor assembly: screwdriver, hammer, nail or awl,
tapemeasureand pencil.NOTE: Attaching Top instructions on reverse side of this sheet.
2. Put the hex bolt [D] inside the clamp (See Fig. 2)
and then attach knob [C] and tighten. (See Fig. 3)
3. Attach top to base. (Instructions on reverse side
of this sheet)
4. Once top is attached to base, to Adjust height of
table, loosen knobs on both rear collars, lift top
to chosen height/tilt. Tighten knobs to secure.
Continue by loosening front knobs on collars
and raise legs until desired front edge
height. Tighten knobs to secure.
Fig. 3
Fig. 2
Fig. 1
NOTE:
Make sure the collar is in
the correct position as
shown. See Fig. 3
Martin Universal Design, Inc. • 4444 Lawton Avenue, Detroit, MI 48208 USA
Tel: (313)895-0700 / Fax:(313)895-0709 • E-mail: [email protected]
Brackets/Hinges
ONEYEARGUARANTEE
This Martin Universal Design, Inc. product has a one year guarantee to
be free from manufacturers defects during that period of use by the
original purchaser. Items or parts subjected to extreme temperature or
abuseoruseofthisproductotherthanmanufacturersintendedpurpose
is not covered under this guarantee.
B. MetalGuide
STOP
PLEASE DO NOT RETURN THIS TABLE to the
Store where you purchased it. If you are
unable to assemble or parts are missing,
PLEASE Call Customer Service at
Martin Universal Design, Inc.
313-895-0700 or Email: [email protected]
Any Questions with Assembly? We Can Help
ITEM# PARTS LIST QTY
97-DS240A Stand Frame 1
97-DS240B Metal Guide 2
97-DS240C Plastic Knob 4
97-DS240D Hex Bolt 4
97-DS240E Phillips Screw 14
Step 1. Place top onto carpeted floor.
Step 2. Attach Left and Right Metal Guides by: Measuring 1.5” in
from left edge and mark with pencil, repeat with right side.
See above illustration.
Step 3. Attaching Left and Right Brackets (already attached to
base) by: Measuring 1.5” in from left edge and mark with
pencil, repeat with right side. See above illustration.
Step 4. Measure 3.75” from front edge and make pencil mark.
Repeat with other side for Metal Guides.
Step 5. Measure 3.75” from rear edge and make pencil mark.
Repeat with other side for Brackets.
Step 6. Position left and right Metal guides per above specs and
Attach with [3] phillips screws per guide.
Please Note: You may have to break top surface by
tapping a nail or awl in screw holes to make
starting hole in surface before attaching screws.
Step 7. Position left and right brackets per above specs and Attach
with [4] phillips screws per bracket.
Please Note: You may have to break top surface by
tapping a nail or awl in screw holes to make
starting hole in surface before attaching screws
Determine which size top you have and follow the appropriate instructions
Bracket
Metal
Guide
Bracket
Metal
Guide
BERKELEY MAXUM TOP ASSEMBLY
Instructions for 36” x 48” Top
Step [2] 1.5” from left side
to left edge of Metal Guide
Step [2] 1.5” from right side
to right edge of Metal Guide
Step [4] 3.75” from front edge
Step [3]
1.5” from
left edge
Step [3]
1.5” from
right edge
Step [5] 3.75” from back edge
Step 1. Place top onto carpeted floor.
Step 2. Attach Left and Right Metal Guides by: Measuring 1.5” in
from left edge and mark with pencil, repeat with right side.
See above illustration.
Step 3. Attaching Left and Right Brackets (already attached to
base) by: Measuring 1.5” in from left edge and mark with
pencil, repeat with right side. See above illustration.
Step 4. Measure 5” from front edge and make pencil mark.
Repeat with other side for Metal Guides.
Step 5. Measure 5” from rear edge and make pencil mark.
Repeat with other side for Brackets.
Step 6. Position left and right Metal guides per above specs and
Attach with [3] phillips screws per guide.
Please Note: You may have to break top surface by
tapping a nail or awl in screw holes to make
starting hole in surface before attaching screws.
Step 7. Position left and right brackets per above specs and Attach
with [4] phillips screws per bracket.
Please Note: You may have to break top surface by
tapping a nail or awl in screw holes to make
starting hole in surface before attaching screws
Bracket
Metal
Guide
Bracket
Metal
Guide
Step [2] 5” from left side
to left edge of Metal Guide
Step [2] 5” from right side to
right edge of Metal Guide
Step [4] 1.5” from front edge
Step [3]
5” from
left edge
Step [3]
5” from
right edge
Step [5] 1.5” from back edge
Instructions for 31.5” x 55” Top
Step 1. Place top onto carpeted floor.
Step 2. Attach Left and Right Metal Guides by: Measuring 1.5” in
from left edge and mark with pencil, repeat with right side.
See above illustration.
Step 3. Attaching Left and Right Brackets (already attached to
base) by: Measuring 1.5” in from left edge and mark with
pencil, repeat with right side. See above illustration.
Step 4. Measure 4.5” from front edge and make pencil mark.
Repeat with other side for Metal Guides.
Step 5. Measure 4.5” from rear edge and make pencil mark.
Repeat with other side for Brackets.
Step 6. Position left and right Metal guides per above specs and
Attach with [3] phillips screws per guide.
Please Note: You may have to break top surface by
tapping a nail or awl in screw holes to make
starting hole in surface before attaching screws.
Step 7. Position left and right brackets per above specs and Attach
with [4] phillips screws per bracket.
Please Note: You may have to break top surface by
tapping a nail or awl in screw holes to make
starting hole in surface before attaching screws
Bracket
Metal
Guide
Bracket
Metal
Guide
Instructions for 37.5” x 48” Top
Step [2] 1.5” from left side
to left edge of Metal Guide
Step [2] 1.5” from right side
to right edge of Metal Guide
Step [4] 4.5” from front edge
Step [3]
1.5” from
left edge
Step [3]
1.5” from
right edge
Step [5] 4.5” from back edge
Step 1. Place top onto carpeted floor.
Step 2. Attach Left and Right Metal Guides by: Measuring 1.5” in
from left edge and mark with pencil, repeat with right side.
See above illustration.
Step 3. Attaching Left and Right Brackets (already attached to
base) by: Measuring 1.5” in from left edge and mark with
pencil, repeat with right side. See above illustration.
Step 4. Measure 3.75” from front edge and make pencil mark.
Repeat with other side for Metal Guides.
Step 5. Measure 3.75” from rear edge and make pencil mark.
Repeat with other side for Brackets.
Step 6. Position left and right Metal guides per above specs and
Attach with [3] phillips screws per guide.
Please Note: You may have to break top surface by
tapping a nail or awl in screw holes to make
starting hole in surface before attaching screws.
Step 7. Position left and right brackets per above specs and Attach
with [4] phillips screws per bracket.
Please Note: You may have to break top surface by
tapping a nail or awl in screw holes to make
starting hole in surface before attaching screws
Bracket
Metal
Guide
Bracket
Metal
Guide
Step [2] 7.5” from left side
to left edge of Metal Guide
Step [2] 7.5” from right side
to right edge of Metal Guide
Step [4] 4.5” from front edge
Step [3]
7.5” from
left edge
Step [3]
7.5” from
right edge
Step [5] 4.5” from back edge
Instructions for 37.5” x 60” Top
Martin Universal Design, Inc. • 4444 Lawton Avenue, Detroit, MI 48208 USA • Tel: (313)895-0700 / Fax:(313)895-0709 • E-mail: Cu[email protected]

Other Martin Universal Design Indoor Furnishing manuals

Martin Universal Design Alyssia Craft Table with Tray User manual

Martin Universal Design

Martin Universal Design Alyssia Craft Table with Tray User manual

Martin Universal Design LAFAYETTE SEATING Series User manual

Martin Universal Design

Martin Universal Design LAFAYETTE SEATING Series User manual

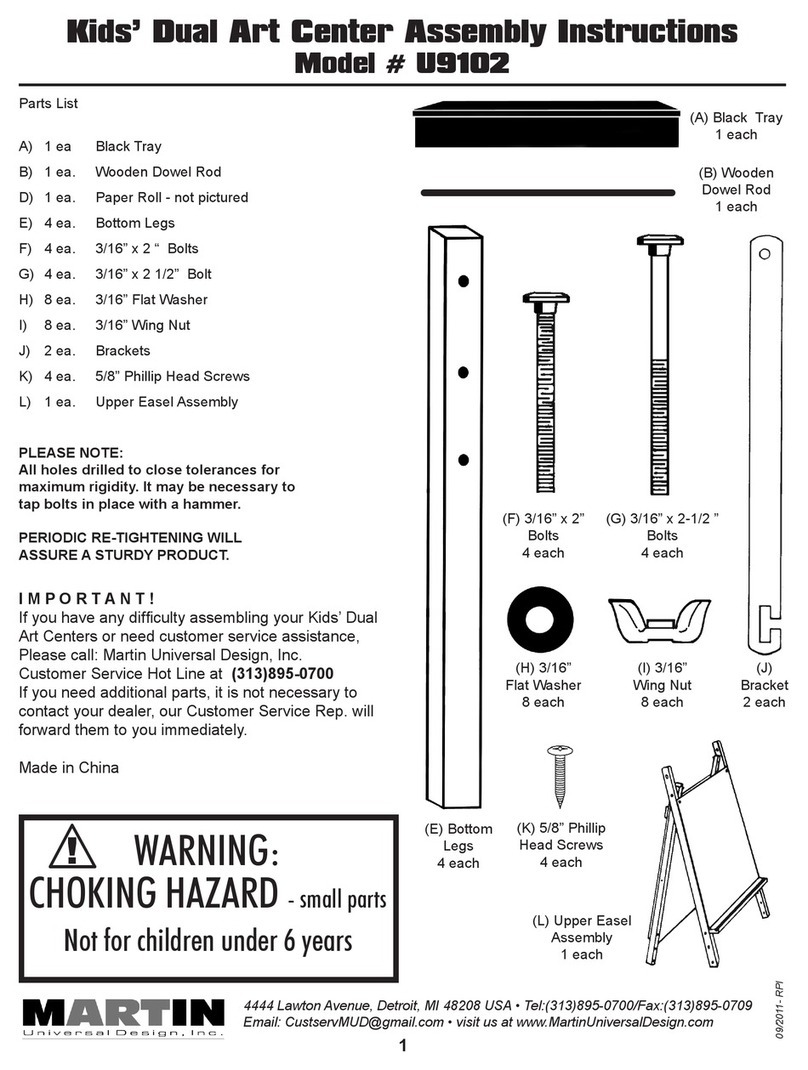
Martin Universal Design U9102 User manual

Martin Universal Design

Martin Universal Design U9102 User manual

Martin Universal Design Ashley U-DS92ST User manual

Martin Universal Design

Martin Universal Design Ashley U-DS92ST User manual

Martin Universal Design Manchester User manual

Martin Universal Design

Martin Universal Design Manchester User manual

Martin Universal Design VESUVIO 91-8006 User manual

Martin Universal Design

Martin Universal Design VESUVIO 91-8006 User manual

Martin Universal Design U-DS90W User manual

Martin Universal Design

Martin Universal Design U-DS90W User manual

Martin Universal Design GRANDEUR 91-02606115 User manual

Martin Universal Design

Martin Universal Design GRANDEUR 91-02606115 User manual

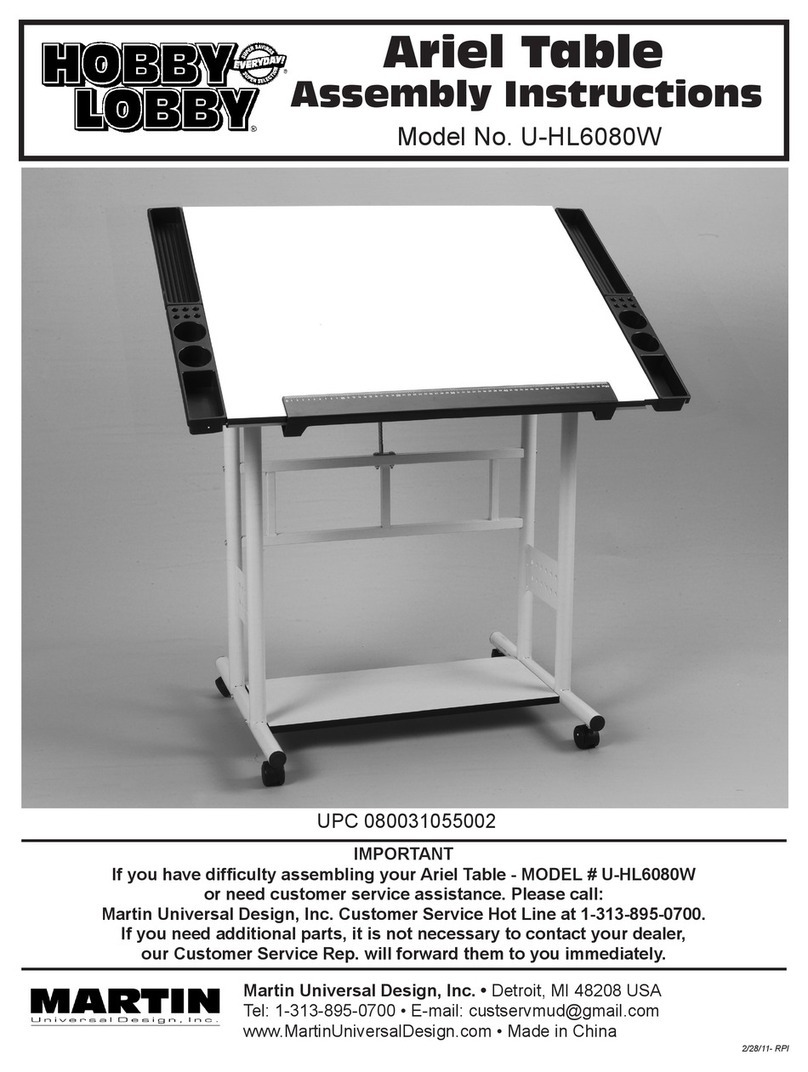
Martin Universal Design Hobby Lobby U-HL6080W User manual

Martin Universal Design

Martin Universal Design Hobby Lobby U-HL6080W User manual

Martin Universal Design AVANTI I User manual

Martin Universal Design

Martin Universal Design AVANTI I User manual

Martin Universal Design Creation Craft Center U-DS91TBW User manual

Martin Universal Design

Martin Universal Design Creation Craft Center U-DS91TBW User manual

Martin Universal Design STANFORD 91-1006 User manual

Martin Universal Design

Martin Universal Design STANFORD 91-1006 User manual

Martin Universal Design Michaels Creative Table 10165131 User manual

Martin Universal Design

Martin Universal Design Michaels Creative Table 10165131 User manual

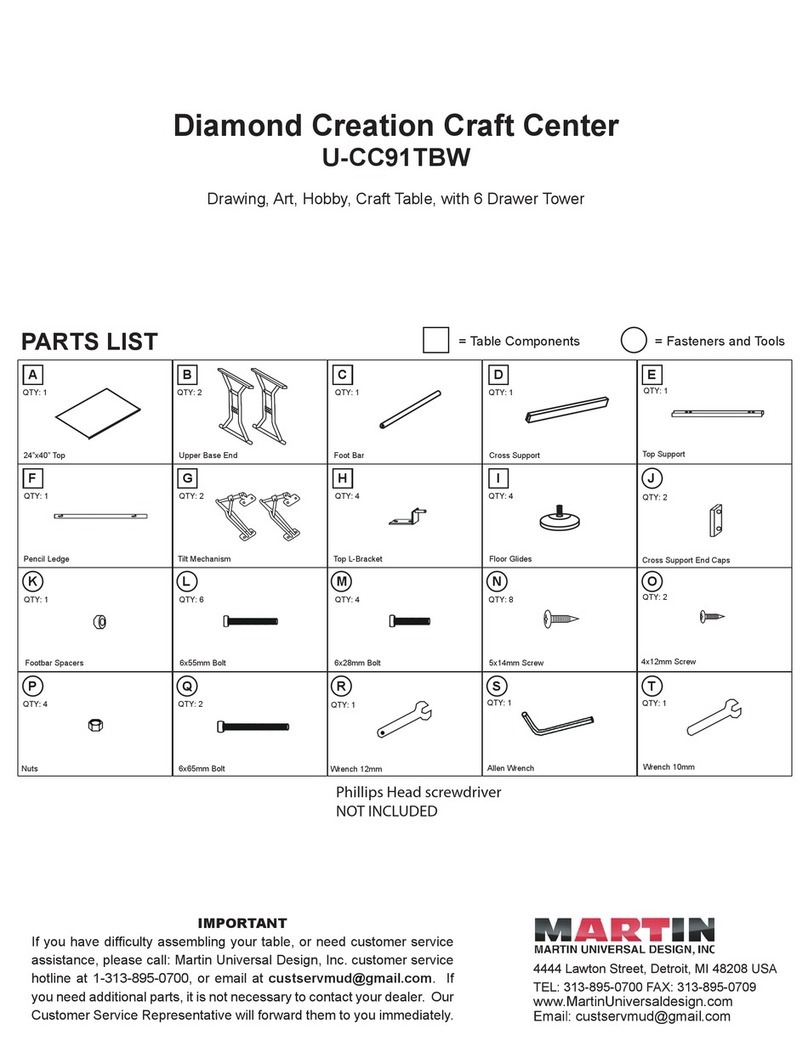
Martin Universal Design Diamond Creation Craft Center U-CC91TBW User manual

Martin Universal Design

Martin Universal Design Diamond Creation Craft Center U-CC91TBW User manual

Popular Indoor Furnishing manuals by other brands

Ty Pennington Style D71 M20765 Use and care guide

Ty Pennington

Ty Pennington Style D71 M20765 Use and care guide

FUTUR ANTIBES Assembly instructions

FUTUR

FUTUR ANTIBES Assembly instructions

Invacare I-Fit 9780E Assembly, installation and operating instructions

Invacare

Invacare I-Fit 9780E Assembly, installation and operating instructions

Furniture of America CM-BK922T Assembly instructions

Furniture of America

Furniture of America CM-BK922T Assembly instructions

Furniture of America Lana CM3153ST-2PK Assembly instructions

Furniture of America

Furniture of America Lana CM3153ST-2PK Assembly instructions

Allen + Roth RIGSBY RGWVT2439 manual

Allen + Roth

Allen + Roth RIGSBY RGWVT2439 manual

Next OXFORD 381155 Assembly instructions

Next

Next OXFORD 381155 Assembly instructions

TRADINGZONE SMARTLINE SITTING/STANDING CORNER TABLE... Assembly and operating instructions

TRADINGZONE

TRADINGZONE SMARTLINE SITTING/STANDING CORNER TABLE... Assembly and operating instructions

Robern UPLIFT CABINET UC4827FPL Installation notes

Robern

Robern UPLIFT CABINET UC4827FPL Installation notes

HENN c C50-23 Duna Assembly instructions

HENN

HENN c C50-23 Duna Assembly instructions

Global Kate 2811-8 Specifications

Global

Global Kate 2811-8 Specifications

Furinno WS17005 Assembly instructions

Furinno

Furinno WS17005 Assembly instructions

Displays2go SCTWRCOLBK Assembly instructions

Displays2go

Displays2go SCTWRCOLBK Assembly instructions

Home Decorators Collection HDPNT36V Assembly instructions

Home Decorators Collection

Home Decorators Collection HDPNT36V Assembly instructions

Kogan OVELA BILLI BUTTON OVBILLISBGA user guide

Kogan

Kogan OVELA BILLI BUTTON OVBILLISBGA user guide

DANDELION DBSDB1 user guide

DANDELION

DANDELION DBSDB1 user guide

BROSA Elizabeth Nesting Tables Assembly guide

BROSA

BROSA Elizabeth Nesting Tables Assembly guide

Coopers Alabama 10789 Instructions for use

Coopers

Coopers Alabama 10789 Instructions for use

manuals.online logo
manuals.online logoBrands
  • About & Mission
  • Contact us
  • Privacy Policy
  • Terms and Conditions

Copyright 2025 Manuals.Online. All Rights Reserved.