69024C-eIFU-0518
• Venous pulsations may cause erroneous low SpO2readings (e.g. tricuspid valve regurgitation, Trendelenburg position).
• The pulsations from intra-aortic balloon support can be additive to the pulse rate on the oximeter pulse rate display.
Verifypatient’s pulse rate against the ECG heart rate.
• Avoid placing the sensor on any extremity with an arterial catheter or blood pressure cuff.
• If using pulse oximetry during full body irradiation, keep the sensor out of the radiation field. If sensor is exposed to the
radiation, the reading might be inaccurate or the unit might read zero for the duration of the active radiation period.
• Do not use the sensor during MRI scanning or in a MRI environment.
• High ambient light sources such as surgical lights (especially those with a xenon light source), bilirubin lamps,
fluorescent lights, infrared heating lamps, and direct sunlight can interfere with the performance of the sensor.
• To prevent interference from ambient light, ensure that the sensor is properly applied, and cover the sensor site with
opaque material, if required. Failure to take this precaution in high ambient light conditions may result in inaccurate
measurements.
• Inaccurate readings may be caused by EMI radiation interference.
• Intravascular dyes such as indocyanine green or methylene blue or externally applied coloring and texture such as nail
polish, acrylic nails, glitter, etc. may lead to inaccurate SpO2measurements.
• High levels of COHb or MetHb may occur with a seemingly normal SpO2. When elevated levels of COHb or MetHb are
suspected, laboratory analysis (CO-Oximetry) of a blood sample should be performed.
• Elevated levels of Carboxyhemoglobin (COHb) may lead to inaccurate SpO2measurements.
• Elevated levels of Methemoglobin (MetHb) will lead to inaccurate SpO2measurements.
• Elevated Total Bilirubin levels may lead to inaccurate SpO2measurements.
• Inaccurate SpO2readings may be caused by severe anemia, low arterial perfusion or motion artifact.
• Hemoglobinopathies and synthesis disorders such as thalassemias, Hb s, Hb c, sickle cell, etc. may cause inaccurate SpO2
readings.
• Inaccurate SpO2readings may be caused by vasospastic disease such as Raynaud’s, and peripheral vascular disease.
• Inaccurate SpO2readings may be caused by elevated levels of dyshemoglobin, hypocapnic or hypercapnic conditions
and severe vasoconstriction or hypothermia.
• SpO2readings may be affected under very low perfusion conditions at the monitored site.
• Readings provided with a low signal confidence indicator may not be accurate.
• Do not modify or alter the sensor in any way. Alteration or modification may affect performance and/or accuracy.
• Clean the sensors prior to reuse on multiple patients.
• To prevent damage, do not soak or immerse the connector in any liquid solution.
• Do not attempt to sterilize by irradiation, steam, autoclave or ethylene oxide.
• Do not attempt to reprocess, recondition or recycle Masimo sensors or patient cables as these processes may damage
the electrical components, potentially leading to patient harm.
• High oxygen concentrations may predispose a premature infant to retinopathy. Therefore, the upper alarm limit for the
oxygen saturation must be carefully selected in accordance with accepted clinical standards.
• Caution: Replace the sensor when a replace sensor message is displayed, or when a low SIQ message is consistently
displayed while monitoring consecutive patients after completing the low SIQ troubleshooting steps identified in the
monitoring device operator’s manual.
• Note: The sensor is provided with X-Cal™ technology to minimize the risk of inaccurate readings and unanticipated loss
of patient monitoring. The sensor will provide up to 8,760 hours of patient monitoring time. Replace the sensor when
the patient monitoring time is exhausted.
INSTRUCTIONS
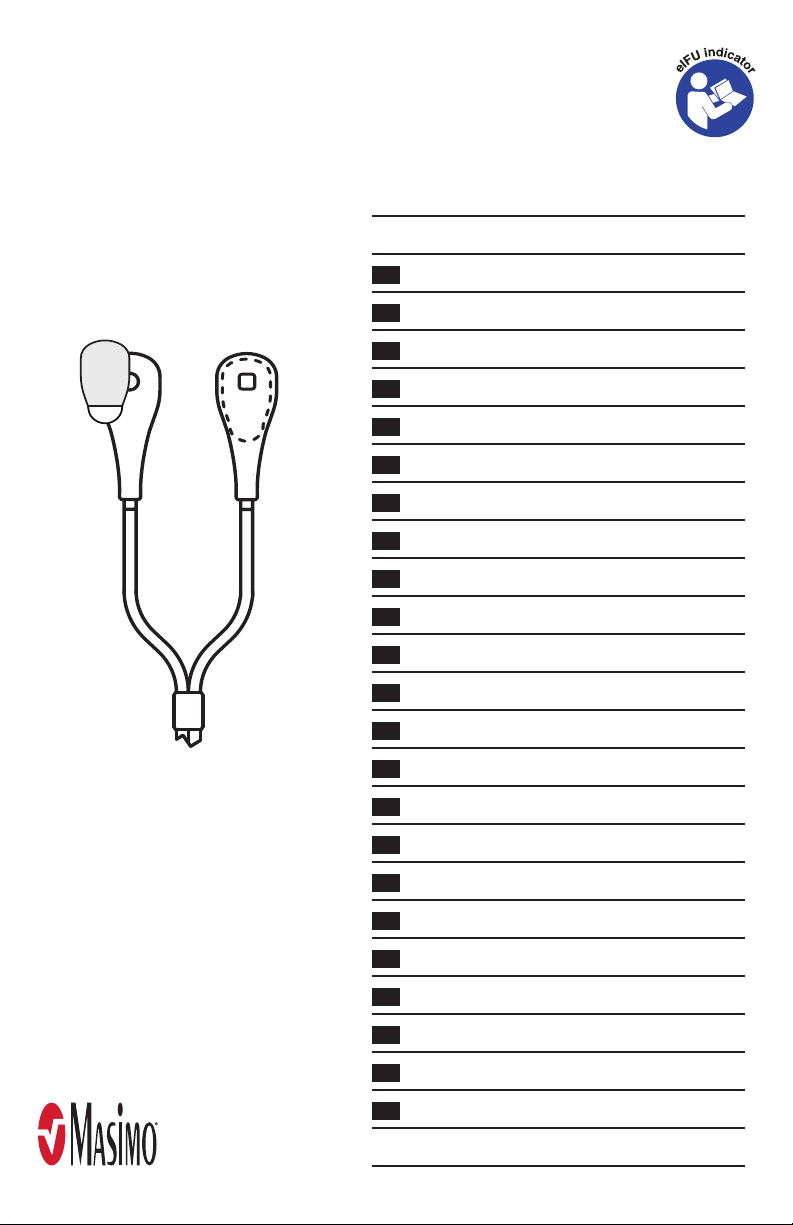
Site Selection
• Always choose a site that will completely cover the sensor’s detector window.
• The site should be free of debris prior to sensor placement.
• Choose a site that is well perfused and least restricts a conscious patient’s movements.
• The sensor is not intended for placement on the ear, if the ear is the desired monitoring site the Masimo RD SET TC-I
reusable sensor is recommended.
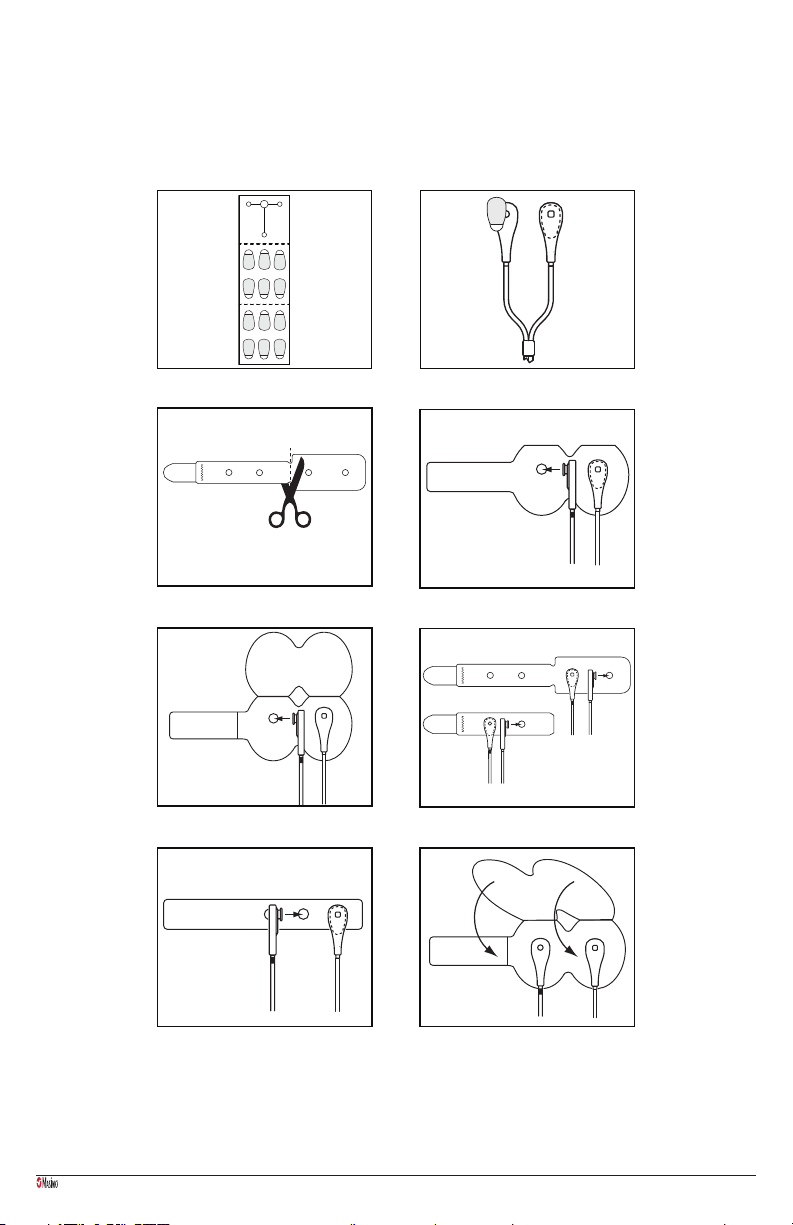
NEONATES (1–3 kg), CleanShield Wrap / Standard Wrap / Foam Wrap:
• The preferred sites are the outer aspect of the foot, under the fourth toe or the outer aspect of the palm of the hand.