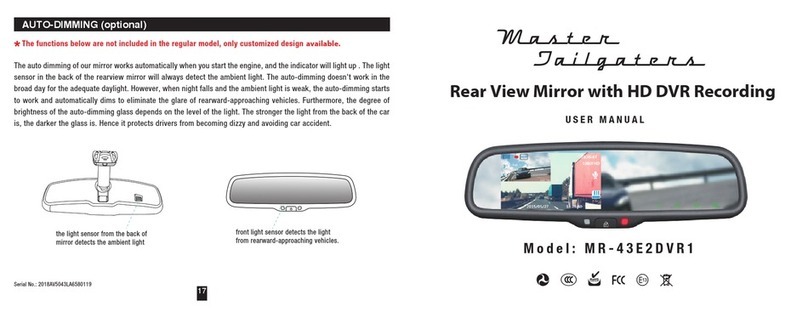
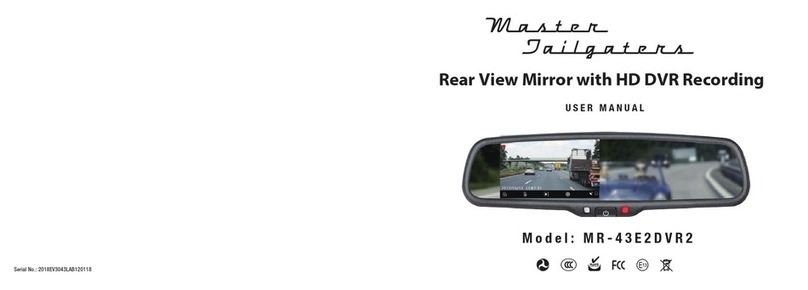
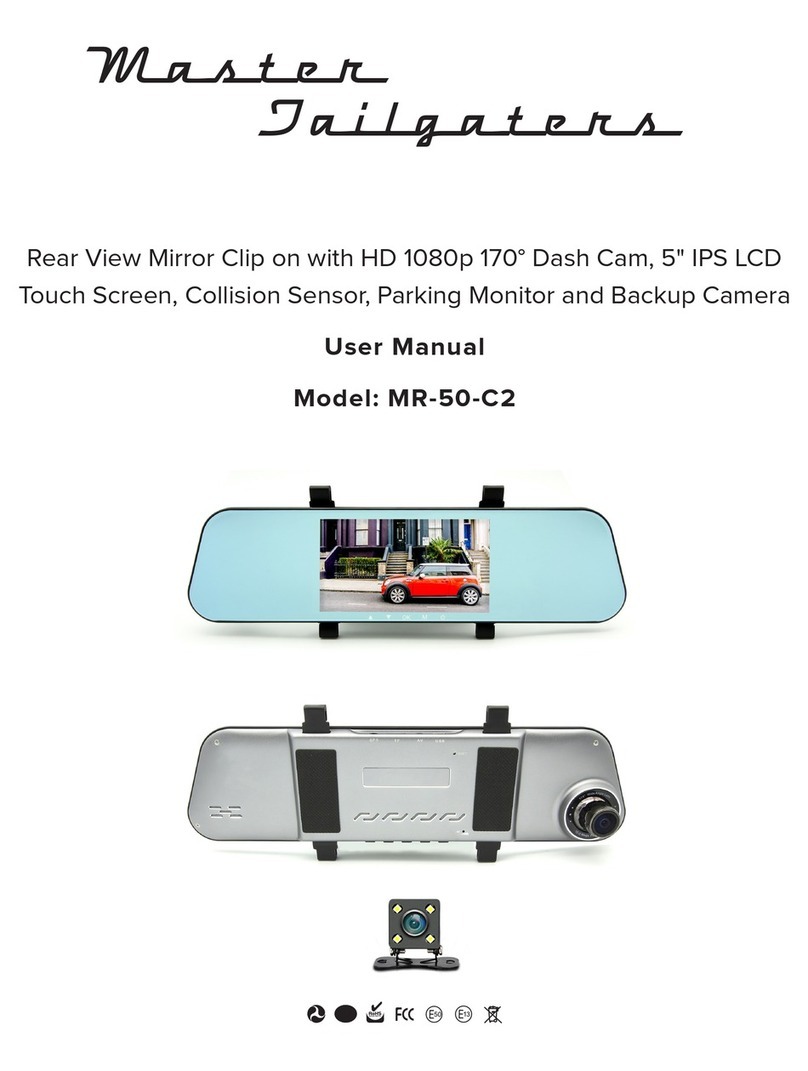
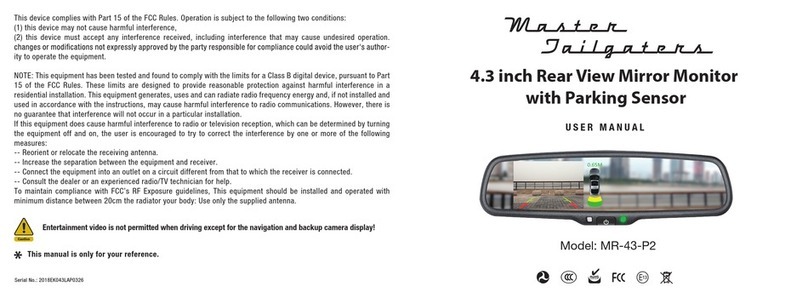
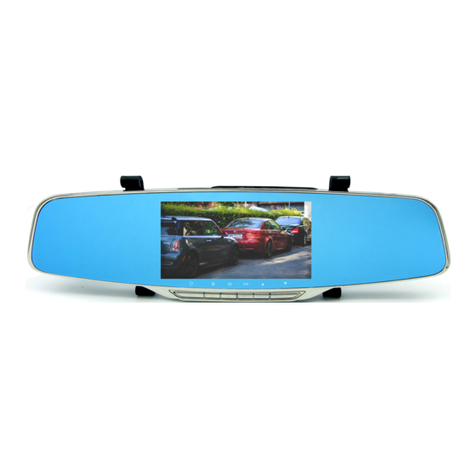
Master Tailgaters MR-43-E2DVR3 User manual

USER MANUAL
Serial No.: 2018AV5043LAN58TX1109
Rear View Mirror with HD DVR Recording
and In Cabin Facing Camera
Master
Tailgaters
Model: MR-43-E2DVR3

TABLE OF CONTENTS
01 PACKAGE 1
02 FEATURES 2
03 SPECIFICATIONS 2
04 BASIC OPERATING INSTRUCTIONS 4
05 HOW TO WIRE 6
06 HOW TO INSTALL MIRROR MONITOR 7
07 BACK UP CAMERA DISPLAY 9
908 AUTOMATIC BRIGHTNESS ADJUSTMENT
This device complies with Part 15 of the FCC Rules. Operation is subject to the following two conditions:
(1) this device may not cause harmful interference,
(2) this device must accept any interference received, including interference that may cause undesired operation.
changes or modications not expressly approved by the party responsible for compliance could avoid the user's author-
ity to operate the equipment.
NOTE: This equipment has been tested and found to comply with the limits for a Class B digital device, pursuant to Part
15 of the FCC Rules. These limits are designed to provide reasonable protection against harmful interference in a
residential installation. This equipment generates, uses and can radiate radio frequency energy and, if not installed and
used in accordance with the instructions, may cause harmful interference to radio communications. However, there is
no guarantee that interference will not occur in a particular installation.
If this equipment does cause harmful interference to radio or television reception, which can be determined by turning
the equipment off and on, the user is encouraged to try to correct the interference by one or more of the following
measures:
-- Reorient or relocate the receiving antenna.
-- Increase the separation between the equipment and receiver.
-- Connect the equipment into an outlet on a circuit different from that to which the receiver is connected.
-- Consult the dealer or an experienced radio/TV technician for help.
To maintain compliance with FCC’s RF Exposure guidelines, This equipment should be installed and operated with
minimum distance between 20cm the radiator your body: Use only the supplied antenna.
Entertainment video is not permited when driving except for the navigation and backup camera display!
This manual is only for your reference.
This DVR mirror can stop recording at any time, do not solely rely on the DVR mirror.
1110 MOBILE PHONE APP CONNECTION and OPERATION
1009 CABIN AND DASH CAMERA LIVE VIEW MODES

2
PACKAGE
The package contains the following:
01 Full HD DVR rear view mirror
02 Wire harness
06 SD card (option)03 User manual
04 Wire cover
SPECIFICATIONS
FEATURES
1
04
03
For the items listed above, please check your packing contents. If any damage, please contact the distributor
or the agent as soon as possible.
02
01
High brightness display screen
Dual way recording
Front camera recording 1080P
G-sensor
Auto screen off
Auto record when car is on
Parking mode recording
Motion detection recording
Loop recording
Back up camera display
Automatically brightness adjustment
Auto-dimming (optional)
Camera
0605
main control chip
Screen size
Denition
Recording angle
Video format
Video footage
Video resolution
Taiwan Novatek 96658
4.3 inch
1920*1080P
140 degree wide angle
.MOV
1 minutes (defaulted)
HD, 1080P, 30F/S Battery None
Video signal
MIC
Memory card
Power supply mode
Video mode
Temperature range
NTSC/PAL (defaulted as NTSC)
Support (default as ON)
2-32GB, over class 10
ACC
Seamless recording
-31°F~167°F
05 Extension cable

2017/12/27 14:28:40
2017/12/27 14:28:40
03:36:47
1080FHD
3 4
BASIC OPERATING INSTRUCTIONS
1. SD cards can be made by several different ways using different memory types and formatting types. In general, two types are
commonly found, MLC and TLC. TLC type cards are generally used in phones or other equipment that does mostly reading only, such as
playing back ground music. MLC type cards are designed for devices that read and write often such as DVR’s or video cameras. TLC type
memory will often fail more often under heavy recording of this type.
2. We only recommend brand name, high quality SD (or TF) cards using MLC technology for this HD DVR mirror. Also only use cards
with a 2K or higher (4k) recording speed. Using lower quality memory or incorrect speed memory will affect the recording quality and may
cause system errors.
3. Most SD Cards have a working life of about 2 years. Heat, amount of recording time, and overall usage, as well as the quality of the
card may vary as will the life of the card. Memory cards do need to be re-formatted from time to time and should be replaced at least once
per year to insure your DVR performing as expected. Remember your DVR is always recording when it is on, this is not the same as a
normal camera that only records when a picture is taken. We suggest using a 32GB MLC type SD memory card with a minimum speed of
90mb/s for the best recording quality and reliability.
4. This DVR uses new technology and relies heavily on the SD Card memory. If the mirror or SD card fail to operate correctly and fail
to record an incident, the manufacturer or re-seller cannot be held responsible. We recommend you check your SD card regularly to insure
the system is operating correctly. This device is designed for entertainment purposes only and you should check all local laws that may
relate to using such a device in your vehicle. Always use carefully when driving as safety is always the drivers first responsibility.
OK
class 4 class 10 class U1
Good
class U3
Note: For the best performance and durability of video recording, we recommend to use C10 U1 level SD card or better.
10
2 1
4
3
5
11
12
13
14
6 7 8
9

5 6
HOW TO WIRE
Green to back up signal
10
11
12
13
14
15
To back up camera
16
17
18
19
Power button: turn on/ off the screen off
1
2
3
4
5
6
8
9
7
Indicator
4.3 inch high brightness monitor
Lock the current video
Turn on/ off the mic
Short press: switch front and rear video screen
Long press: open the Wi-Fi.
SD card slot (max 32GB)
Speaker
Light sensor
Cable connector
Windshield Bracket
Camera Lens
Red to ignition +12V
Yellow to battery
Black to Ground
Cabin camera
15
16
17
18
19
Camera
Black to GND
Red to ignition +12V
Yellow to battery
Camera power to reversing power Back up camera
Green to back car singal
In recording/stop recording state: start/stop recording
In the Wi-Fi interface: turn off Wi-Fi

HOW TO INSTALL MIRROR MONITOR
Remove the original mirror
Car factory original mirror The plate on the windshield
CAUTION!
NOTE: Always use caution, DO NOT force the mount. Master Tailgaters not be responsible for broken
windshields. If you are not sure how to remove or re-install the mirror seek trained, professional help.
Dangerous Ok
Windshield
Windshield
Dangerous Ok
1. 2.
Different cars have different brackets. It depends
on your vehicle maker and manufacturer. There are
many methods to remove the original rear view
mirror, however, please don’t force the mirror off
the bracket.
Master Tailgaters will not be responsible for
damage caused to your car by faulty installation of
the mirror.
Install mirror monitor on the plate
Install rear view mirror along this directionTake down your original mirror, and make
the mirror monitor ready
windshield
Please make sure to install the mirror to
the end of the bottom without any loose
Contrarotate the xed rear view mirror
Torque is about 0.8-1.3 N.m
windshield
windshield
7 8

When the car is reversing, the monitor will automatically display back up camera image.
Monitor brightness will change with the ambient light.
When ambient light is low, the screen will automatically reduce the brightness.
When ambient light is bright, the screen will automatically increase the brightness and get better
vision.
LOW LIGHT
STRONG LIGHT
9 1010
BACK UP CAMERA DISPLAY
AUTOMATIC BRIGHTNESS ADJUSTMENT
The cabin and dash cameras record automatically. The
les are split into two seperate les for each camera.
A live view of each camera can be displayed on the
LCD screen. To switch between the four display modes
press the “ ”button.
The rst press of “ ”will display the dashcam. The
second press will display the dashcam view with a
picture in picture display of the cabin camera. The
third press will display the cabin camera with a picture
in picture view of the dashcam. The fourth press will
show the cabin camera view only.
2017/12/27 14:28:40
03:36:47
1080FHD
CABIN AND DASH CAMERA LIVE VIEW MODES
2017/12/27 14:28:40
03:36:47
1080FHD
2015/05/27 14:28:40
2017/12/27 14:28:40
03:36:47
1080FHD
2015/12/27 14:28:40
2017/12/27 14:28:40
03:36:47
1080FHD

11 12
1. Open APP store, search “RoadCam” to install or use
quick search by scan QR code.
2. Long press “ ” button to turn on mirror’s Wi-Fi
function.
3. Enter mobile phone interface, turn on Wi-Fi and
connect Wi-Fi ID (default name CARDV-Wi-Fi*, “*” is
system MAC address, please see gure 1), enter initial
password: 12345678, then connect.
4. open mobile phone APP, click the button “ ” at
top right corner (please see gure 2), add the device.
Built- in WiFi module system allows to connect mobile
phone through Android or IOS APP, please check
below for its setup.
gure 2gure 1
MOBILE PHONE APP CONNECTION and OPERATION 5. Once the device is connected successfully, user can check the recording video and operate accordingly.
1. Setting
2. Full Screen Switch
3. HUD video
4. Video Switch
5. HUD photo
6. video
7. photo
Click to enter the
settings interface
Click to enter the
settings interface
Choose cycle record time
to set the cycle record time
Click to enter the
settings interface
Choose video resolution to
set the size of video resolution
1
35
4
2
6
7
Recording interface
Table of contents
Other Master Tailgaters Automobile Accessories manuals
Popular Automobile Accessories manuals by other brands

Cruz
Cruz Evo Rack Pro P34-158 Assembly instructions

SEO Electronics
SEO Electronics CANi user manual

Innova
Innova 3040c owner's manual

Metra Electronics
Metra Electronics Saddle Tramp BC-HDR-K4 quick start guide

HAUL MASTER
HAUL MASTER 95974 Assembly and operation instructions

Kuda-Phonebase
Kuda-Phonebase 7520 installation instructions