manuals.online logo
Brands
  1. Home
  2. •
  3. Brands
  4. •
  5. Matco Tools
  6. •
  7. Tools
  8. •
  9. Matco Tools MVLP6 User manual

Matco Tools MVLP6 User manual

MVLP6
6" LOW PROFILE VISE KIT
Matco Tools | Stow, Ohio 44224 | www.matcotools.com | 2006093-08
FIG 3
12
Portion A Portion B
10
93 9 6
11
Large Vise Bolts
FIG 4
NON-MARRING PADS - 1 PAIR
• Safeguard delicate work
• Polyethylene (PE)
METAL FABRICATION PADS - 1 PAIR
• Increase gripping surface
• Ductile iron
360° mounting disc
attaches to most surfaces
POSI-CLOCK DISC
• Steel construction
CURVED PADS - 1 PAIR
• Secure pipe / tubing projects
• Glass-filled nylon
FIG 2
4
5
86
13
2
3
7
1
8
FIG 1
PLEASE READ CAREFULLY & FOLLOW DIRECTIONS BEFORE USE
ASSEMBLING THE HANDLE:
1. Remove the contents from the box and lay out on an even surface.
2. Remove the Ratcheting Handle (3) and the Ratcheting Handle Screw (12) from the poly bag included in the vise box.
3. Slide the Ratcheting Handle (3) onto the end of the ACME Screw (11).
4. Screw in the Ratcheting Handle Screw (12) using the included 5mm hex key.
Note: Be careful not to overtighten the screw in the handle assembly.
MOUNTING THE VISE:
1. Select a solid, level mounting surface capable of supporting the combined weight of the vise, intended workpieces and applicable forces.
2. Loosen T-Handle Swivel Base Lock Screws (5) and unlatch the Swivel Base Latch (6) on the Swivel Base Casting (13) to remove the
Posi-Clock Disc (8).
3. Place the Posi-Clock Disc (8) onto your intended mounting surface.
4. Locate the “0” on your Posi-Clock Disc (8) and mount onto your bench in the desired orientation.
5. Use the holes in the Posi-Clock Disc (8) as a template to mark the bench surface. With a pencil, trace the inside of the machined holes.
6. Remove the Posi-Clock Disc (8) and drill holes for mounting hardware (not included).
Note: Ensure selected mounting hardware fits the counterbored mounting holes in the Posi-Clock Disc (8). The head of the mounting hardware
should not protrude above the surface of the disc, as it will interfere with mounting the Swivel Base Casting (13) to the Posi-Clock Disc (8).
7. Align disc mounting holes with drilled holes and secure the Posi-Clock Disc (8) to your surface using mounting hardware (not included).
Do not overtighten hardware. All five mounting holes must be used for proper operation.
8. Loosen T-Handle Swivel Base Lock Screws (5), unlatch the Swivel Base Latch (6), and open Swivel Base Casting (13) to attach vise to the
Posi-Clock Disc (8).
9. Slide the Swivel Base Casting (13) portion of the vise over the Posi-Clock Disc (8) and latch the base closed using the Swivel Base Latch (6).
OPERATION:
1. To adjust the orientation of the vise clamping pads, loosen the T-Handle Swivel Base Lock Screws (5) located on either side of the adjustable
Swivel Base Casting (13). Grasp the Ratcheting Handle (3) firmly with one hand and the Swivel Base Casting (13) with the other to rotate the
entire vise to your desired position. Once the orientation of the vise has been finalized, tighten both T-Handle Swivel Base Lock Screws (5) until
they’re engaged into the “V-shaped” channels located along the outer edge of the Posi-Clock Disc (8) (See Figure 1). The vise should be firmly
fixed into the desired position. If the vise still moves, slightly rotate the vise in either direction to allow the T-Handle Swivel Base Lock Screws
(5) to seat into the “V-shaped” channels.
2. To quickly adjust the opening of the vise, depress the Rapid Release Button (4) straight down with one hand while pulling on the Ratcheting
Handle (3) with the other hand. The handle should be in the up position. This will rapidly open or close the jaws to the desired width.
3. To tighten the Serrated Jaws (7), depress the Selector Switch (10) to the left and begin moving the Ratcheting Handle (3) in a clockwise
direction until a satisfactory grip is achieved. DO NOT OVERTIGHTEN. At no point should you use an extended pipe, tube or hammer to
increase the amount of force applied to the adjustable Ratcheting Handle (3) as it will damage the vise.
4. To loosen the Serrated Jaws (7), depress the Selector Switch (10) to the right and begin moving the Ratcheting Handle (3) in a
counter-clockwise direction. At no point should you use an extended pipe, tube or hammer to increase the amount of force applied to the
adjustable Ratcheting Handle (3) as it will damage the vise.
5. Should the user decide to remove the Swivel Base Casting (13) and mount directly to a bench top, the Cast Body Attachment Screws (9) can
be removed (4 pcs.). At this point, the vise can be attached to the bench using the set of holes for the Cast Body Attachment Screws (9) in
either Portion A (1) or Portion B (2) of the vise.
MAINTENANCE:
1. Avoid using solvents when cleaning.
2. Most items are susceptible to damage from various types of commercial solvents.
3. Use clean cloths to remove dirt, dust, oil, grease, etc.
4. Lubricate regularly.
MVLP6
6" LOW PROFILE VISE KIT
WARNING: Cancer and Reproductive Harm. www.P65Warnings.ca.gov
The 6" Low Profile Vise Kit is backed by a Limited Lifetime Warranty. This warranty covers manufacturer defects and workmanship. The warranty
excludes misuse or abuse and normal wear and tear. Exclusion is not allowed in some states and may not apply. This warranty gives you specific legal
rights, and you may have other rights, which vary from state to state.
Matco Tools | Stow, Ohio 44224 | www.matcotools.com | 2006093-08
REPLACEMENT COMPONENTS:
MVLP4 MATCO
4" Low Profile Vise
ITEM# VISE PART#REPLACEMENT COMPONENT
Ratcheting Handle
FSMVLP-HAN
4" Jaw Pads - Curved
4" Jaw Pads - Steel
MV2807
MV2808
MV2809 4" Jaw Pads - Non-Marring
Swivel Base Locks
Serrated Jaws
Posi-Clock Disc - Small
FS92746-05
FS92746-07
FS93159
FS92746-12 Large Vise Bolts MVLP6 MATCO
6" Low Profile Vise
Ratcheting Handle
FSMVLP-HAN
6" Jaw Pads - Curved
6" Jaw Pads - Steel
MV2816
MV2817
MV2818 6" Jaw Pads - Non-Marring
Swivel Base Locks
Serrated Jaws
Posi-Clock Disc - Large
FS92748-05
FS92748-07
FS93158
FS92748-12 Large Vise Bolts
ITEM# VISE PART#REPLACEMENT COMPONENT
• Mount only according to these instructions. Improper mounting can create hazards.
• Keep work area clean and well lit.
• Keep bystanders out of the area during use.
• This product is not a toy. Do not allow children to play with or near this item.
• Use for intended purposes only.
• Inspect before use; do not use if parts are loose or damaged.
• Maintain product labels and nameplates. These carry important safety information. If unreadable or missing contact 1-800-255-7011 for a replacement.
• Before drilling vise mounting holes, check for hidden electrical wires or cords in drilling path.
• Medications may impair judgment and reflexes, so please read all safety warning labels on medical prescriptions to determine if you may be affected.
Do not use this product if you are under the influence of drugs or alcohol.
• Use eye and hand protection. Wear ANSI-approved safety impact goggles and heavy-duty work gloves during use.
• DRESS SAFELY. Do not wear loose clothing or jewelry as they can become caught in moving parts. Wear a protective hair covering to prevent long hair
from being caught in moving parts.
• Do not overreach. Keep proper footing and balance at all times.
• Stay alert. Watch what you are doing at all times. Use common sense. Do not operate this product when you are tired or distracted from the job at hand.
• Damage could occur to your vise and/or workpiece if you overtighten the handle.
• Carefully check for damaged parts or any other conditions that may affect operation before using this product. Repair or replace damaged and worn
components immediately.
• When servicing, use only identical, manufacturer-recommended replacement parts.
• Maintain product with care. Keep this product clean and dry, and all moving parts lightly lubricated for better performance. Keep the handle dry, clean,
and free from oil, grease and solvents.
• Use the right tool for the job. Do not attempt to force a small tool or attachment to do the work of a larger industrial tool. This vise was designed for
specific applications. Do not modify this tool or use it for any purpose other than that for which it was intended.
GENERAL GUIDELINES AND WARNINGS:
ASSEMBLING THE HANDLE:
1. Remove the contents from the box and lay out on an even surface.
2. Remove the Ratcheting Handle (3) and the Ratcheting Handle Screw (12) from the poly bag included in the vise box.
3. Slide the Ratcheting Handle (3) onto the end of the ACME Screw (11).
4. Screw in the Ratcheting Handle Screw (12) using the included 5mm hex key.
Note: Be careful not to overtighten the screw in the handle assembly.
MOUNTING THE VISE:
1. Select a solid, level mounting surface capable of supporting the combined weight of the vise, intended workpieces and applicable forces.
2. Loosen T-Handle Swivel Base Lock Screws (5) and unlatch the Swivel Base Latch (6) on the Swivel Base Casting (13) to remove the
Posi-Clock Disc (8).
3. Place the Posi-Clock Disc (8) onto your intended mounting surface.
4. Locate the “0” on your Posi-Clock Disc (8) and mount onto your bench in the desired orientation.
5. Use the holes in the Posi-Clock Disc (8) as a template to mark the bench surface. With a pencil, trace the inside of the machined holes.
6. Remove the Posi-Clock Disc (8) and drill holes for mounting hardware (not included).
Note: Ensure selected mounting hardware fits the counterbored mounting holes in the Posi-Clock Disc (8). The head of the mounting hardware
should not protrude above the surface of the disc, as it will interfere with mounting the Swivel Base Casting (13) to the Posi-Clock Disc (8).
7. Align disc mounting holes with drilled holes and secure the Posi-Clock Disc (8) to your surface using mounting hardware (not included).
Do not overtighten hardware. All five mounting holes must be used for proper operation.
8. Loosen T-Handle Swivel Base Lock Screws (5), unlatch the Swivel Base Latch (6), and open Swivel Base Casting (13) to attach vise to the
Posi-Clock Disc (8).
9. Slide the Swivel Base Casting (13) portion of the vise over the Posi-Clock Disc (8) and latch the base closed using the Swivel Base Latch (6).
OPERATION:
1. To adjust the orientation of the vise clamping pads, loosen the T-Handle Swivel Base Lock Screws (5) located on either side of the adjustable
Swivel Base Casting (13). Grasp the Ratcheting Handle (3) firmly with one hand and the Swivel Base Casting (13) with the other to rotate the
entire vise to your desired position. Once the orientation of the vise has been finalized, tighten both T-Handle Swivel Base Lock Screws (5) until
they’re engaged into the “V-shaped” channels located along the outer edge of the Posi-Clock Disc (8) (See Figure 1). The vise should be firmly
fixed into the desired position. If the vise still moves, slightly rotate the vise in either direction to allow the T-Handle Swivel Base Lock Screws
(5) to seat into the “V-shaped” channels.
2. To quickly adjust the opening of the vise, depress the Rapid Release Button (4) straight down with one hand while pulling on the Ratcheting
Handle (3) with the other hand. The handle should be in the up position. This will rapidly open or close the jaws to the desired width.
3. To tighten the Serrated Jaws (7), depress the Selector Switch (10) to the left and begin moving the Ratcheting Handle (3) in a clockwise
direction until a satisfactory grip is achieved. DO NOT OVERTIGHTEN. At no point should you use an extended pipe, tube or hammer to
increase the amount of force applied to the adjustable Ratcheting Handle (3) as it will damage the vise.
4. To loosen the Serrated Jaws (7), depress the Selector Switch (10) to the right and begin moving the Ratcheting Handle (3) in a
counter-clockwise direction. At no point should you use an extended pipe, tube or hammer to increase the amount of force applied to the
adjustable Ratcheting Handle (3) as it will damage the vise.
5. Should the user decide to remove the Swivel Base Casting (13) and mount directly to a bench top, the Cast Body Attachment Screws (9) can
be removed (4 pcs.). At this point, the vise can be attached to the bench using the set of holes for the Cast Body Attachment Screws (9) in
either Portion A (1) or Portion B (2) of the vise.
MAINTENANCE:
1. Avoid using solvents when cleaning.
2. Most items are susceptible to damage from various types of commercial solvents.
3. Use clean cloths to remove dirt, dust, oil, grease, etc.
4. Lubricate regularly.
MVLP6
6" LOW PROFILE VISE KIT
Matco Tools | Stow, Ohio 44224 | www.matcotools.com | 2006093-08
FIG 2
4
5
86
13
2
3
7
1
FIG 3
12
Portion A Portion B
10
93 9 6
11
Large Vise Bolts
8
FIG 1
FIG 4
NON-MARRING PADS - 1 PAIR
• Safeguard delicate work
• Polyethylene (PE)
METAL FABRICATION PADS - 1 PAIR
• Increase gripping surface
• Ductile iron
360° mounting disc
attaches to most surfaces
POSI-CLOCK DISC
• Steel construction
CURVED PADS - 1 PAIR
• Secure pipe / tubing projects
• Glass-filled nylon
PLEASE READ CAREFULLY & FOLLOW DIRECTIONS BEFORE USE
MVLP6
6" LOW PROFILE VISE KIT
AVERTISSEMENT : Cancer et dommages à l'appareil reproducteur. www.P65Warnings.ca.gov
ADVERTENCIA: Cáncer y daño reproductivo. www.P65Warnings.ca.gov
Matco Tools | Stow, Ohio 44224 | www.matcotools.com | 2006093-08
The 6" Low Profile Vise Kit is backed by a Limited Lifetime Warranty. This warranty covers manufacturer defects and workmanship. The warranty
excludes misuse or abuse and normal wear and tear. Exclusion is not allowed in some states and may not apply. This warranty gives you specific legal
rights, and you may have other rights, which vary from state to state.
• Mount only according to these instructions. Improper mounting can create hazards.
• Keep work area clean and well lit.
• Keep bystanders out of the area during use.
• This product is not a toy. Do not allow children to play with or near this item.
• Use for intended purposes only.
• Inspect before use; do not use if parts are loose or damaged.
• Maintain product labels and nameplates. These carry important safety information. If unreadable or missing contact 1-800-255-7011 for a replacement.
• Before drilling vise mounting holes, check for hidden electrical wires or cords in drilling path.
• Medications may impair judgment and reflexes, so please read all safety warning labels on medical prescriptions to determine if you may be affected.
Do not use this product if you are under the influence of drugs or alcohol.
• Use eye and hand protection. Wear ANSI-approved safety impact goggles and heavy-duty work gloves during use.
• DRESS SAFELY. Do not wear loose clothing or jewelry as they can become caught in moving parts. Wear a protective hair covering to prevent long hair
from being caught in moving parts.
• Do not overreach. Keep proper footing and balance at all times.
• Stay alert. Watch what you are doing at all times. Use common sense. Do not operate this product when you are tired or distracted from the job at hand.
• Damage could occur to your vise and/or workpiece if you overtighten the handle.
• Carefully check for damaged parts or any other conditions that may affect operation before using this product. Repair or replace damaged and worn
components immediately.
• When servicing, use only identical, manufacturer-recommended replacement parts.
• Maintain product with care. Keep this product clean and dry, and all moving parts lightly lubricated for better performance. Keep the handle dry, clean,
and free from oil, grease and solvents.
• Use the right tool for the job. Do not attempt to force a small tool or attachment to do the work of a larger industrial tool. This vise was designed for
specific applications. Do not modify this tool or use it for any purpose other than that for which it was intended.
GENERAL GUIDELINES AND WARNINGS:
REPLACEMENT COMPONENTS:
MVLP4 MATCO
4" Low Profile Vise
ITEM# VISE PART#REPLACEMENT COMPONENT
Ratcheting Handle
FSMVLP-HAN
4" Jaw Pads - Curved
4" Jaw Pads - Steel
MV2807
MV2808
MV2809 4" Jaw Pads - Non-Marring
Swivel Base Locks
Serrated Jaws
Posi-Clock Disc - Small
FS92746-05
FS92746-07
FS93159
FS92746-12 Large Vise Bolts MVLP6 MATCO
6" Low Profile Vise
Ratcheting Handle
FSMVLP-HAN
6" Jaw Pads - Curved
6" Jaw Pads - Steel
MV2816
MV2817
MV2818 6" Jaw Pads - Non-Marring
Swivel Base Locks
Serrated Jaws
Posi-Clock Disc - Large
FS92748-05
FS92748-07
FS93158
FS92748-12 Large Vise Bolts
ITEM# VISE PART#REPLACEMENT COMPONENT

Other Matco Tools Tools manuals

Matco Tools SILVER EAGLE SE916 User manual

Matco Tools

Matco Tools SILVER EAGLE SE916 User manual

Matco Tools BRK4T Instructions for use

Matco Tools

Matco Tools BRK4T Instructions for use

Matco Tools GG50B User manual

Matco Tools

Matco Tools GG50B User manual

Matco Tools MST7842 User manual

Matco Tools

Matco Tools MST7842 User manual

Matco Tools MJS5000 User manual

Matco Tools

Matco Tools MJS5000 User manual

Matco Tools MWL900L User manual

Matco Tools

Matco Tools MWL900L User manual

Matco Tools MT3850HRA User manual

Matco Tools

Matco Tools MT3850HRA User manual

Matco Tools MT1644 Product manual

Matco Tools

Matco Tools MT1644 Product manual

Matco Tools HG10S User manual

Matco Tools

Matco Tools HG10S User manual

Matco Tools MST11880A User manual

Matco Tools

Matco Tools MST11880A User manual

Matco Tools MBP1000 User manual

Matco Tools

Matco Tools MBP1000 User manual

Matco Tools BPS400 User manual

Matco Tools

Matco Tools BPS400 User manual

Matco Tools MT1811 User manual

Matco Tools

Matco Tools MT1811 User manual

Matco Tools RV14S User manual

Matco Tools

Matco Tools RV14S User manual

Matco Tools MST5907 User manual

Matco Tools

Matco Tools MST5907 User manual

Matco Tools HG11S User manual

Matco Tools

Matco Tools HG11S User manual

Matco Tools HG13M User manual

Matco Tools

Matco Tools HG13M User manual

Matco Tools MT2816 User manual

Matco Tools

Matco Tools MT2816 User manual

Matco Tools GG50A User manual

Matco Tools

Matco Tools GG50A User manual

Matco Tools LUBJP User manual

Matco Tools

Matco Tools LUBJP User manual

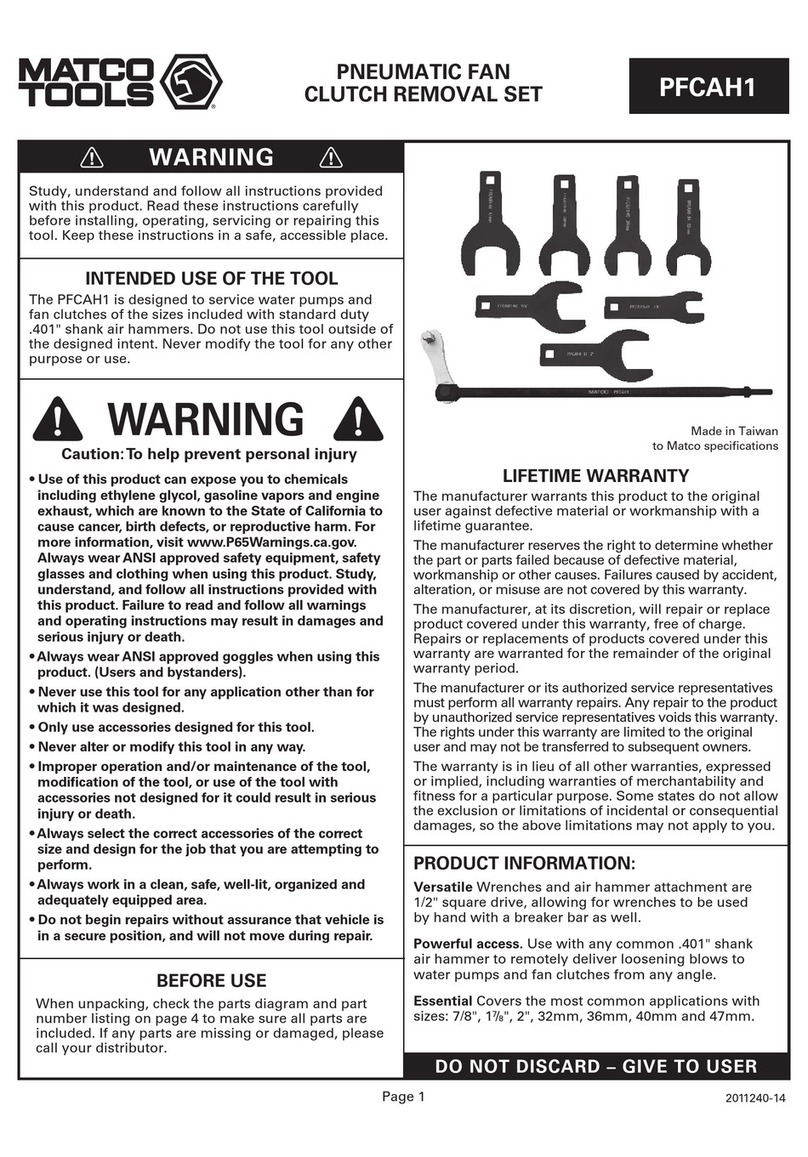
Matco Tools PFCAH1 User manual

Matco Tools

Matco Tools PFCAH1 User manual

Matco Tools RL900A User manual

Matco Tools

Matco Tools RL900A User manual

Matco Tools MST75B User manual

Matco Tools

Matco Tools MST75B User manual

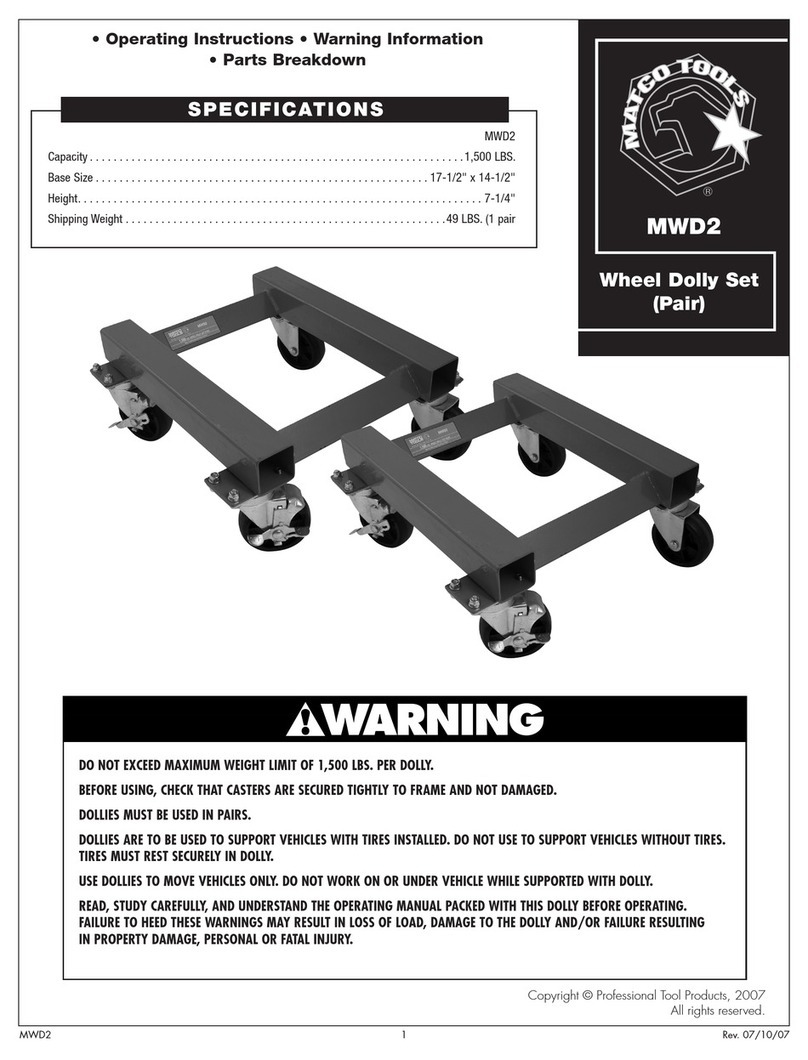
Matco Tools MWD2 Product manual

Matco Tools

Matco Tools MWD2 Product manual

Popular Tools manuals by other brands

Berserker DWT AH15-30 B Original instructions

Berserker

Berserker DWT AH15-30 B Original instructions

Parkside POF 1200 D3 Translation of the original instructions

Parkside

Parkside POF 1200 D3 Translation of the original instructions

Fromax 50 quick start guide

Fromax

Fromax 50 quick start guide

Draper 98421 manual

Draper

Draper 98421 manual

C&A IP Holdings Ivation IVAPROTORCH4 user guide

C&A IP Holdings

C&A IP Holdings Ivation IVAPROTORCH4 user guide

wagner solar EURO 20/22 installation instructions

wagner solar

wagner solar EURO 20/22 installation instructions

Radiall R125.630.040 quick start guide

Radiall

Radiall R125.630.040 quick start guide

Sealey AK962EV.V2 instructions

Sealey

Sealey AK962EV.V2 instructions

Ozito MFQ-3100 instruction manual

Ozito

Ozito MFQ-3100 instruction manual

RED ROOSTER RRI-25 manual

RED ROOSTER

RED ROOSTER RRI-25 manual

Topcon AT-B2 instruction manual

Topcon

Topcon AT-B2 instruction manual

JETStream MAGJET X40 quick start guide

JETStream

JETStream MAGJET X40 quick start guide

FUCHS CASSIDA HD How to use

FUCHS

FUCHS CASSIDA HD How to use

Yost Vise 908-HV manual

Yost Vise

Yost Vise 908-HV manual

Ebinger OSM 400 Instruction booklet

Ebinger

Ebinger OSM 400 Instruction booklet

Hilti NPR 19-22 manual

Hilti

Hilti NPR 19-22 manual

Elcometer 1537 operating instructions

Elcometer

Elcometer 1537 operating instructions

CLAS 2 Series manual

CLAS

CLAS 2 Series manual

manuals.online logo
manuals.online logoBrands
  • About & Mission
  • Contact us
  • Privacy Policy
  • Terms and Conditions

Copyright 2025 Manuals.Online. All Rights Reserved.